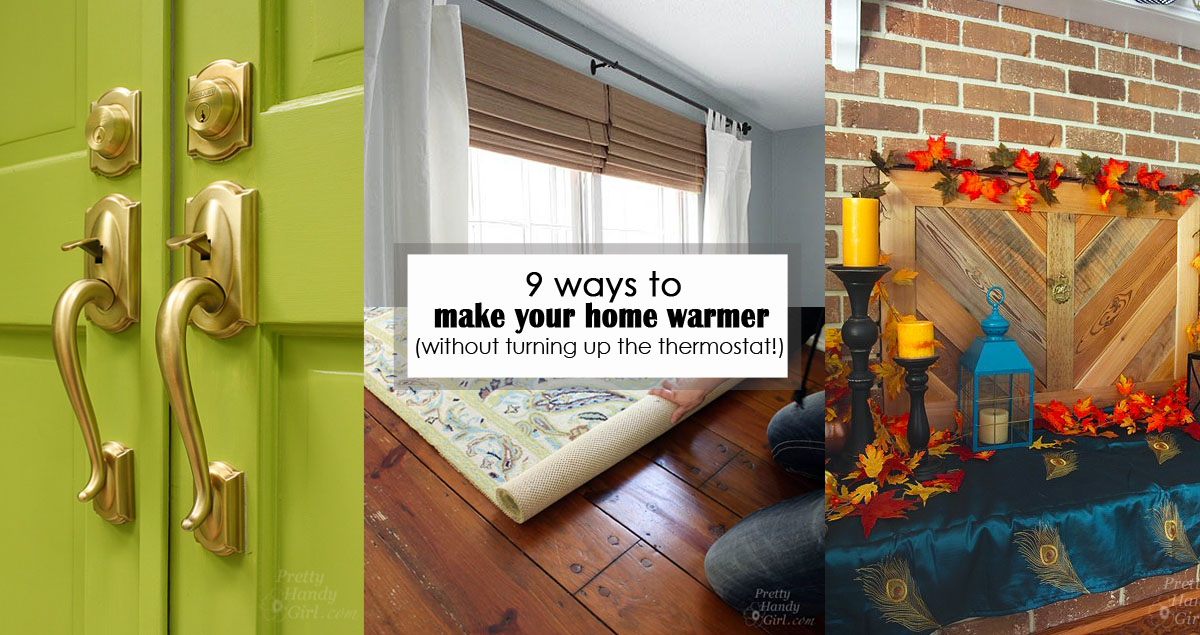
9 ways to make your home warmer social media

9 ways to make your home warmer pinterest image9 Ways to Make Your Home Feel Warmer this Winter

Winter brings snow days and memories of snuggling up under the blankets with hot cocoa, but one thing that isn’t fun about winter are the cool drafts, cold floors, and wasted energy trying to heat your home. Today I have 9 ways to make your home feel warmer without turning up the thermostat! Implementing some or all of these tips will be sure to make your home more energy efficient this winter. I hope you find these tips as helpful as I have!

Insulate Garage Door:

Are there gaps on the sides of your garage door? Do you see light coming through? If so, you need to add some foam rubber weatherstripping to your garage to keep it warmer in the winter. Foam rubber weatherstripping prevents drafts from entering your garage. Use it to block gaps between doors and the door frames. In about an hour you can seal the gaps around your garage door. This could make a big difference in the temperature of your garage year-round. It can also improve the temperature in adjacent rooms. After installing the weather stripping we noticed a huge difference in the temperature of our bonus room that sits on top of the garage. Read my full tutorial on Installing Weatherstripping to the Garage Door.

Seal Doors and Windows:
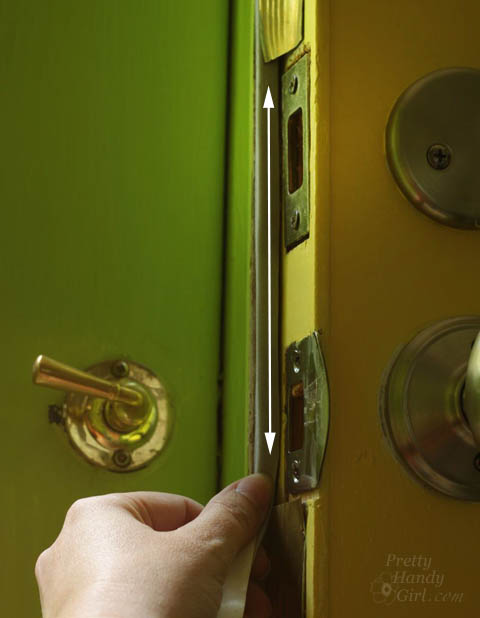
Do you feel a draft by your window when the wind kicks up outside? Can you see daylight seeping through your door? If you answered yes to either of those questions, you are throwing away money on heating and cooling your home. The solution is as simple as buying a roll of foam weatherstripping. To check for drafts, wet your hand and run it around the window edges to see if you feel any cold air. Peel off a section of weatherstripping. Press it onto the door jamb. Peel off the protective paper. Test your door by closing it and look again for light.

You can also use the same weatherstripping on the bottom of your old windows. Most windows and doors should have it, but old houses may not. Seal the gaps in your windows and doors. Some homes have metal weatherstripping which isn’t the best because they bend and conduct cold through them, but it can still work in some places. For gaps underneath doors you can add the strip that screws onto inside of door and when closed it presses up against the threshold. There are a few options here, but the real priority is to just get it done and start saving on cooling and heating your home.

Engage Deadbolts: How to Replace Door Knobs | Pretty Handy Girl

When you are out of the house, or when everyone is home (and no one will get locked out) engage the deadbolts to stop drafts on your front door. It will tighten the door up against the weatherstripping. Check your weatherstripping to make sure it’s in good shape. If your door doesn’t close tightly, it may be a simple fix. Try to move your strike plate to get a tighter seal. You might have to chisel a little more into the door frame to completely engage the deadbolt.

Single pane windows:
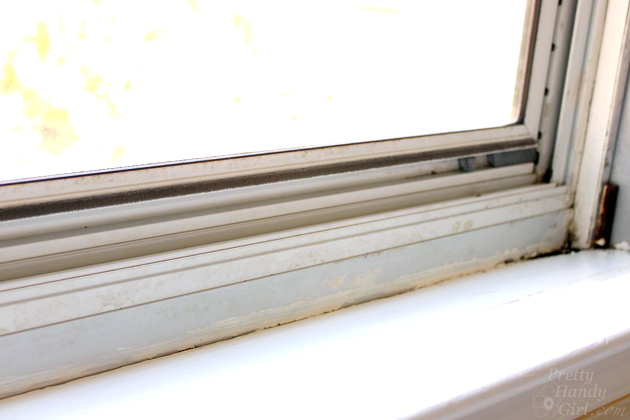
Newer windows are typically double-pane which allow them to have a layer of gas between the two pane of glass. This helps insulate the house. If you have single pane windows, don’t immediately jump to replace them. One option aside from buying new windows is to add a storm window to keep the warmth in. The second window imitates the double layer of the double-pane but costs a lot less! Just be sure to close your storm windows in the winter. In the summer you’ll want to add a screen so you can open up the window and let the warm air out, or use a fan to blow the air out.

Add Curtains:
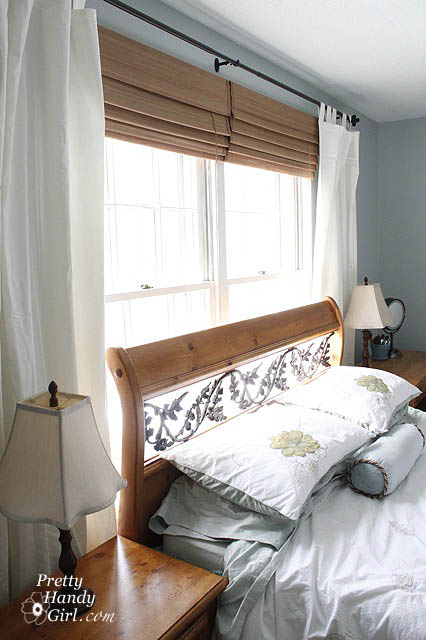
Add lined curtains to your windows. Get solid curtains with a liner and keep them closed at night in the winter. During the day, open the curtains when the sun starts to come in. You’ll be amazed at how much it impacts the room and limits the drafts that are trying to sneak in. Your room will be much warmer and you didn’t have to spend a fortune. Need to learn how to hang curtains? Read my tutorial on Hanging Curtains (and a no-iron solution!).

Block a Drafty Fireplace:
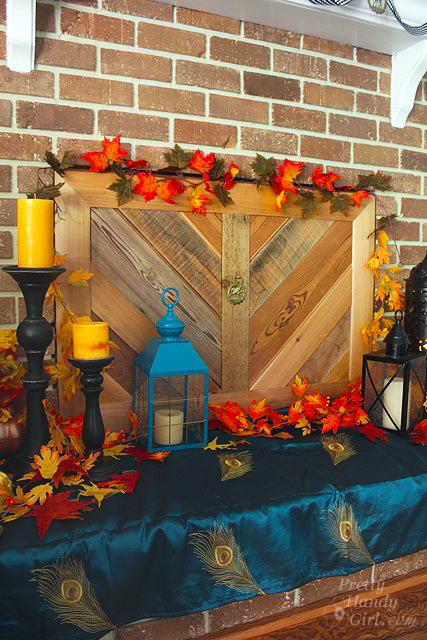
Create an insert for your fireplace by buying some rigid foam, wrapping it with batting, and gluing it to masonite. This will make a nice front cover that keeps the drafts from seeping into your home. Find a full tutorial here on how I built a beautiful draft stopper for my fireplace.

Seal Pipes and Vents:
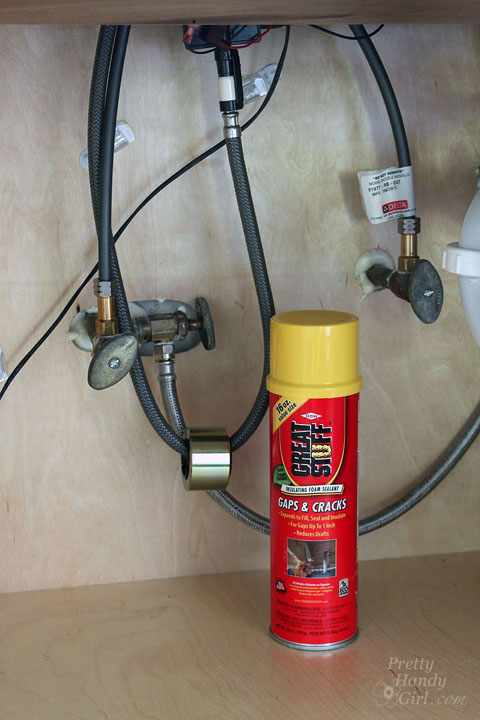
Seal the space around your pipes and vents with Great Stuff. This will keep the drafts from coming through but also unwanted critters. The holes around plumbing are common places for bugs and critters to enter homes, but it is a quick and easy project to seal them up and prevent entry!  Great Stuff is easy to use, simply shake the can for 30 seconds, add the spray nozzle and fill your gap about half way. It expands as it cures so be sure not to overfill. It is helpful to have paper towels to wipe off drips and a serrated knife to cut off any unwanted parts after it is cured. You can read my article: using GREAT STUFF to seal gaps around pipes.

Insulate Attic doors:Attic Insulating Pull Down Cover

There are a few options for insulating between your attic to prevent drafts. You can add weatherstripping around the door or you can add rigid foam insulation glued to the attic side of the access door. This works for both walk-in attics and pull-down doors. Another fancy option is an Attic Stairway Cover, which can be found here (affiliate link.)  Any of these options can help you save on your energy costs!

Warm Up Floors: 
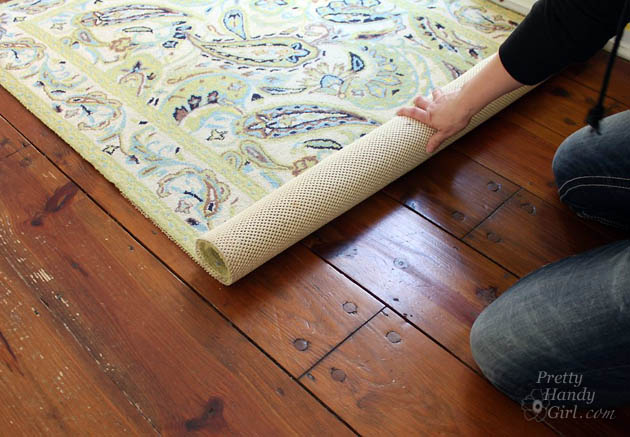
The final tip I have is to use rugs on tile or wood floors to keep your feet warmer. Rugs will also keep your room warmer and make a big difference on the comfort level in your home. It’s such a simple tip, but really can make a big difference.

I hope these tips help make your home warmer this winter and for many winters to come. And I’d love to hear if you have any tips for making your home warm during the cold winter days!

change-ugly-recessed-lights

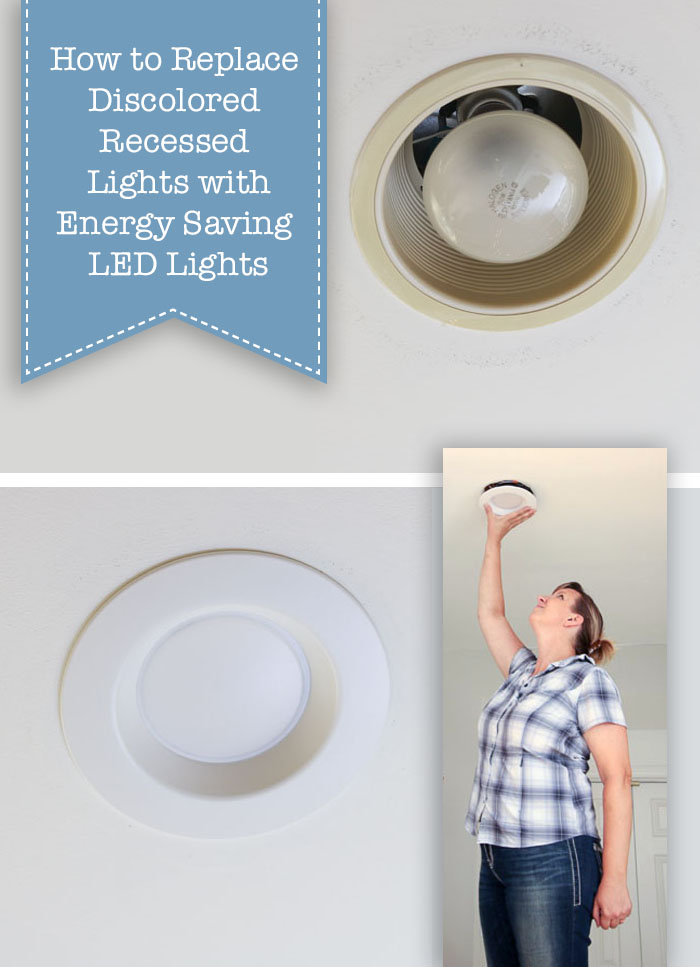
Do you have those old discolored recessed can lights in your home that use big hot flood bulbs? If so, it’s time for an upgrade!

Update Ugly Recessed Can Lights with Energy Efficient LED
How to Update Ugly Recessed Can Lights with Energy Efficient LED Lights

Today I want to show you how to update ugly recessed can lights with energy saving LED recessed lights. This process is quick and easy, not to mention the new lights will look better, last longer, and save you money on your energy bill! What more could you want? Change out all your ugly recessed lights in no time by following this simple tutorial.

Materials:

(I’ve included affiliate links for your convenience. I earn a small percentage from a purchase using these links. There is no additional cost to you. You can read more about affiliate links here.)

Instructions:

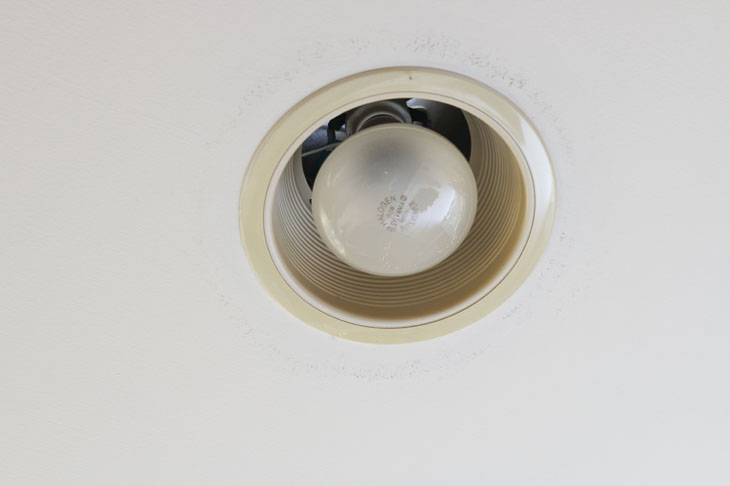
Here is what my old lights look like. Not only are they ugly, but they use the large flood light bulbs that use too much energy, radiate heat, and burn out quickly. I don’t know about you, but I am tired of changing these burned out bulbs.

Update Ugly Recessed Can Lights with Energy Efficient LED

Want to see how quickly you can change out your lights? Here’s a one minute video (that’s how fast you can do it):

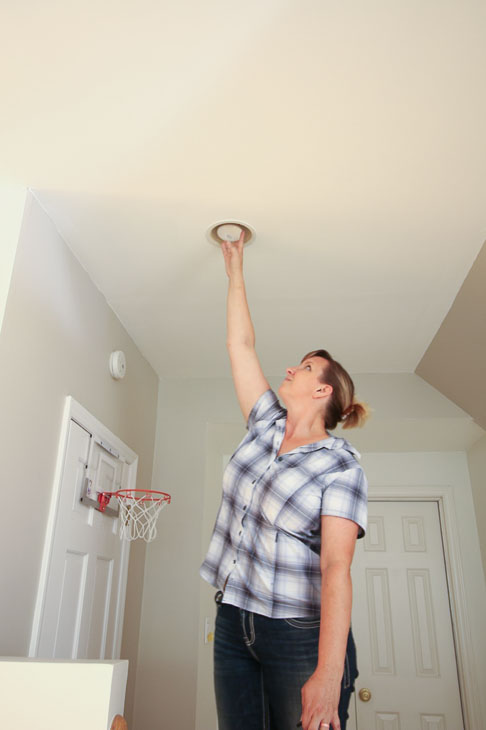
The first step to replacing these recessed lights is to remove the light bulb by simply unscrewing it from the socket. Unless you’re extraordinarily tall, you’ll probably need a step ladder for this project.

Update Ugly Recessed Can Lights with Energy Efficient LED

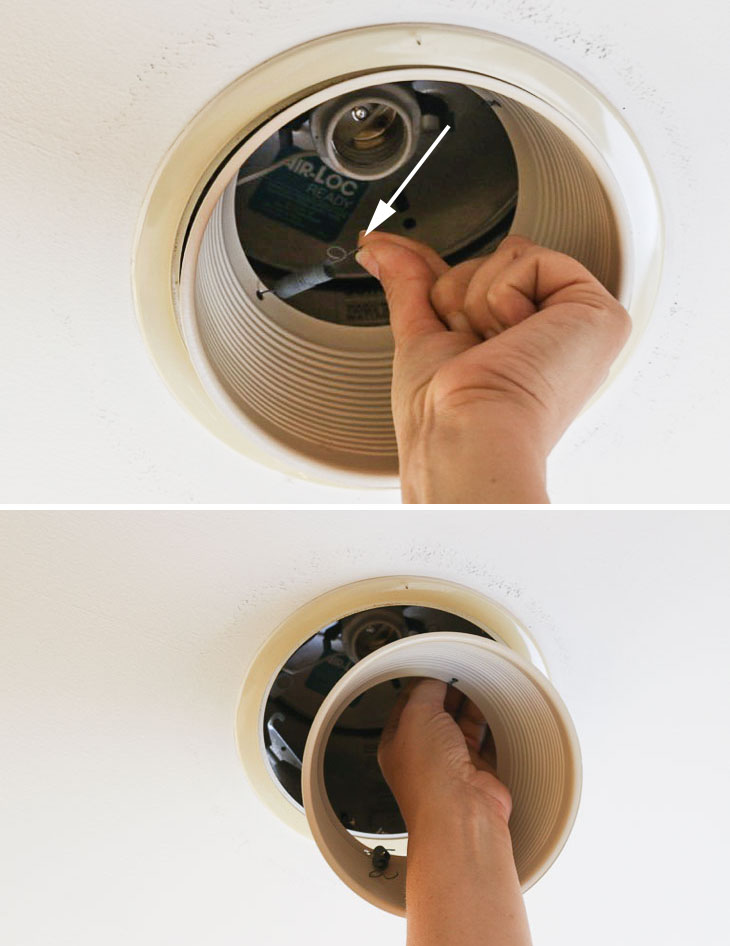
Next, find two small springs inside the baffle, as shown in photo below. They look like a wire with a loop in the center. Pull up and out on the springs to release the baffle inside your can light.

Update Ugly Recessed Can Lights with Energy Efficient LED

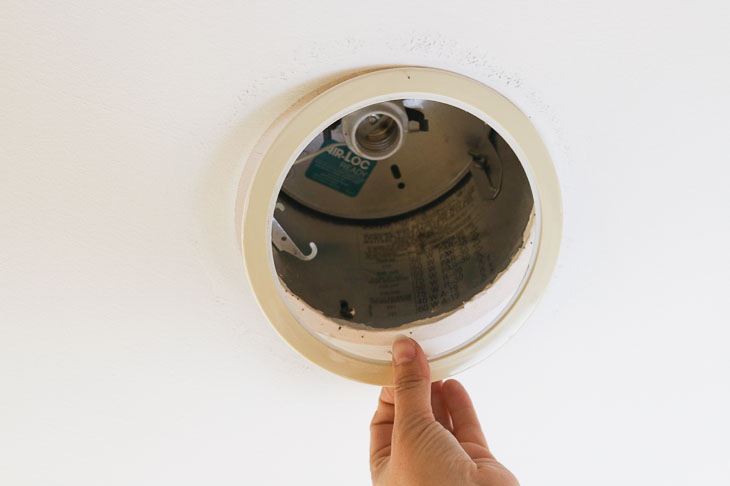
Remove the trim by simply pulling it off the ceiling.

Update Ugly Recessed Can Lights with Energy Efficient LED

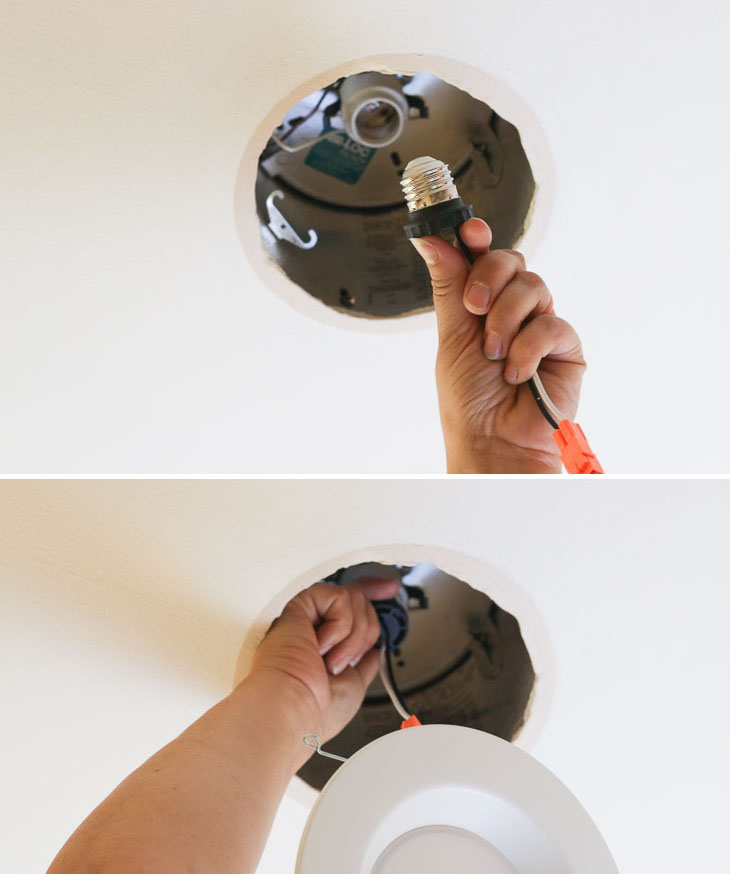
Grab your new retrofit LED recessed light and screw the adapter into the light bulb socket, exactly as you would screw in a light bulb. It’s that easy!

Update Ugly Recessed Can Lights with Energy Efficient LED

Inside the opening, find two metal clips. Squeeze the spring hinges on your LED light and insert them into the clips inside the old recessed can. These will hold the light in place.

Update Ugly Recessed Can Lights with Energy Efficient LED

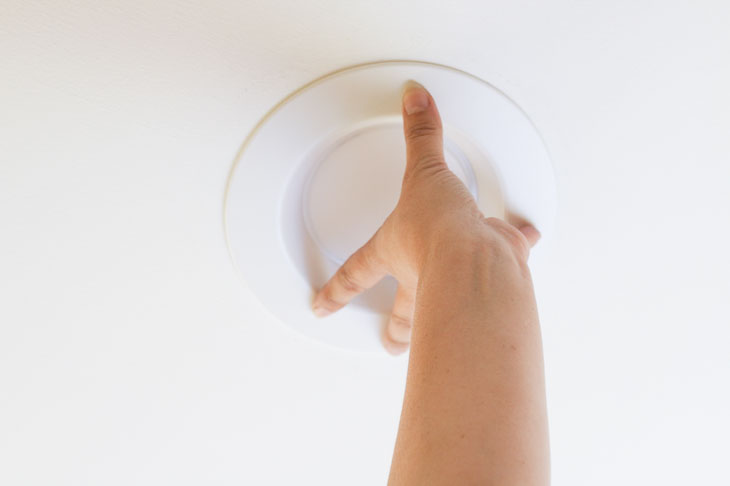
Finally, gently push your light up into the ceiling. Believe it or not, you’re done!

Update Ugly Recessed Can Lights with Energy Efficient LED

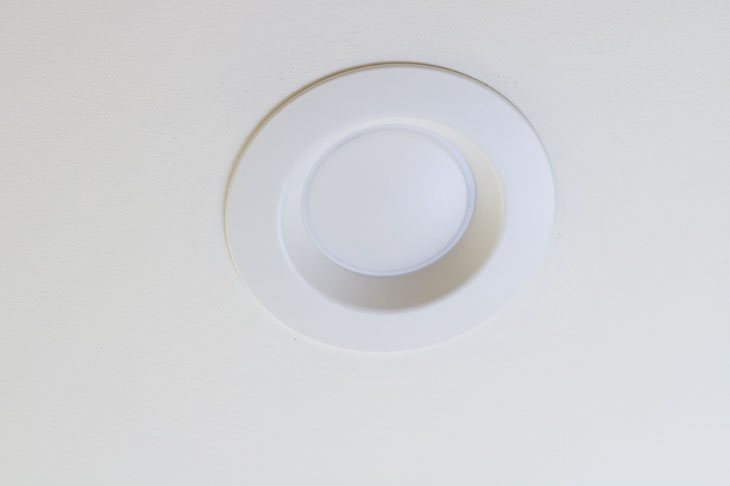
Now you have a beautiful, white, and energy-efficient LED recessed light. Take some time to admire it.

Update Ugly Recessed Can Lights with Energy Efficient LED

Now you can easily change out all the can lights in the room and voila, your lighting is upgraded! This is such a quick, easy, and inexpensive project. There is no point in putting it off any longer.

Update Ugly Recessed Can Lights with Energy Efficient LED

I hope you enjoyed this tutorial. Feel free to share any questions or thoughts in the comment section below. Thank you for reading!

Update Ugly Recessed Can Lights with Energy Efficient LED

Liked this project? I know you’ll love these other lighting upgrades:

Update Ugly Recessed Can Lights with Energy Efficient LED

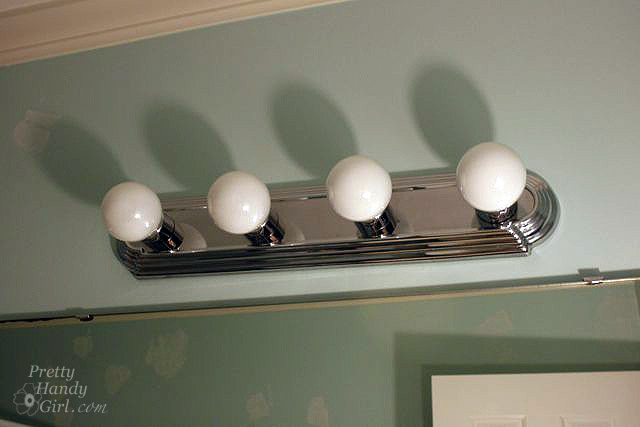
Change Out a Dated Hollywood Strip Light


Update Ugly Recessed Can Lights with Energy Efficient LED

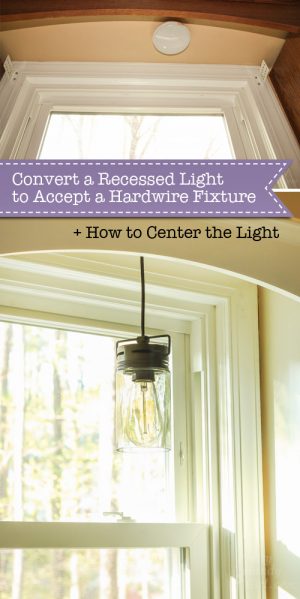
How to Convert a Recessed Can Light to Accept a Hard-Wired Light

How to Make an Old Water Heater More Energy Efficient | Pretty Handy Girl

How to Make an Old Water Heater More Energy Efficient | Pretty Handy Girl

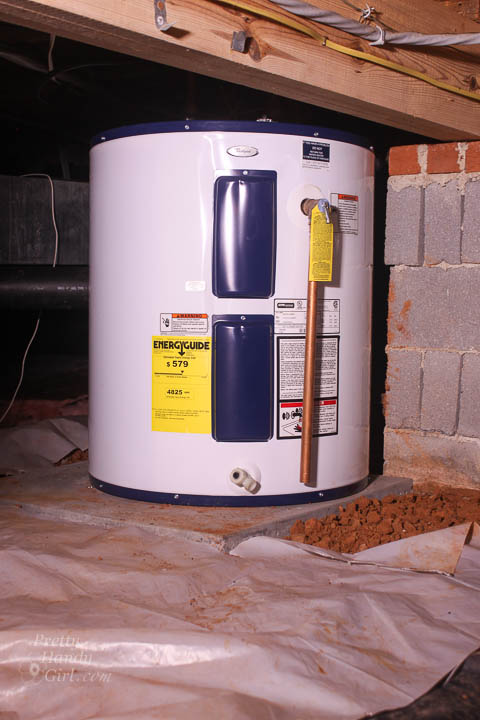
At the beginning of 2016 government standards dictated that new tank style water heaters must be more energy efficient. In response, manufacturers added internal insulation to new heaters. Unfortunately for those of us with tiny crawlspace water heaters, it meant we had to give up 10 gallons in storage to accommodate the added insulation. For a family of four, that is a big deal when our tank only holds 50 gallons to begin with.

In anticipation of the new rules, I purchased one of the last “less energy efficient” models to replace our 15 year old unit.

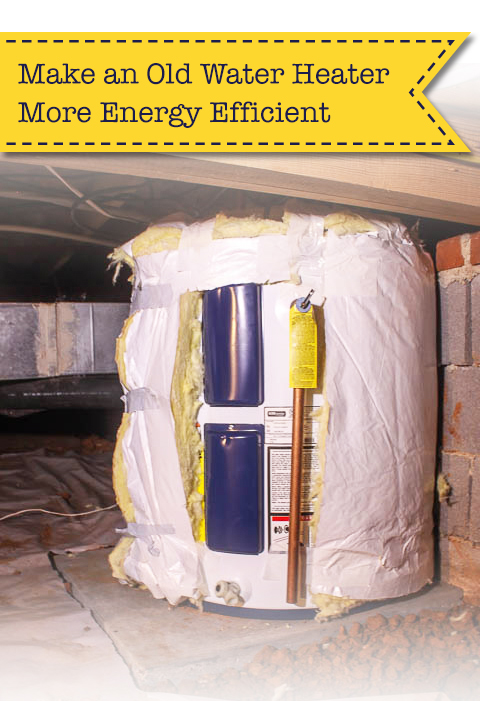
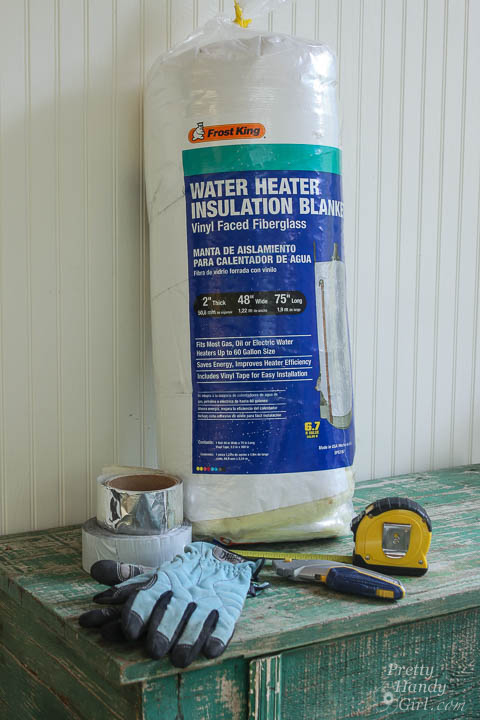
Although it’s true that an older water heater has less insulation, you can help your tank be more energy efficient. How? Simply add a water heater insulation blanket. It’s an easy DIY home improvement you can accomplish in thirty minutes or less. Want to learn How to Make a Tank Style Water Heater Energy Efficient? Great, let’s get cozy.

Materials:

(I’ve included affiliate links for your convenience. I earn a small percentage from a purchase using these links. There is no additional cost to you. You can read more about affiliate links here.)

Preparation:

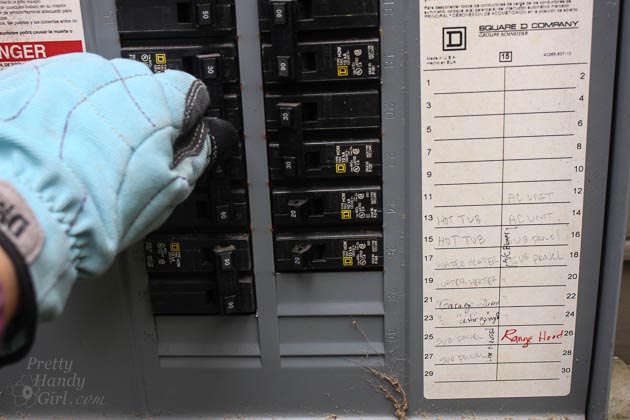
For your personal safety, turn off the power supply to your water heater.

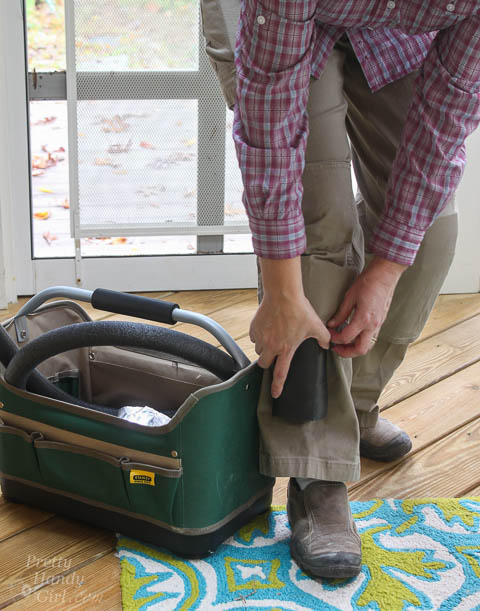
Suit up if you have to go into a crawlspace. I always wear work pants and knee pads because even the most pristine crawl space might have an occasional rock or dropped nail or screw that you don’t want to kneel on.

Instructions:

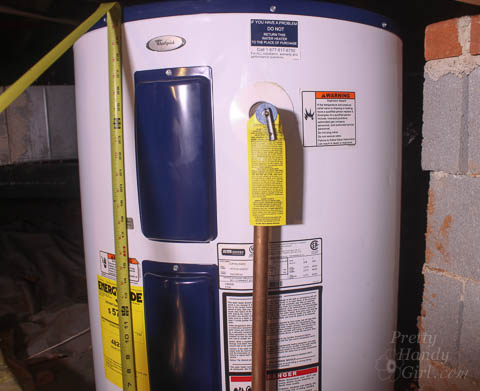
Measure the height and circumference of your water heater.

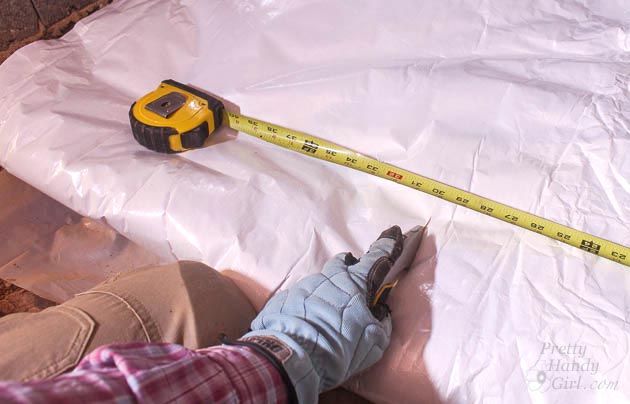
Transfer the measurements onto your insulation blanket and cut to size*. (The low boy water heaters that fit in crawlspaces are usually wider than their taller cousins, so you may have to rotate the blanket or piece it together to make it fit.)

*As a side note, I didn’t have enough to go all the way around with the Frost King water heater insulation blanket I used. After reading reviews, I realize I wasn’t the only one. Therefore, I linked to another insulation blanket with better reviews in the materials list.

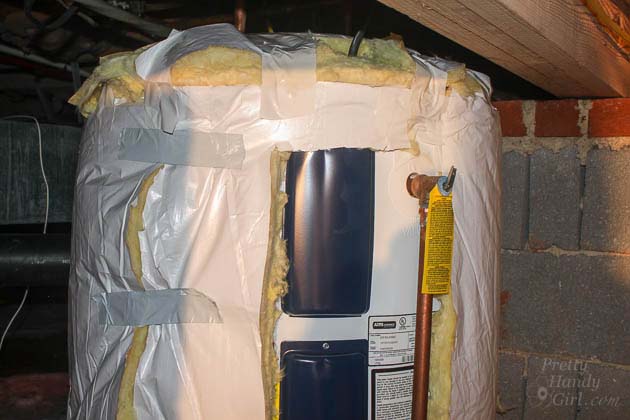
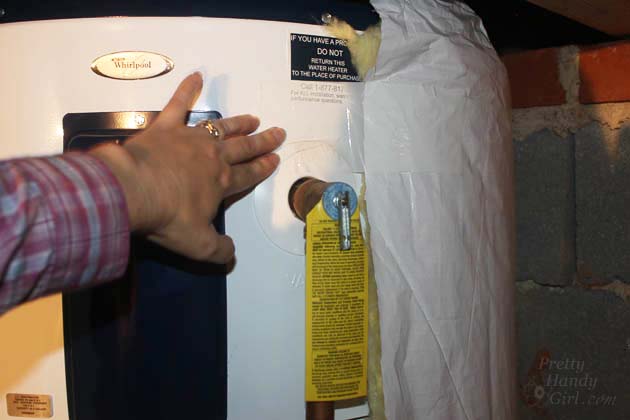
Add some tape to the tank to secure the insulation blanket (the fiberglass insulation side facing in.) Then wrap it around the tank.

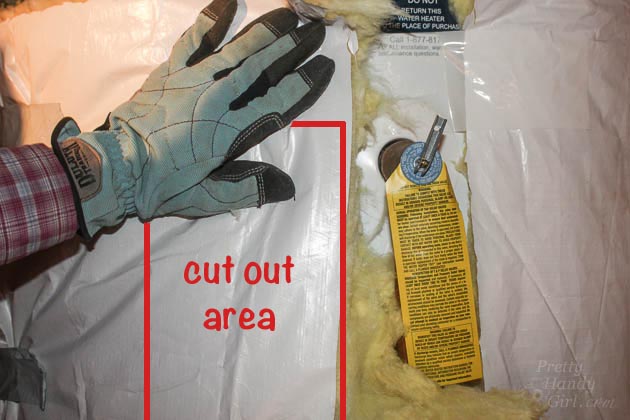
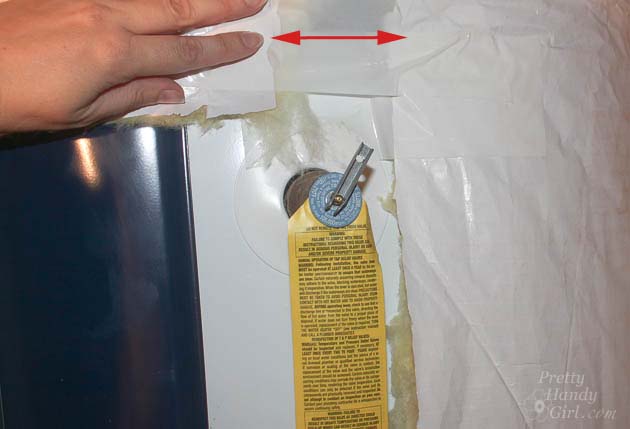
You must keep the access panel and pressure release valve uncovered. Cut those sections out of your blanket.

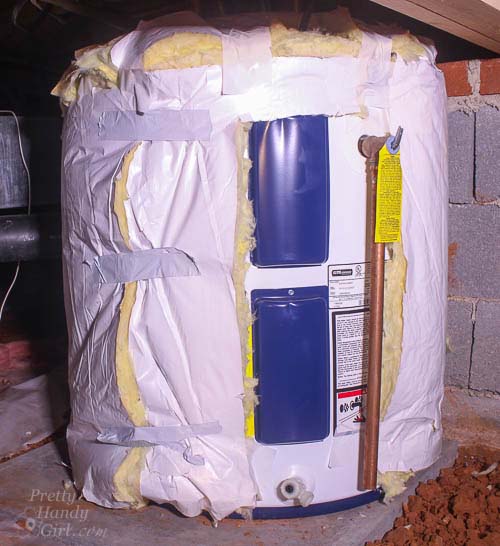
Add duct tape to secure the blanket around the water heater.

If you have additional insulation blanket material, cut a piece and attach it to the top of your heater (only for electric water heaters.)

Doesn’t your water heater look cozy and warm? It may not be the prettiest makeover, but it will save a pretty penny! 😉

Don’t forget to turn the power back on and enjoy hot water on demand.

Hope you have a great weekend and check out some of these home maintenance repairs you can do yourself!

How Energy Efficient Is Your Water Heater? | Pretty Handy Girl

Let’s talk more about energy efficiency today. Did you know that your water heater can be one of the biggest energy hogs?

How Much Energy Your Home Uses

It’s true! That conventional storage tank water heater works all day to keep your water hot. If the thermostat senses the temperature dip below the set temperature, it turns on to heat the water again. This goes on all day and night regardless if you are home or not. And until recently, water heaters had very little insulation. This meant that cold air in your garage or crawlspace would wreak havoc on the water heater making it work that much harder to keep that tank of water hot. It makes sense that this is one of the least efficient systems in your home.

New government guidelines have been established to require all conventional water heaters (tank storage style) to be more energy efficient. To achieve these higher standards, newer tanks have built in insulation. Sounds great, right? Not entirely. If you are replacing your old water heater with a new one, the same gallon capacity water heater takes up more space and may not fit in the same spot. This means you may have to purchase a new water heater that doesn’t hold as many gallons. This is a real problem if you have a crawl space water heater. It’s a good idea to plan ahead and replace your water heater before it dies. Your new water heater may even pay for itself by being more energy efficient than your old one.

What’s a homeowner to do? Well, first and foremost you need to determine if it’s time to replace your current water heater. Take this simple few question quiz to help you determine if you need to think about replacing your water heater. Go ahead, I’ll wait right here. Read more

11 Ways to Keep Your Home Warmer | Pretty Handy Girl

11 Ways to Keep Your Home Warmer This Winter | Pretty Handy Girl

That bugger, Old Man Winter is peeking around the corner. He’s ready to put the chill in your bones and push drafts through every little crack in your home. But, you can be ready for him with these 11 Ways to Keep Your Home Warmer this Winter. Is your home truly as energy efficient and secure from drafts as you think it is? Here are 11 Ways to Keep Your Home Warmer this Winter! And, not one of them involves raising the thermostat! Click on the links to be taken to a more detailed tutorial.

Adding Foam Weatherstripping | Pretty Handy Girl

Weatherstrip Your Doors and Windows


Protect Spigot from Frozen Burst Pipes | Pretty Handy Girl
Protect Your Spigots


Make Sure Your Heat Pump is Working at Full Capacity Read more