Learn how to make this White-Washed Patriotic Flag Sign and hang it with pride in your home.
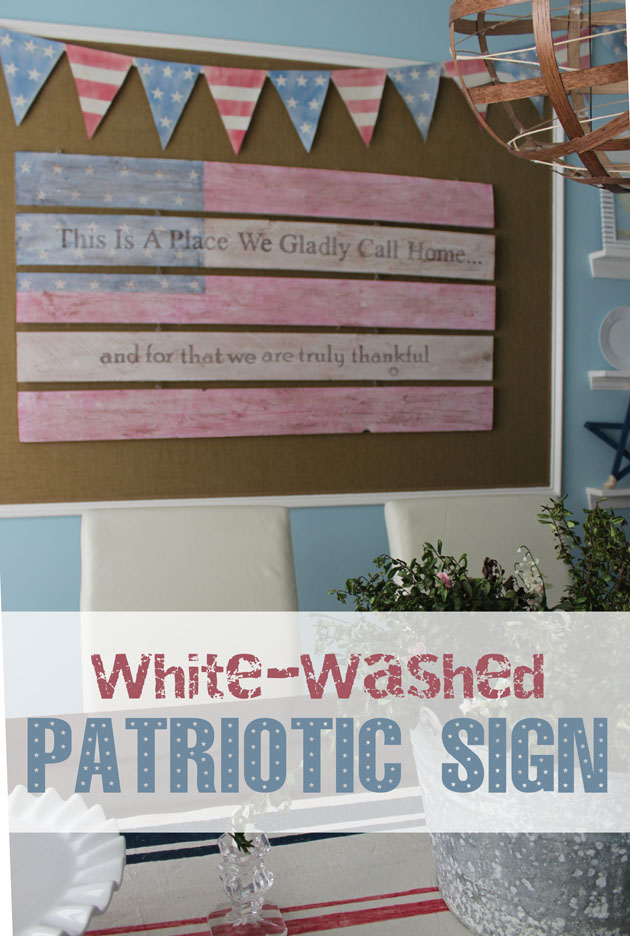
White-Washed Patriotic Sign

White-Washed Patriotic Flag Sign Tutorial

The other day I was at the fabric store but after not finding that perfect fabric for one of my projects,  I went to the other section of the store to take a break from it all.  While there I saw a little sign that read:

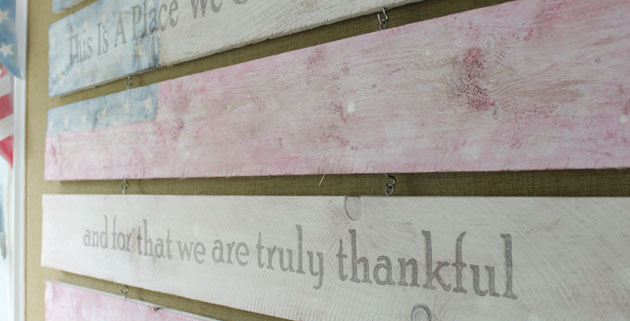
This Is A Place We Gladly Call Home…
and for that we are truly thankful

Those words totally spoke to me!  I didn’t buy the little sign but I came home thinking about how to create my own version.  The sign was more expensive than the materials to make my own sign ten times bigger!
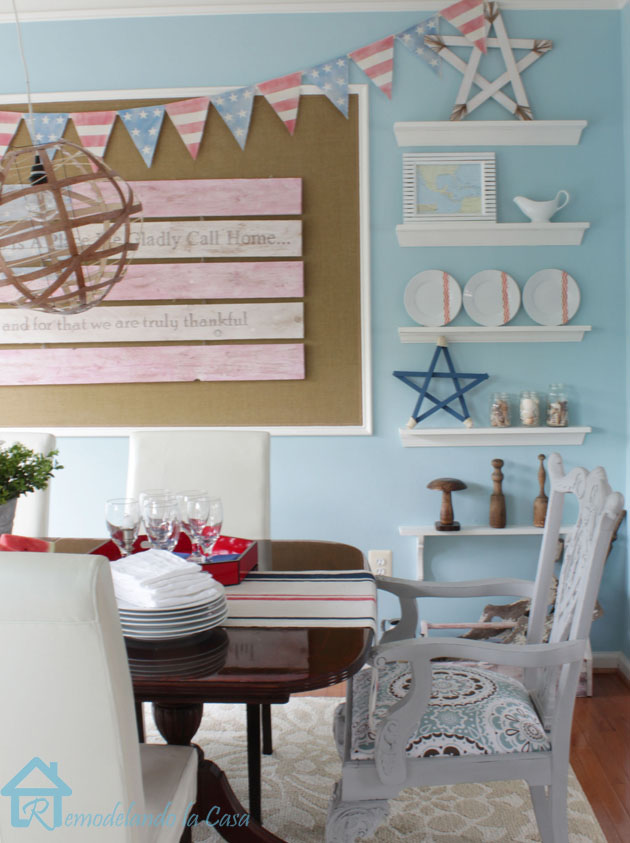
Patriotic sign final2

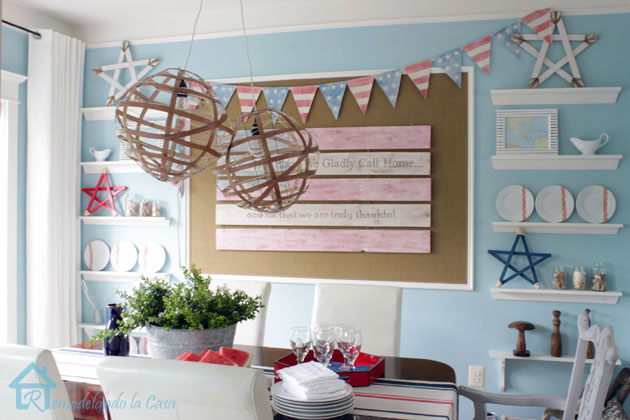
My sign came out beautiful, especially with the large American flag on the background. I’m happy to show you how to create your own White-Washed Patriotic Flag Sign! Let’s make this sign.

Materials:

(I’ve included affiliate links for your convenience. I earn a small percentage from a purchase using these links. There is no additional cost to you. You can read more about affiliate links here.)

Optional: Gold Sharpie marker

Instructions:

Cut off the tops to get rid of the “dog ears.” Mark the area for the blue square on the flag.
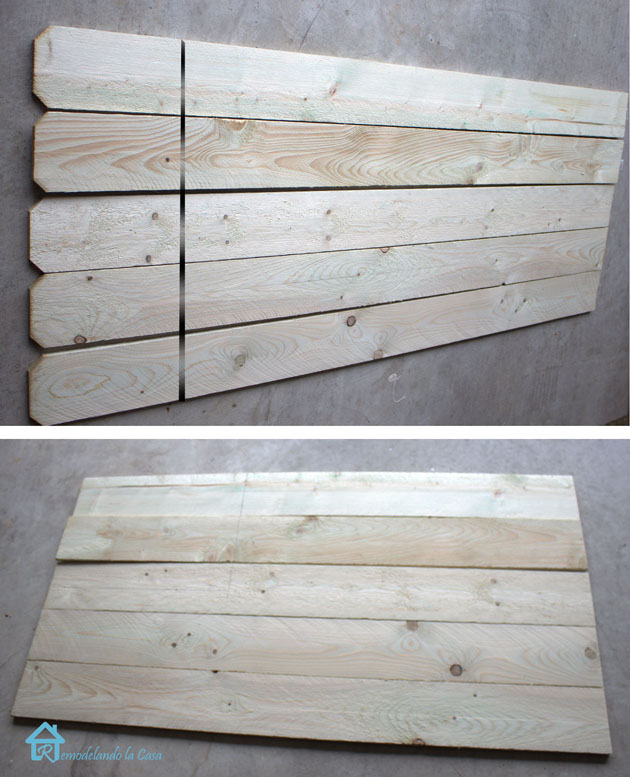
fence cut

Add star stickers inside the square. Paint over the star stickers with blue paint. 
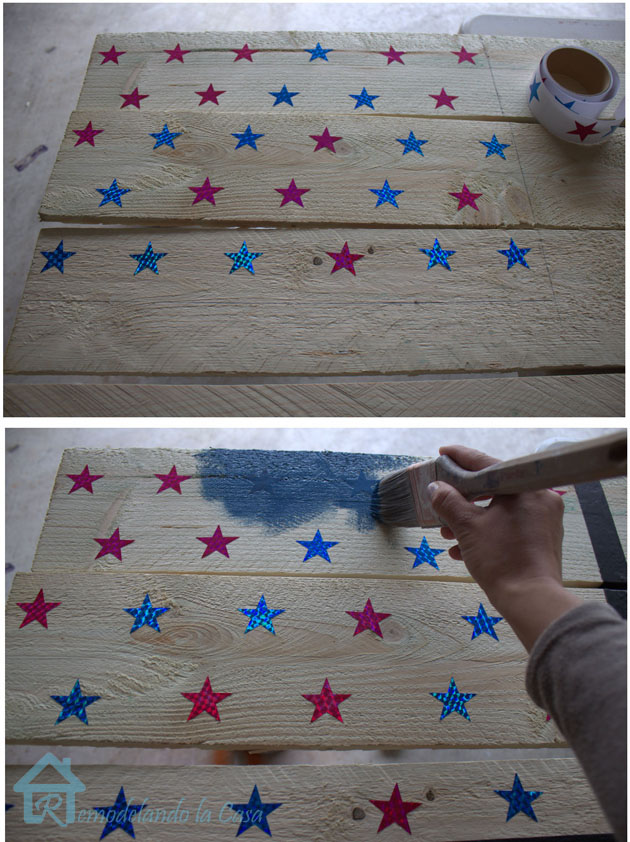
adding star stickers to sign

Paint the red stripes next.  After the paint dries, remove the star stickers.  Give your boards a light sanding.
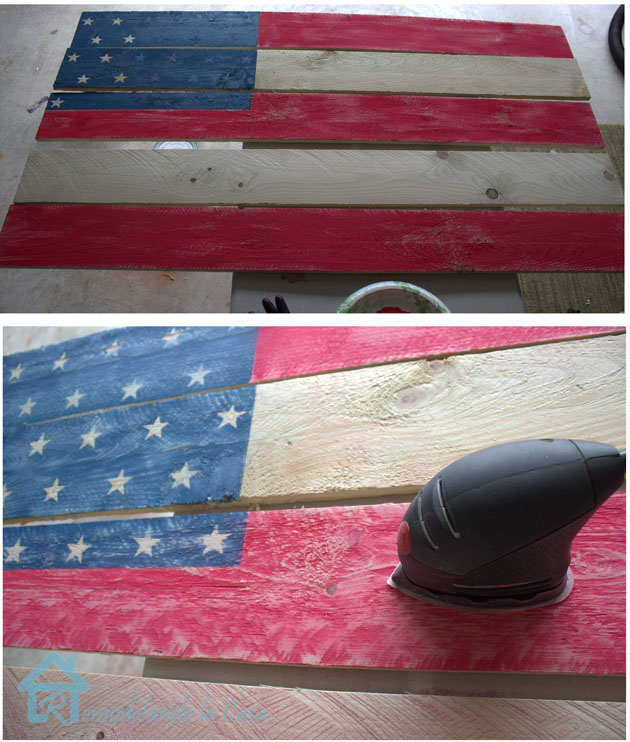
sanding flag sign

You can leave your patriotic sign like this or if you want to give it the white-washed look, continue.

White acrylic paint and water is mixed at a 50-50 ratio to create a white-wash. Apply three coats of the white-wash.  Wait for the paint to dry between coats.
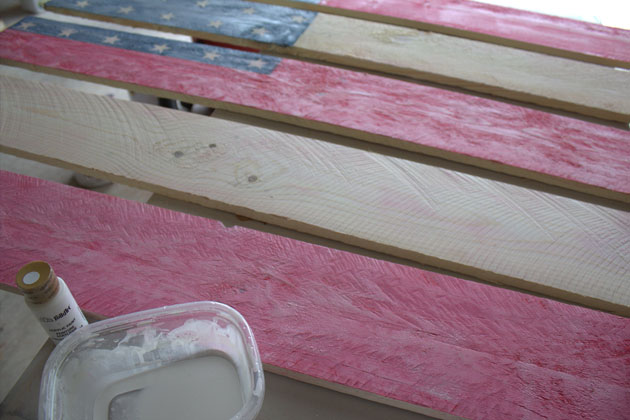
wash out white on sign

Print out your quote on the computer:

This Is A Place We Gladly Call Home…
and for that we are truly thankful

Transfer the lettering onto the boards using graphite paper.
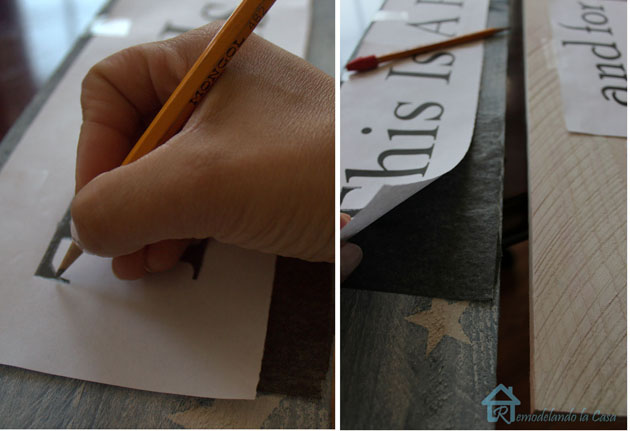
transfering letters onto wood

Using a brown Sharpie, trace the letters and fill them in.
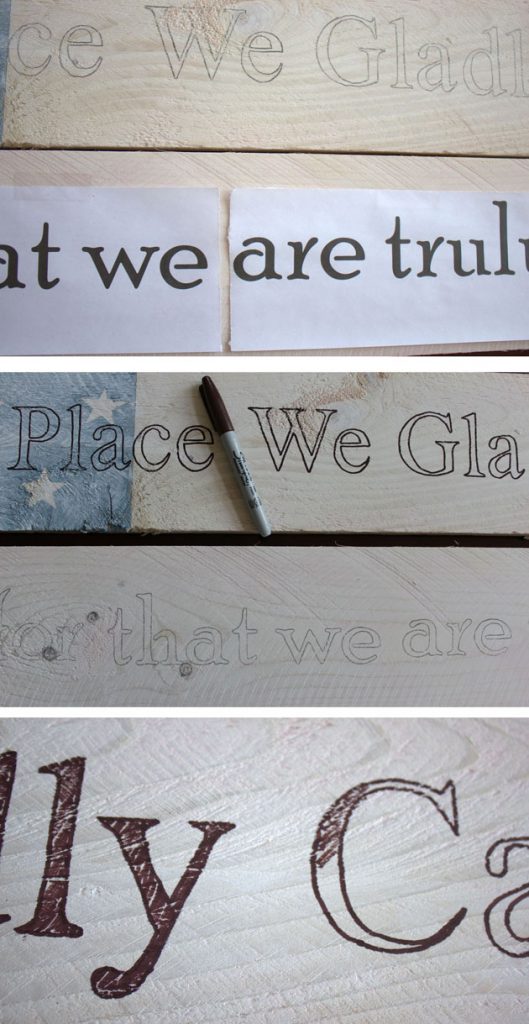
tracing letters on wood

Do you want them a bit fancier?   Use a gold Sharpie to create shadows.
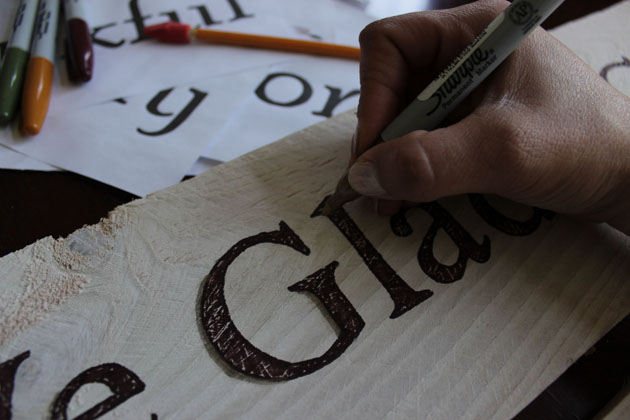
tracing shadows on letters

After the letters are filled in, it will look like this:

sign after finishing letters

Give the letters an extra two coats of the white-wash to make them blend better.
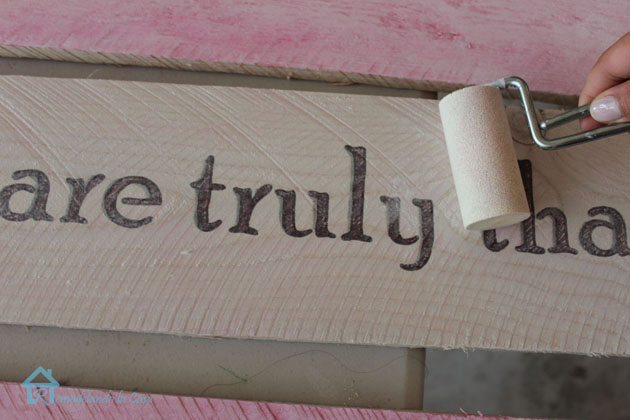
letters wash out

Lightly rub stain on the entire sign.
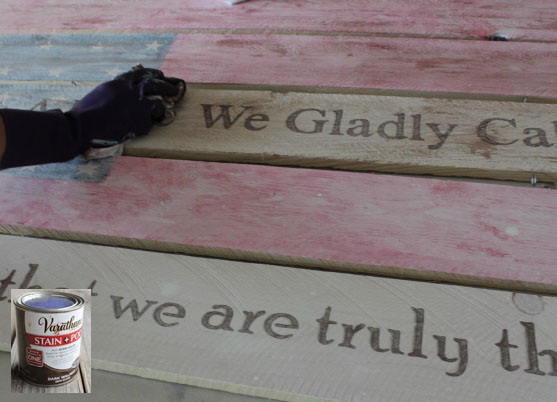
Staining sign

We’re finished making the White-Washed Patriotic Flag Sign. Now it’s time to assemble and hang the sign.

Assembling the Sign:

To hold the boards together, attach cup hooks and screw eyes between the boards.  (I chose to paint mine silver since I only had gold.)
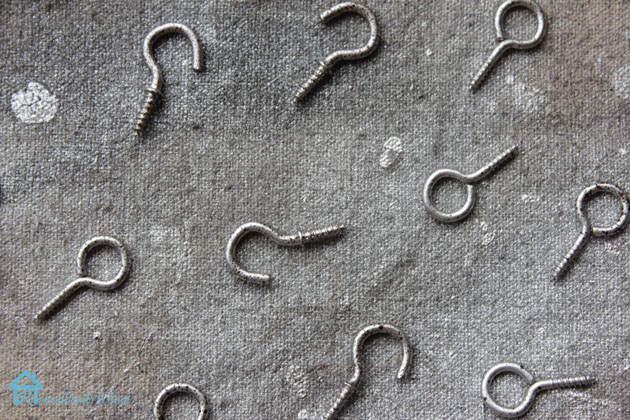
cup hooks and screw eyes

No need to pre-drill, the boards are fairly soft so the hooks and screw eyes will go in easily.

hooks in place2

Attach two extra screw eyes to the top to hang it onto the wall.
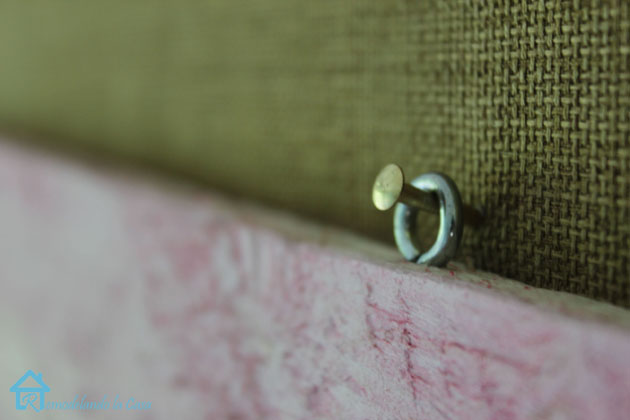
how to hang sign

This was a very easy way to put the sign together, hang it, and… it doesn’t take much space when it is time to store it away!
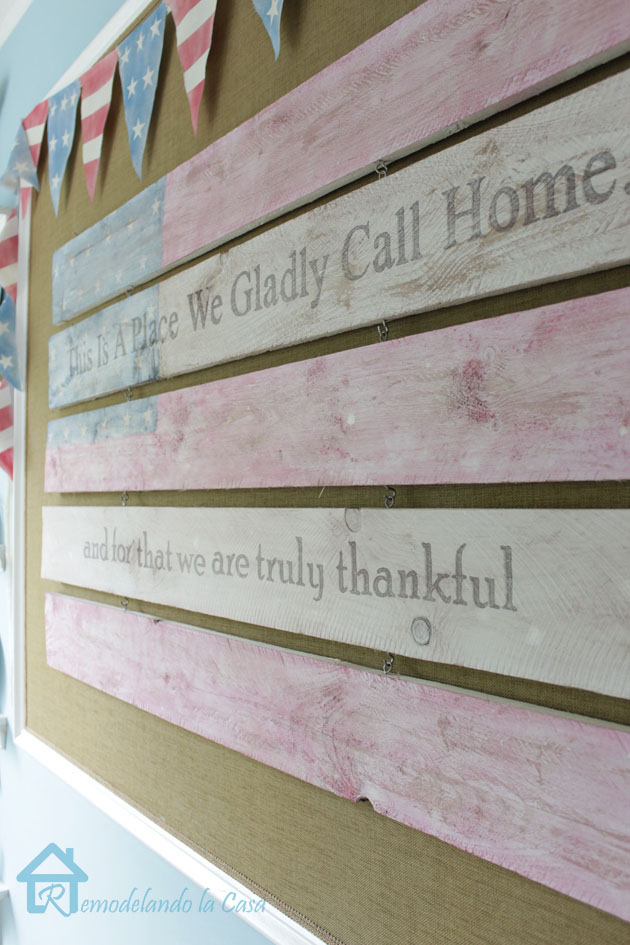
Patriotic sign final3

I hung some more patriotic decorations and our dining room is ready for a celebration!
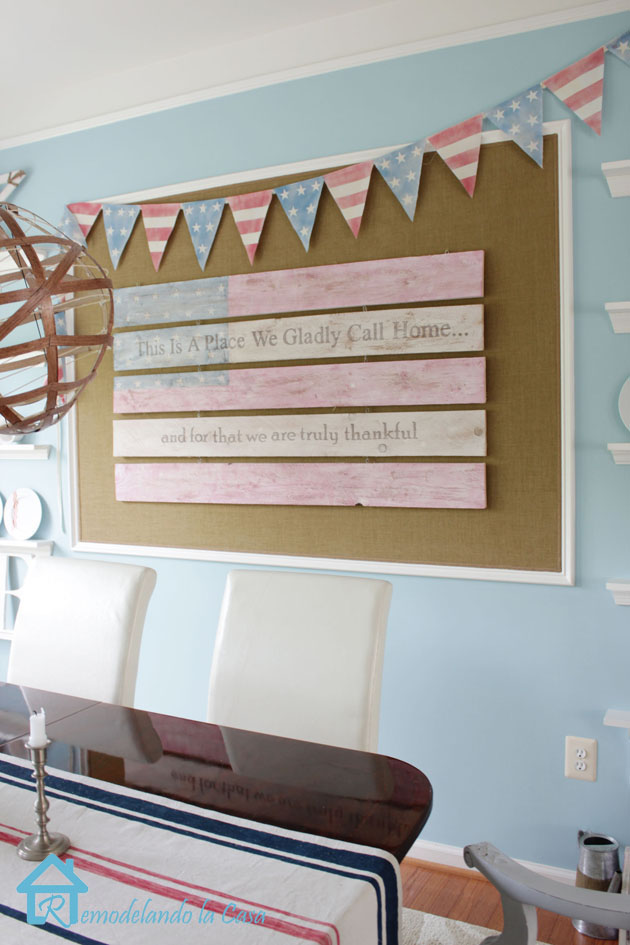
Patriotic sign final1

What do you think of this White-Washed Patriotic Flag Sign Tutorial?
Patriotic sign final4

Thanks so much for stopping by!
Photobucket

  ~ See all Cristina’s Projects ~

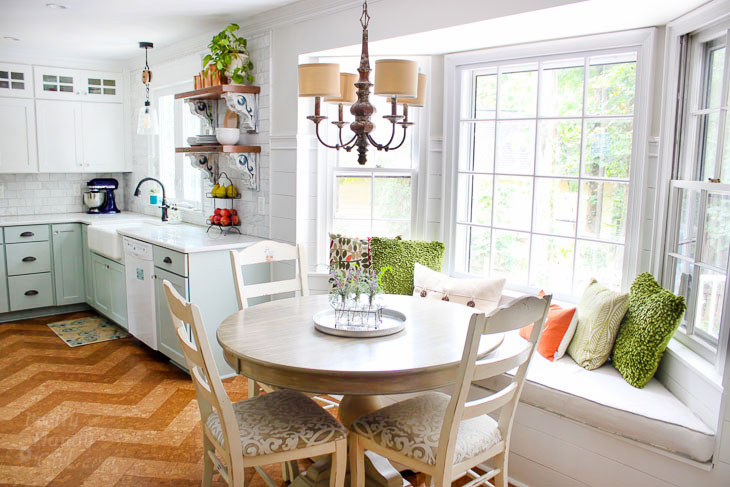
Fall Decor in a Rustic Farmhouse Kitchen | Pretty Handy Girl

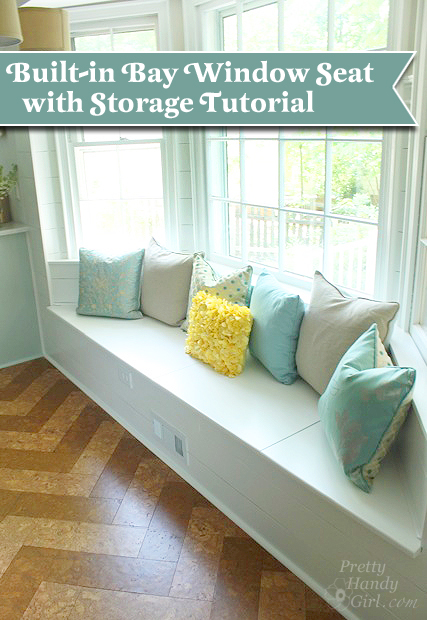
built in bay window seat with storage tutorialBuilding a Window Seat with Storage in a Bay Window

You know when you dream about the finished product on something that you’ve been planning for a long time? And then you finish and your dream becomes a reality? And you think to yourself, am I still dreaming? All those sentiments and more have been going through my head since I finished the building this built-in window seat with storage in our bay window. This window seat is divine! In fact, I’ve begun calling it the Queen’s seat in the hopes that it will deter any male folks from claiming it in our household.

Love this kitchen decorated for fall. You have to see the rest!

Several of you have asked for the tutorial to build the window seat. I have that for you, but I want to mention that this is a slightly more advanced project. Halfway into writing this tutorial, I realized there was no way I could show you each and every cut, step, and trick without this being the world’s longest blog post/tutorial. If you have some basic carpentry skills (you know how to hammer, nail, use some power tools and you know how to attach a 2×4″ securely to a wall), you should be able to handle this. With that being said, I do want to offer any help if you should have any questions during the process of building this bench, please feel free to email me and I will do my best to help you.

I also want to mention that I did have to move the HVAC vent forward so it came out the front of the window seat. Here’s the tutorial to move a floor vent. I do want to caution you against building over a vent. We have a bookcase that was built over the register and the wood inside grew mold because there wasn’t enough force to blow the air and moisture out the front of the bookcase. Just a warning, don’t take the easy way out.

Basics for Building a Built-in Window Seat in a Bay Window: Read more

kitchen window herb garden final-title-Lg

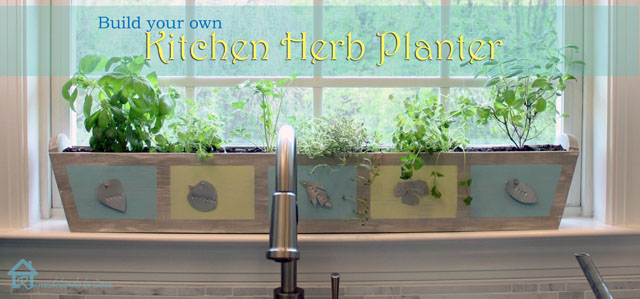
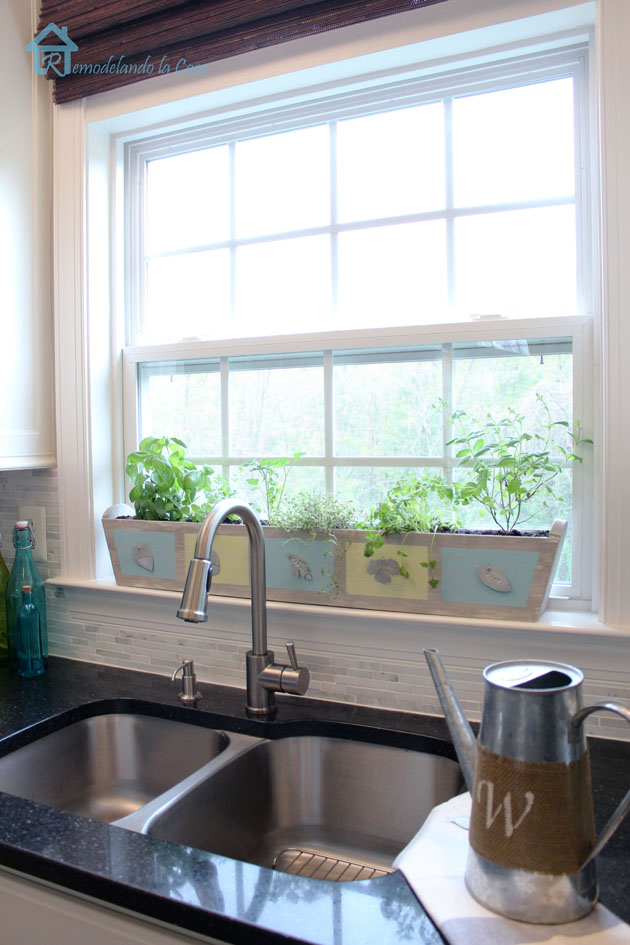
Hello again, it’s Cristina from Remodelando la Casa.   I’m happy to share a tutorial to build this kitchen herb planter with you today. It’s one of those projects that you can decorate and customize to your own needs.

kitchen window herb garden final12

Having fresh herbs was something I really wanted to have in my kitchen and NO, I was not going to plant them outside only to forget watering them like it happened last year. They died sooner than expected and I think the lack of water plus my not so good “green thumb” were the main factors for that to happen :-(.

Having an indoor herb planter seemed like the perfect solution. Unfortunately, I couldn’t find a long planter to fit in our 5 inch deep kitchen window ledge.  So, I decided to build a custom planter to fit. Read more

counter stools

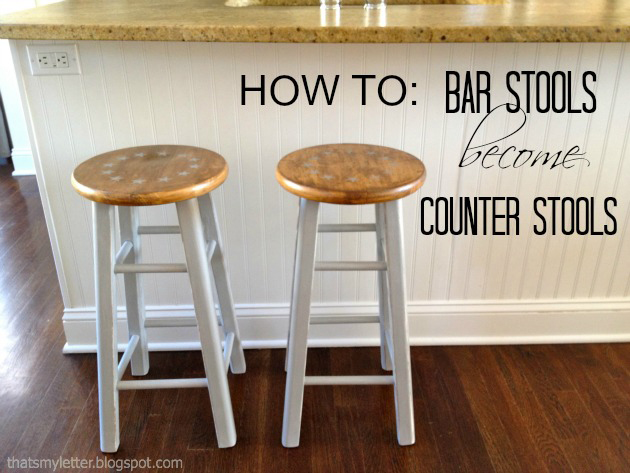
Yes you can make those wood bar stools fit your counter.  Here’s an easy DIY fix to make bar stools into counter stools (and a quick makeover too!).

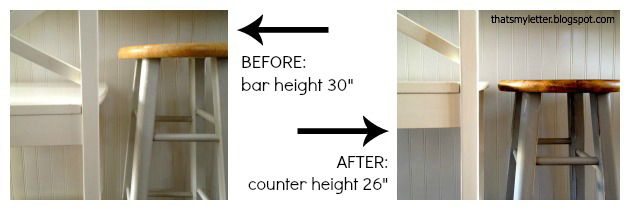
Bar stools typically sit at 30″ high, this is fine and dandy if you have a proper bar where the countertop is elevated higher than the working countertop space.  Kitchen designs are trending now away from the proper bar towards one even countertop surface.  No worries, you can still use those bar stools for your counter by easily cutting off the bottom 4″ to reduce the stools to a counter height of 26″:

counter stools1

(The white stools above are counter height and in the picture for comparison purposes.)

In addition to fixing the height of your stools give them a fresh look with a quick paint job and a new design: Read more

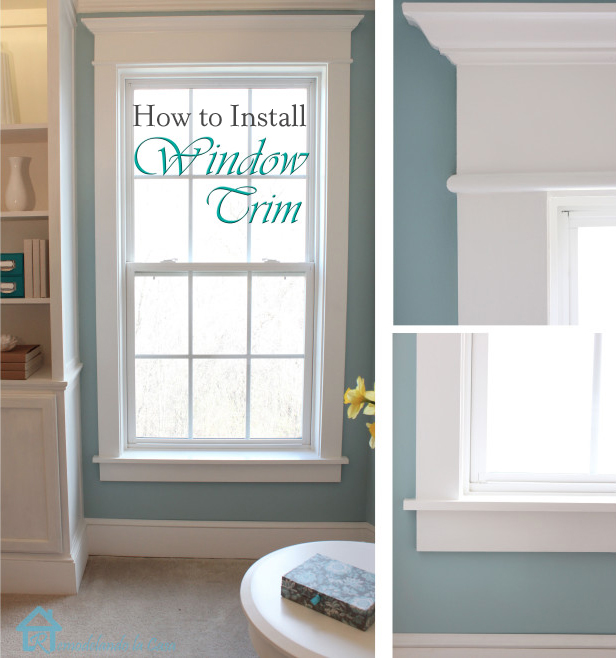
How to Install Window Trim

Hi everyone, I’m Cristina from Remodelando la Casa, and I’m beyond excited to join the team of Pretty Handy gals and guys!  I’m still pinching myself at such a wonderful opportunity.

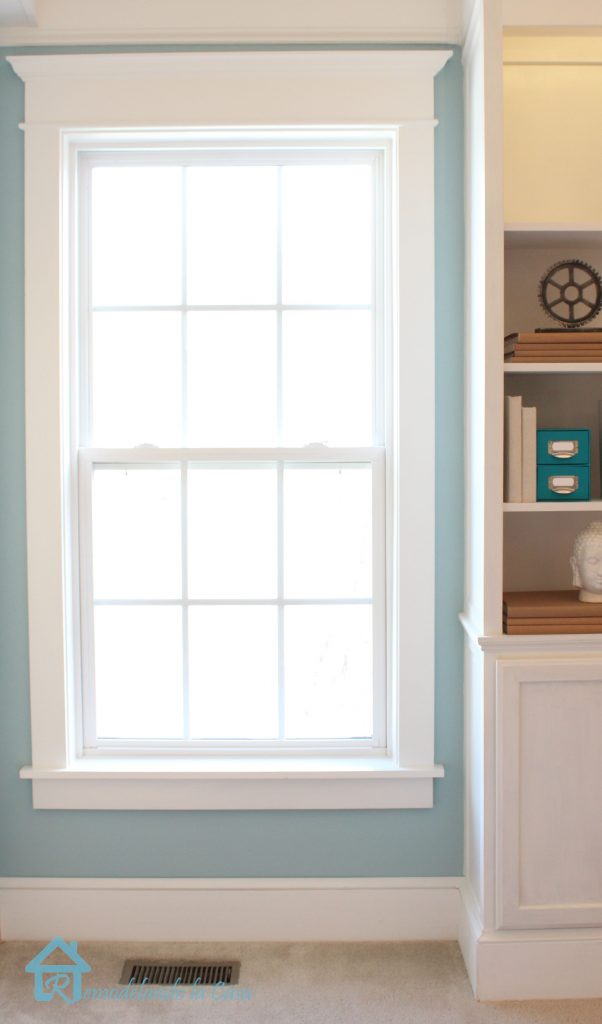
Today I’m going to show you a fairly easy way to transform your builder grade windows from plain and boring to beautiful with loads of character and with a more finished appearance.

trimmed left window lg

Right now I’m working on updating my bedroom, where I have a couple of these windows.

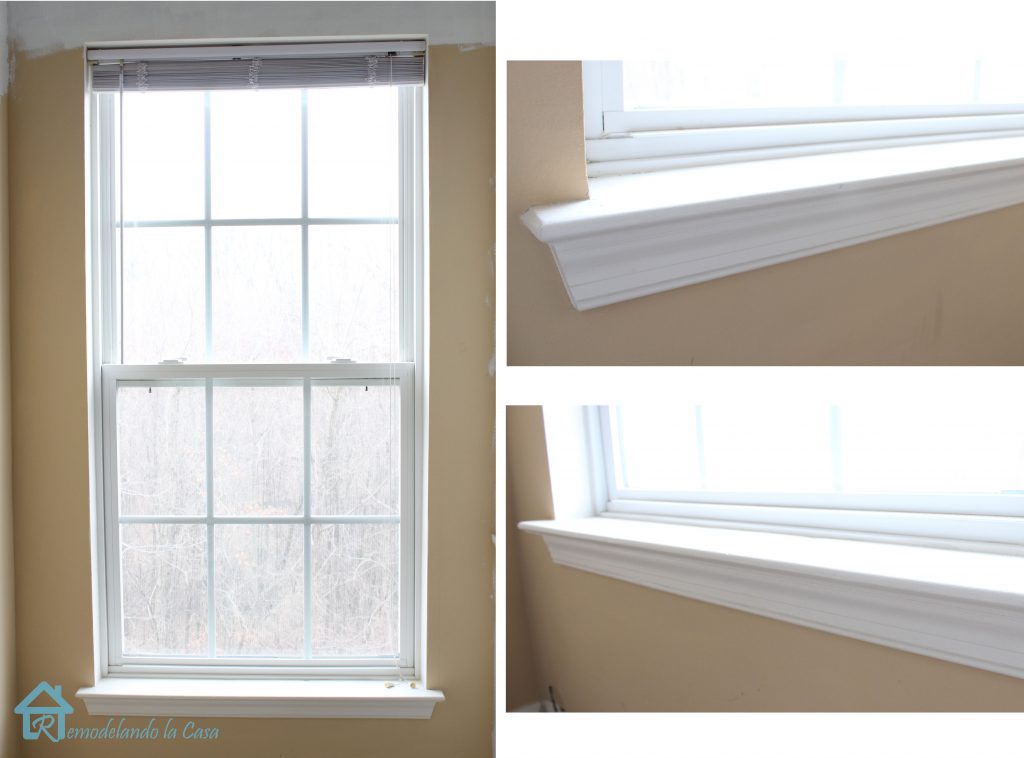
small window sills lg

 They look  like they are wearing skirts, but forgot to put on the tops! 🙂  Yeap, naked!

plain builder's windows lg

Let’s change that by dressing up those windows! Read more