6 of the Easiest Ways to Remove Pallet Wood
 6 of the Easiest Ways to Remove Pallet Wood
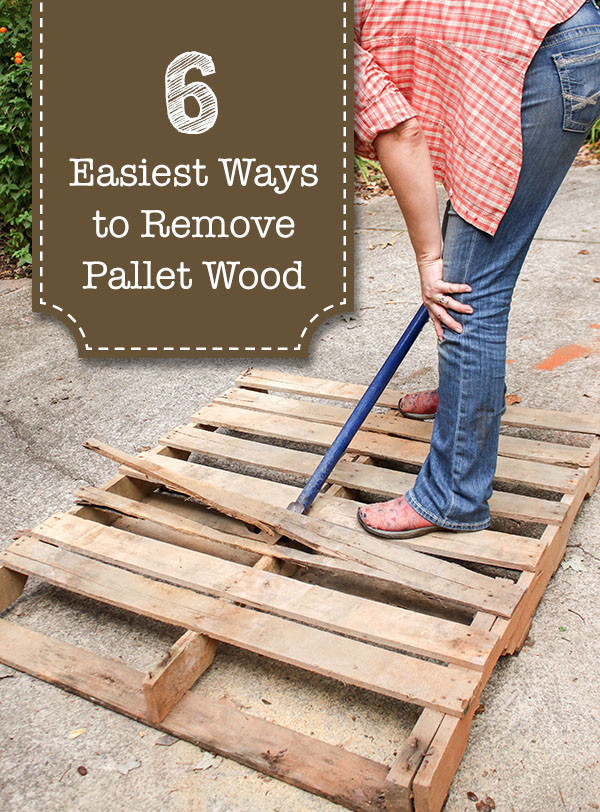
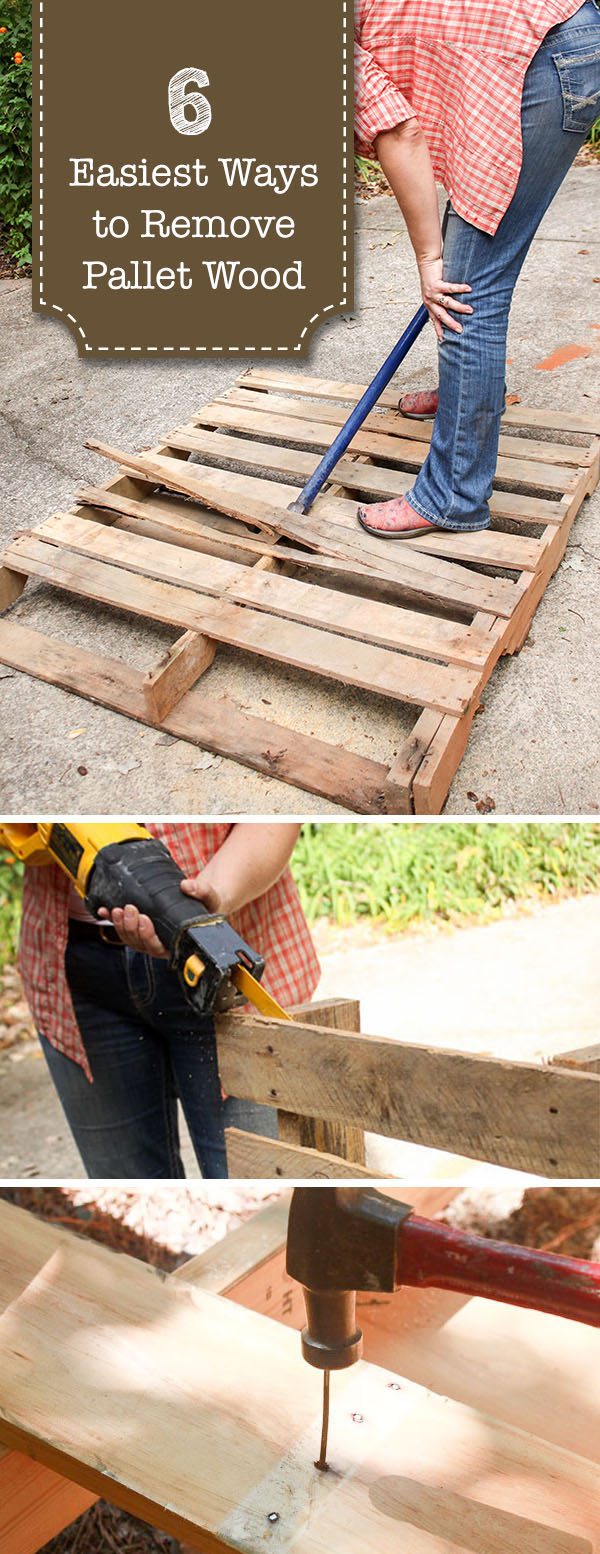
Last week I shared with you the cold hard facts about harvesting pallet wood. But, like you, I still like to use pallet wood from time to time. Just make sure you’ve weighed the risks and the work involved to harvest the pallet wood before you get started. Today I’m going to show you 6 of the Easiest Ways to Remove Pallet Wood. If you’re up for the challenge, let’s get started.
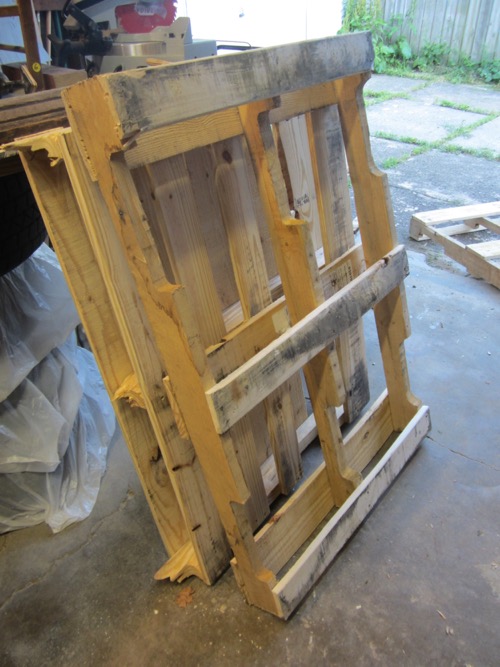
Pallet upcycling is all the rage today. But, if you’ve ever tried to remove the planks from a pallet, you know it’s not an easy task. Pallet nails are typically spiral nails and are designed to grip that wood with fierce strength. If that’s not enough, there can be 4-5 nails per joint. Sheesh, you’d think pallets were built to hold a 10 ton elephant. Well, actually, it is made to hold tons of product as it is lifted by a fork lift. Which explains why harvesting pallet wood can be labor intensive.
To save you time, sweat, and a backache; here are the quickest and easiest ways I’ve found to salvage beautiful rustic pallet wood.
Materials:
(I’ve included affiliate links for your convenience. I earn a small percentage from a purchase using these links. There is no additional cost to you. You can read more about affiliate links here.)
- Circular Saw (or jig saw)
- 2 Pry bars
- Duckbill Deck Wrecker
- Hammer
- Oscillating Multi-tool (or hacksaw)
- Metal Cutting Blade
- Reciprocating Saw
Terminology:
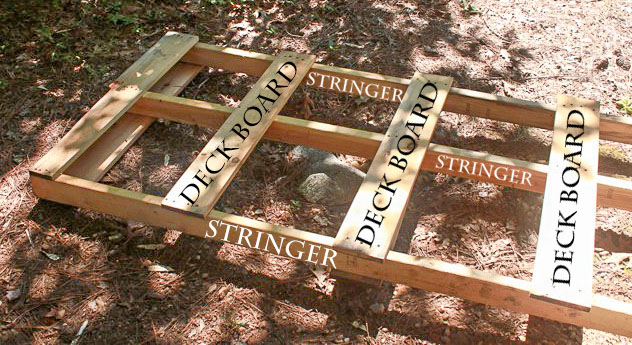
The planks that most people use from pallets are called deck boards. The thicker lumber that support the deck boards are called stringers.
Now that we have the terminology down, let’s get to the demolition!
6 Techniques for Removing Pallet Wood
1. Circular Saw Technique:
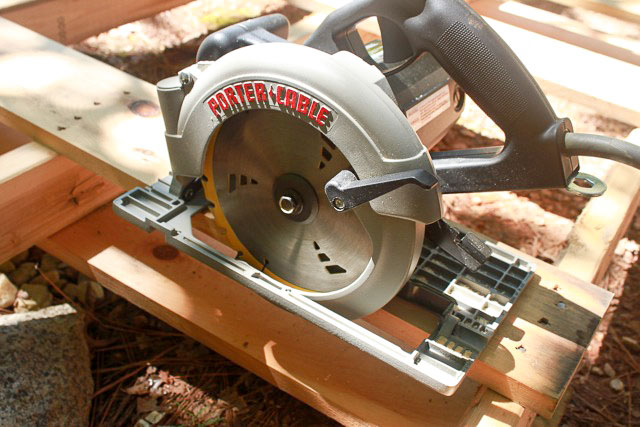
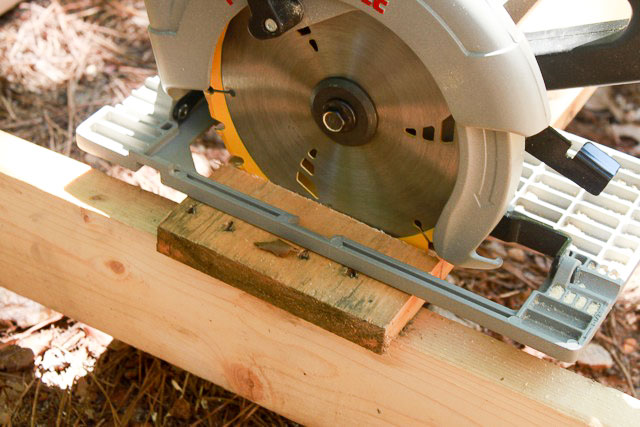
This is probably the quickest and simplest way to remove pallet deck boards. The drawback is your harvested boards are limited to the width between nails. For projects that only require small boards (small caddies or signs) this is my preferred strategy for removing pallet wood.
- Lay the pallet on a flat surface.
- Set your circular saw blade depth about 1/4″ deeper than the deck board.
3. Saw through the deck board close to the nail line, but not too close that you risk accidentally hitting them. (Always look on both sides of your wood to make sure there are no hidden nails on the underside.)
4. Cut along the inside of the other nail line.
2. Pry Bar and Hammer Technique:
Most homeowners have a pry bar and hammer in their tool box. This technique uses the most basic of hand tools to remove the pallet wood. The downside is it can take longer and might require a little more of your energy (and patience.)
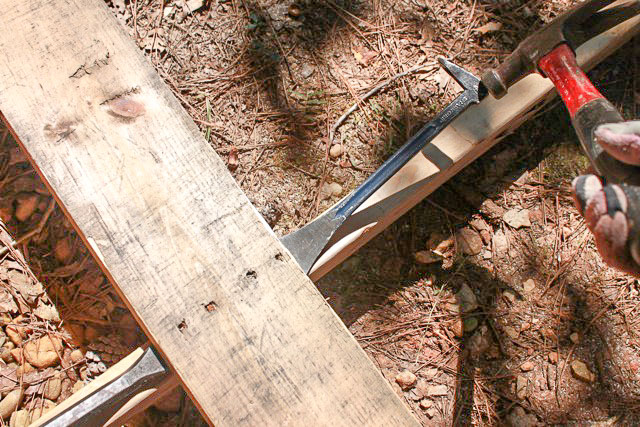
- Hammer a pry bar under the edge of one of the deck boards.
- Pry up the edge a little.
3. Leave the first pry bar underneath the pried up side. Hammer a second pry bar under the deck board from the opposite side.
4. Gently rock the two pry bars to lift the board free.
3. Oscillating Multi-Tool with Metal Blade Technique:
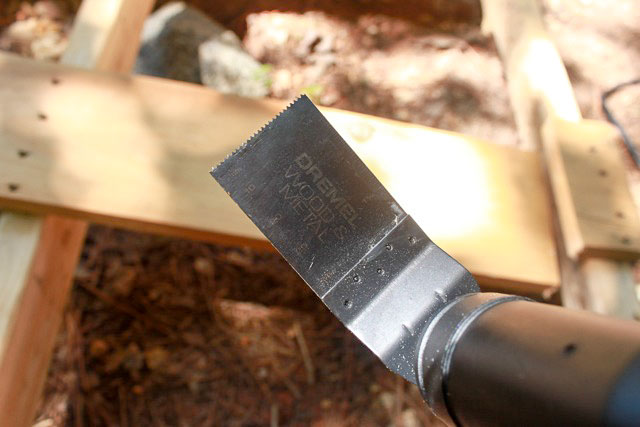
One of my desert island tools is my oscillating multi-tool. This little tool can get in tight spaces and fits in the palm of your hand. When fitted with a metal cutting blade, an oscillating tool can cut through metal nails neatly and efficiently.
The downside of this technique is the nails are left inside the stringer board. Otherwise, this is a nice clean technique for harvesting longer expanses of the deck boards.
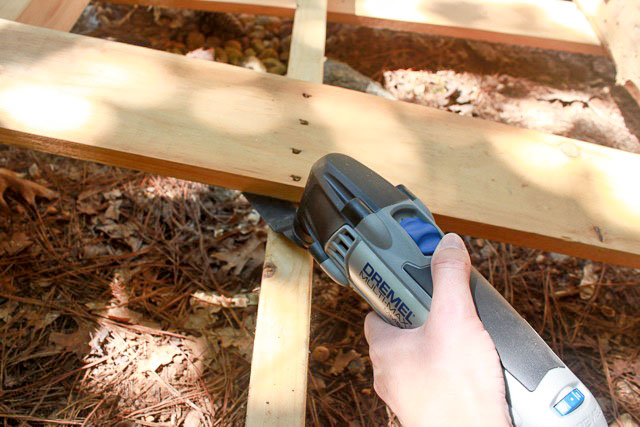
- Start up the oscillating tool. Insert the blade between the stringer and the bottom of the deck board.
- Guide the tool to cut through the nails. As you are cutting, don’t force or rock the tool.
(Depending on how wide your deck boards are, you may not be able to cut through the inner nails. In this case, use the pry bar technique above.)
4. Reciprocating Saw Technique:
Using a reciprocating saw is the quickest technique I’ve found for removing larger pieces of pallet wood. The downside is it can leave some damage to your wood and it leaves nails in the stringer boards.
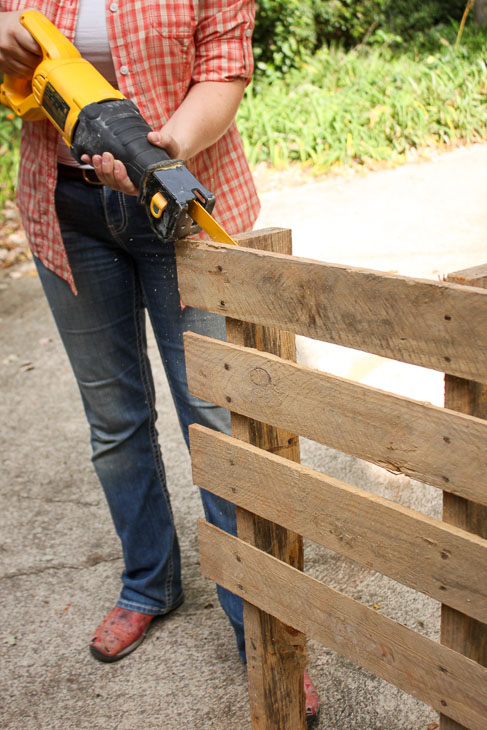
- Line up the reciprocating saw between the deck boards and the stringer.
- Start the saw before plunging it into the wood.
- Guide the blade to cut through the nails.
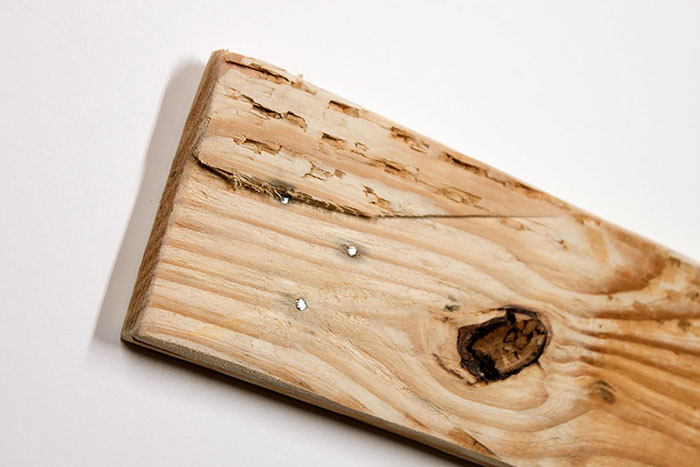
If you are aiming to use the deck boards, angle your saw blade into the stringers. If you are planning on using the stringers, aim your blade into the deck boards. Ultimately, one or the other will sustain some cut marks as shown below.
5. Deck Wrecker Technique:
A deck wrecking pry bar can sail through the wood removal process when taking apart a pallet. This upside of this technique is it usually removes the nails or leaves them in place to be removed with a hammer. The downside of this technique is it can easily split your deck boards (especially if the pry bar has a short head.)
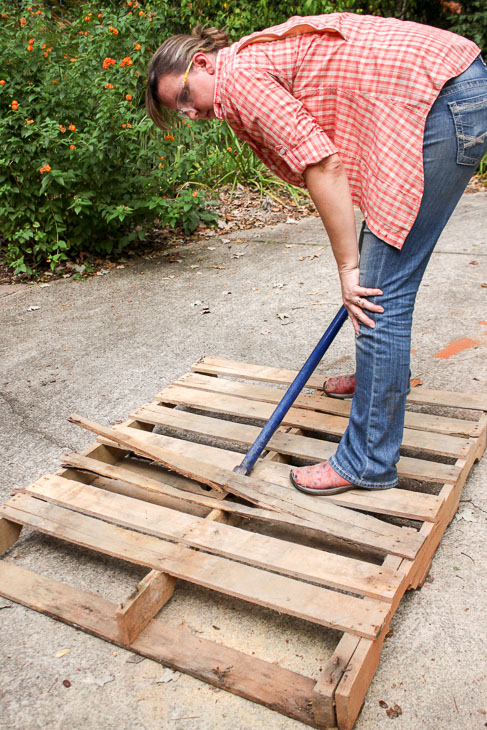
- Starting on one side of a deck board, straddle the stringer with the prongs of the deck wrecker.
- Slip the prongs under the deck board.
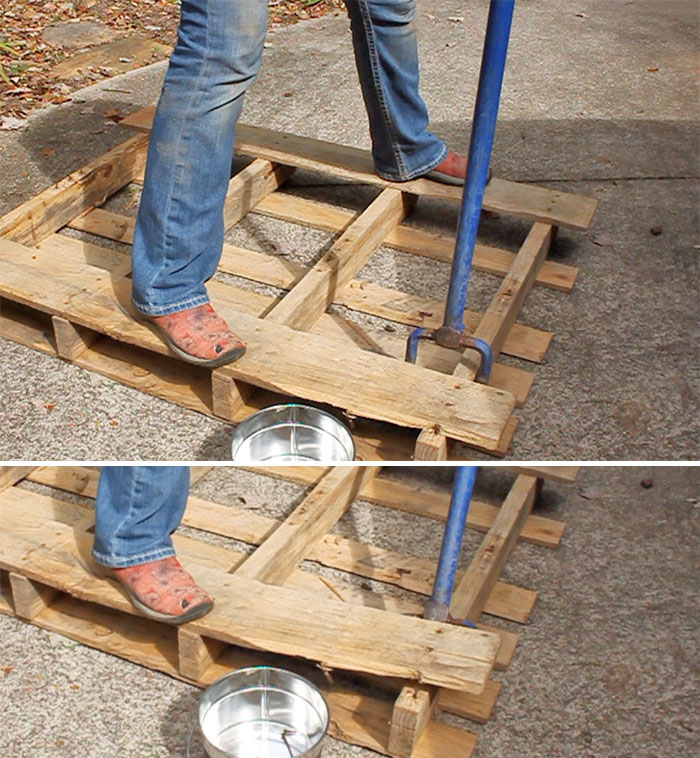
3. While supporting the pallet with your foot (or body weight) rock the handle on the deck wrecker back and pop the deck board up.
4. Move your deck wrecker to the next stringer and repeat until the entire deck board is freed.
6. The Combination Technique:
I find a combination of the above techniques works best for me. Personally, I prefer to start by cutting off the ends of the deck boards with the circular saw. I end up giving up about 4″ of the pallet plank length, but I’m okay with that (especially if the deck boards are longer.) Then I pry up the center boards with two pry bars. If the deck boards come up easily, I’m off to remove the nails. But, if they give me a hard time or it looks like the plank might split I’ll use the oscillating tool to cut the nails.
Removing Nails from Pallet Deck Boards:
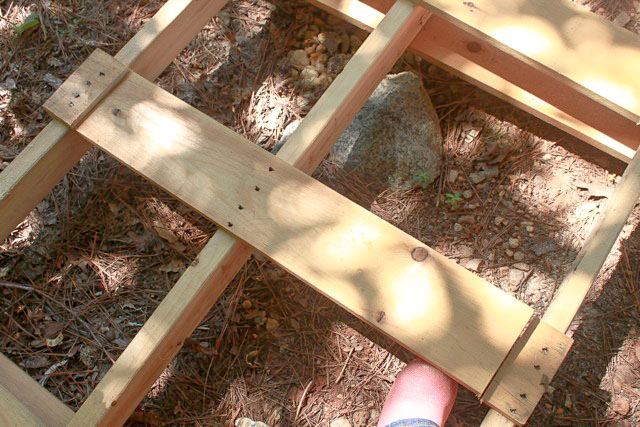
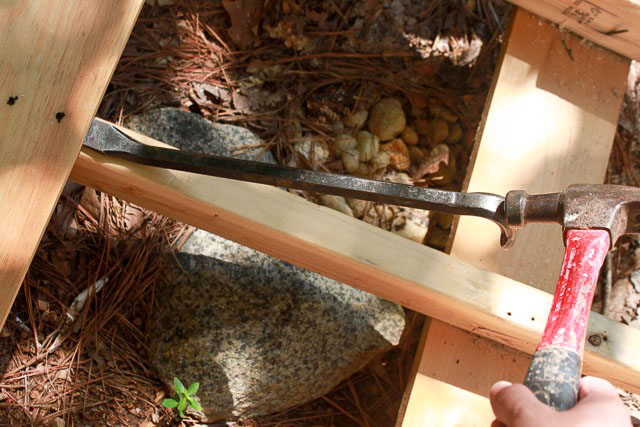
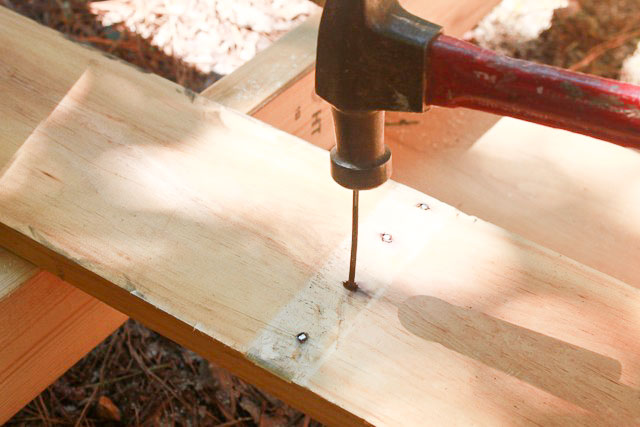
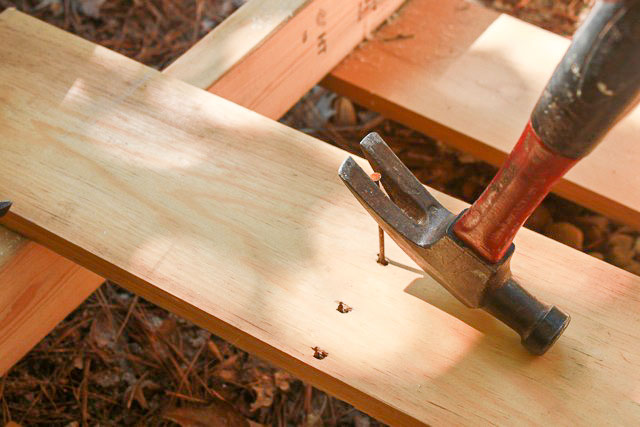
To remove nails still in the deck board turn the board upside down. Hammer on the point end of the nail until it protrudes through the other side.
Flip the board right side up and use the claw on the hammer to pry up the nail.
Now that you have a list of 6 of the Easiest Ways to Remove Pallet Wood, are you going to try to harvest your own pallet wood?
Removing pallet wood is an art and everyone seems to develop their own technique. My Repurposed Life just posted a collection of 10 Videos showing various pallet deconstruction techniques, you’ll want to watch some of those videos if you need more explanation on removing pallet boards or want to find other techniques for removing pallet wood.
Pin this picture to spare your friends from struggling to remove pallet wood:
Now that you harvested all that pallet wood, here are 71 Projects You Can Make with Scrap Wood!



I love pallet wood creations! My wedding was done with almost all pallet wood, lights and tulle. I found a company that gave me 8×8 and 9×12 pallets. Those were a score! I have upcycled an outside metal patio swing seat and back, trimmed my 3 1/2 x 6 kitchen island, made a HUGE dog cabana and trimmed the outside tin tile ceiling area of my bedroom with pallet wood. The reciprocating saw with a demo blade is my favorite method if I want to use the whole piece, but circular saw with the inside cut if I am using smaller pieces. Thanks for the great tutorials!
Sounds like it was a beautiful wedding!
Insanely comprehensive 🙂
Thank you so much,
Now I have something to read during the holidays. This will take a while but well worth it like always.
Turn your circular saw blade around and it will cut better.. It’s on backwards…
Hey Fred, I appreciate your concern. But, if you look closely, I use a left side circular saw. It is installed correctly for this saw.
just a note for you and others who may be going follow your great ideas
the pallets you are demonstrating with are what you would call forklift pallets and are made hard wood that splits when you try to remove any of the planks there are many different types of pallets made from white wood that are much easier to salvage one tip ive found is to leave them out in the rain for while this softens the wood allowing easy extraction of the nails
Brent, thanks for the insight. I’ll try after some rainy days next time.
Very detailed. You can look what you have in your toolbox and choose a suitable technique.
Good ideas I like to use a flat bar it supports the deck boards and less likely to split em out…..