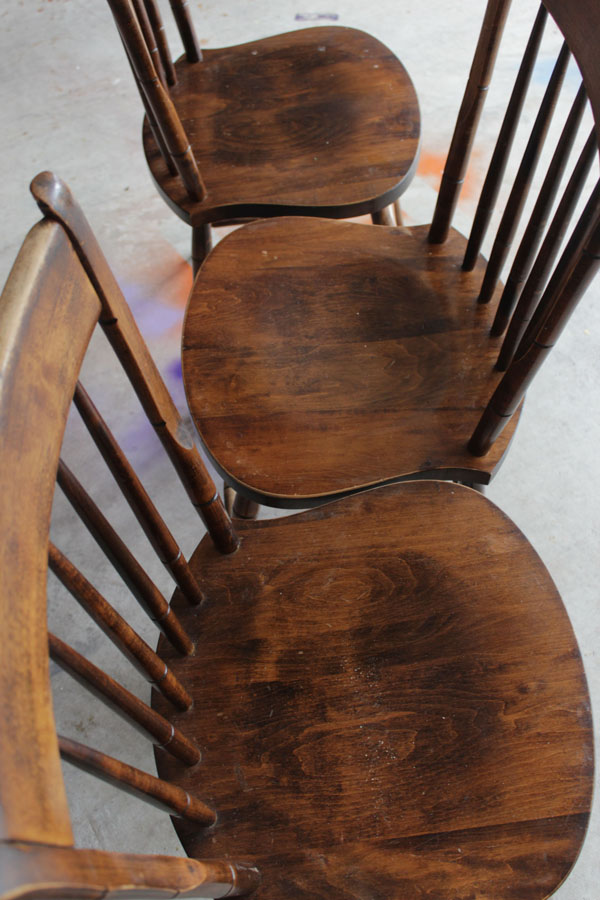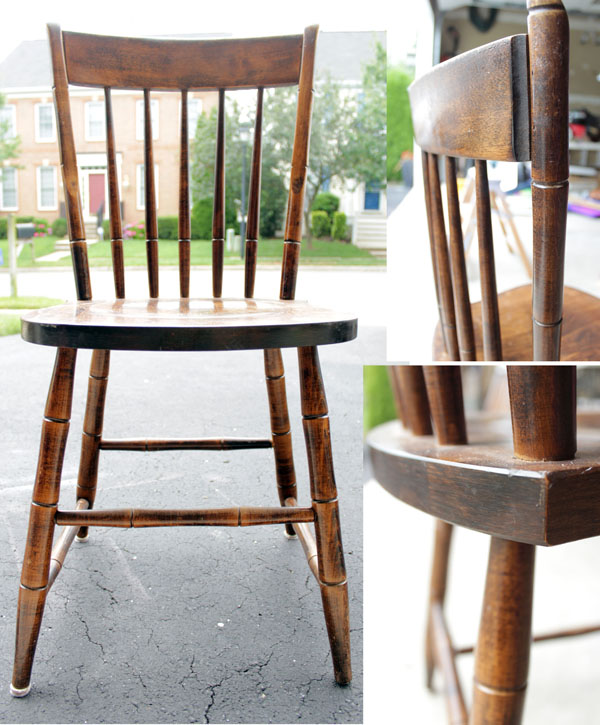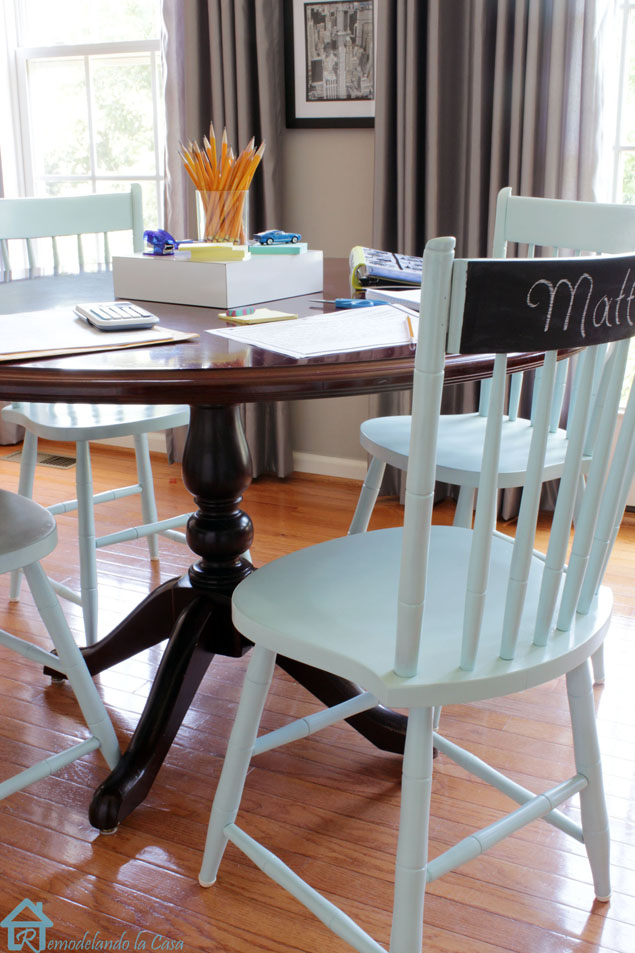
Jacque and I are so excited to be contributing in Brittany’s Trés Frugal- 30 DIY Gift Ideas! We’re no strangers to DIY gift ideas! In fact for as long as I can remember, my family has taken part in a Make-a-Gift tradition. Each year we have to come up with some creative DIY gifts to give to family members. It’s one of my favorite traditions!
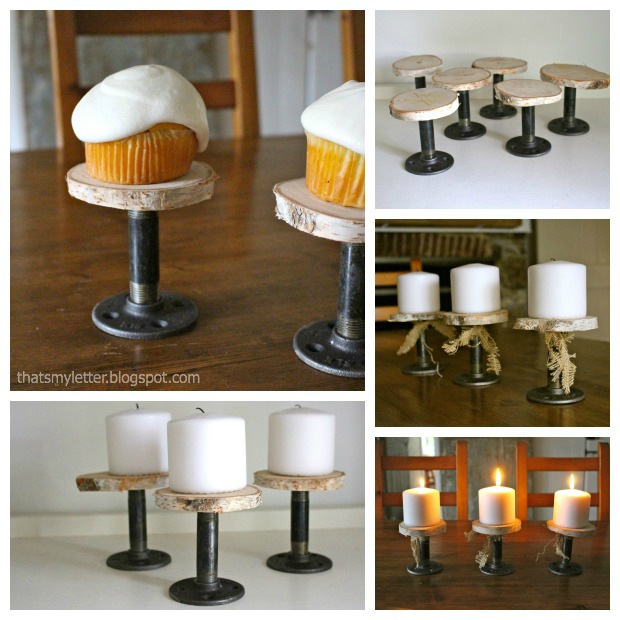
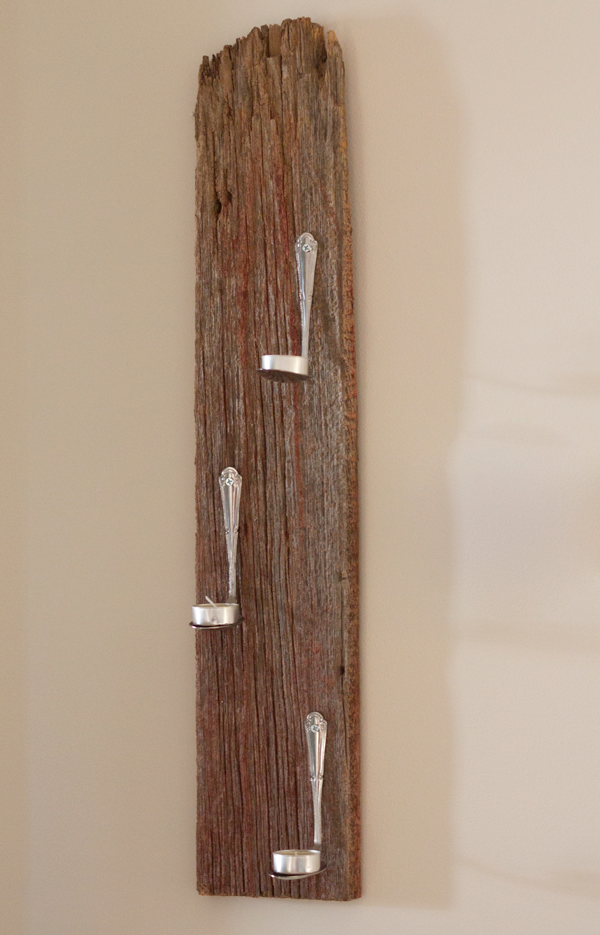
With the holidays closing in on us, who couldn’t use some quick and budget friendly gift ideas? So today, we’re sharing a quick look at how to make a DIY tealight candle holder!
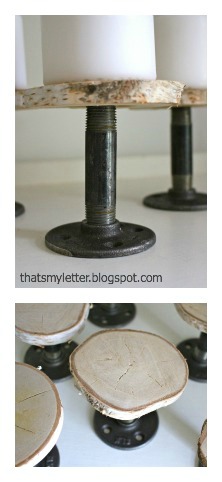
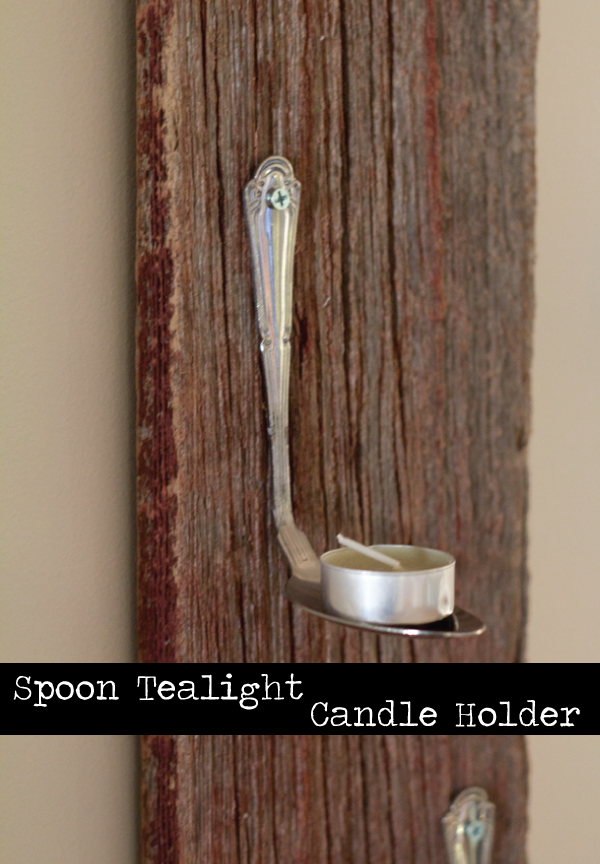
Reclaimed wood seems to be the perfect material to make DIY gifts out of. We have made a few different custom wall hangings using various types of reclaimed wood and love the rustic look. We found out that a family friend was replacing some of his older barn boards and were lucky enough to snag a few for our stash! Barn wood and pallet wood are great options for this project, but don’t rule out other sources of lumber. We’ve actually used old decking boards for tons of projects. If you can’t find any wood to reclaim, take a peek at Brittany’s tutorial on how to make new wood look old, weathered, and rustic.
Materials List:
- Weathered Piece of Wood
- 3 Spoons
- 3 – 1 ” Wood Screws
- D-Ring Wall Hanger (with screws)
- 3 Tealights
Tool List:
- Nail Set
- Hammer
- Drill
- 1/8″ Drill Bit
Instructions: Read more