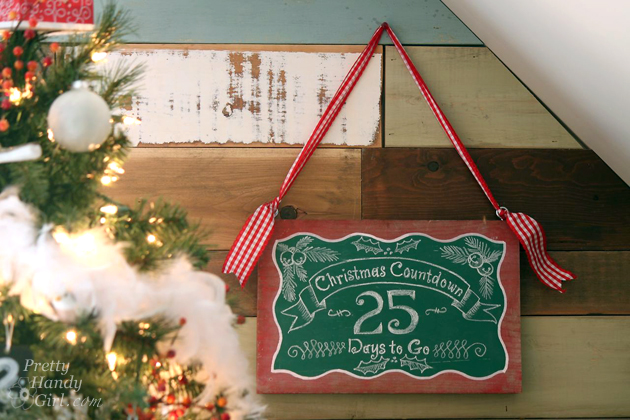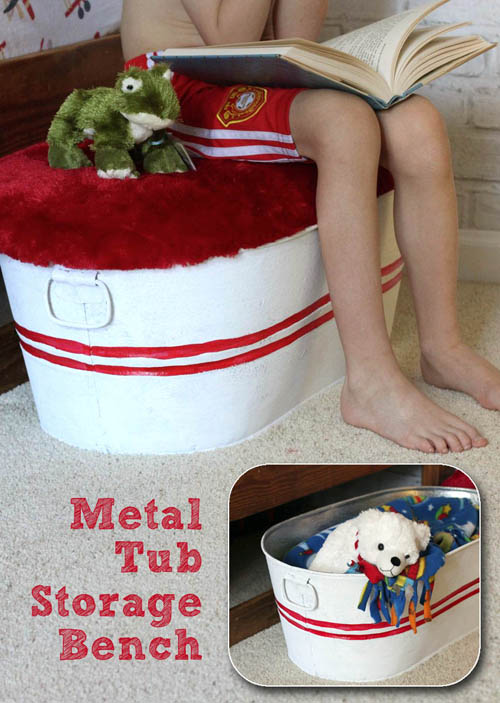
Every month Lowe’s challenges me to create another unique project to share with you. This month’s challenge was creative storage ideas. Have kids? This is a unique storage solution using a galvanized tub and a furry upholstered lid. It’s the perfect place to store and corral all that kid clutter in your child’s bedroom. The storage tub doubles as a bench and a step stool. Don’t be deterred if you don’t have children, the storage bench could be used for magazine storage and much more!
Grab these materials and tools and follow along with me (and my 13 year old assistant.)
Creating the Galvanized Storage Bench and Lid
(I’ve included affiliate links for your convenience. I earn a small percentage from a purchase using these links. There is no additional cost to you. You can read more about affiliate links here.)
Materials for the Galvanized Storage Tub and Lid:
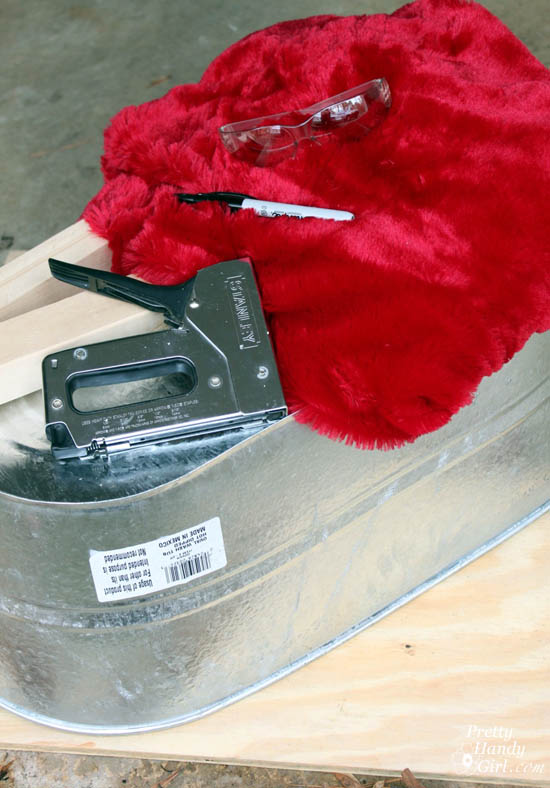
- Galvanized Tub (5 gallon or larger)
- 1/2″ plywood
- 2″ x 2″ lumber (cut to 2 – 8″ and 2 – 4″ sizes)
- Upholstery foam
- Spray adhesive
- Old t-shirt (optional)
- Furry fabric (or cheap throw blanket)
- Staple gun
- 3/8″ staples
- Sharpie marker
- Jig saw
- Clamp
- Eye protection
- Sander with 80 grit & 220 grit sandpaper
- Electric carving knife
- Drill with drill bits
- Philips head bit
- 2″ wood screws
Instructions:
Turn the galvanized tub upside down on the plywood. Use the sharpie to mark approximately 1/2 – 1″ out from the edge of the tub. Read more