How to Recover a Butterfly Chair | Pretty Handy Girl

How to Recover a Butterfly Chair | Pretty Handy Girl

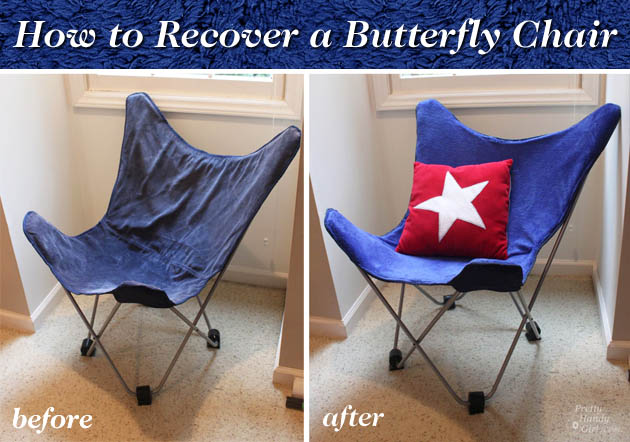
Happy St. Patrick’s Day! Do you have a butterfly chair that is sun-faded or has hideous fabric on it? I bet you thought it was a lost cause, right? Nope! With a sewing machine, some new fabric and a little spare time you can recover that ugly butterfly chair and have a new one. Okay, so I didn’t recover it with green fabric in honor of St. Patrick, but what could be greener than a good old upcycling project! Believe it or not, this was a much easier project than I had anticipated, so don’t get scared by the curves. You can “sew” do this! 😉

How to Recover a Butterfly Chair | Pretty Handy Girl

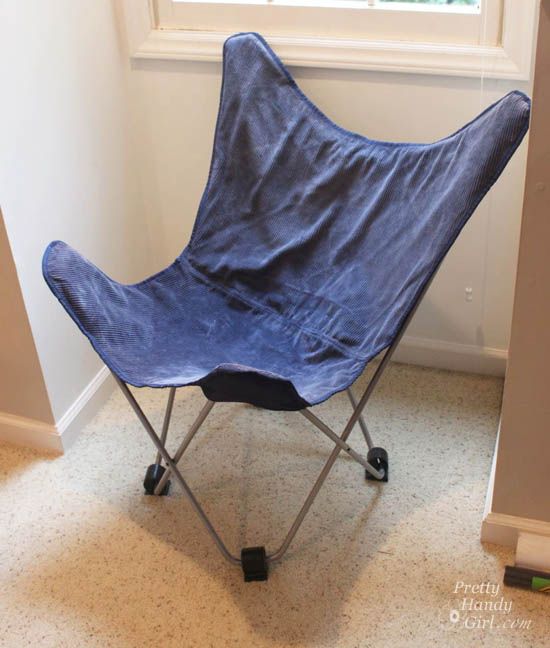
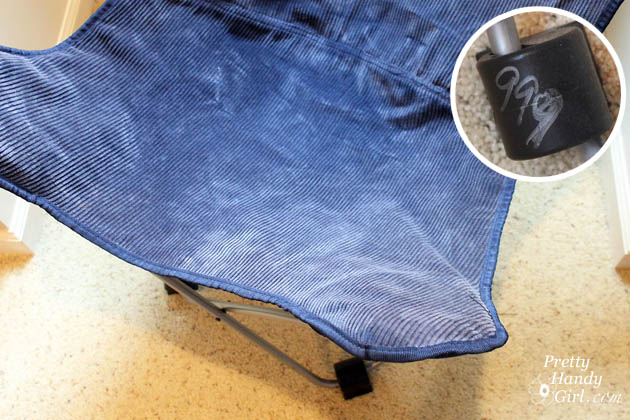
I stumbled upon this chair at Goodwill for $9.99. Normally I wouldn’t spend this much for a sun-faded chair, but because I was working on the school library makeover project — and we needed more comfortable seating — I bought it.  After all, we would have had to pay at least double for another comfy chair.

How to Recover a Butterfly Chair | Pretty Handy Girl

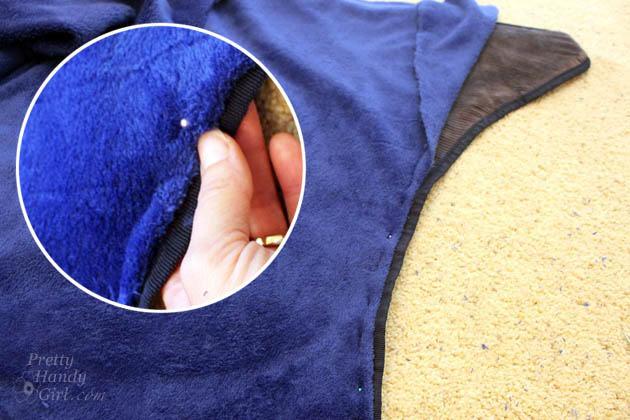
Luckily, I had some soft leftover fleece fabric that I could use to recover the chair. I wish I had measured how much I used, I think it was a little less than 2 yards.

Materials:

  • 2 yards of fabric
  • Coordinating thread
  • Pins
  • Scissors
  • Old butterfly chair + old cover

Instructions:

1. Remove the old cover from the butterfly chair frame. Lay it on top of your fabric (both right sides up.) Read more

Radiant Orchid Vases from Recycled Cans & Jars | #upcycling | Pretty Handy Girl

Radiant Orchid Vases from Recycled Cans & Jars | #upcycling | Pretty Handy Girl

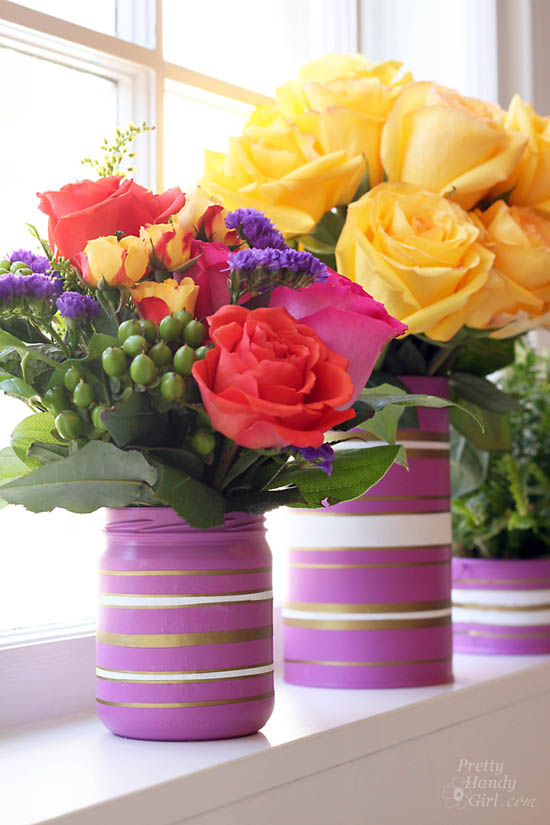
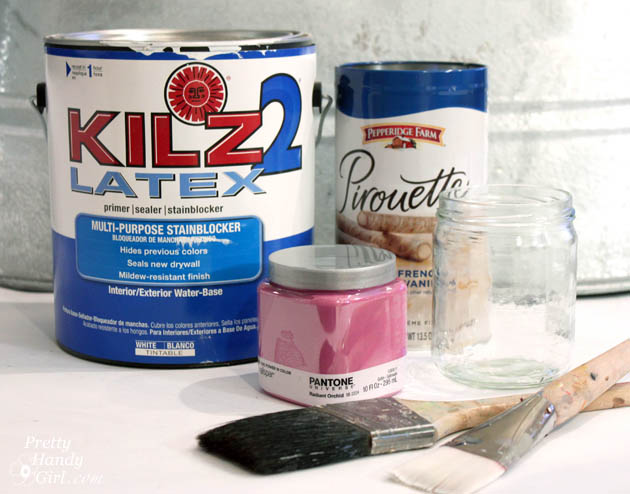
There I was digging things out of the recycling bin again. Pretty Handsome Guy gave me a raised eyebrow, but he knew better than to question my motives. I had that idea bulb flashing over my head, and I was ready to transform some jars and tins. With Springtime just around the corner, it was time to force a little vibrant color into our home. I introduce to you the cheapest way to bring Radiant Orchid color into your décor! If you have recycled jars and tins, you are set!

(I’ve included affiliate links for your convenience. I earn a small percentage from a purchase using these links. There is no additional cost to you. You can read more about affiliate links here.)

Materials: 

Radiant Orchid Vases from Recycled Cans & Jars | #upcycling | Pretty Handy Girl

Optional: Gold vinyl stripes or washi tape

Instructions:

Clean out your jars, bottles or tins.

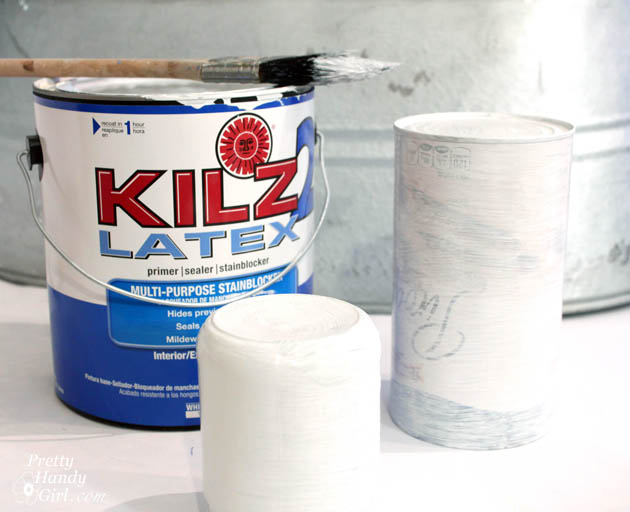
Coat the exterior of your recycled vessel with primer. Allow to dry.

Radiant Orchid Vases from Recycled Cans & Jars | #upcycling | Pretty Handy Girl

Paint each bottle and tin with radiant orchid paint. Allow to dry. You might need two coats depending on the coverage. Read more

All You Need is...Valentine String Art | Pretty Handy Girl

All You Need is...Valentine String Art | Pretty Handy Girl

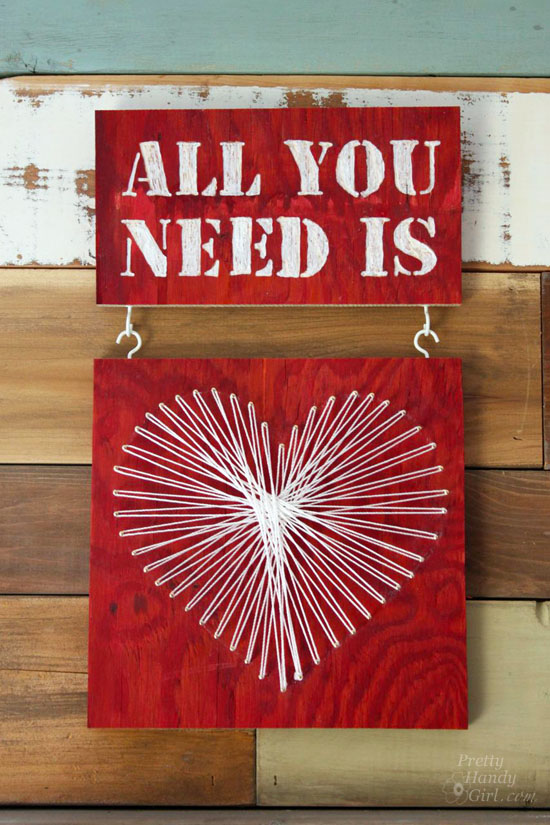
All you need is some scrap wood, and maybe a little string. And a few nails. And how about a gum wrapper? If you had all those you could be like MacGyver and build some kind of cool device that would catch fire. But, since I had everything except the gum wrapper, I decided to make a Valentine art project. Follow along and I’ll show you how easy it is to make your own heart string art and engraving art for Valentine’s Day. If you need any of the materials, you can pick up most of them at your local Lowe’s Home Improvement store (probably the same place MacGyver shops because they have gum at the registers.)

(I’ve included affiliate links for your convenience. I earn a small percentage from a purchase using these links. There is no additional cost to you. You can read more about affiliate links here.)

Materials:

Instructions:

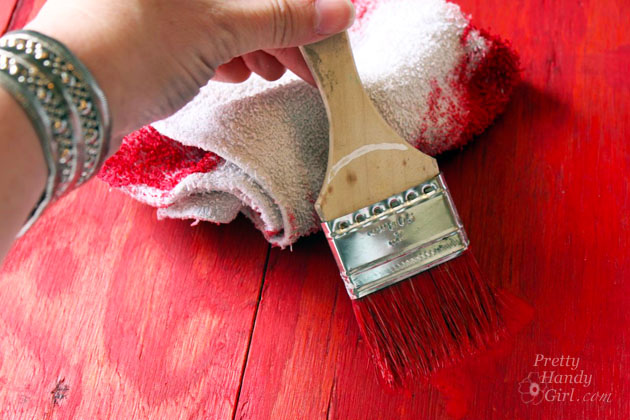
Start by painting your wood red.

All You Need is...Valentine String Art | Pretty Handy Girl

After the paint has dried, draw a heart with chalk. Read more

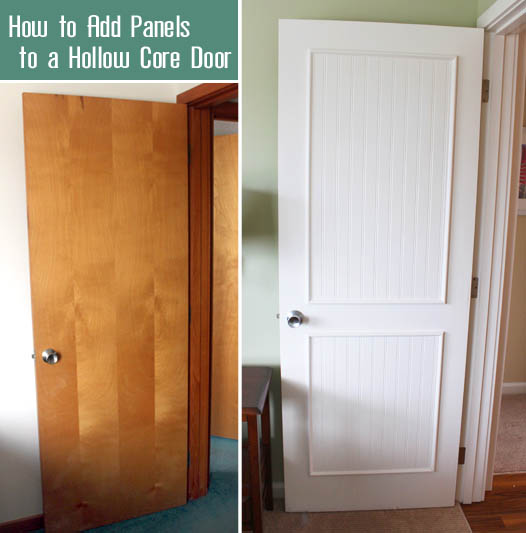
How to Add Panels to Flat Hollow Core Door | Pretty Handy Girl

How to Add Panels to Flat Hollow Core Door | Pretty Handy Girl

When my sister brought me on to the Topsail Beach condo renovation, she had a laundry list of DIY projects she wanted me to complete. One of them was dressing up the hollow flat doors with moulding panels. She showed me a pin that led to One Life to Love’s DIY beadboard panel doors. After seeing the photo, I knew it would be a great DIY upgrade to make. But, we decided to use real beadboard (instead of beadboard wallpaper) because it had to hold up to the stress of being a rental.

To Begin:

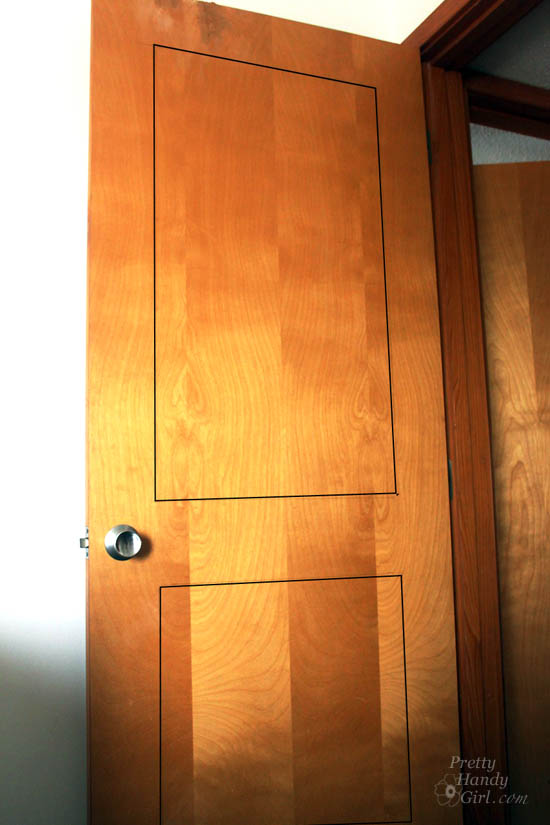
Start by measuring and marking the doors to determine the size of your panels.

How to Add Panels to Flat Hollow Core Door | Pretty Handy Girl

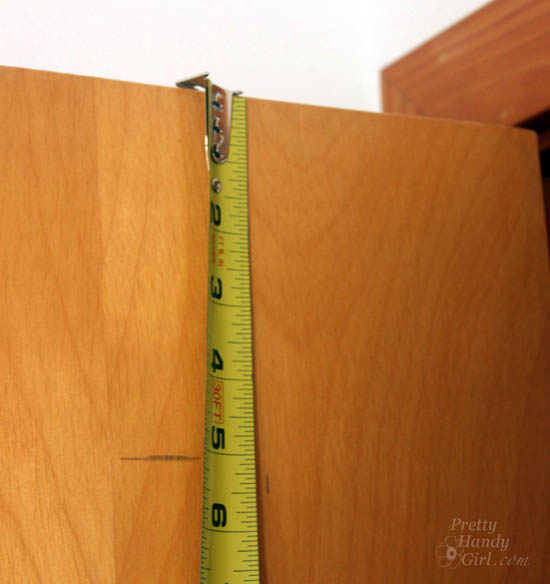
Draw lines 5″ in from the top and two sides of your door.  Draw the bottom line  6″ up from the bottom. Finally, leave 5″ between the top and bottom panels.

How to Add Panels to Flat Hollow Core Door | Pretty Handy Girl

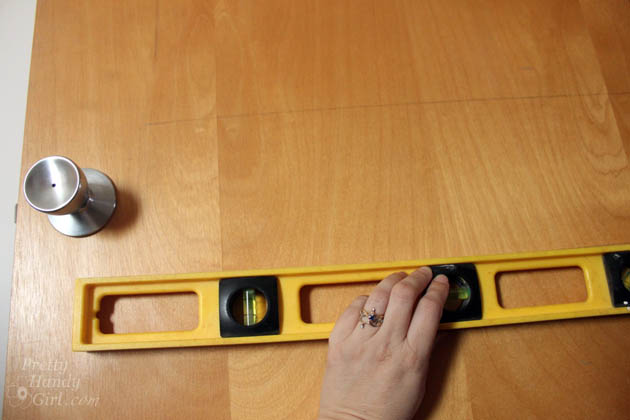
When marking your doors, use a pencil and level to draw your lines.

How to Add Panels to Flat Hollow Core Door | Pretty Handy Girl

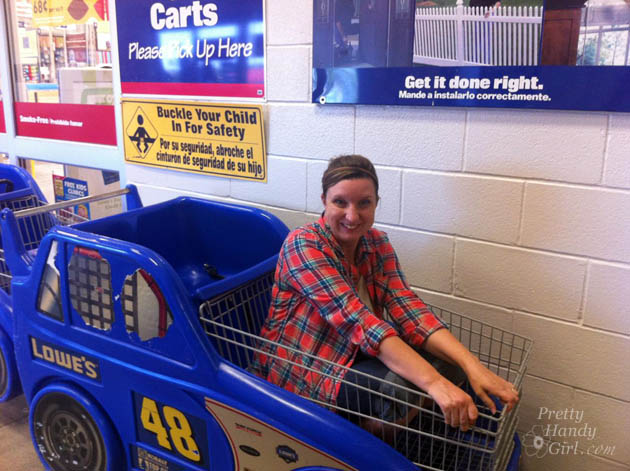
After we had our panel measurements, Caitlin and I headed to Lowe’s. But, she refused to push me in the cart (party pooper!)

DIY Add Molding Panels Flat Door

We pulled some 4′ x 8′ beadboard panels and took them to the lumber cutting area. We gave the Lowe’s employer our measurements and asked him to cut the boards for us. While he cut our beadboard, Caitlin and I gathered the rest of our supplies.

Materials: Read more

Boy's Red, White & Blue Themed Room | Pretty Handy Girl

Galvanized Tub Storage Bench for Kids | Pretty Handy Girl

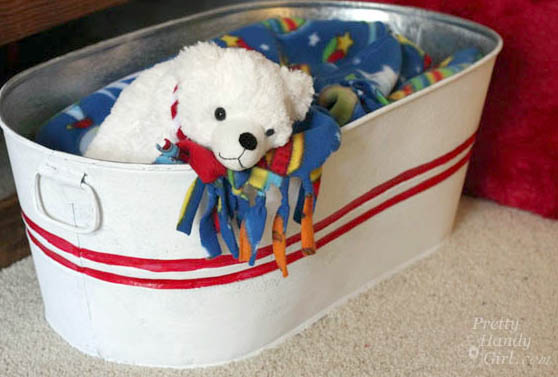
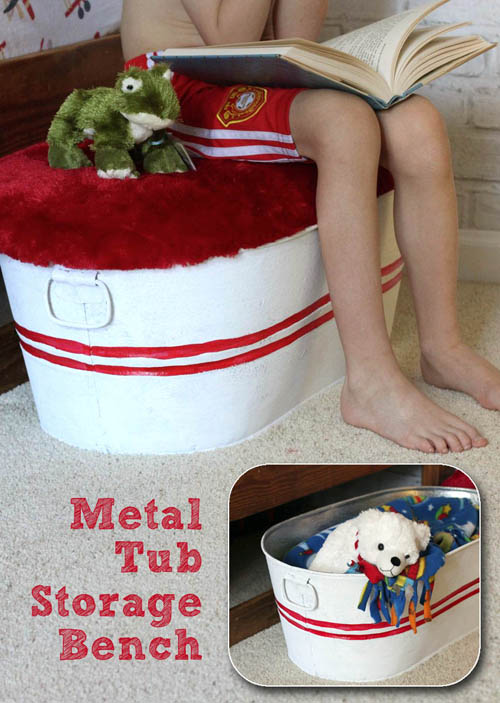
Every month Lowe’s challenges me to create another unique project to share with you. This month’s challenge was creative storage ideas. Have kids? This is a unique storage solution using a galvanized tub and a furry upholstered lid. It’s the perfect place to store and corral all that kid clutter in your child’s bedroom. The storage tub doubles as a bench and a step stool. Don’t be deterred if you don’t have children, the storage bench could be used for magazine storage and much more!

Grab these materials and tools and follow along with me (and my 13 year old assistant.)

Creating the Galvanized Storage Bench and Lid

(I’ve included affiliate links for your convenience. I earn a small percentage from a purchase using these links. There is no additional cost to you. You can read more about affiliate links here.)

Materials for the Galvanized Storage Tub and Lid:

Galvanized Tub Storage Bench for Kids | Pretty Handy Girl


Instructions:

Turn the galvanized tub upside down on the plywood. Use the sharpie to mark approximately 1/2 – 1″ out from the edge of the tub. Read more