How to Paint a Deck Mandala Tattoo | Pretty Handy Girl

How to Paint a Deck Mandala Tattoo | Pretty Handy Girl

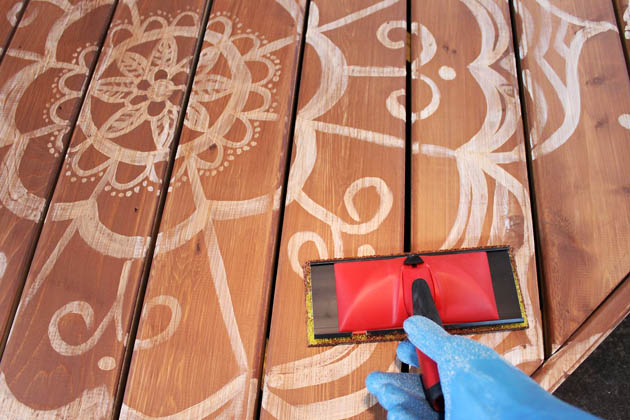
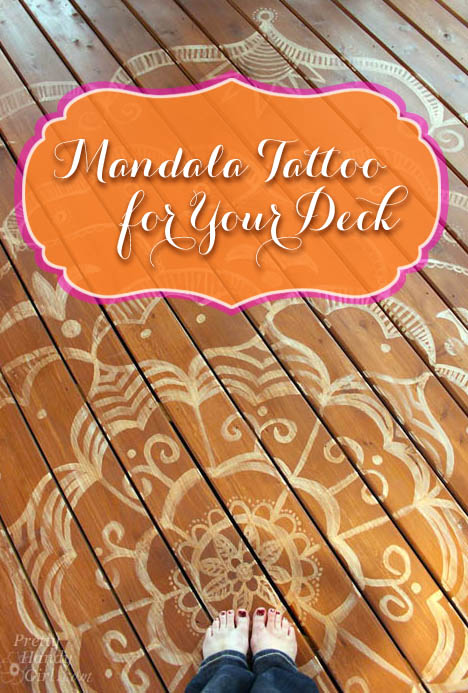
As promised, I’m back today to show you how to paint a giant mandala tattoo on your deck. Painting a design on your deck can turn an ordinary deck into a beautiful retreat. Add a few colorful accessories and you’ll have a backyard Bali getaway! Creating the mandala is a lot easier than it looks. Ready to get started?

Materials:

Instructions:

Pre-stained your deck with one coat of Thompson’s Waterseal Semi-transparent stain. (I used Acorn Brown.) Allow the stain to dry.

How to Paint a Deck Mandala Tattoo | Pretty Handy Girl

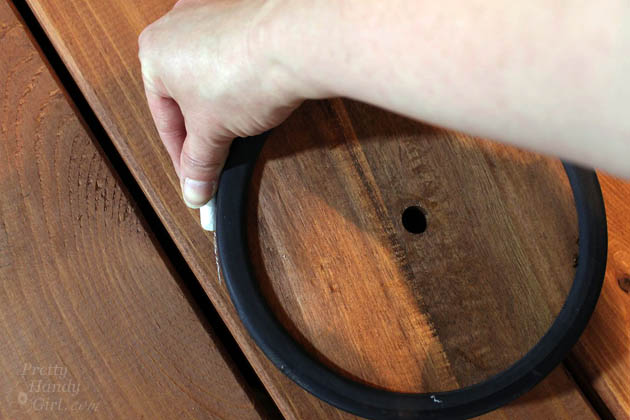
Choose the location for the center of your design. Trace around a small circular object or use the tack and string to trace a small circle.

How to Paint a Deck Mandala Tattoo | Pretty Handy Girl

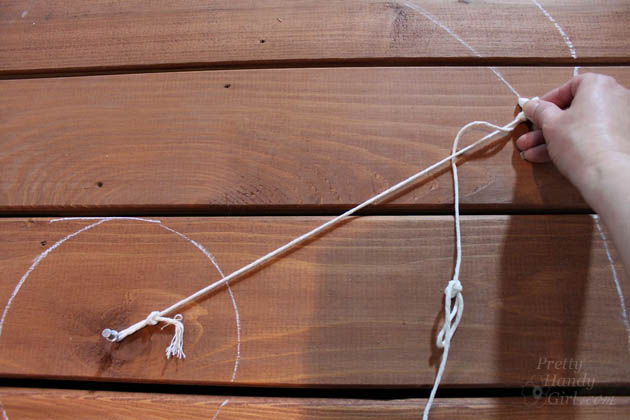
Place the thumbtack in the center of the small circle and draw circles radiating out from the center. Try to add more distance from the previous circle as you go outward. (i.e. 3″ from the center, 6″ from the inner circle, 10″ from the 2nd circle.)
How to Paint a Deck Mandala Tattoo | Pretty Handy Girl

Divide your inner circle into eight sections and make a chalk tick marks. Read more

PB Knock Off Monogrammed Bulletin Board

edited-0510

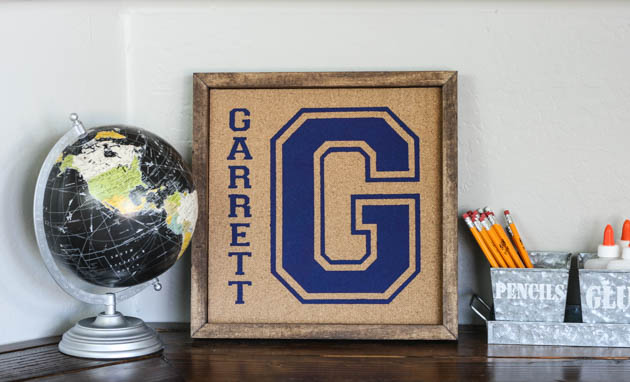
Hey everyone!  If you remember, last month, I shared with you how I updated my boys’ desk in our den with a wood plank desktop.  The den is just about ready for the big reveal and now I’m just working on adding little details.  This includes these fun personalized bulletin boards I made for each of my boys.  I was searching for desk organization ideas one day and saw these personalized pinboards on Pottery Barn Kids.  I knew they would be perfect for my boys and that I could knock them off pretty easily.  I made two of these pinboards, but my supply list will be for one pinboard.

Materials:

  • 12″ x 12″ wrapped canvas (mine was 3/4″ thick)
  • 12″ adhesive backed cork sheet
  • Adhesive vinyl
  • Transfer paper
  • Die-cutting machine
  • Acrylic aint
  • 2 – 1″ foam paintbrushes
  • 1″ x 2″ x 6′ pine board
  • Wood stain
  • Sander w/ 220 grit sandpaper
  • Miter saw
  • Brad nailer
  • 1″ Brad nails
  • 24″ Bar clamps
  • Hot glue gun

Instructions:

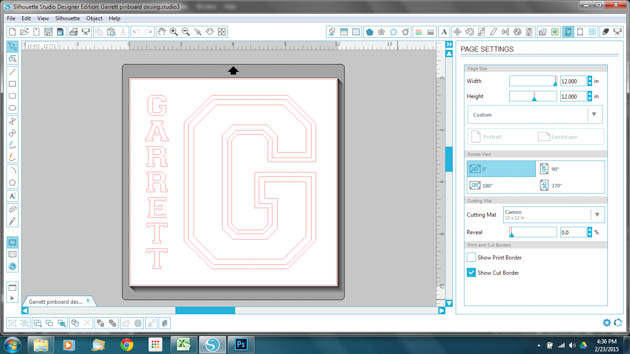
Start by designing your stencil.  To make it look just like the PB Kids version, use the Varsity font.  (FYI, the letters are all capitalized, but when you use the shift key or CAPS lock, it will add the outline.)

Knockoff Personalized Pinboard

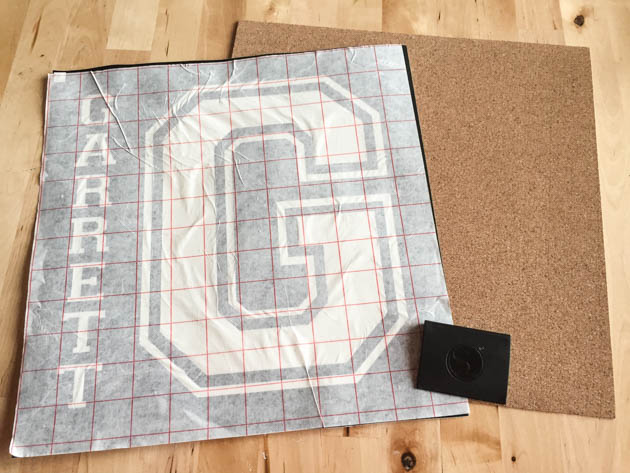
Cut your design out on the 12 x 12″ sheet of vinyl and weed the negative pieces out.  Remember that this is a stencil, so make sure to weed out the correct parts of your design.  Place your transfer paper over the design and use a scraping tool or a credit card to get out any air bubbles.

edited-7687

Peel the backing off of your vinyl and very carefully center it onto your cork sheet.  Use the scraping tool or credit card again to firmly adhere the vinyl to the cork sheet.  Carefully peel the transfer paper off. Stencil your design using the acrylic paint and foam brush. Read more

Bali Dream Deck for Thompsons Water Seal | Pretty Handy Girl

Bali Dream Deck for Thompsons Water Seal | Pretty Handy Girl

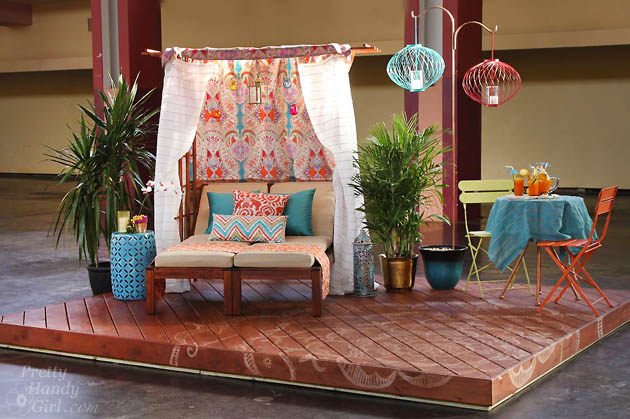
Last month while most of the US was under heavy blankets of snow and ice, I flew to Dallas. I was hoping to find warm temperatures and lots of sun. And if I couldn’t find any, I’d create my own with my sister, Caitlin’s help. Thompson’s WaterSeal asked me to design a dream deck and told me to bring an assistant. Normally I work alone, but when I need help with design and décor I know I can always count on Caitlin. Some of you may remember when Caitlin and I worked together on renovating this beach condo. Caitlin is the talented designer behind Symmetry Designs.

Bali Dream Deck for Thompsons Water Seal | Pretty Handy Girl

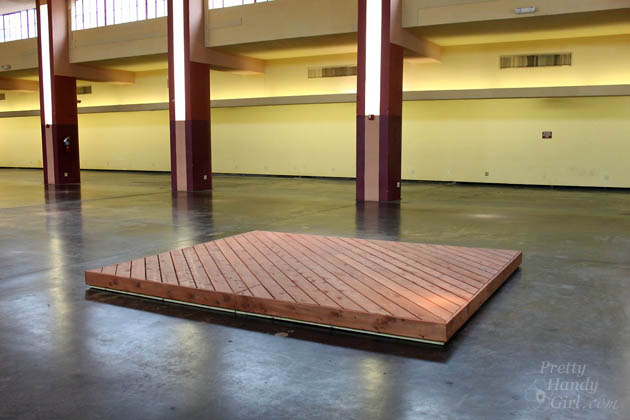
When we arrived, the weather was mild, but we were still craving some warm sunshine. We decided to create a Bali getaway destination on our Thompson’s WaterSeal Deck. We started with a clean slate deck pre-stained with Thompson’s WaterSeal Semi-Transparent Water Proofing Stain in a beautiful Acorn Brown color.

Bali Dream Deck for Thompsons Water Seal | Pretty Handy Girl

Joining us were Beckie from Infarrantly Creative with her assistant Erin and Ashley & Jamin from The Handmade Home. They also had a blank slate deck to design.

Bali Dream Deck for Thompsons Water Seal | Pretty Handy Girl

The first thing Caitlin and I did was paint a giant white mandala “tattoo” on our deck.  Read more

Shur-line Paint Edger Review | Pretty Handy Girl

Shur-line Paint Edger Review | Pretty Handy Girl

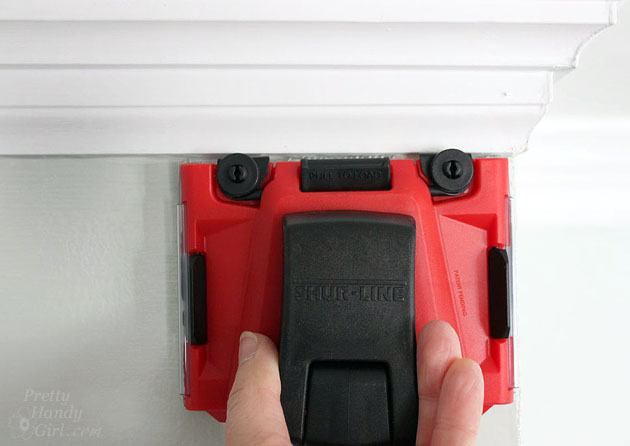
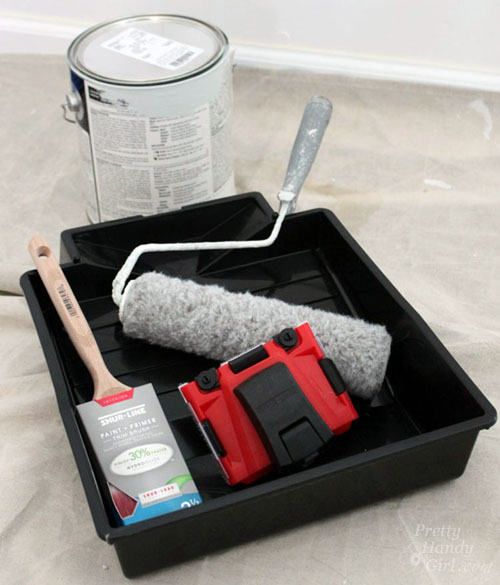
Last month I received a little care package from Shur-line. I opened the kit and assessed the products with speculation. As you probably remember, I don’t generally like new painting gadgets. I have my tried and true painting tools that I use and I rarely find new ones that I like better. As I was getting ready to re-paint the living room, I grabbed for the Shur-line Pro Paint Edger. Having been a fan of our old Shur-line edger, I really didn’t think that they could have improved much on the design.

Well, I was wrong, and this is my new favorite paint edger.

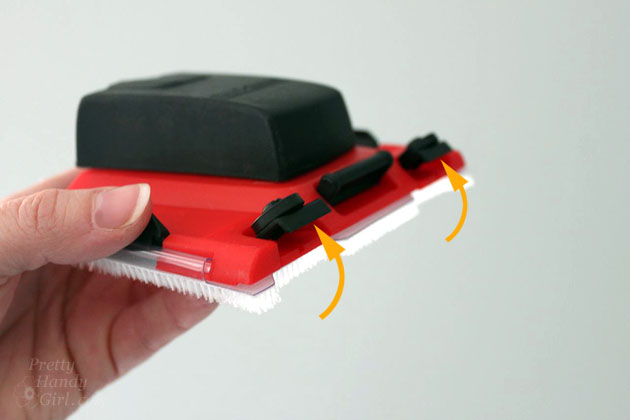
The biggest change they made was to add flip up edge guards. Why would you want this?

Shur-line Paint Edger Review | Pretty Handy Girl

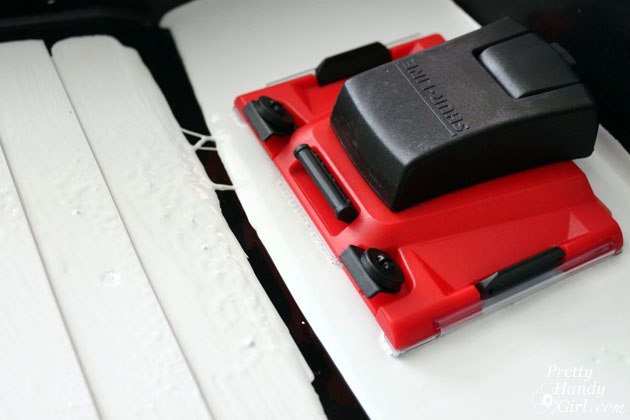
It protects the wheels and the edge guard from getting paint on it when you reload the paint! Brilliant.

Shur-line Paint Edger Review | Pretty Handy Girl

In the past, I had to be careful not to dip the wheels in the paint when re-loading. And, I inevitably had to wipe off the wheels with a damp rag when I did. Now, they flip up and out of the way when you raise the little handle between the roller wheels. After the paint is loaded, flip the handle down and the wheels and edge guards are ready to edge. Read more

Fool Proof Way to Update Furniture Like a Pro

Fool Proof Way to Update Furniture Like a Pro

Hello friends! It’s Jessica from Decor Adventures, back this month with tips on The Fool Proof Way to Update Furniture Like a Pro! I have some tips to make your furniture finishes look like they were professionally done. Help you pick the best paint, primer and tools for the job. And finally a few quick and easy ways to update your furniture in minutes! If you’ve been craving updated furniture, but aren’t sure where to start, this is your chance.

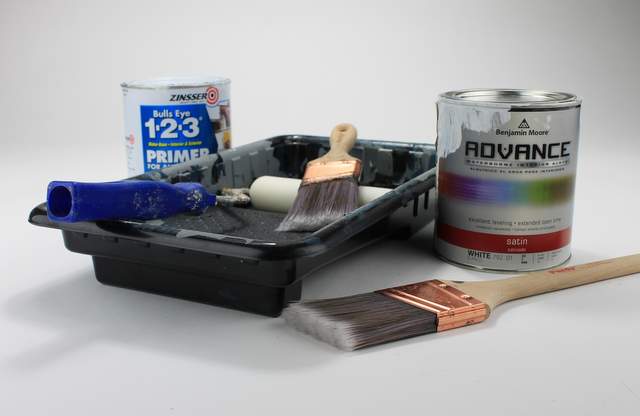
Update Furniture Like a Pro Materials:
(Affiliate links.)

How to Paint Furniture Like a Pro

Prepare Your Furniture the Right Way

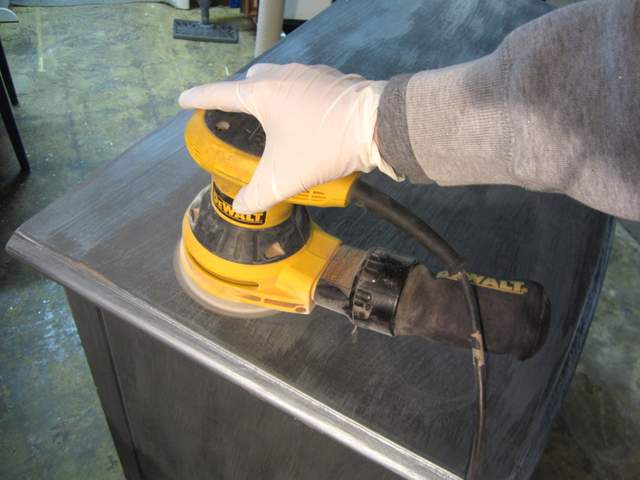
Sanding Dresser

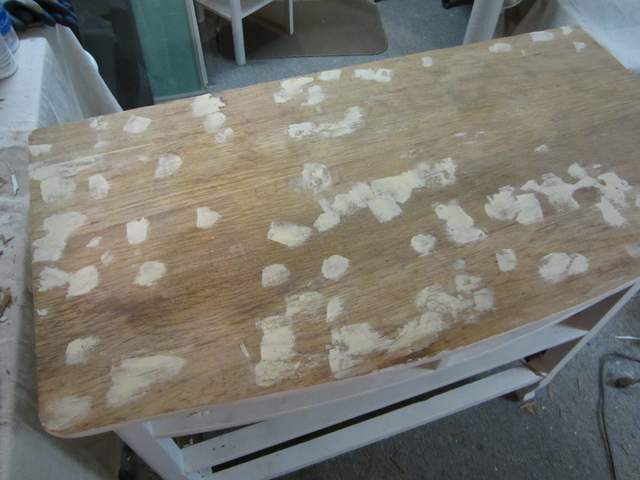
Proper preparation will make the whole project a success. First remove any hardware. Carefully look over your piece and fill any cracks or dents with wood putty.

How to Paint Furniture Like a Pro

Sand the putty and the rest of the furniture until the finish is smooth.

If you didn’t have to use any wood putty, a light sanding with a sanding block will go a long way to helping your paint stick and give you a smoother finish. Remove any sawdust, dirt and debris from the piece with a tack cloth or vacuum. Finish cleaning off the furniture with a damp rag and mild cleanser. Allow your furniture piece to dry.

Read more