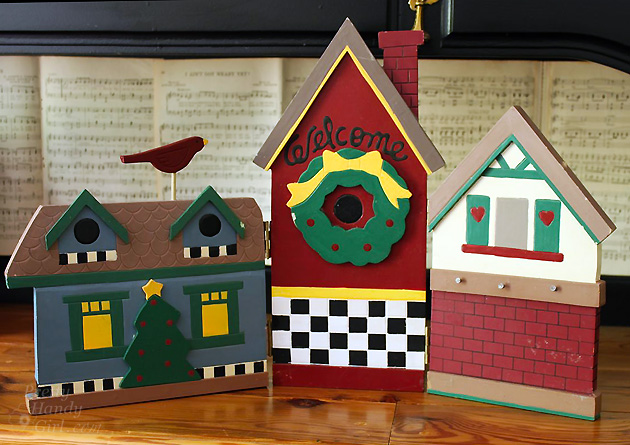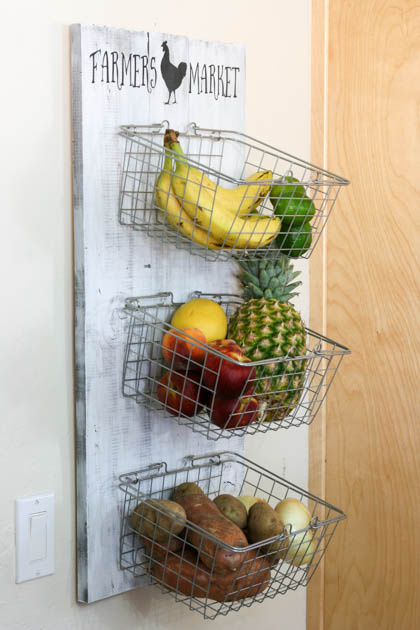
Hey everyone! It’s Katie from Addicted 2 DIY again! I’ve got a great project to share with you all to store your summer bounty. I’ve been looking for a way to store fresh produce for a while. It was driving me crazy storing everything on my kitchen counter or having it get lost in the pantry. Forgotten potatoes start to smell pretty bad after a while. I stumbled across some adorable wire baskets in the Target dollar spot a few months ago for only $3 apiece! At that price, I bought several and figured I’d find some way to use them. I thought they would be perfect to store fruit and vegetables, so I built this simple DIY produce rack using some scrap wood in the garage.
Supplies:
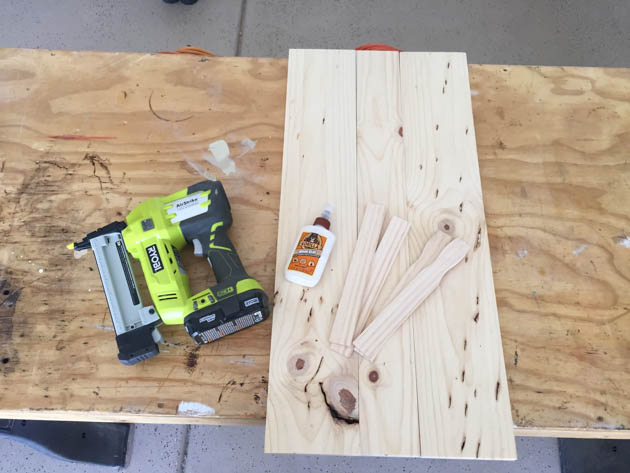
- 1 – 1×6 @ 6′ long
- 1 – 1×4 @ 8′ long
- 2 – 5 gallon paint sticks
- miter saw
- staple gun
- 3/4″ staples
- wood glue
- wood stain
- chalk paint
- adhesive vinyl
- Farmer’s Market Silhouette cut file
- wire baskets
- screw eyes
- drywall anchors and screws (I used 75lb anchors)
- D-ring picture hangers
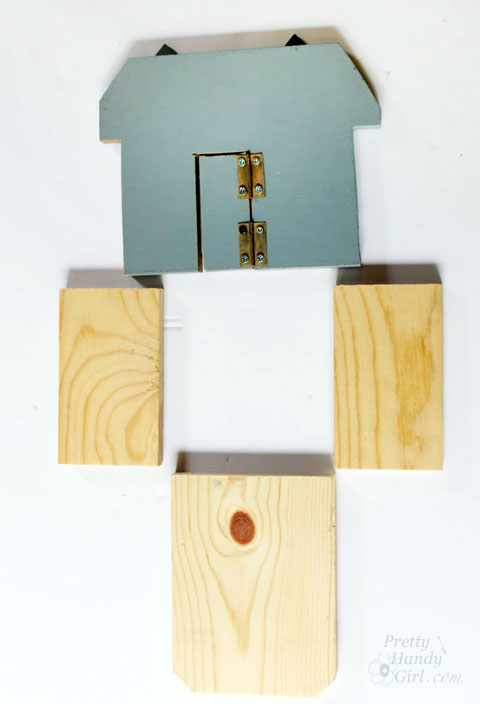
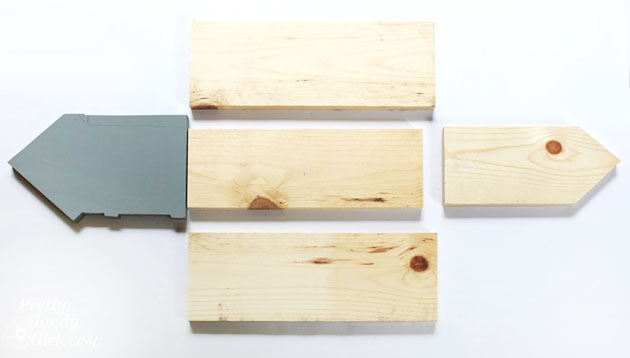
Cut the 1×6 into two 31″ pieces and the 1×4 into one 31″ piece. Cut the paint sticks in half.
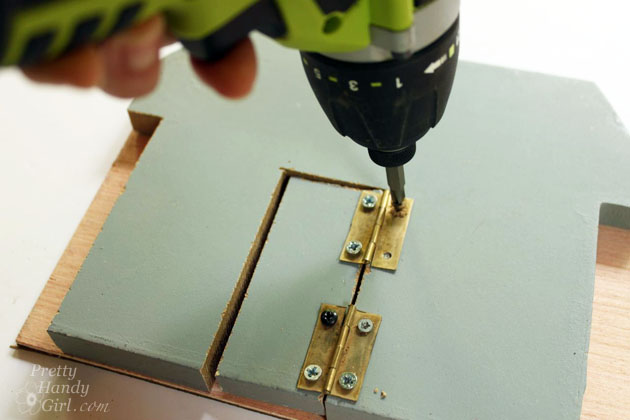
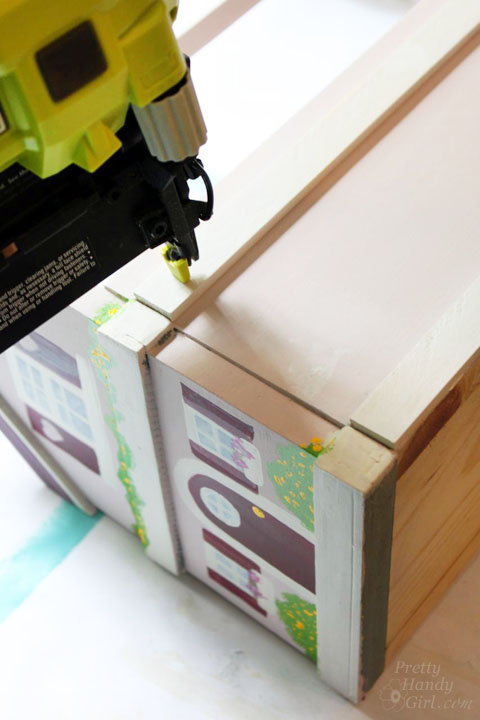
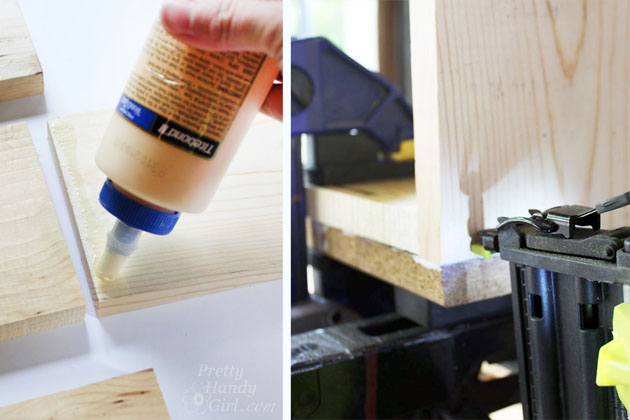
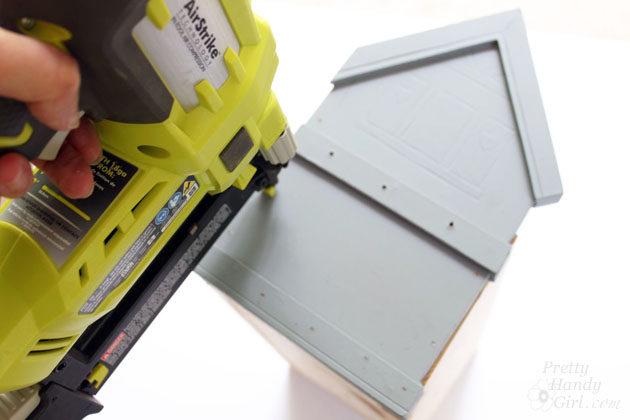
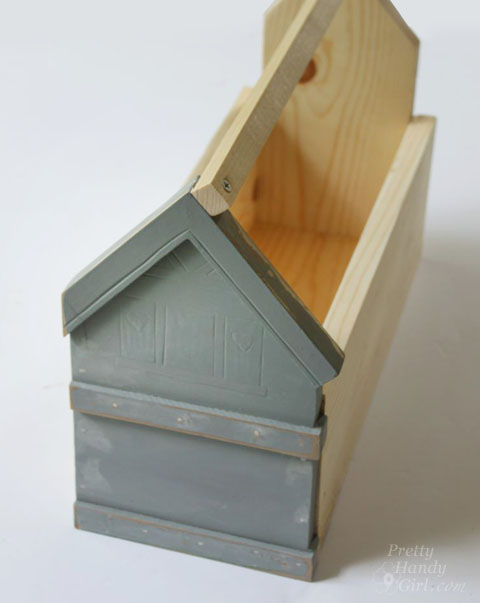
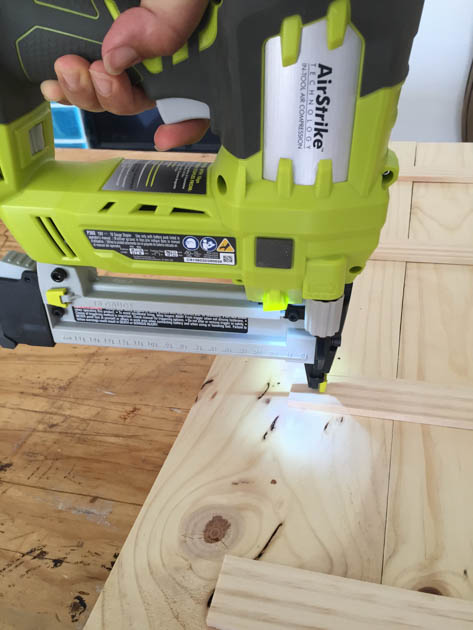
Glue and nail the paint sticks to the back of the boards using 3/4″ staples. You can also use a brad nailer and 5/8″ brad nails if you don’t have a staple gun.
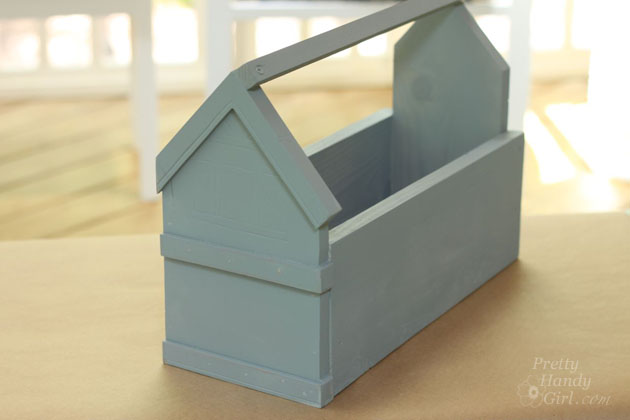
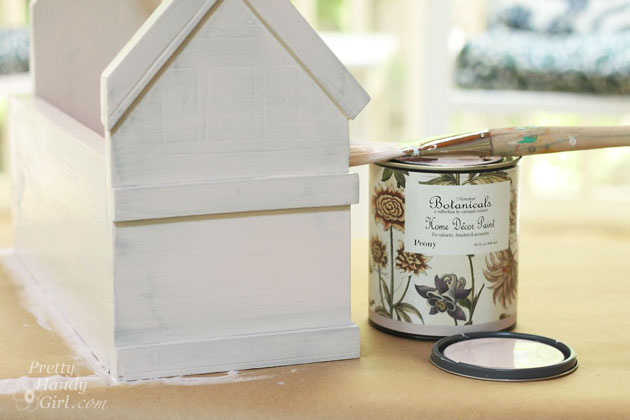
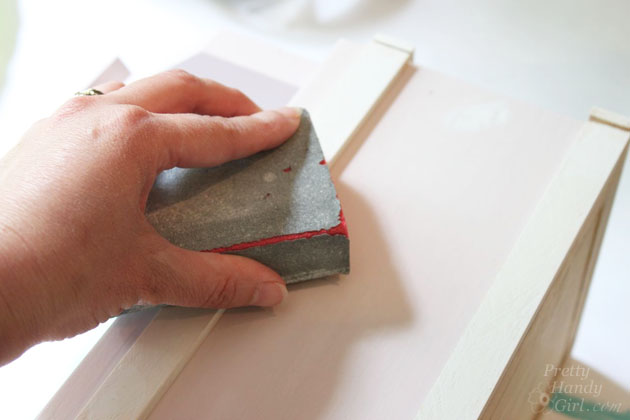
For a weathered finish, stain the boards with a dark stain and then dry brushed chalk paint onto the wood until satisfied with the look. Allow the stain to dry overnight and then you can dry brush it the next day.
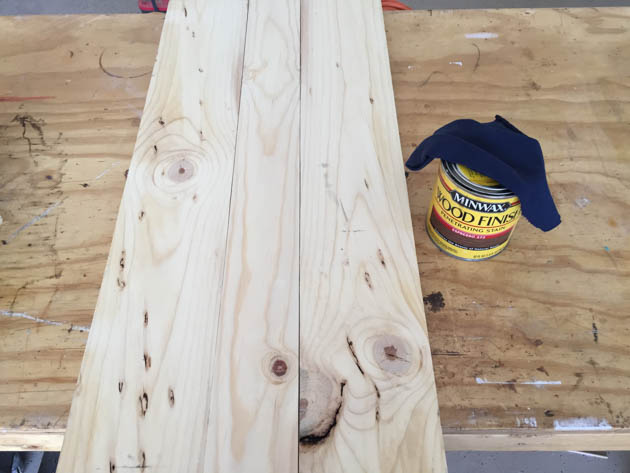
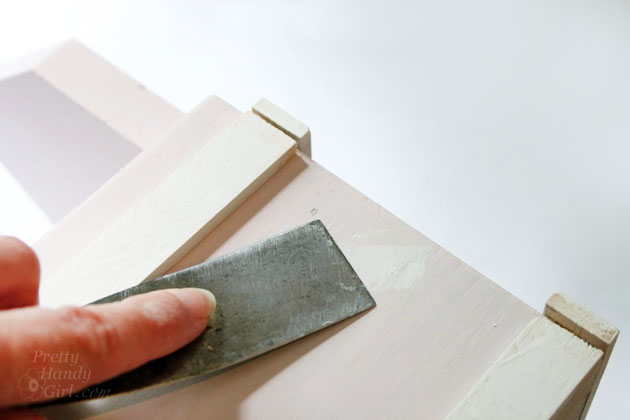
To dry brush, add a tiny amount of paint to your paint brush and dab the excess off onto a paper towel, then brush it in even strokes on your wood. It is a great technique to make your new wood look decades old. Read more