How to Refinish Scratched & Rusted Appliances
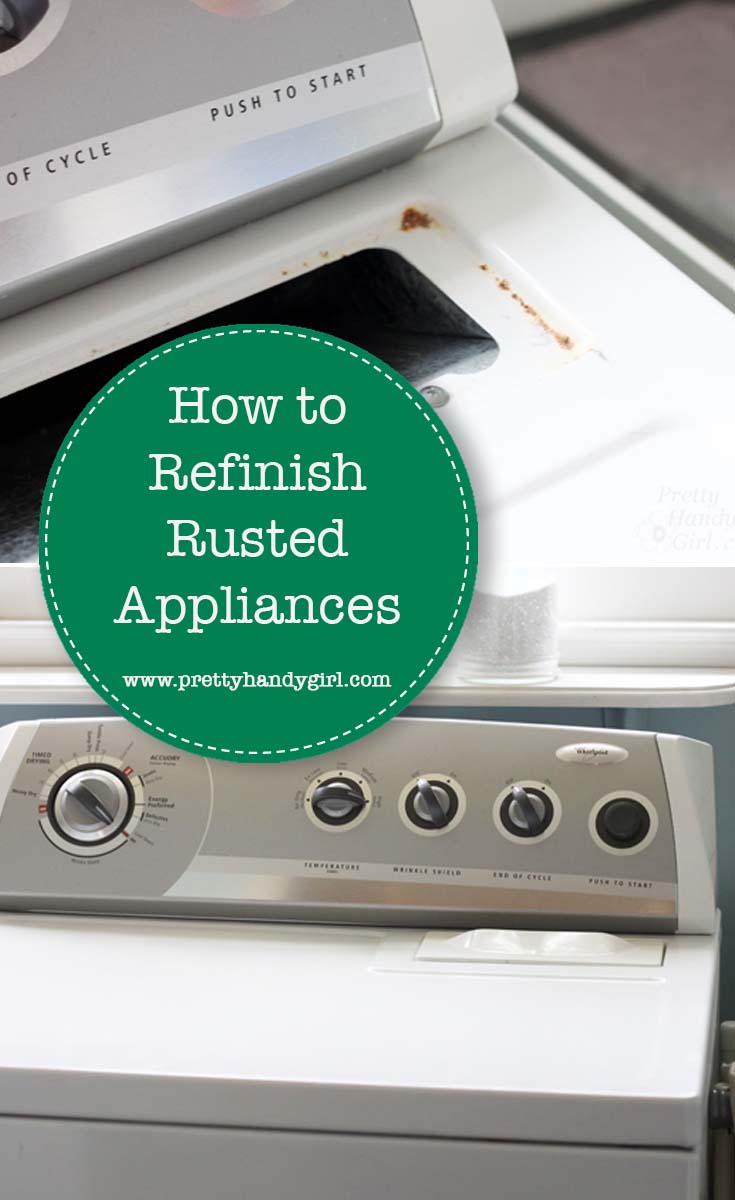
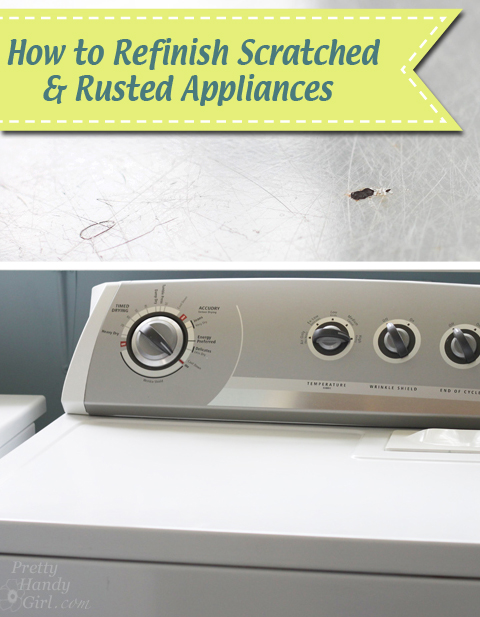
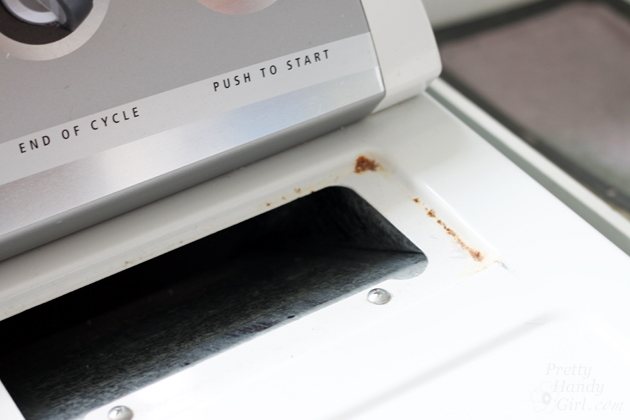
Do you have an appliance that has scratches and/or rust spots? Unfortunately over time the rust will get worse if you don’t deal with it.
Today I want to show you how to refinish scratched and rusted appliances so you can extend the life of your appliances and make them look almost like new again.
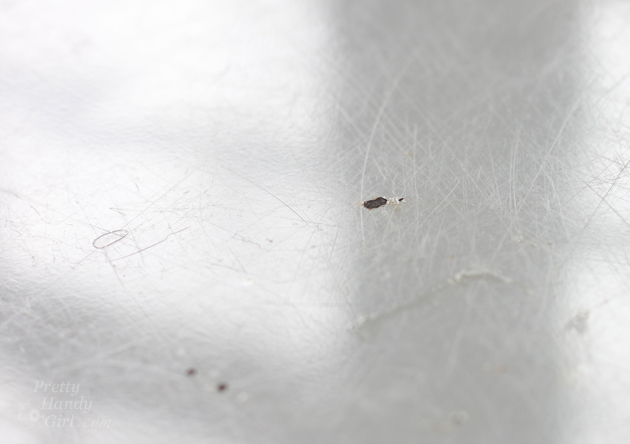
Before you get ready to tackle this project, you’ll need to order spray paint specifically for your appliance. If your brand doesn’t carry a touch up spray paint you can try the universal spray paint by Rustoleum. Or buy the liquid touch up paint and only paint the rust spots.
Be aware that all white paint is not the same color. However, typically the colors are usually the same within a specific brand. (i.e. All Whirlpool white appliances are painted with the same white.)
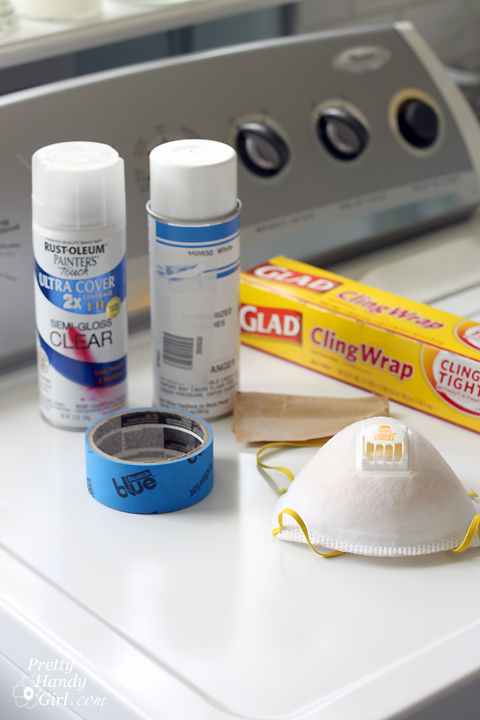
Materials:
- Whirlpool Appliance Spray Paint White
- GE Brand Touch Up Paints
- Maytag Brand Touch Up Paints
- Universal Appliance White: Rust-Oleum Appliance Enamel Spray Paint – White
- Painter’s Tape
- Saran Wrap
- Cardboard or newspaper
- 3M Respirator with Valve
- 220 grit sandpaper
- Rust-Oleum Spray Paint, 12-Ounce, Clear
- Fan
Instructions:
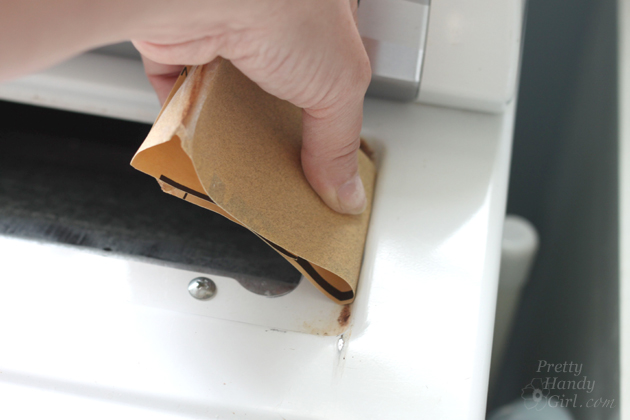
Begin by sanding any rust spots down to the metal. Sand the entire surface lightly to minimize scratches.
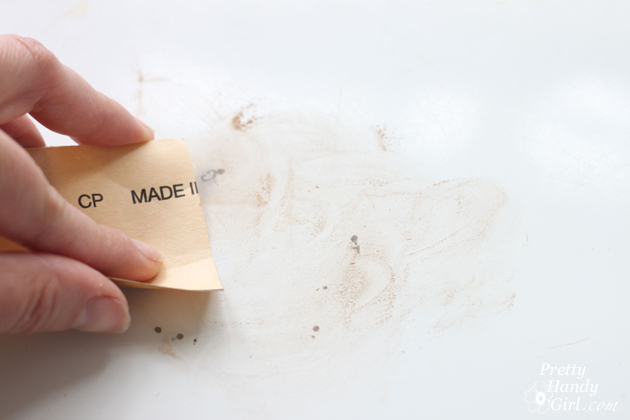
Fold the sandpaper in half to get into grooves and tight spots.
Vacuum up any sanding dust and dirt.
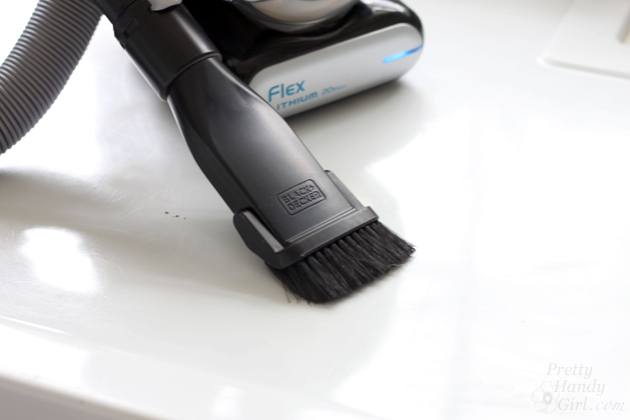
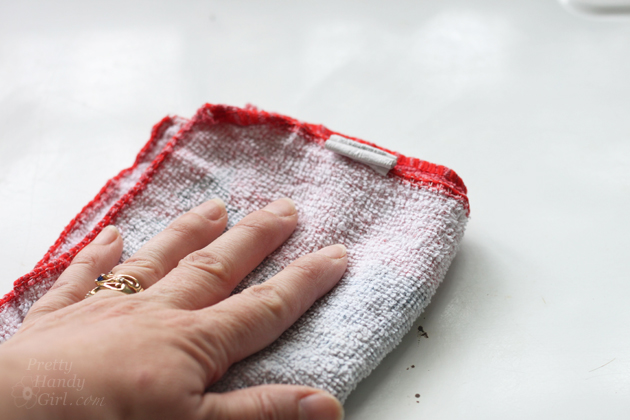
Use a clean damp cloth to wipe any additional dust off your appliance.
If you can drag your appliance outside, that’s the best way to spray paint it. But, if you can’t, you can mask off an area around your appliance with cardboard and newspaper. You can also use saran wrap to mask off tricky areas.
If you are working inside, crack a window and open a door. Use a fan to pull air away from your work area. Send the kids and pets outside if you are painting indoors.
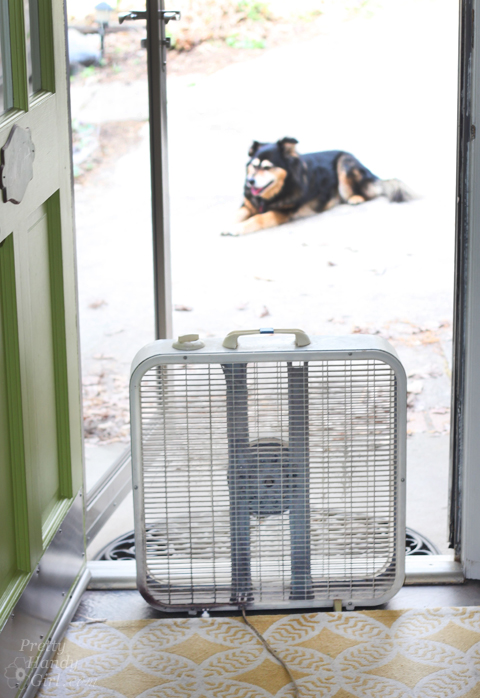
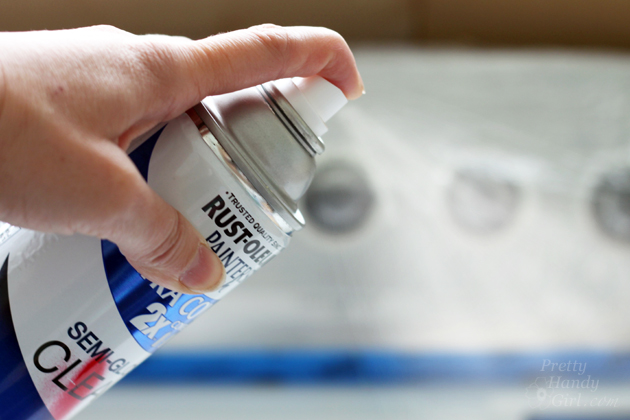
Put the respirator mask on. Spray the appliance with the spray paint. Use back and forth strokes that extend off the appliance and onto the masked area. If you stop at the edge you’ll have puddles of paint. A light coat is all you need for your first coat.
Allow the first coat to dry. Repeat with another light coat of spray paint. You will need 3-4 coats.
The appliance spray paint I used had a flat finish and appeared splotchy after several coats. To even the appearance and add a sheen, you should finish with a clear top coat.
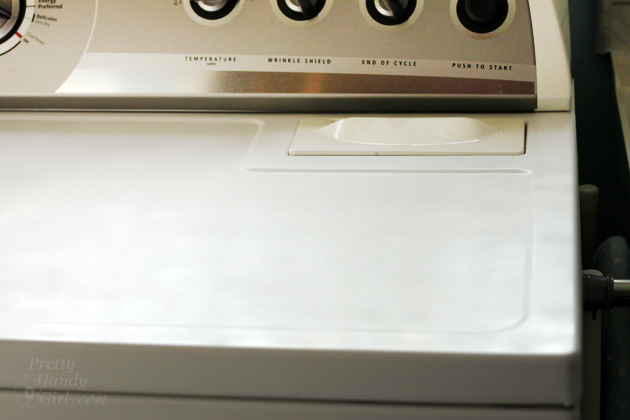
After the spray paint has dried, very lightly sand the whole surface.
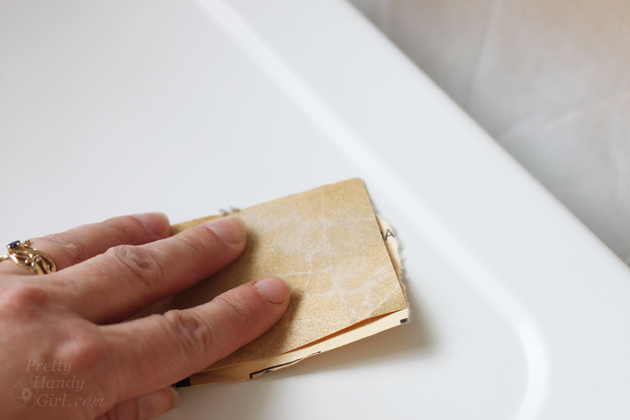
Wipe off any sanding dust with a damp rag.
Spray a light coat of Clear finish onto the appliance. Allow it to dry and follow up with 1-2 more coats.
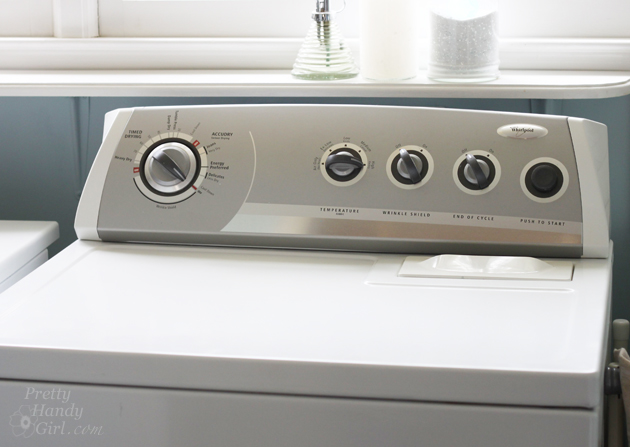
The final result is a smooth finish that looks almost like new. If you get super close, you can see some imperfections, but the rust has been stopped and the scratches are gone.
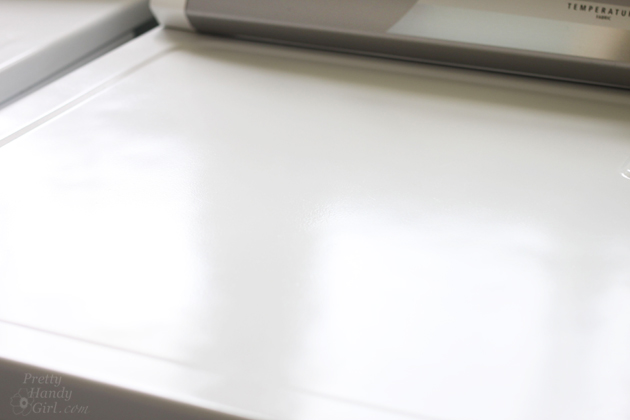
Do you have an appliance that needs a facelift? Need to stop the rust? Try this easy tutorial for refinishing rusted and scratched appliances.
See you later this week!
Pin for later!



Great work! I’d just like to add if the porcelain coating gets a deep chip or crack, you can fill out the area with Milliput which is an epoxy putty. When it hardens completely in a couple hours, you can sand it level with superfine sandpaper and then paint over it. I just fixed a big chip on the edge of my stove top where I banged it with a cast iron skillet. It looks good as new!
Thank you for the information. I can’t wait to get started on a freezer.
That would save you at least $800 on a new freezer!
Great way to give a tired looking appliance a new lease of life!
Do you employ a different technique if the appliance has a pebbled surface? After going through Hurricane Katrina, I have many rust damaged appliances, but it has been a struggle to replace all the things I lost and appliances are not in the budget yet. Paint would certainly give a psychological boost if nothing else. Thanks for any advice you can offer.
Thank you so much for the wonderful information .This is really important for me .I am searching this kind of information from a long time and finally got it.
I didn’t know there was a clearcoat spray paint! Thanks for the tips!