Metallic Color Block Canisters | Pretty Handy Girl

Metallic Color Block Canisters | Pretty Handy Girl

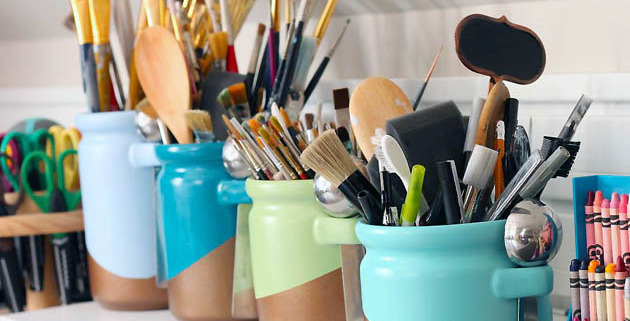
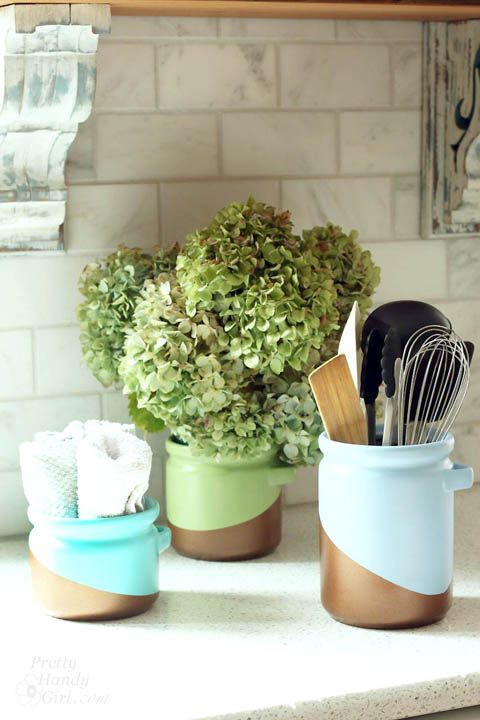
I’m back with another easy Lowe’s Creative Idea this month. When you get tired of your cobalt blue canisters you can easily spray paint them with a metallic color block pattern. That’s exactly what I decided to do with my thrift store canisters.

I’ve been on a major mission to purge things I no longer use or love from my house. I have almost completely filled our dining room with things to donate. I had contemplated donating my cobalt kitchen canisters because the color wasn’t making me happy anymore. But, then I realized that I could give them an entirely new look with some spray paint.

Materials:

Instructions:

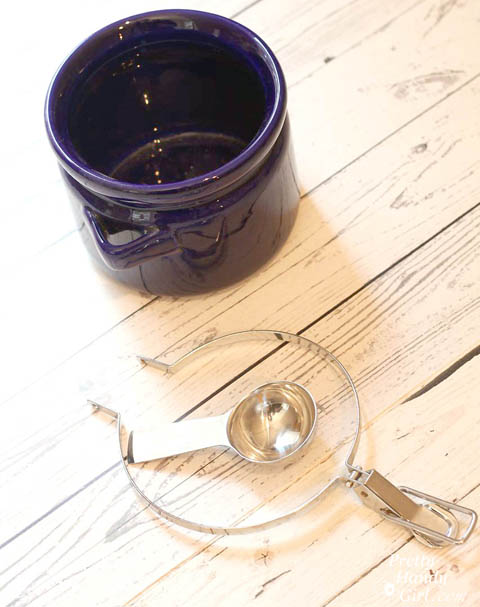
Remove the lids, the metal ring, and spoons from your canisters.
Metallic Color Block Canisters | Pretty Handy Girl
(Wood plank photo backdrop courtesy of Leen the Graphics Queen.)

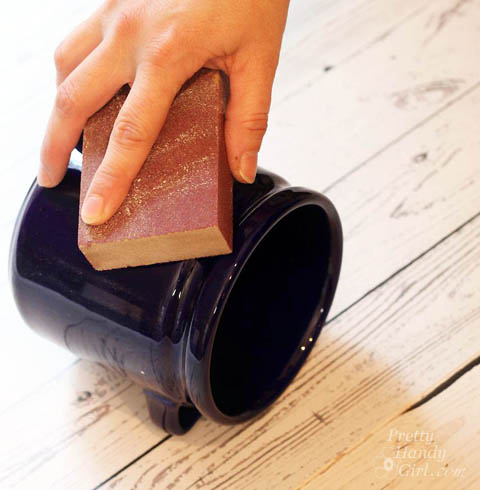
Use a sanding block to lightly rough up the surface of the canisters. Wipe all the sanding dust off with a damp rag.
Metallic Color Block Canisters | Pretty Handy Girl

Spray the outside and base of the canisters with Valspar Premium Primer. Read more
Easy Clean Up Paint Tray Liner | Pretty Handy Girl

31 Days of Handy Home Fixes | Pretty Handy Girl

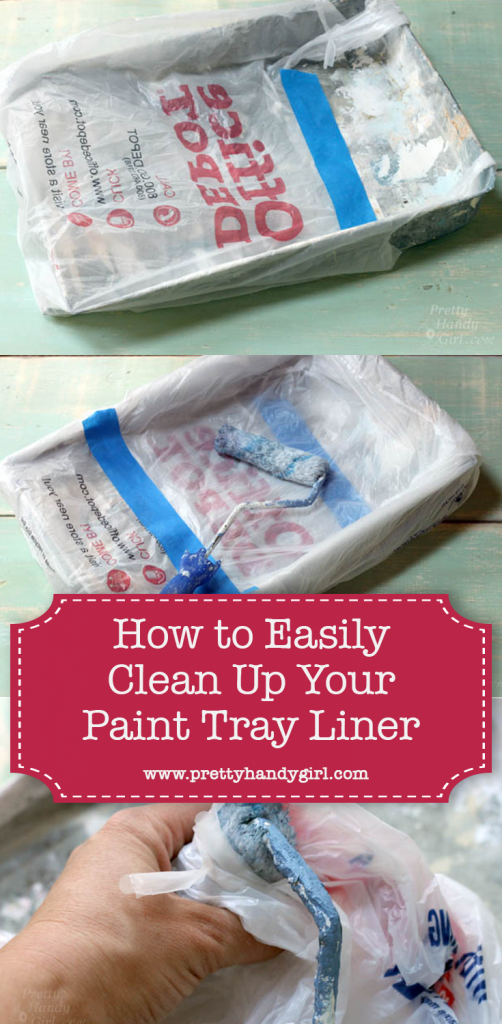
I love to paint rooms! It’s one of those meditative tasks that leaves you with instant gratification when  you are done. But, I don’t like the clean up afterwards. Several years ago I came up with an Easy Clean Up Paint Tray Liner that costs next to nothing!

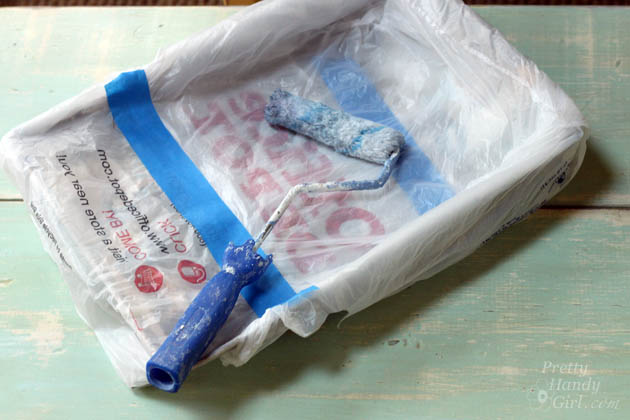
All you need are two plastic grocery bags and two strips of painter’s tape.

Day 11: Easy Clean Up Paint Tray Liner

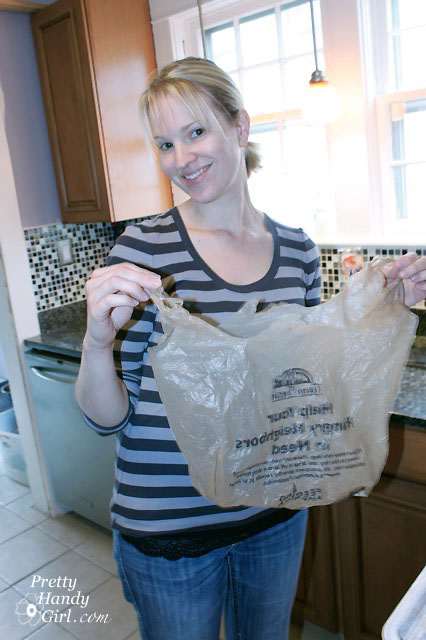
Make sure your grocery bags are clean and don’t have any holes in them. Turn the bags inside out if there is printing on them. (Sometimes the ink is water soluble and can mix with the paint.) Observe as my sister gives her best Vanna White impression and shows you how to invert that bag:

Easy Clean Up Paint Tray Liner | Pretty Handy Girl

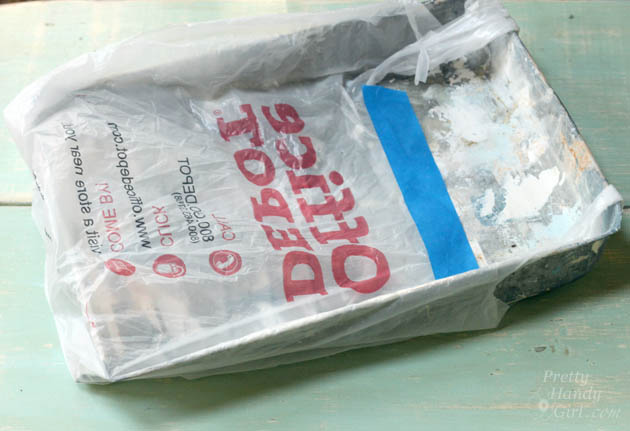
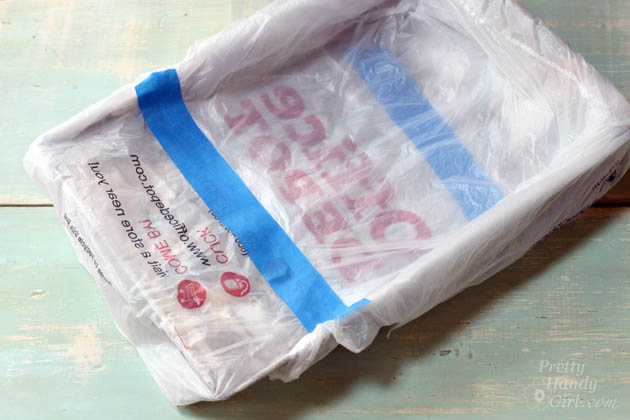
Slip the first bag on from the top of the tray and tape it at the bottom.

Easy Clean Up Paint Tray Liner | Pretty Handy Girl

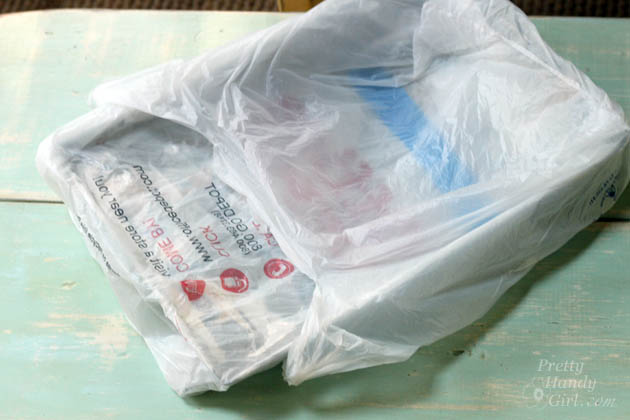
Slip the second bag over the bottom this time:

Easy Clean Up Paint Tray Liner | Pretty Handy Girl

Tape the opening of the bag across the entire paint tray width.

Easy Clean Up Paint Tray Liner | Pretty Handy Girl

You’re ready to rock and roll, errr roll and paint!

Easy Clean Up Paint Tray Liner | Pretty Handy Girl

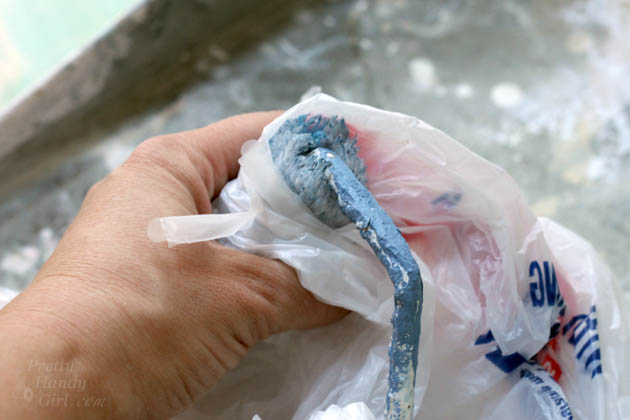
When you are done, carefully remove the plastic bags and throw them away. If you are pitching your roller, you can grab the roller through the bags and pitch it too.

Easy Clean Up Paint Tray Liner | Pretty Handy Girl

No need to clean the tray (unless some paint seeped inside.) Unfortunately, you’ll probably still need to wash your paint brushes. But, if you clean your paint brushes correctly, they should last you a decade or more!

PHGFancySign

Pin for later!

paint tray liner plastic bag

Easy Tricks to Remove Walls Scuffs | Pretty Handy Girl

31 Days of Handy Home Fixes | Pretty Handy Girl

Do you have a ghost in your house? I do! Want to know how I know? Because we have scuffs that magically appear on the walls. It doesn’t bother me because I know a few easy tricks for removing wall scuffs.

Day 10: Easy Tricks for Removing Wall Scuffs

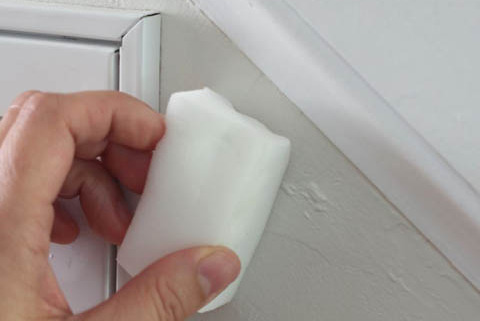
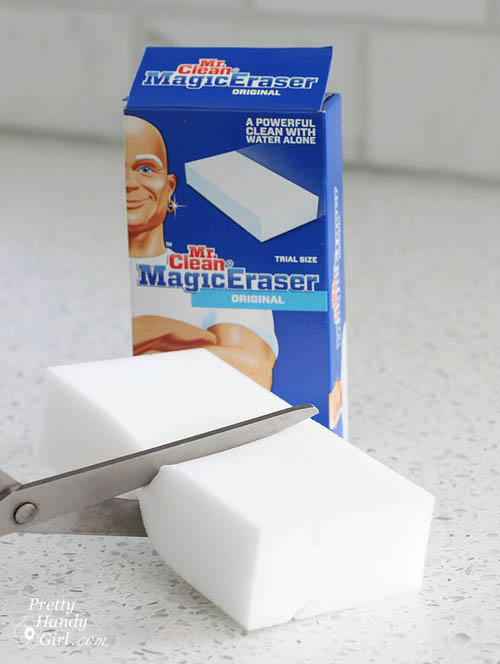
My number one tool in my arsenal against wall scuffs is the Mr. Clean Magic Eraser. This guy is tough on scuffs! Before you start using that new eraser, cut it into fourths. That way you only dirty one small section at a time.

Easy Tricks to Remove Walls Scuffs | Pretty Handy Girl

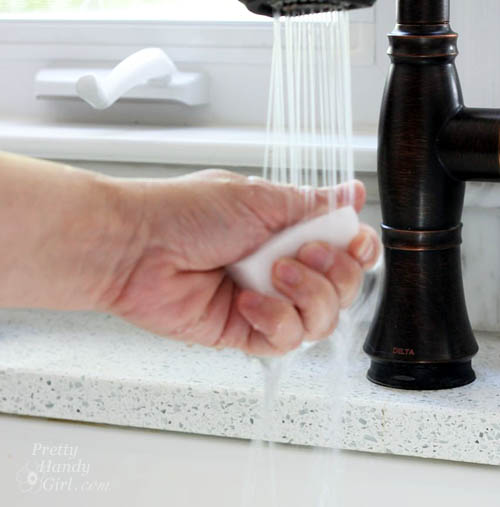
Rinse the eraser under water and ring out as much water as you can.

Easy Tricks to Remove Walls Scuffs | Pretty Handy Girl

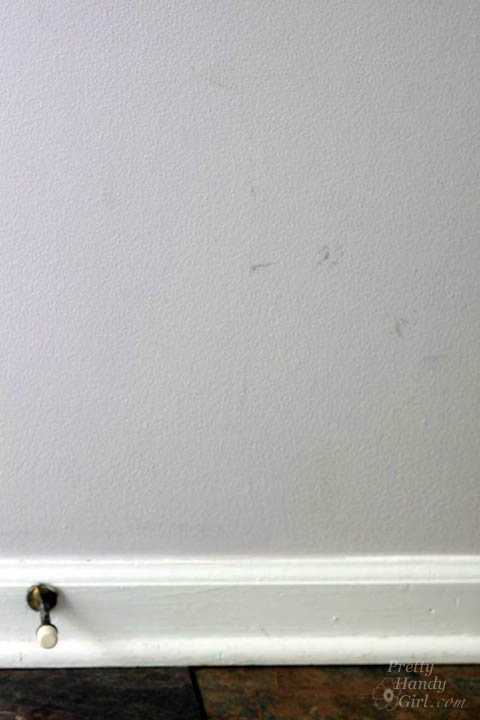
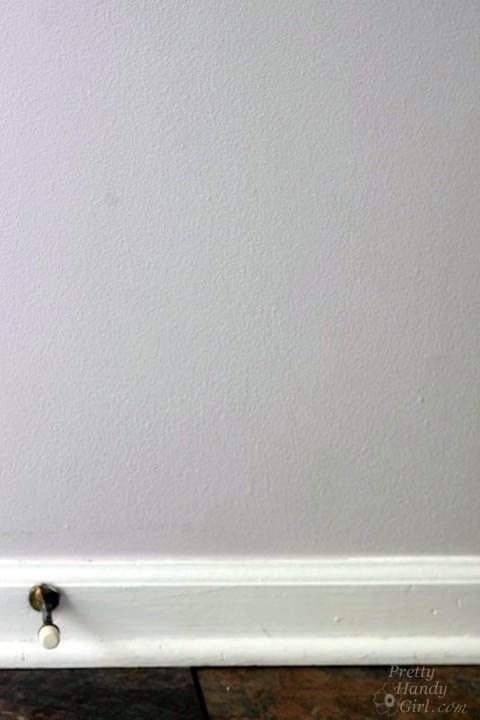
Locate your wall scuffs:

Easy Tricks to Remove Walls Scuffs | Pretty Handy Girl

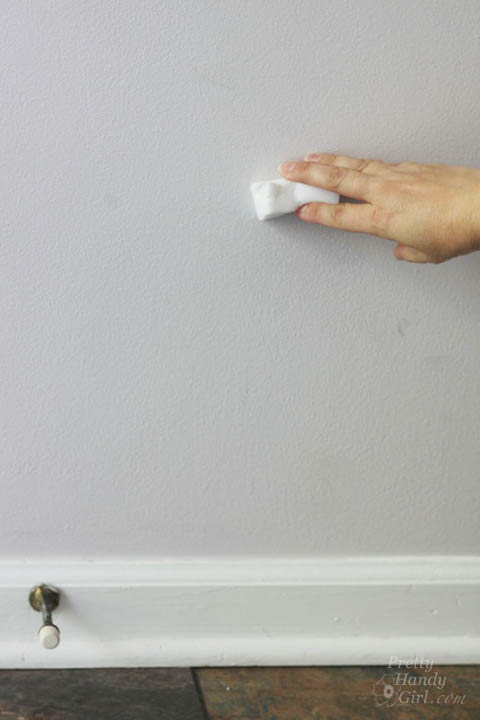
Gently rub the wall with the Magic Eraser until the scuffs disappear.

Easy Tricks to Remove Walls Scuffs | Pretty Handy Girl

Instantly gone, invisible and no more ghost evidence.

Easy Tricks to Remove Walls Scuffs | Pretty Handy Girl

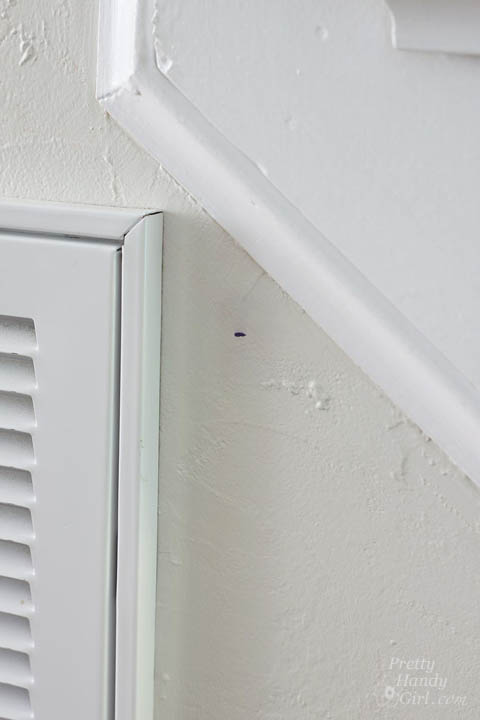
Recently I accidentally marked my wall with a Sharpie marker.

Easy Tricks to Remove Walls Scuffs | Pretty Handy Girl

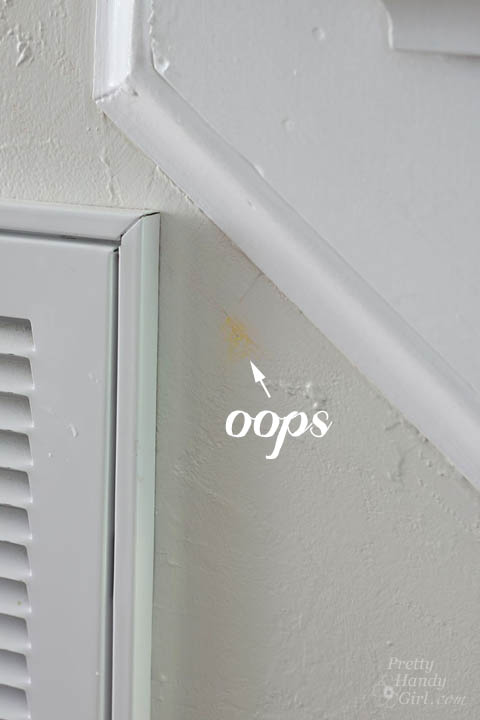
The Magic Eraser worked a little too well in removing the mark. I accidentally rubbed down to the old paint color.

Easy Tricks to Remove Walls Scuffs | Pretty Handy Girl

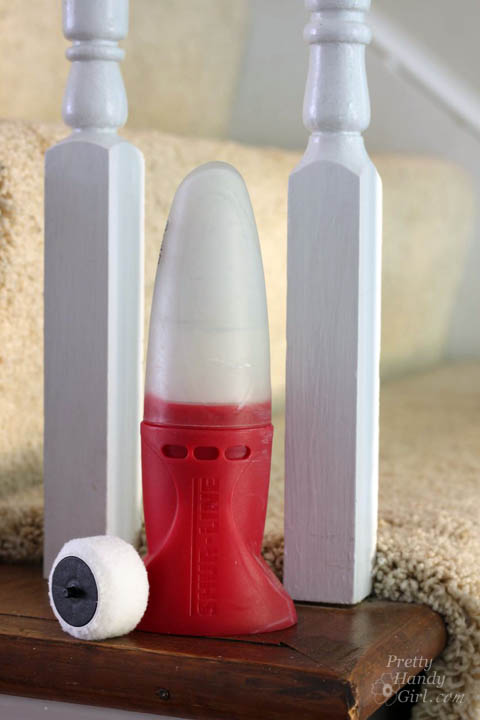
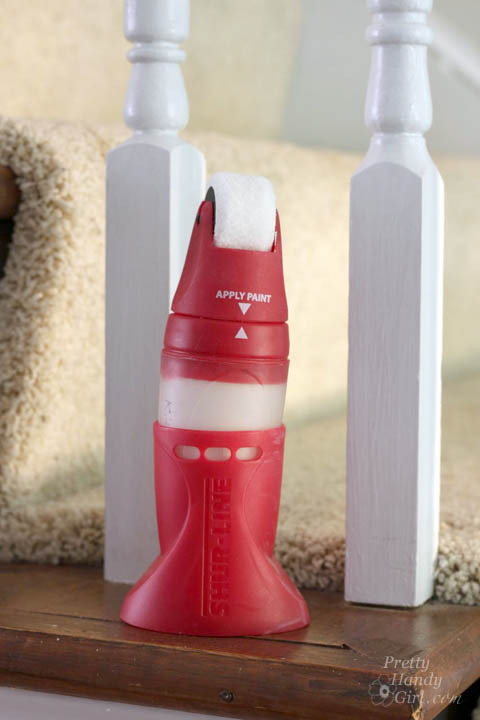
For true paint touch ups, I use the Shur-Line touch up painter. I poured this paint in the tube a year ago. Then stored it in the garage.

Easy Tricks to Remove Walls Scuffs | Pretty Handy Girl

I snapped a new roller into the top. After a year, the paint clogged at the release hole. But, I was able to poke a pin though to start the paint again.

Easy Tricks to Remove Walls Scuffs | Pretty Handy Girl

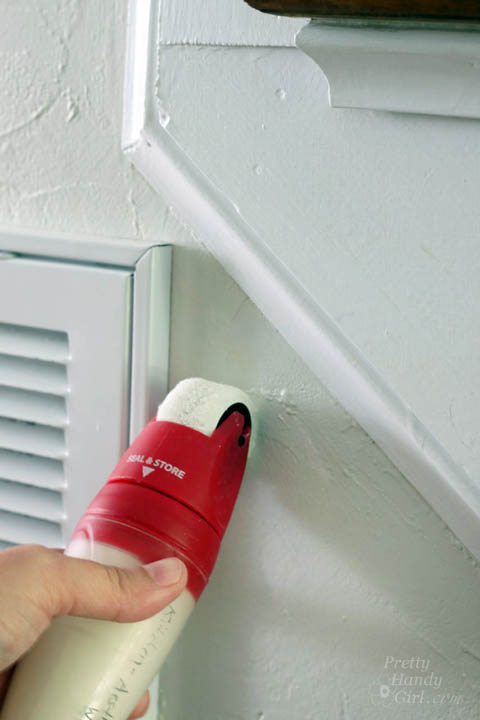
Then I rolled over the “oops” until it had good paint coverage.

Easy Tricks to Remove Walls Scuffs | Pretty Handy Girl

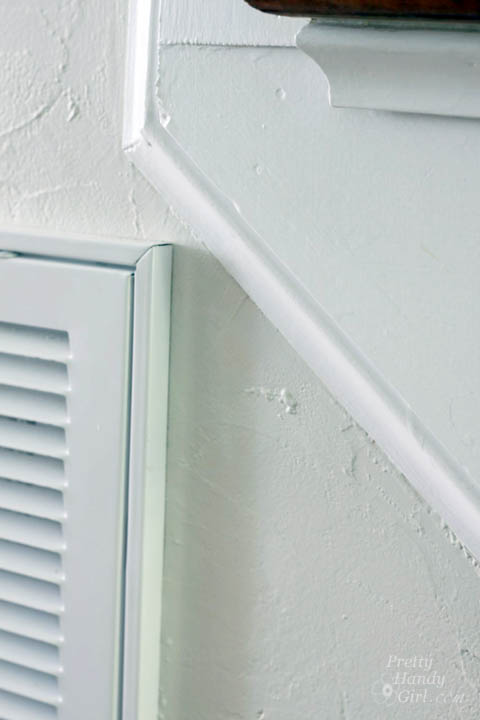
And the mark/scuff is gone.

Easy Tricks to Remove Walls Scuffs | Pretty Handy Girl

Do you have any tips or tricks for removing wall scuffs? I’m anxious to hear your tips.

PHGFancySign

Pin for later!

how to remove wall scuffs

I’m participating in Nester’s 31 Days Challenge. Check out all the other bloggers who are participating!

31 Day Writing Challenge

Don’t miss a single tip! Sign up to get all the tips in your email:


Sign Up for Email Subscription


Other tips in the 31 Days of Handy Home Fixes series:


Benjamin Moore Yellow Highlighter Painted Interior Doors | Pretty Handy Girl

Benjamin Moore Yellow Highlighter Painted Interior Doors | Pretty Handy Girl

I painted my interior front doors Benjamin Moore’s Yellow Highlighter. It’s my way to start my day off on the right foot. When I get up in the morning and head downstairs, I see my front doors and immediately Good Day Sunshine starts to play in my head!

Let me tell you how this happened. Remember when I was in the middle of the DIY project from HELL?! I tried to paint our front doors on the outside and the paint was peeling off. I wanted to curl up in a ball and cry. I wanted to run down the street screaming. Instead, what did I do? I decided to create a cheerful view when I go downstairs every morning. I put stripping the outside of the doors on hold for a day or two and focused my efforts inside.

Benjamin Moore Yellow Highlighter Painted Interior Doors | Pretty Handy Girl

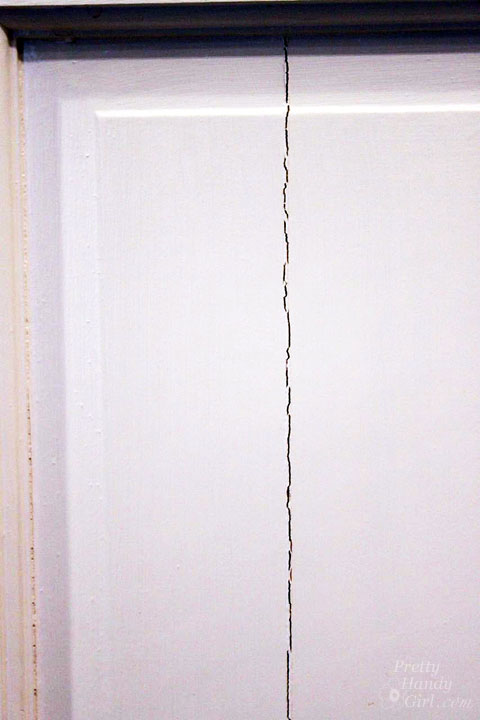
The solid wood doors are original to our house and had cracks in them.

Benjamin Moore Yellow Highlighter Painted Interior Doors | Pretty Handy Girl

Instead of replacing the doors, I fixed them by scraping the edges until they were smooth and devoid of bumps. Read more
How to Build Custom Rustic Crates | Pretty Handy Girl

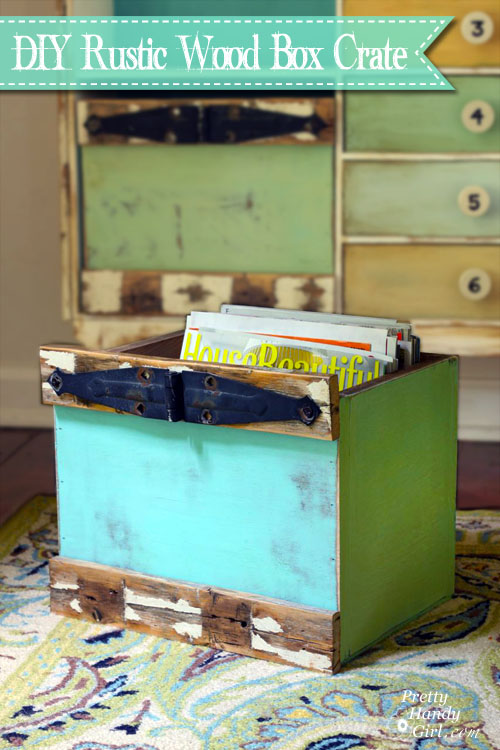
How to Build Custom Rustic Box Crates | Pretty Handy Girl

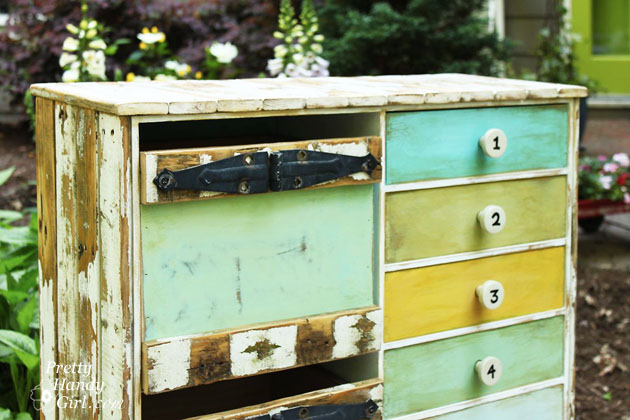
Making custom rustic wooden box crates is super easy. You can build your crates to fit in a book case or use them as drawers in a cabinet. When I was giving my IKEA cabinet a makeover, I chose to remove a door and build custom box drawers instead.

How to Build Custom Rustic Crates | Pretty Handy Girl

Here’s the super easy tutorial so you can build your own:

Materials:
(some links are affiliate links)
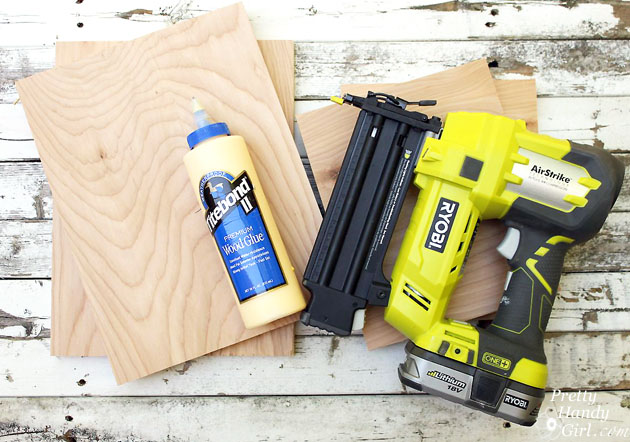
Tools:

Instructions:

Begin by cutting the 1/2″ plywood into four pieces the size you want for your crate sides.

How to Build Custom Rustic Crates | Pretty Handy Girl

Test fit the sides together. Add a line of glue to the ends of the plywood. Read more