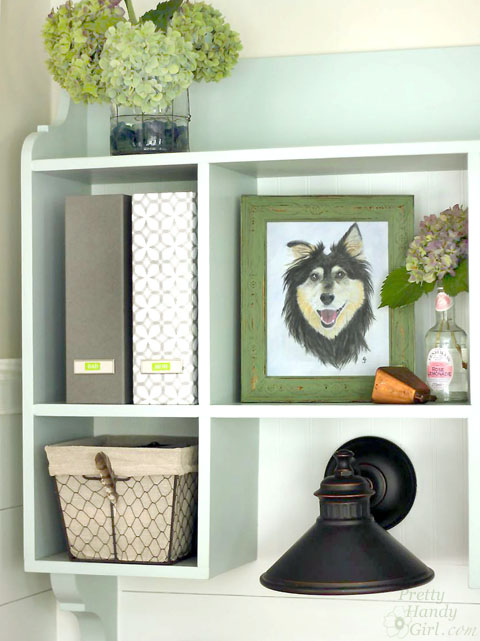
Buddy Handy Dog | English Shepherd Portrait

Buddy Handy Dog | English Shepherd Portrait

Hey y’all. Did you miss me on Friday? I missed you! It’s been quite a week, so I hope you don’t mind if I step away from the DIY tutorials today to share a little news from my personal life.
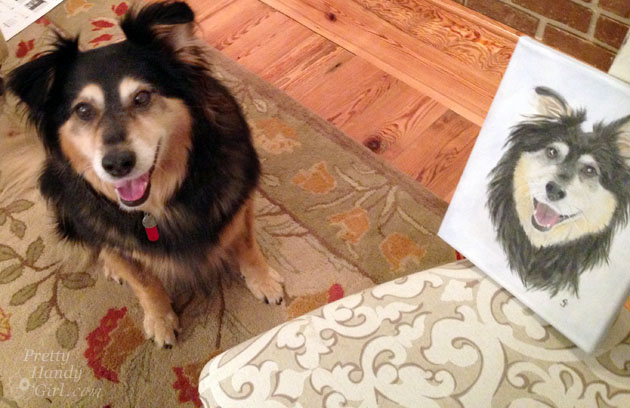
Buddy Handy Dog | English Shepherd Portrait

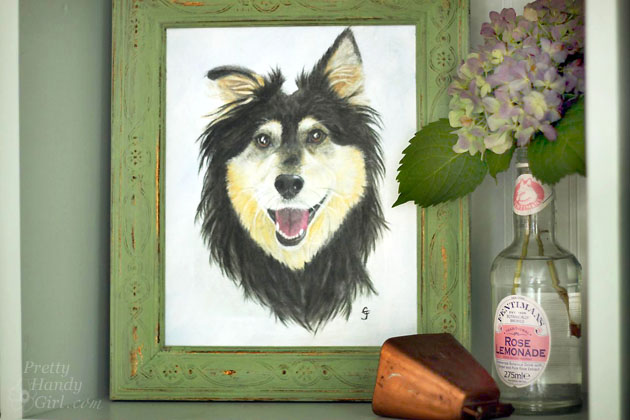
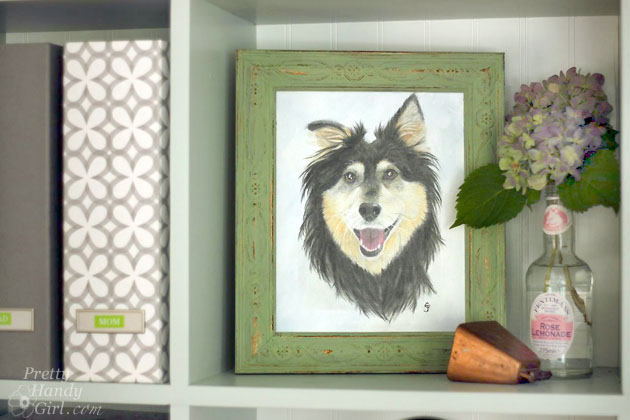
About two months ago, I received a sweet gift from a good friend. Colleen from Just Paint It created this beautiful custom portrait of Buddy aka Handy Dog for me. At the time, I was ecstatic, but little did I know that in less than a month this would be the only image I had of a smiling Buddy. Keep reading, this story does have a happy ending…I promise.
Buddy Handy Dog | English Shepherd Portrait

Buddy had been dealing with GI issues since the spring and our vet wasn’t sure what was causing them. He had been on a few meds (for an intestinal worm and for swallowing creek water) that we suspected threw his stomach into a tail spin (no pun intended.) As time progressed, he went from bad to worse. I knew he didn’t feel well and I could tell he was in pain. In an effort to keep from giving you TMI “to much information…thank you very much.” He ended up pushing his insides out. My sweet happy boy had slowly deteriorated and he was less and less of the happy dog we used to know. He also began losing weight.

Read more

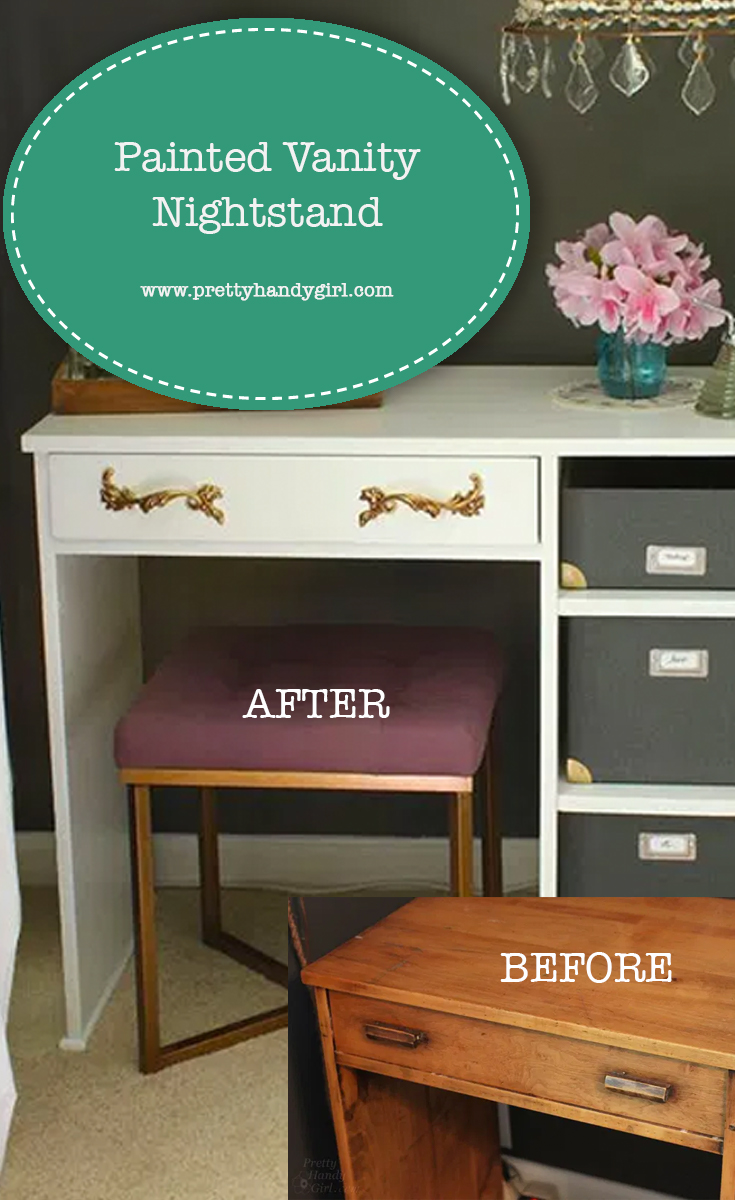
Painted Vanity Nightstand | Pretty Handy Girl

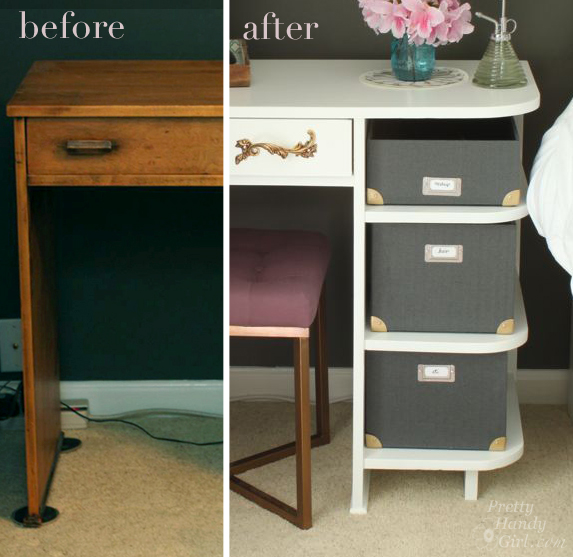
Painted Bedside Vanity | Pretty Handy Girl

In the quest to makeover our master bedroom and save money, I’ve been painting several pieces of furniture to coordinate with the new bed I built.

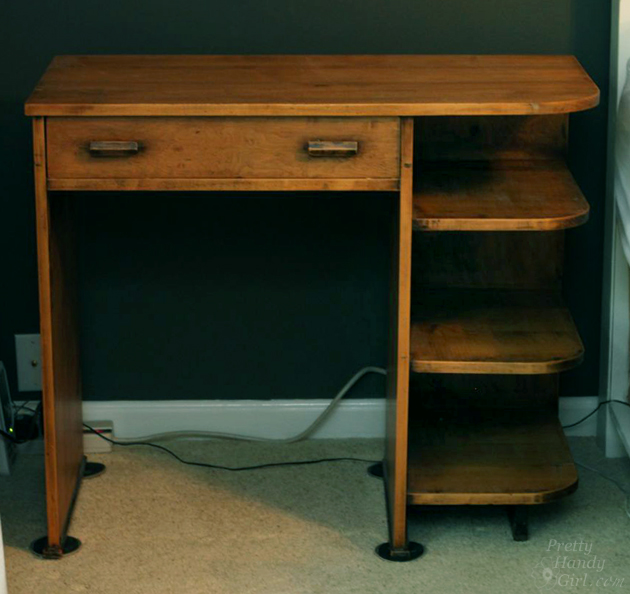
One of the pieces I painted was this small desk that doubles as a nightstand. Our bedroom isn’t very large and our master bathroom is even smaller than what can be described as a “master” anything! Doing my hair and makeup in our bathroom isn’t a viable option, especially when both Pretty Handsome Guy and I wake up at the same time. When I saw this little desk at a local thrift store, I grabbed it. Especially because she was only $20!

Painted Bedside Vanity | Pretty Handy Girl

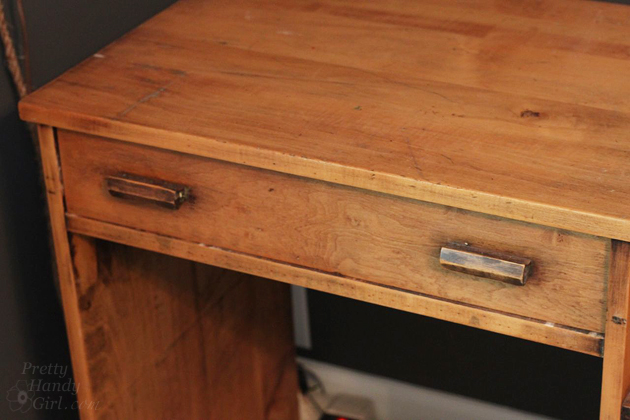
She had lots of age, but not much character.

top-of-wood-vanity

However, she was the perfect size and had just enough storage for a makeup vanity.

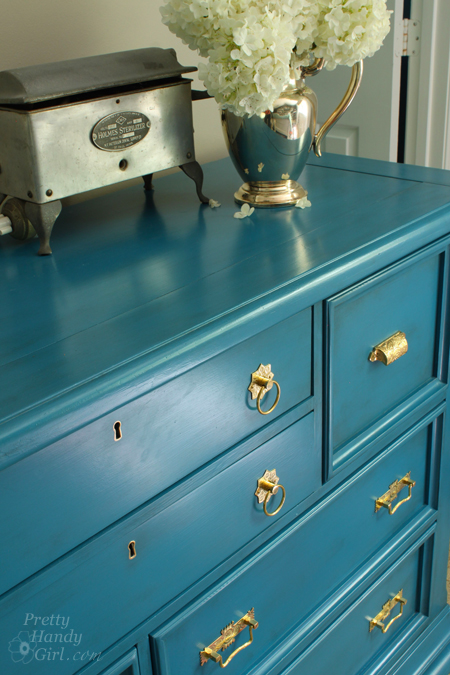
With a light sanding, primer and a coat of Benjamin Moore Advance paint, she is now showing her more glamorous side. Read more

Facelift for a Knotty Pine Dresser | Pretty Handy Girl

Facelift for a Knotty Pine Dresser | Pretty Handy Girl

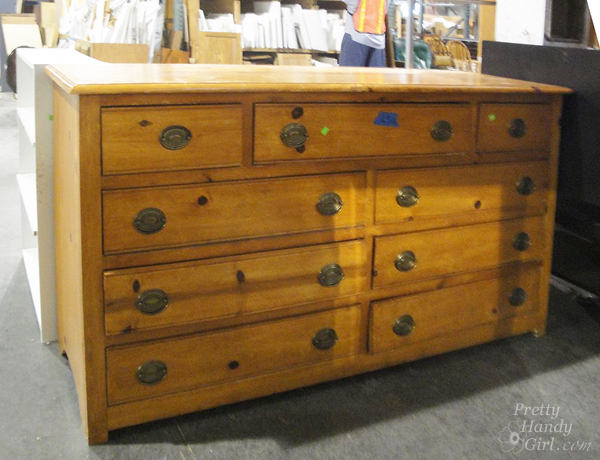
You know you’ve seen those knotty pine dressers from yesteryear. Their spotlight has faded and they are finding themselves at thrift shops, ReStores or worse yet…at the curb.

Facelift for a Knotty Pine Dresser | Pretty Handy Girl

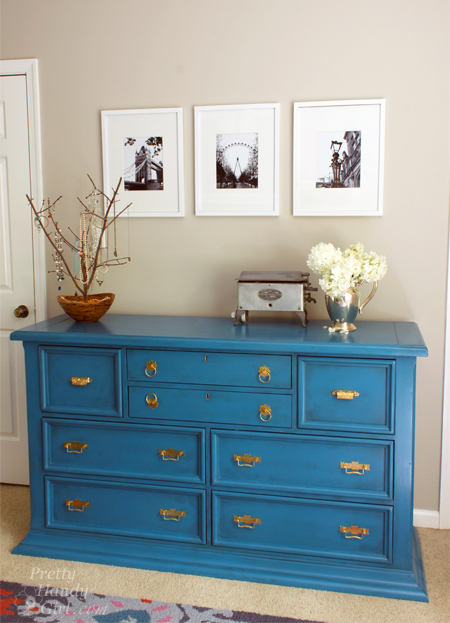
I’m begging you to let this knotty eyesore back into your home. It doesn’t have to be banished. It’s KNOT her fault she was built from cheap pine. All this dresser needs is a new coat of paint and some beautiful brass knobs and all her flaws and knots will be forgotten.

Facelift for a Knotty Pine Dresser | Pretty Handy Girl

Extra observant points to anyone who realized that this blogger forgot to take a good before picture! She looked very similar to the knotty pine dresser shown above, except she had wooden circle knobs and an unfortunate set of bun feet. I did remove the bun feet from the dresser when I first brought it home. Mama ain’t got no need for buns in this oven (or on my dresser.)

Here are the details on how to refinish a knotty pine dresser and give it a complete makeover!

Materials:

  • Sandpaper
  • BIN primer
  • Damp rag
  • Paint brush
  • Foam paint roller
  • Quart of Benjamin Moore Advance paint (Deep Ocean)
  • Valspar asphaltum glaze
  • Brass hardware (I bought mine from House of Antique Hardware)
  • Drill with bits
  • Screwdriver
  • Level

Instructions:

This tutorial will be fairly brief, if you need more photos and explanation, you can view my previous dresser painting adventure.

Begin by removing all the drawers and knobs. Lightly sand the dresser and drawer fronts. Wipe off any sanding dust. Read more

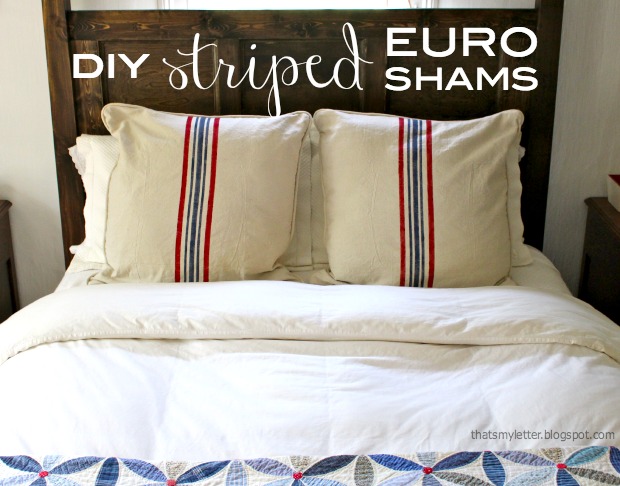
striped euro shams

Every DIYer loves a little drop cloth project right?  Jaime from That’s My Letter here to share how to make striped euro shams.

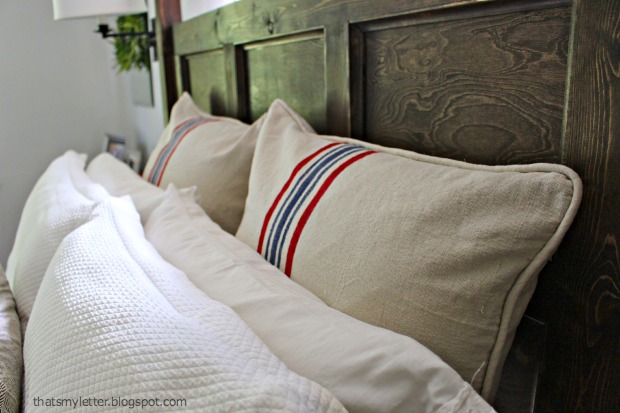
Using drop cloth and acrylic craft paint, I made these grain sack inspired shams to finish off our new poster bed.

striped euro shams 1

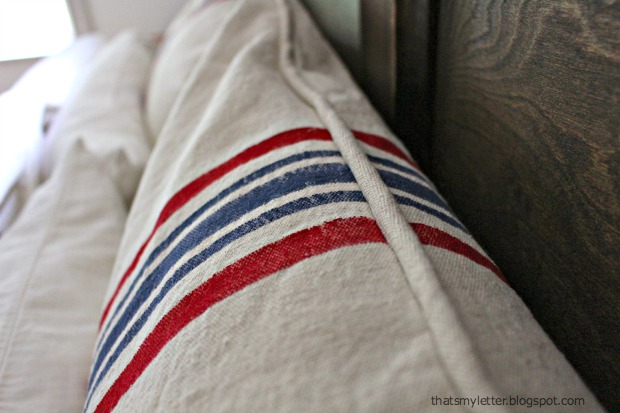
I added piping to finish the edges. It wasn’t too hard, and it was worth the extra effort.  Brittany has a great piping tutorial here or you could always leave off the piping if you choose.

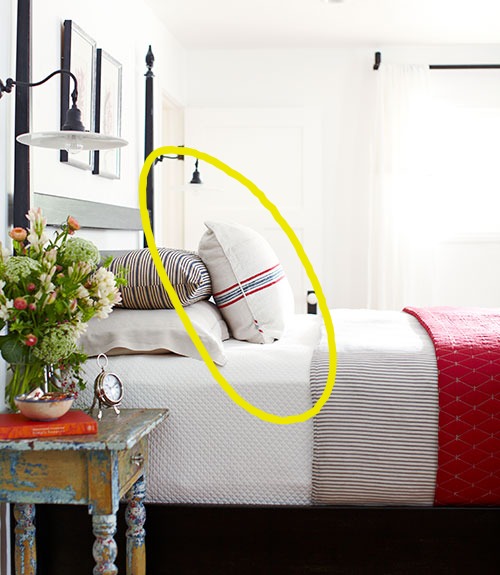
05-CLX-digging-deep-striped-duvet-cover-0613-xln 1

I found my inspiration for these shams from a Country Living article in the June 2013 issue.  The master bedroom in the featured home had the perfect striped lumbar pillow and I knew I just had to have my own!

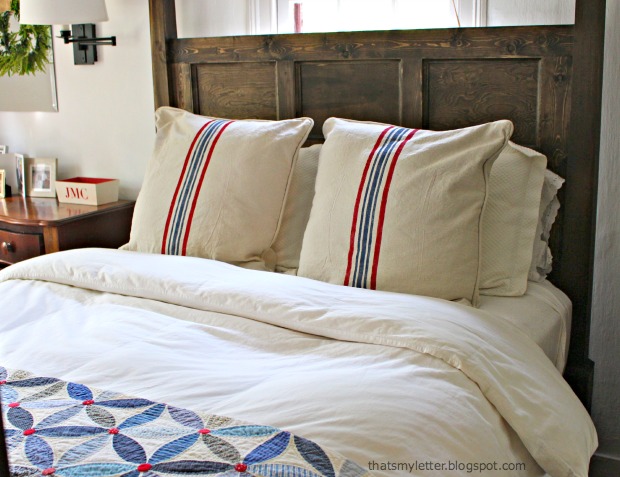
striped euro shams 3

Similar but different, these striped shams coordinate well with my Joseph’s Coat quilt.  Check out how easy it is to make your own shams:

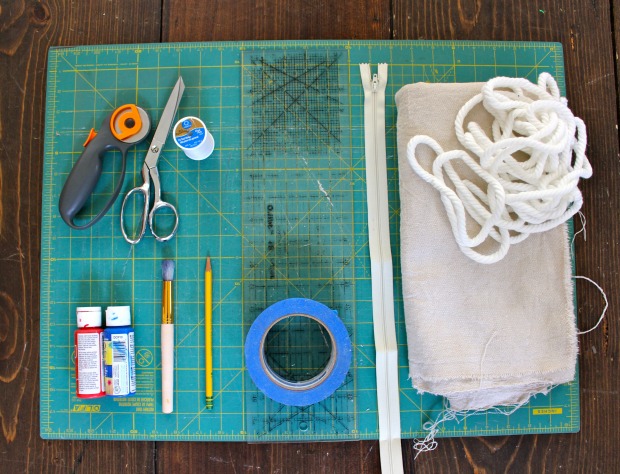
Materials:

striped euro shams supplies

  • drop cloth (2 – 26″ x 26″ square piece per sham)
  • cotton cording (2 yards per sham)
  • 22″ zipper
  • painter’s tape
  • stencil paintbrush or stiff bristle brush
  • acrylic paint
  • pencil
  • clear quilting ruler
  • rotary cutter
  • self healing cutting mat
  • scissors
  • thread
  • sewing machine
  • iron & ironing board

Instructions:

striped euro shams step 1

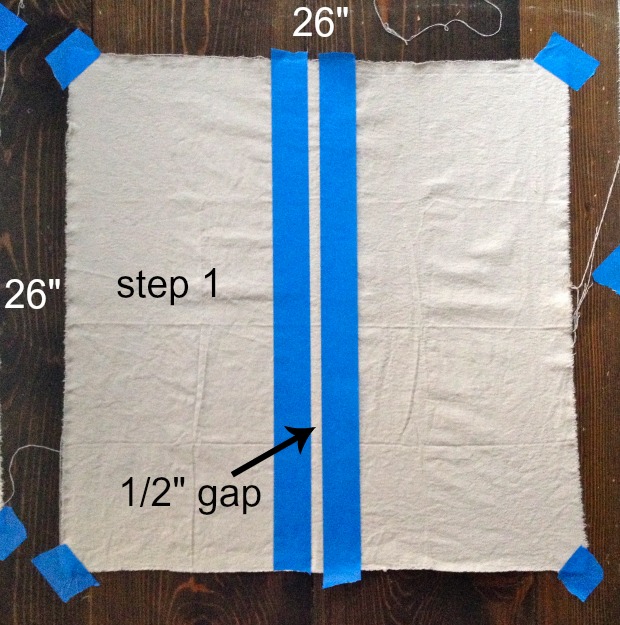
Step 1: Measure your sham inserts and add 1″ to each side.  (My inserts measured 25″ x 25″ therefore I cut the drop cloth at 26″ x 26″.)  Tape the corners of the drop cloth to a hard surface.  Slide a piece of cardboard under the drop cloth to protect your surface. Mark a 1/2″ wide stripe at the center and secure painter’s tape down either side of gap. Read more

How to Paint an Ombre Wall Technique | Pretty Handy Girl

How to Paint an Ombré Wall Technique

How to Paint an Ombré Wall Gradient | Pretty Handy Girl

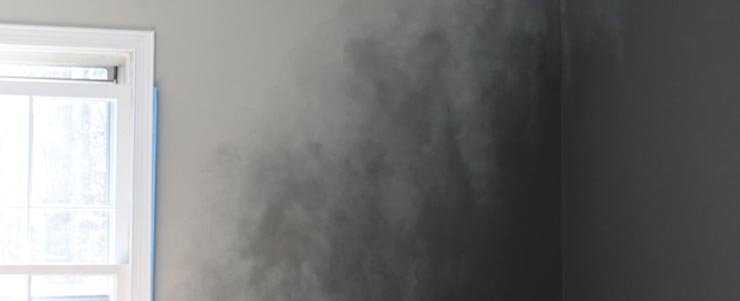
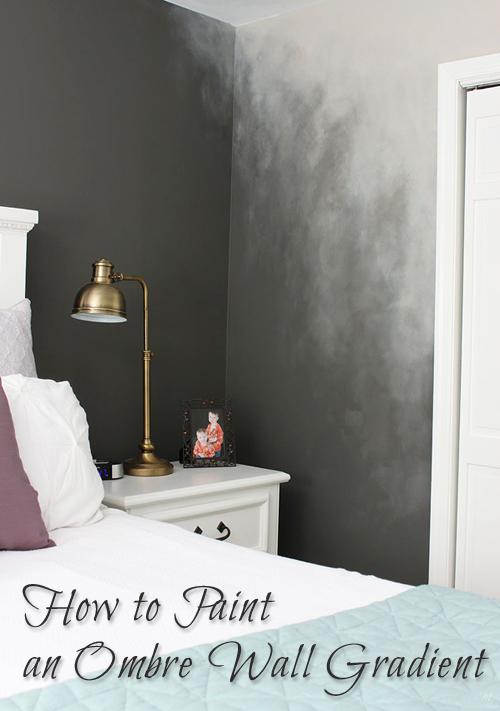
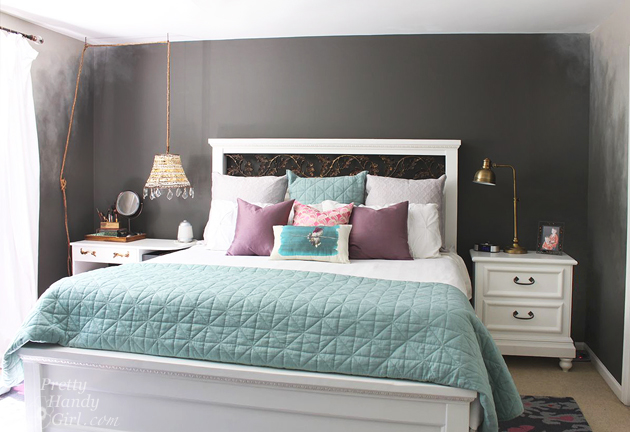
Ombré painting is EVERYWHERE. Clothing, home décor and even wall paint techniques. An ombré wall is the paint technique I chose to create a misty and ethereal look in our master bedroom. It started when I fell in love with Kendall Charcoal by Benjamin Moore but didn’t want to make our entire bedroom too dark (I have a hard enough time waking up in the morning.) I decided a good solution was to use the dark charcoal gray color on a focal wall behind the headboard. But, I didn’t want to stop the color in the corners and create a sharp line.

How to Paint an Ombré Wall Gradient | Pretty Handy Girl

Instead, I wanted a softer edge that would make us feel like we were being hugged by the room.

How to Paint an Ombré Wall Technique

How to Paint an Ombré Wall Gradient | Pretty Handy Girl

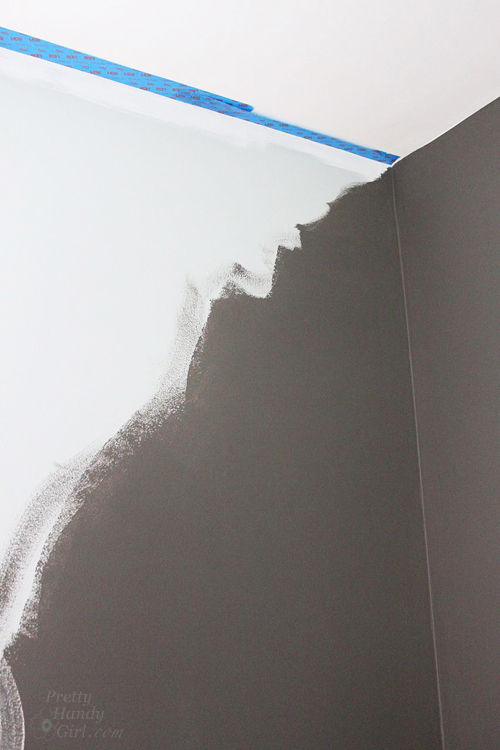
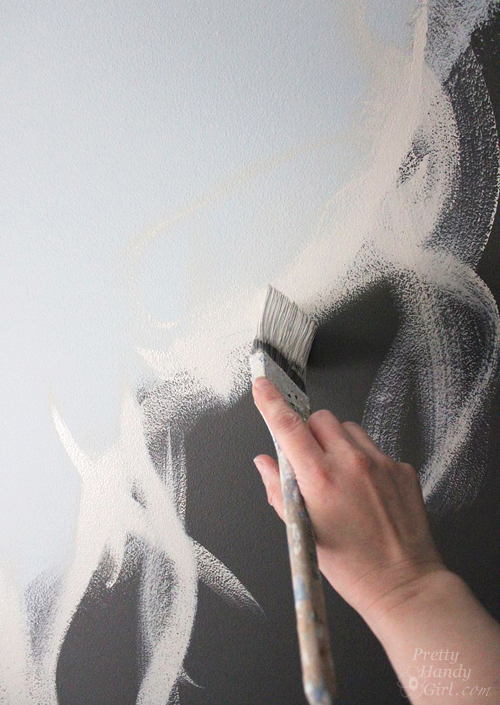
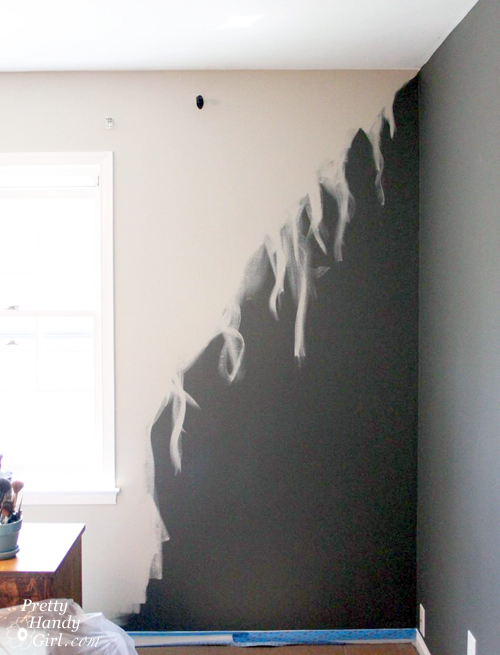
I used Revere Pewter by Benjamin Moore to paint the other three walls in the bedroom, but created a random ragged edge where the two colors meet.

How to Paint an Ombré Wall Gradient | Pretty Handy Girl

This is how the side walls look in preparation for the ombré wall technique.

How to Paint an Ombré Wall Gradient | Pretty Handy Girl

Materials:

  • Dark latex paint color (Kendall Charcoal by Benjamin Moore)
  • Lighter latex paint color (Revere Pewter by Benjamin Moore)
  • A small container with a mixture of the two colors to create an in between gray
  • Paint brush
  • Dry brush
  • Water-filled spray bottle
  • ScotchBlue Painter’s Tape
  • Damp car wash sponge
  • Rubber gloves
  • Wet wipes or wet rag

Instructions: Read more