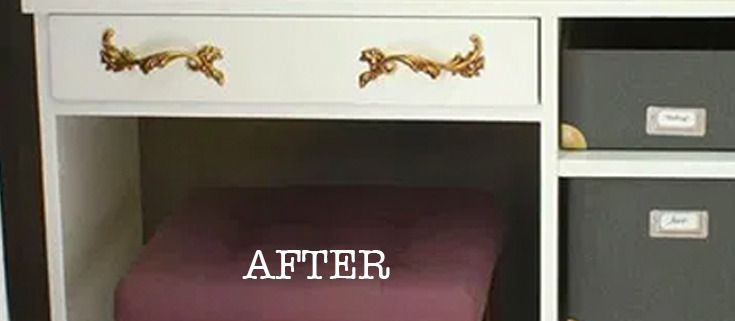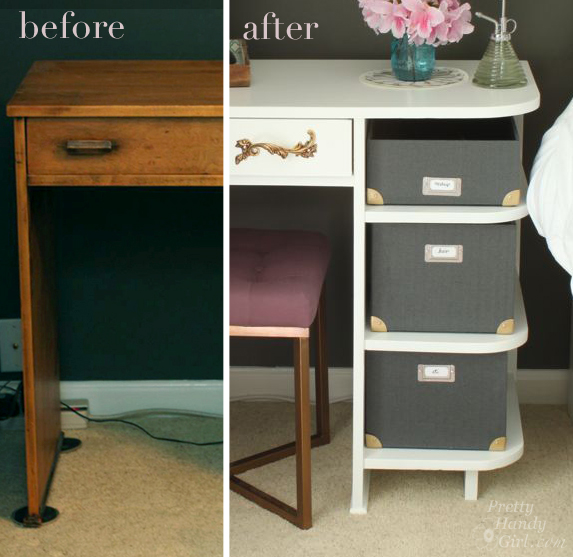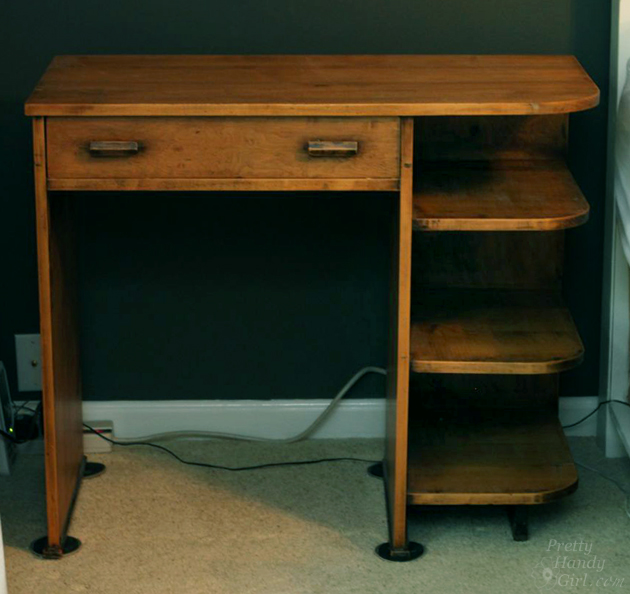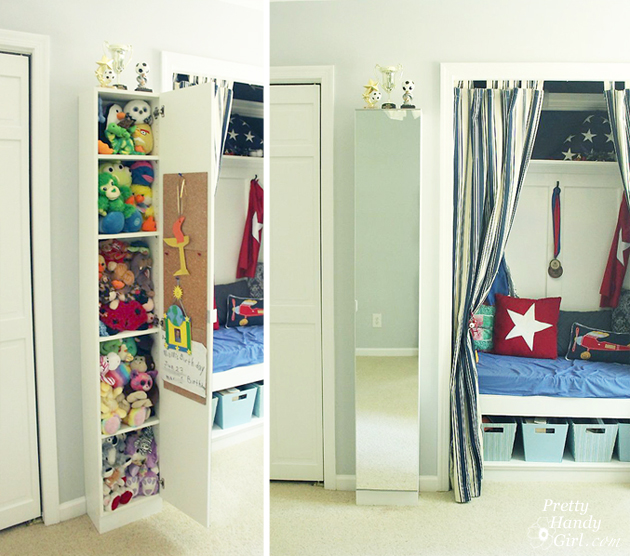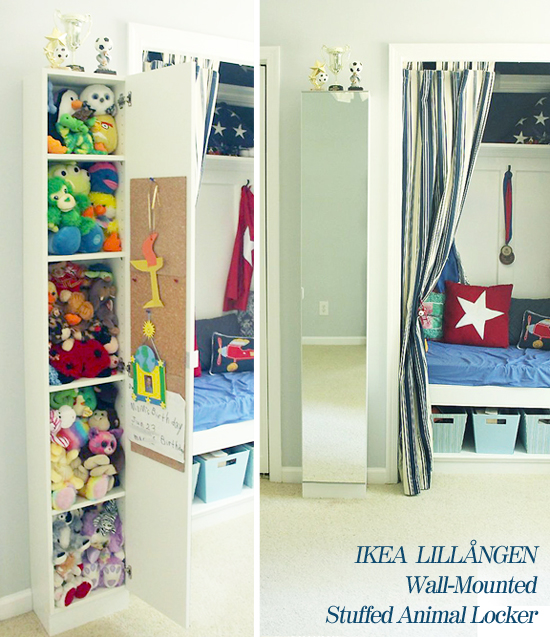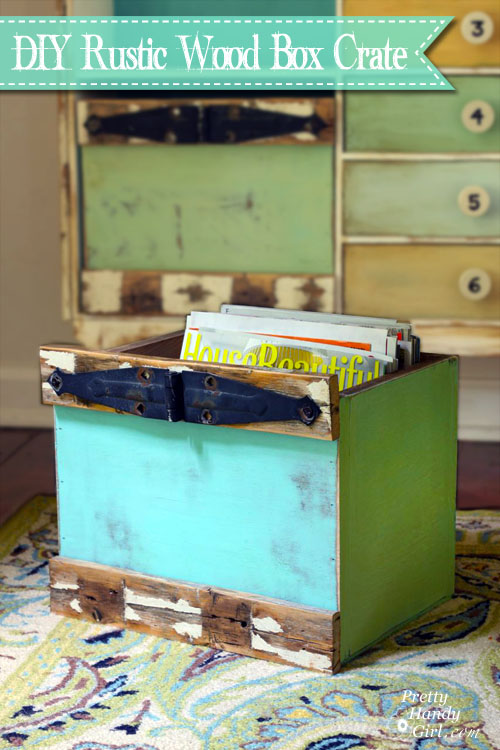
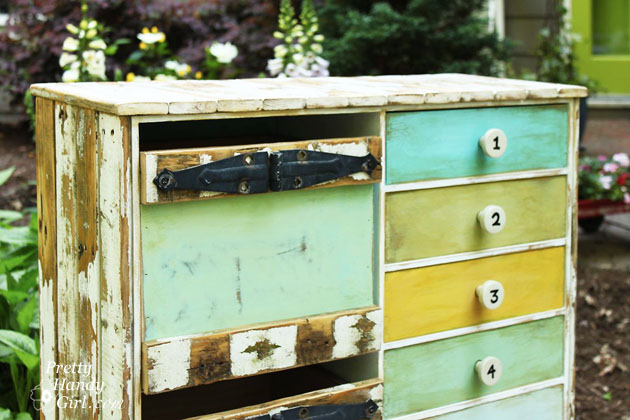
Making custom rustic wooden box crates is super easy. You can build your crates to fit in a book case or use them as drawers in a cabinet. When I was giving my IKEA cabinet a makeover, I chose to remove a door and build custom box drawers instead.
Here’s the super easy tutorial so you can build your own:
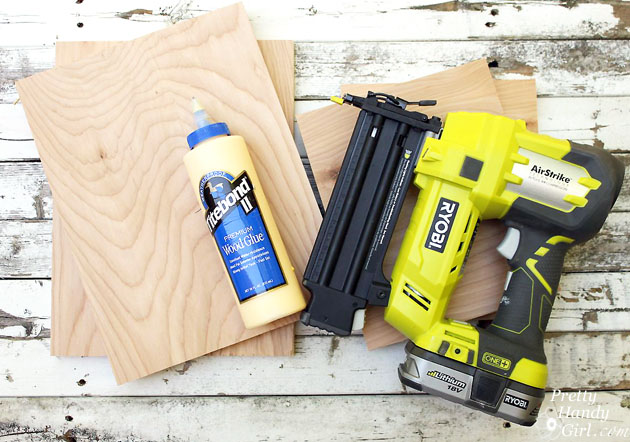
Materials:
(some links are affiliate links)
- 4 pieces of 1/2″ Plywood for sides
- 1 piece of 1/4″ Plywood for base
- Wood glue
- 1-1/4″ Finish Nails
- Minwax Walnut Stain Cloth
- Paint
- Scraps of wood for details
- 8″ strap gate hinge
- Wood Screws
- Pencil
- Sharpie Permanent Marker
Tools:
Instructions:
Begin by cutting the 1/2″ plywood into four pieces the size you want for your crate sides.
Test fit the sides together. Add a line of glue to the ends of the plywood. Read more