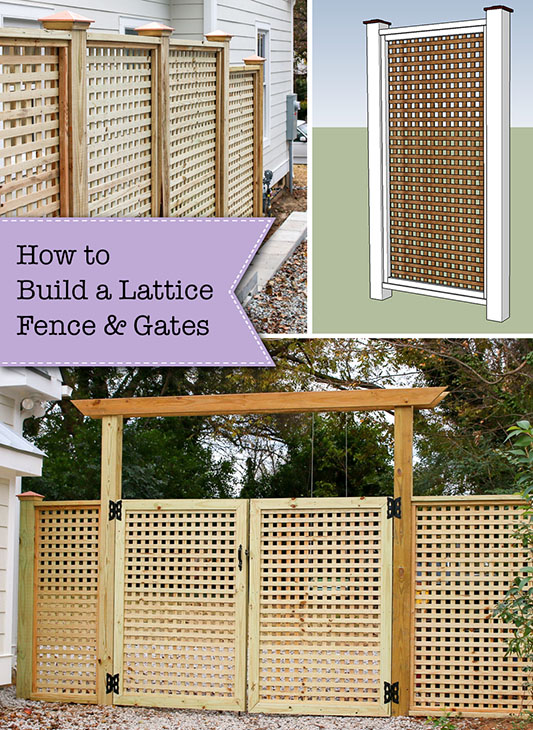
How to Build a Window Pane Lattice Privacy Fence and Gate
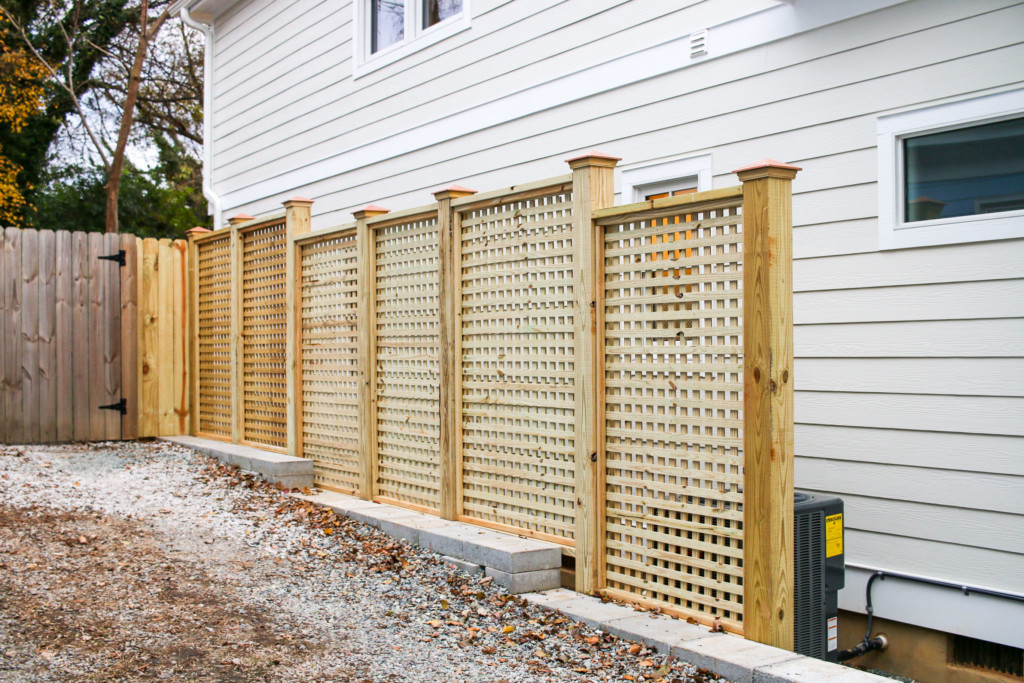
I should probably re-name this post How to Build a Window Pane Lattice Semi-Privacy Fence. But, honestly it’s only semi-private because the lots in downtown Raleigh are so close together and the next door neighbor’s driveway is against the privacy fence. All they have to do is lean against the fence and peek through to eliminate the “privacy” function. But, if we’re going to be honest here, their six foot picket privacy fence has cracks in it where the picket wood has shrunk. And, yes, you can see through their privacy fence too. But, in a suburban neighborhood, this fence would block the view from the road or a distance.
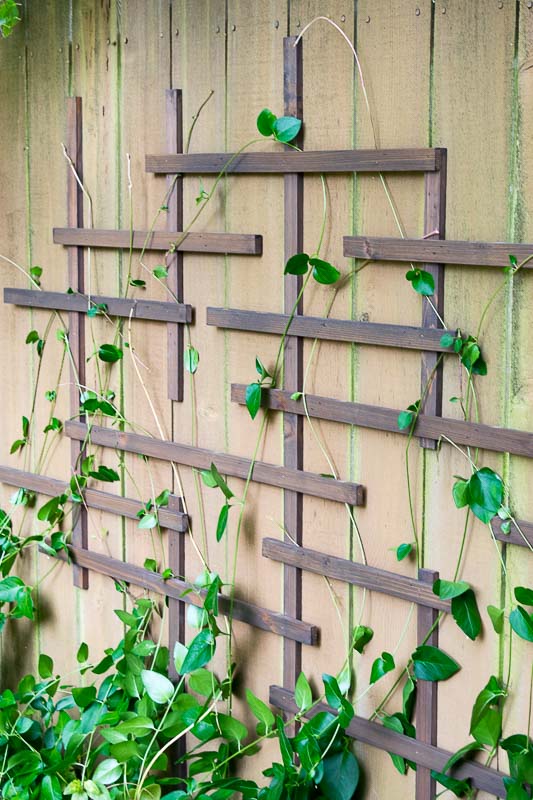
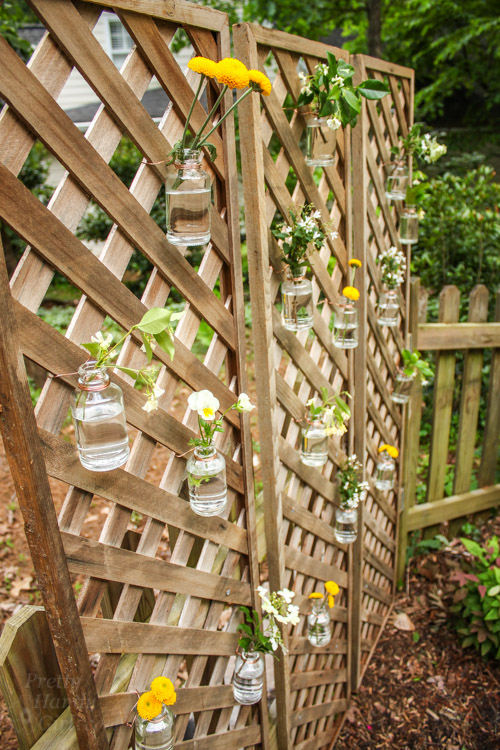
When I was considering fencing options for the Saving Etta project, I wanted to create a beautiful fence that was attractive to look at but also gives some privacy and security.
Why I chose to use a window pane lattice fence:
- I love the look. It’s a mixture of cottage and modern. And it’s perfect for a modern farmhouse style house.
- The new owners can train a flowering vine to grow up the lattice and create more privacy.
- It’s neighborly being able to see and talk to your neighbors next door. It fosters community!
As we drew closer to the holidays, I knew I had to push the accelerator on all the remaining projects at the Saving Etta project. Therefore, I did not build this fence, I hired a fence contractor to build it. But, I did design the fence and shared my design idea with the contractor. I took some inspiration from my Pergola with Trellis Screens.
The following tutorial is a basic construction guide for How to Build a Window Pane Lattice Privacy Fence and Gate. I didn’t oversee the construction, so I’m going to make some suggested fasteners, but ultimately you should gauge the strength of your fasteners especially when building the gate. If your gate is wider, you may need an additional cross or diagonal brace.
Tools & Materials:
(I’ve included affiliate links for your convenience. I earn a small percentage from a purchase using these links. There is no additional cost to you. You can read more about affiliate links here.)
- 6×6 Pressure Treated posts (be sure you have 1/3 to 1/2 the height of your fence extra to sink into the ground)
- 4’x8′ Window Pane Lattice (I found mine at Home Depot)
- 2″ x 6″ pressure treated lumber
- 2″ x 4″ pressure treated lumber
- 1″ x 4″ pressure treated lumber
- 2″ x 2″ pressure treated lumber
- Level
- Pencil
- Tape measure
- Power sander
- Drill
- Nailgun (my newest cordless obsession)
- Jigsaw
- Circular saw
- Speed Square
- Kreg Jig
- 2½” Pocket hole screws
- ½” exterior screws
- 2″ exterior grade finish nails (for nail gun)
- 1 ½” exterior grade finish nails
Before we get started, I want to express a huge thank you to Wood It’s Real for being a Saving Etta sponsor. As you might remember, they sponsored the side porch and the front flat sawn balluster project. And now, I have the honor of sharing yet another Wood It’s Real Sponsored project. Let’s learn How to Build Window Pane Lattice Privacy Fence and Gate using beautiful Southern Yellow Pine.

This build will take at least two days. Digging the post holes, setting the posts, and pouring the concrete for the posts can be completed on day one. But, you’ll want to wait overnight for the concrete to set up before building the fence panels. For more information on setting fence posts, you might find this tutorial by Quikrete helpful.
Before building your fence, be sure to research your local building codes; know if you have to meet any setback limits, and find out if you have any restrictive covenants for your neighborhood.
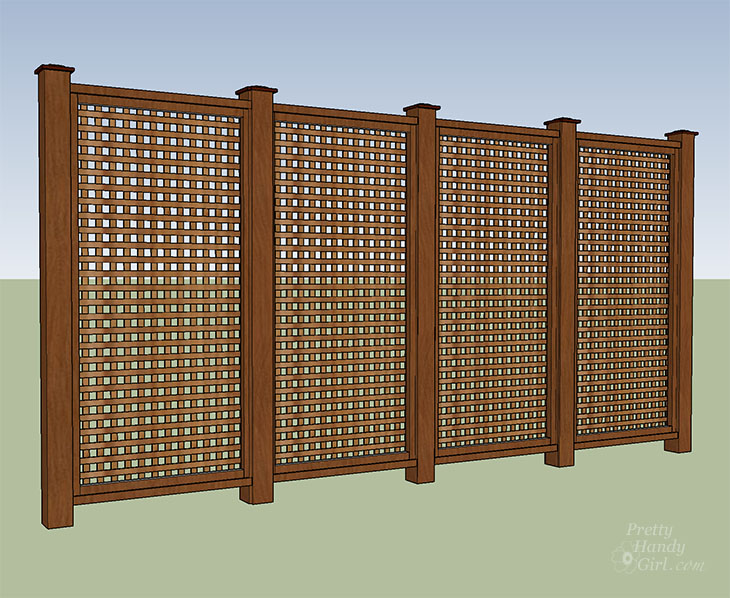
Building a Window Pane Lattice Fence:
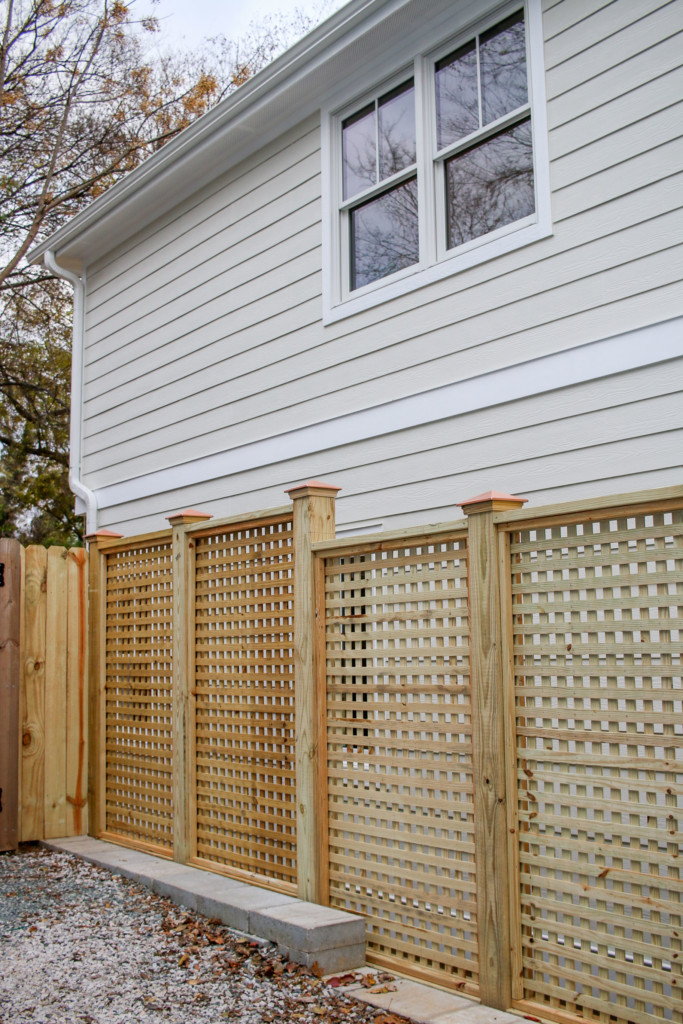
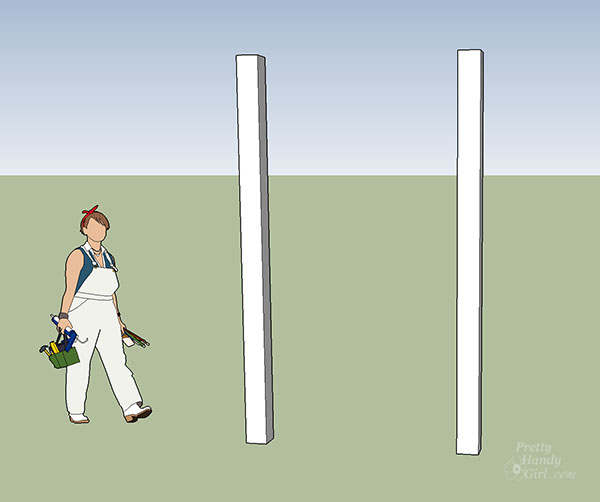
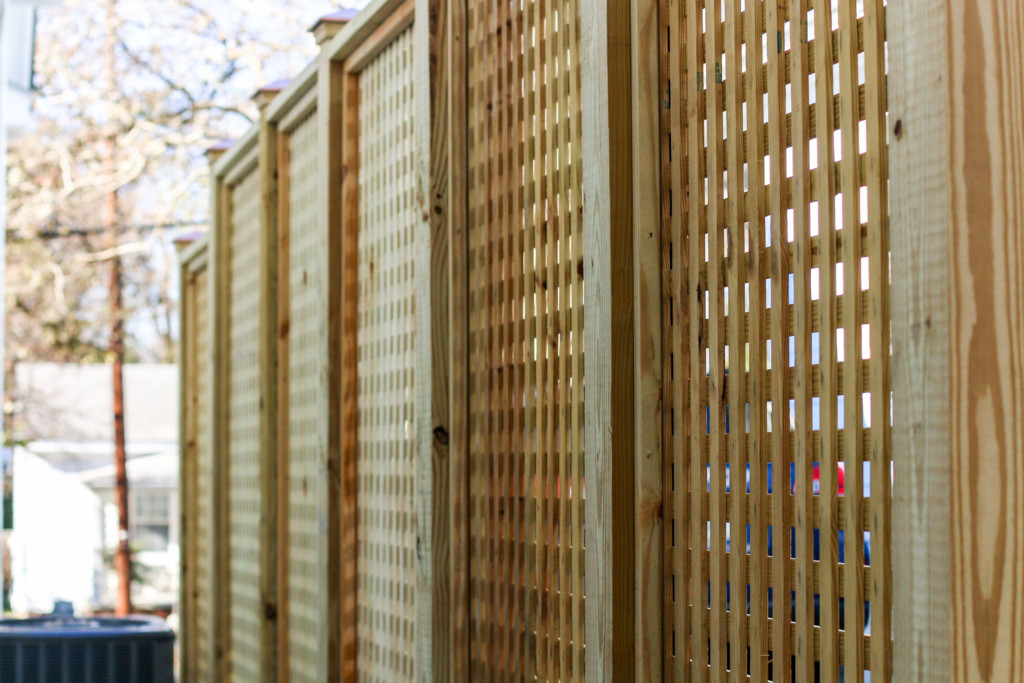
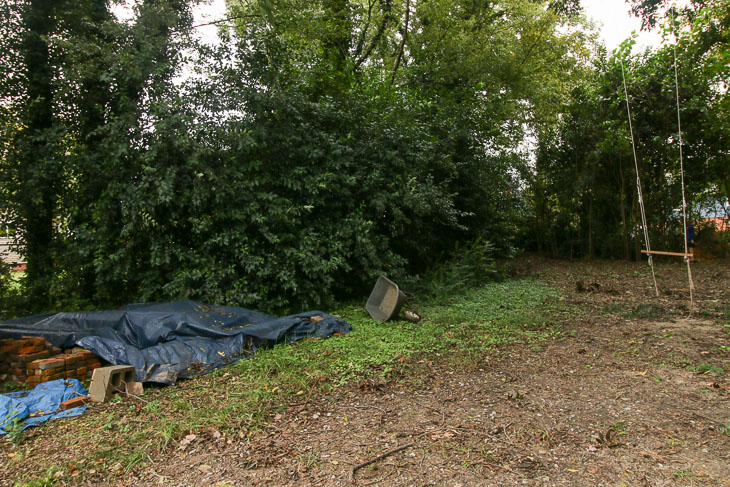
To create the tall privacy fence, we used one 4′ x 8′ lattice sheet vertically between the posts. Therefore, our posts were set four feet apart. After your 6×6 fence posts are set in the ground, you can start building your lattice fence sections between the posts.
Instructions:
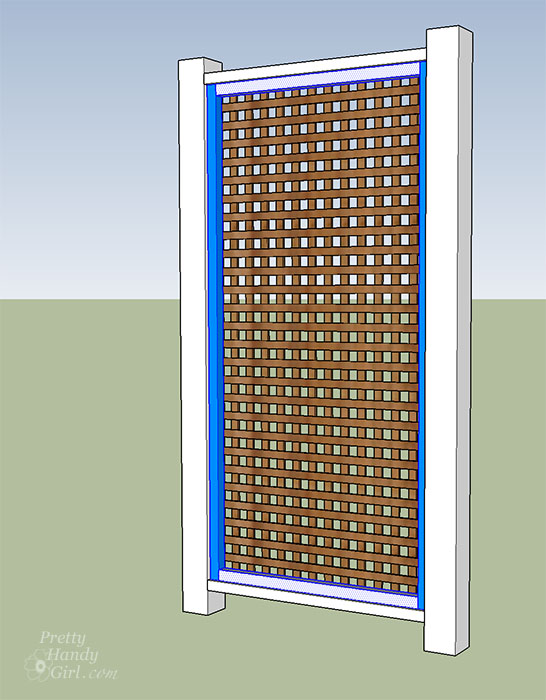
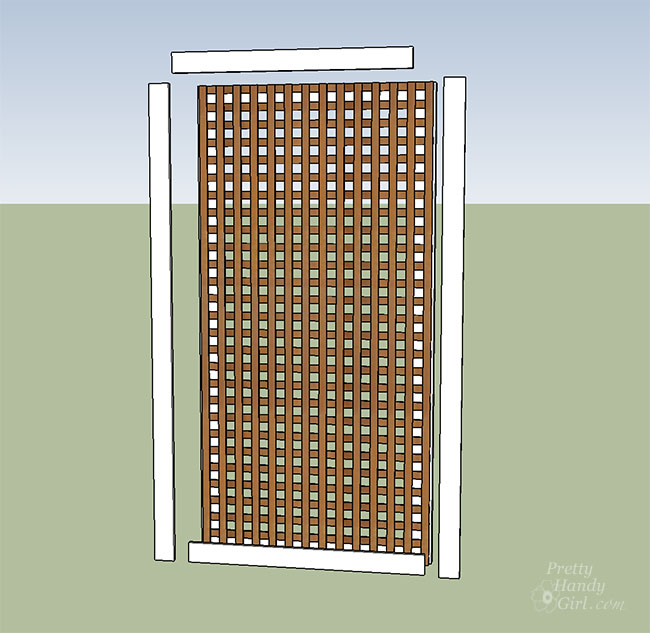
Measure and cut two 2×6 pieces of pressure treated lumber to fit between the top and bottom of the posts. Level and secure to the 6×6 posts using exterior grade wood screws.

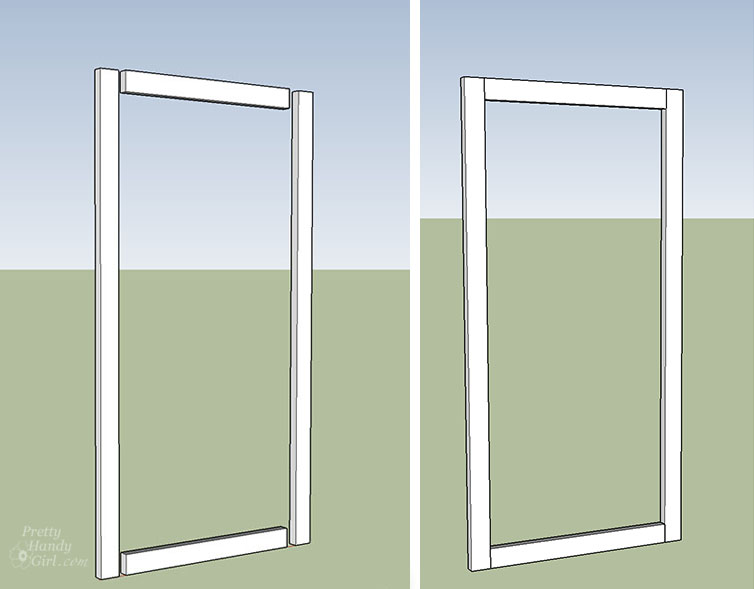
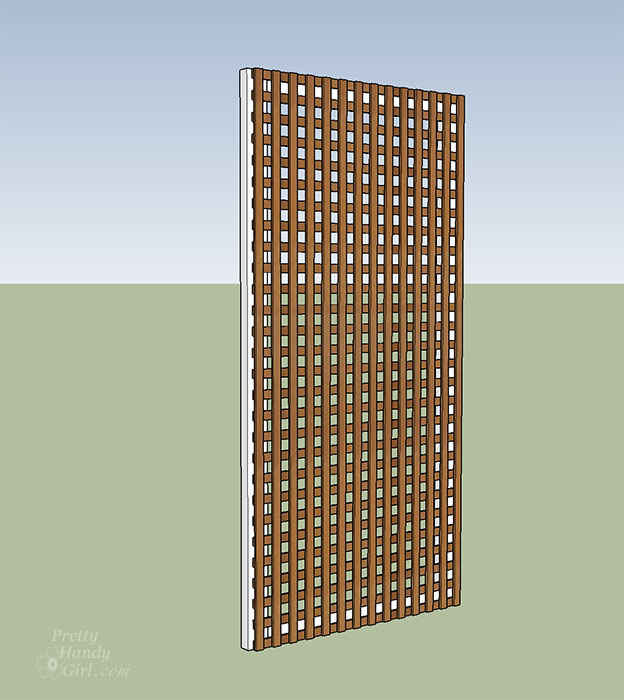
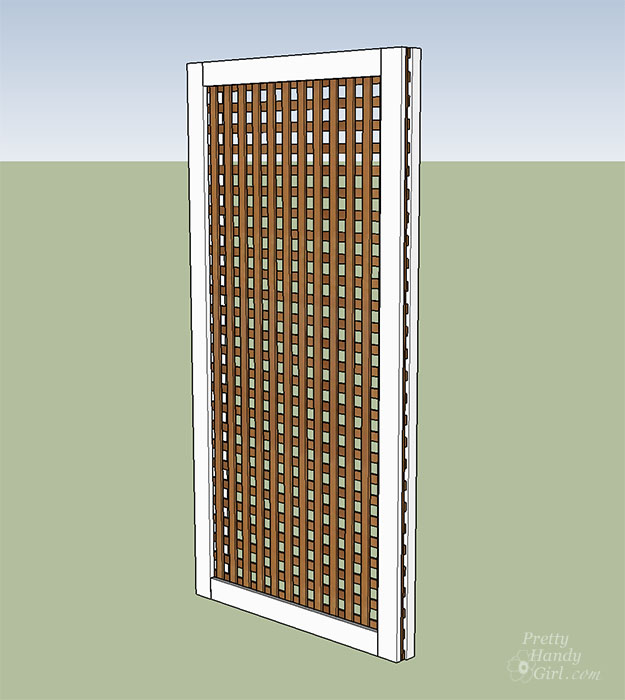
Center your 4×8 lattice panel in the center of the 6×6 posts. Cut 2×2 lumber to create a frame to support the lattice.

Secure the 2×2 frame to the inside of the 6×6 posts and the 2×6 horizontal lumber. You can use wood screws or 2″ finish nails to secure the 2×2 frame. Add another 2×2 frame to the other side of your lattice.
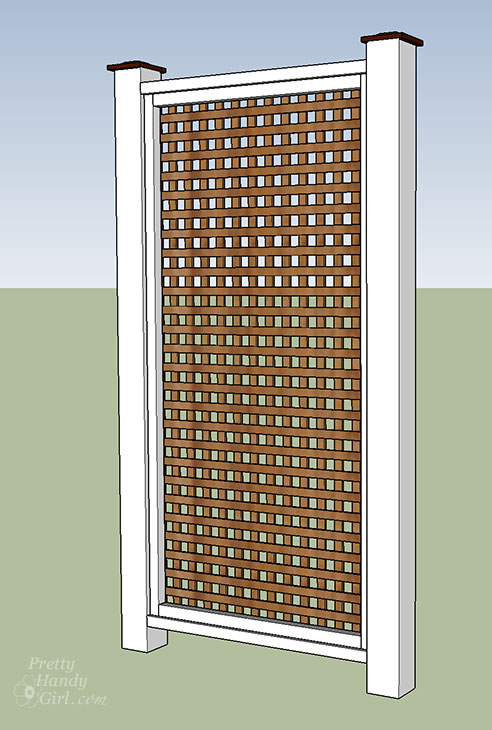
Add post caps to the top of your fence to protect the posts from rot (and to make your fence look pretty.)
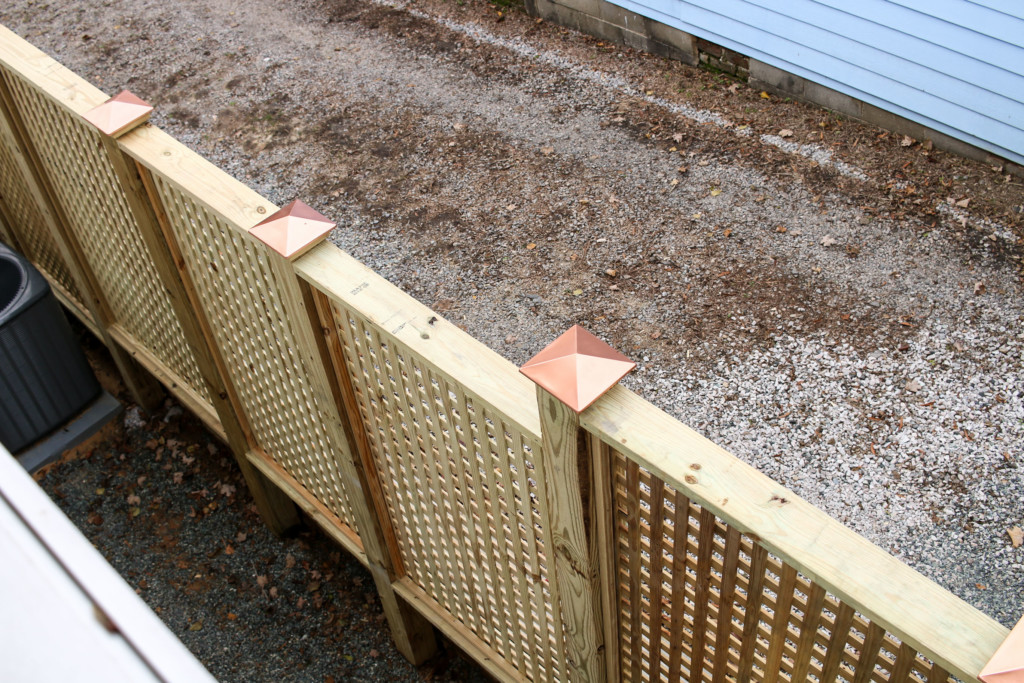
Repeat the steps above to create as many window pane lattice fence sections as you desire.
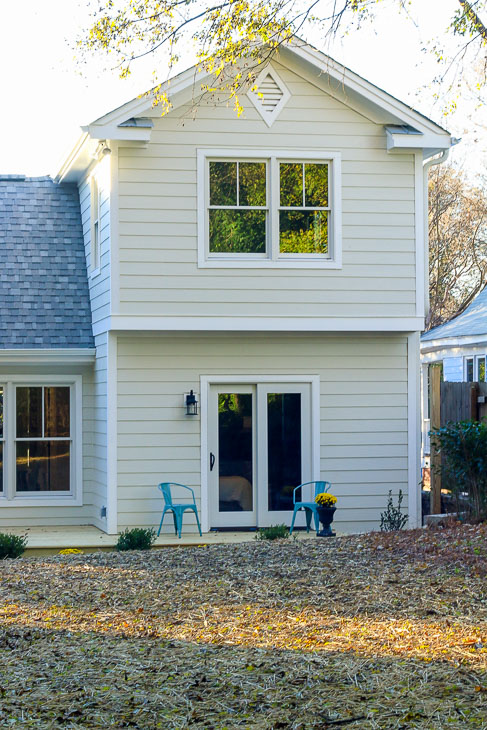
Depending on the angle of sight, you can see some shapes through the fence. This is the view from the bathroom window. I’ll be sharing how I added complete privacy to this window in a later blog post.
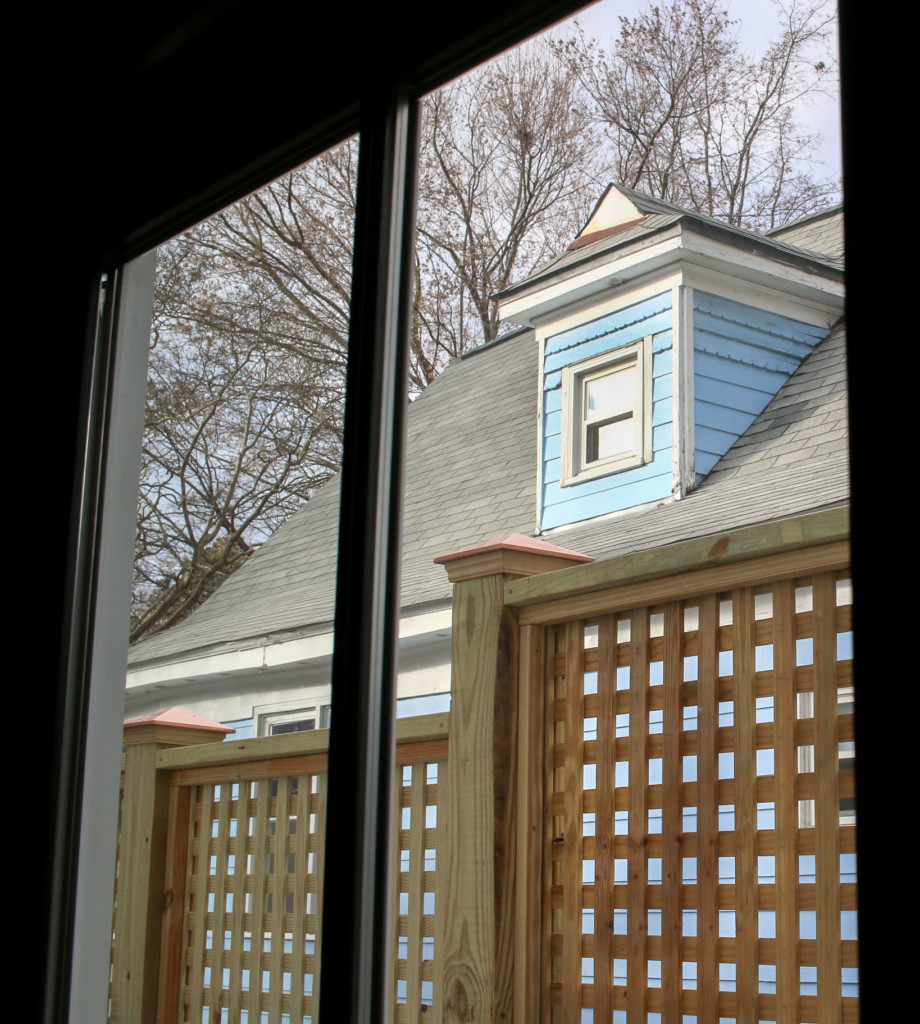
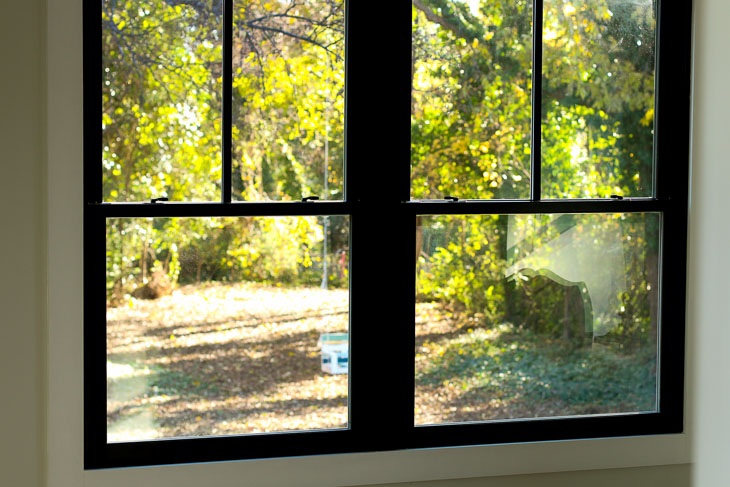
From the bedroom you can barely see the neighbor’s car through the fence.
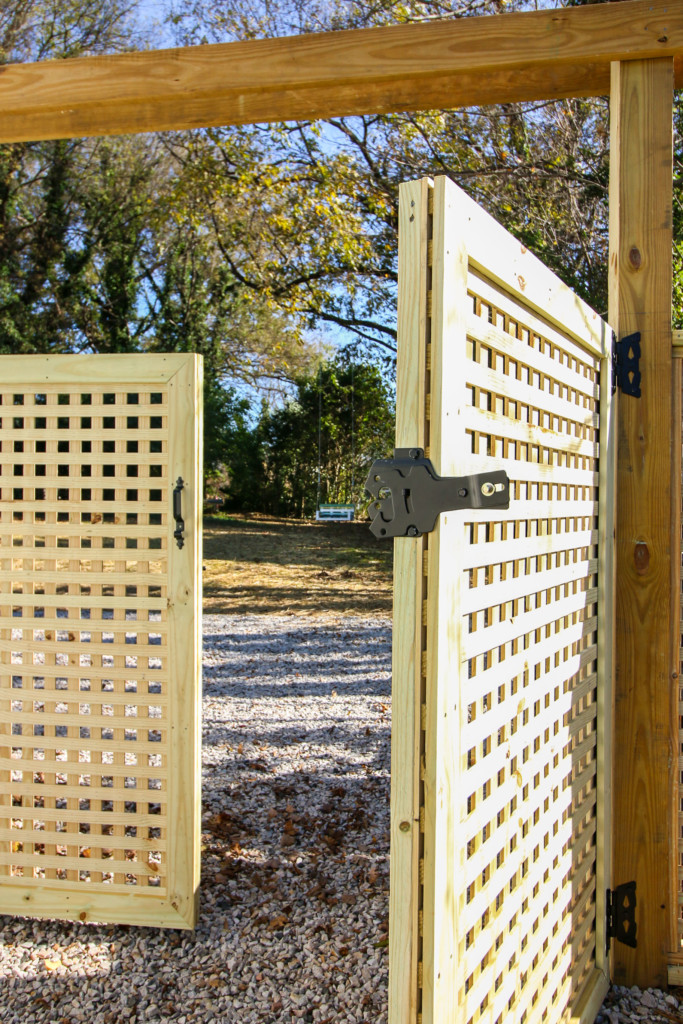
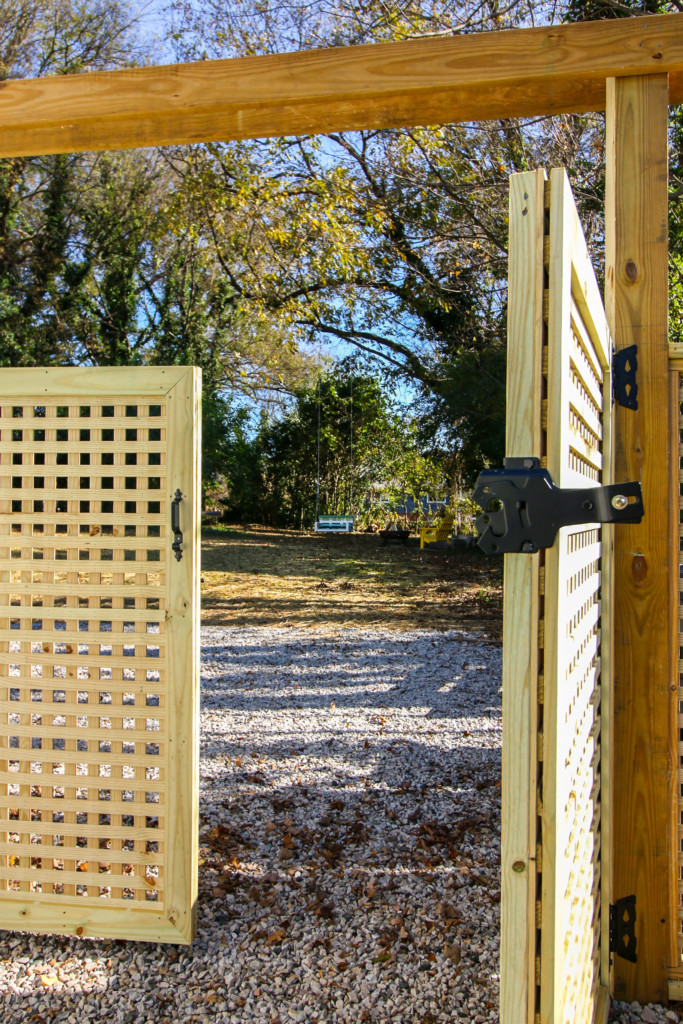
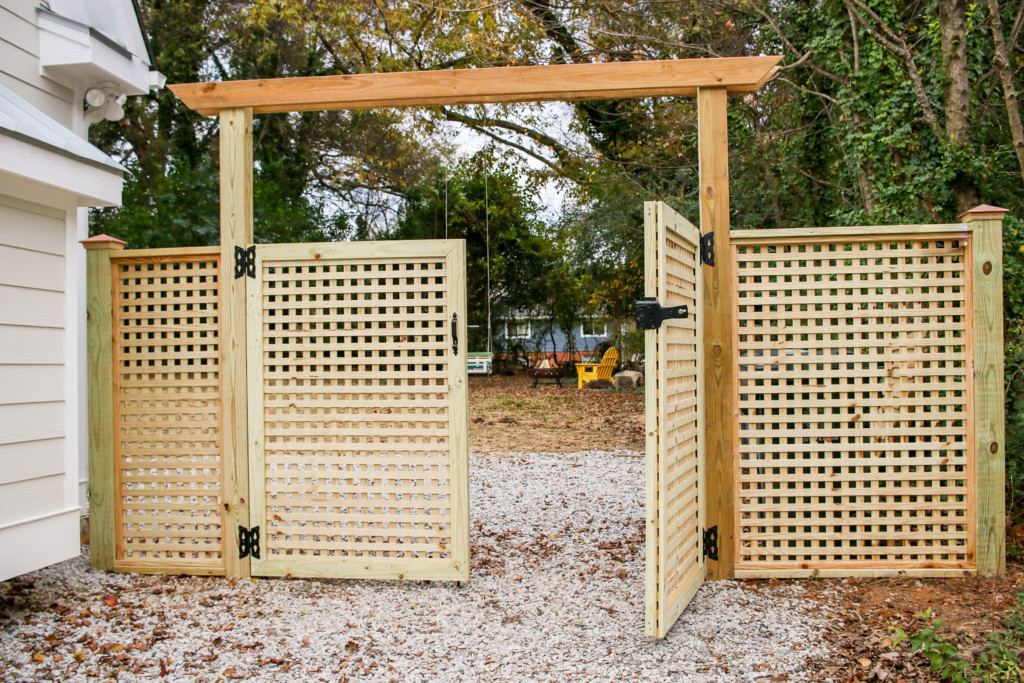
How to Build a Window Pane Lattice Gate:
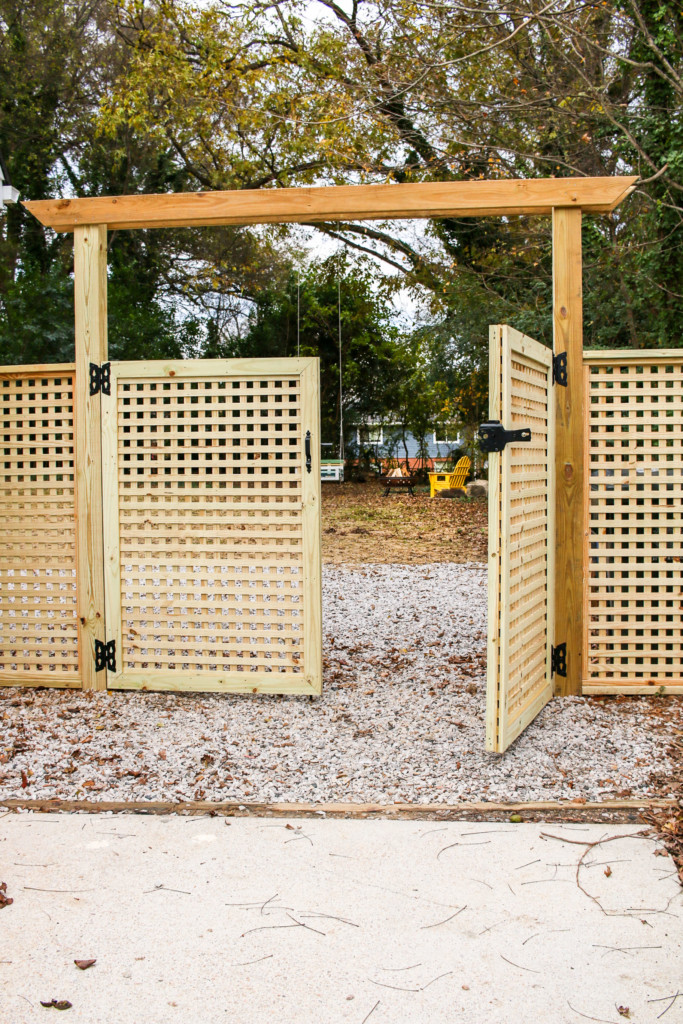
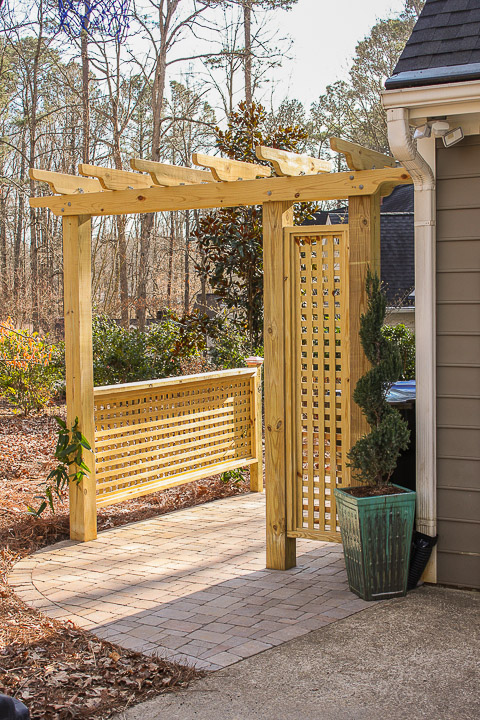
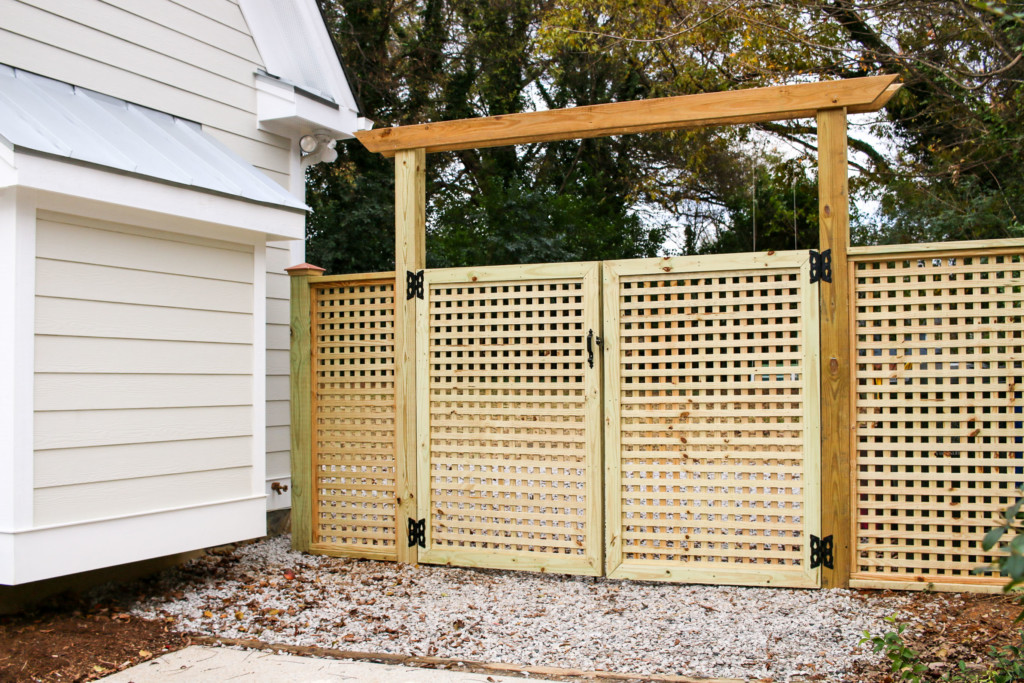
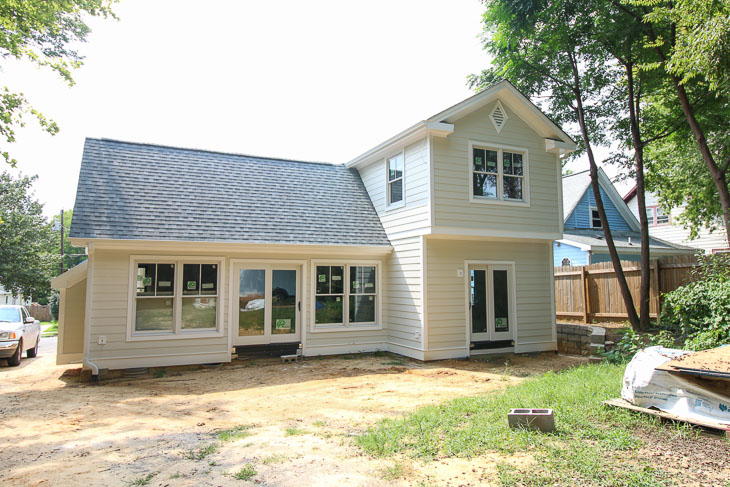
To match the window pane lattice fence, I challenged my fence contractor to build matching lattice gates at the end of the driveway. I wanted the opening to be wide enough to drive a car through (should they want to park in the back of the house or get a delivery of mulch or other landscaping materials.)
Instructions:
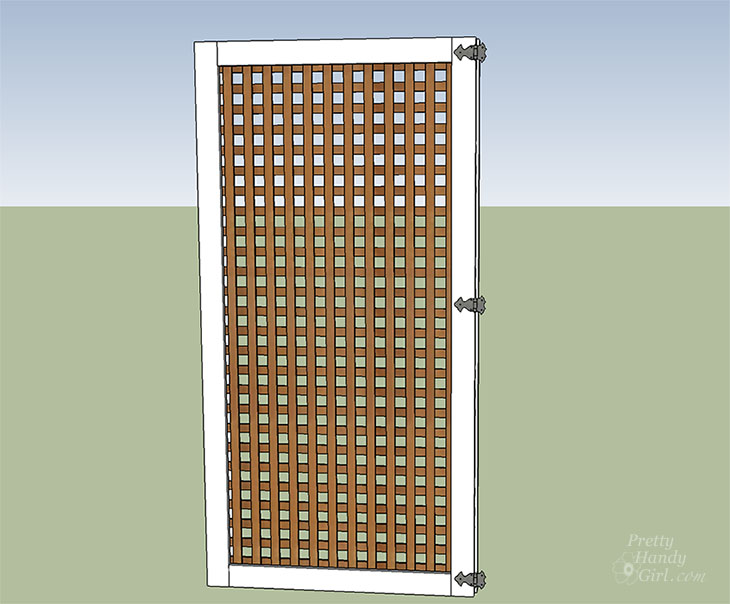
Measure and cut your 2×4 pressure treated lumber. For a 4′ x 8′ gate, cut the vertical pieces exactly 8′ in length. The top and bottom pieces should be cut 41″ long. Secure the frame with pocket hole screws in the corners of the frame. (Click here to learn how to use a pocket hole jig.)
Lay the 4×8 lattice panel on top of the 2×4 frame. Tack the lattice in place using 1 ½” finish nails.
Measure and cut your 1×4 lumber using the same measurements as the 2×4’s.
Secure the 1×4 boards to the lattice and the 2×4’s using 2 ½” exterior wood screws. (The lattice will be sandwiched in the middle and the screws should extend through the 1×4’s and the lattice and into the 2×4 frame.)
Your gate construction is complete. Add hinges and gate hardware and secure to a 6×6 post.
These gates are rock solid and shouldn’t sag over time. The lattice keeps the gate square.
For a decorative touch, we added two 2×6 pieces of lumber across the two gate posts to create a pergola. The new owners can put a potted vine next to each post and allow the vines to grow up and over the pergola.
A metal drop rod is secured to the left side gate for stability and to keep both gates from swinging in when latching.
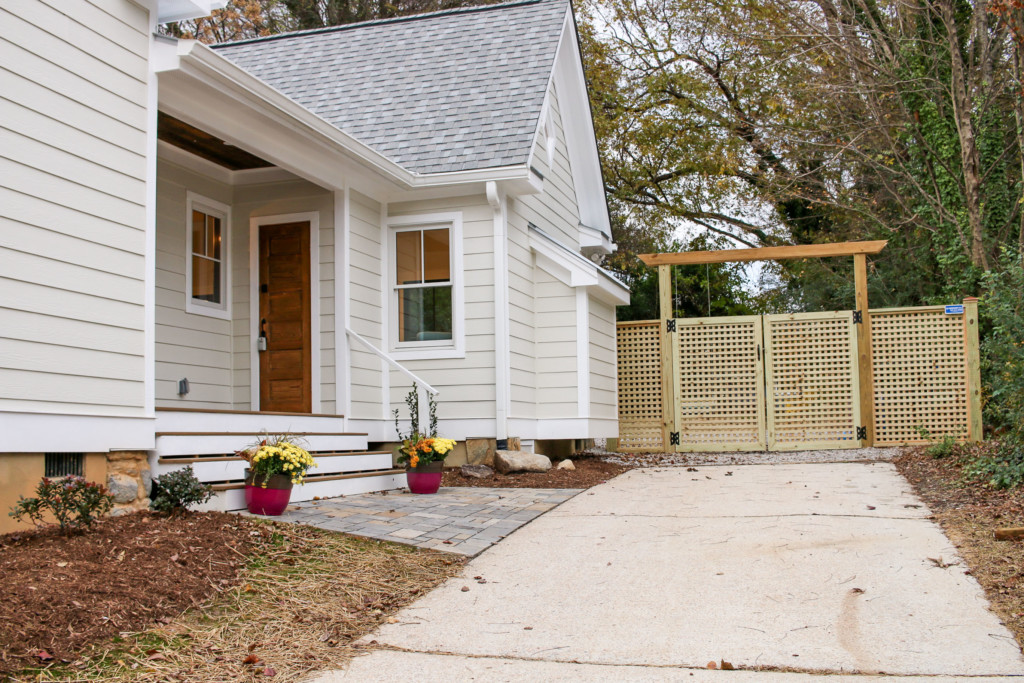
The window pane lattice provides plenty of privacy from the road. But, it also allows the homeowners a view to see if anyone is coming up the driveway.
What do you think? Do you like the window pane lattice fence and gates? Would you leave it natural or stain it?
![]()
Disclosure: This post is a sponsored post for Wood It’s Real. It was written as part of their sponsorship of the Saving Etta project. I was not told what to write. All words and opinions are my own. I am very particular about the brands I work with, and only partner with companies that provide quality materials and/or services.
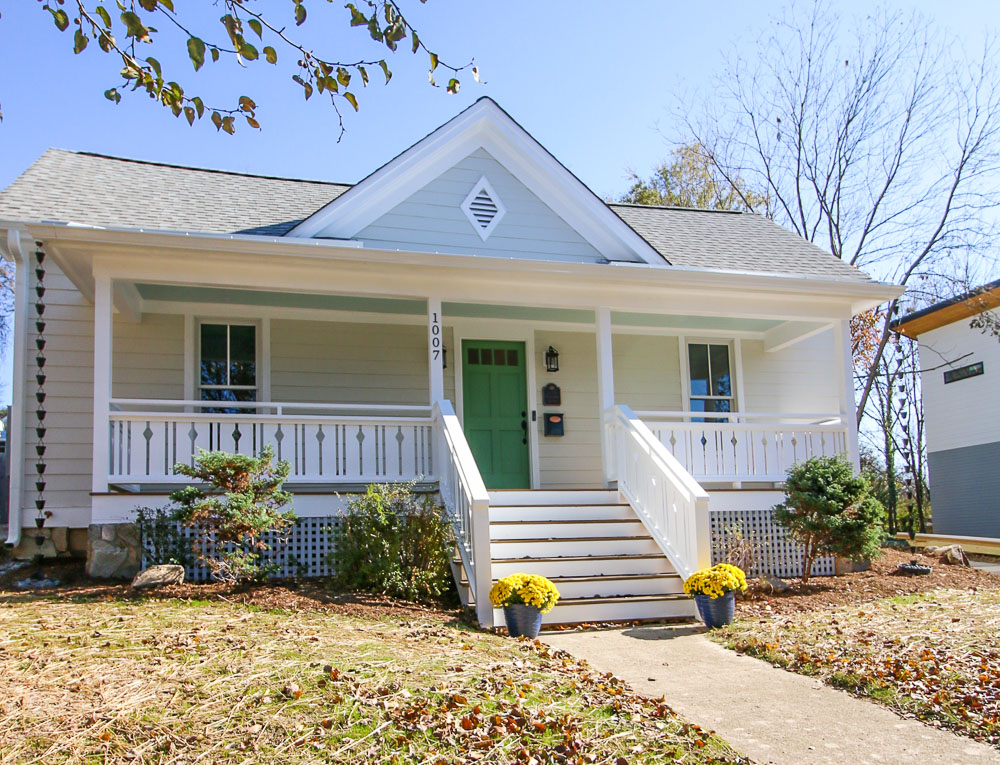
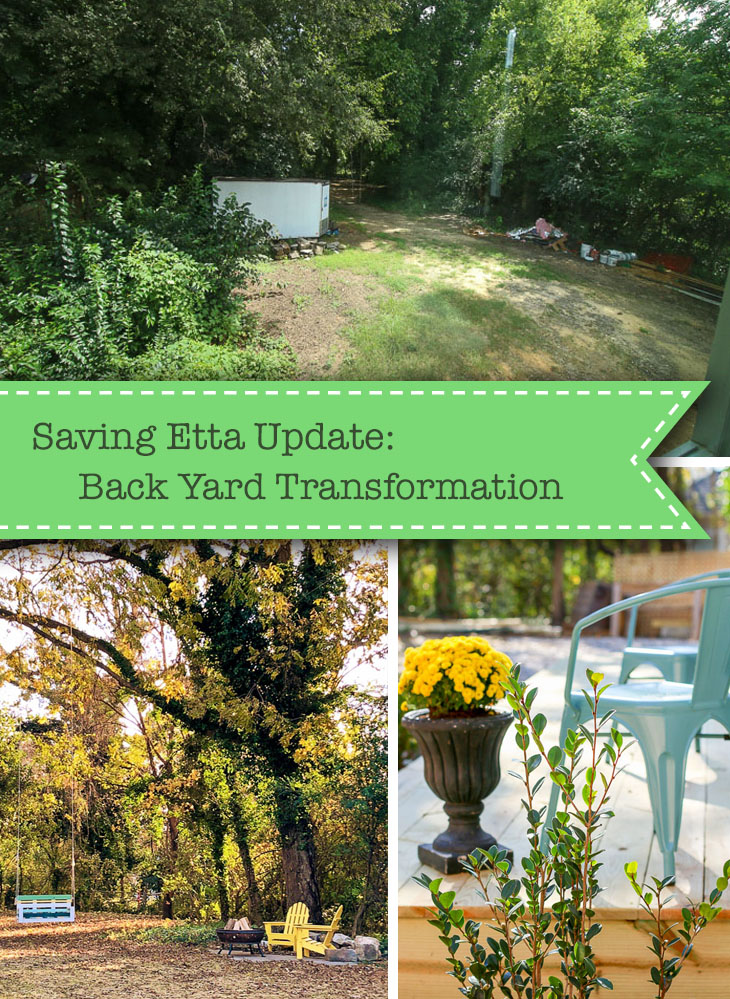
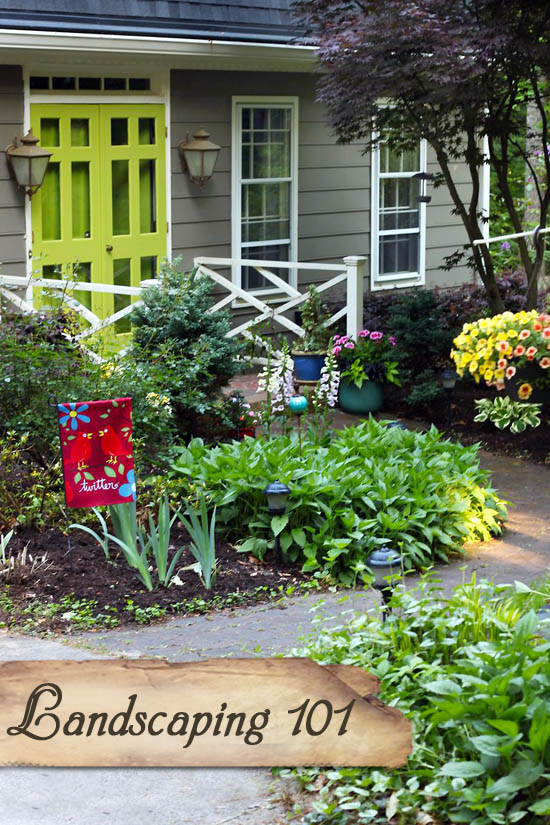
 Saving Etta: Front Yard Transformation & Tips for Saving Money on Landscaping
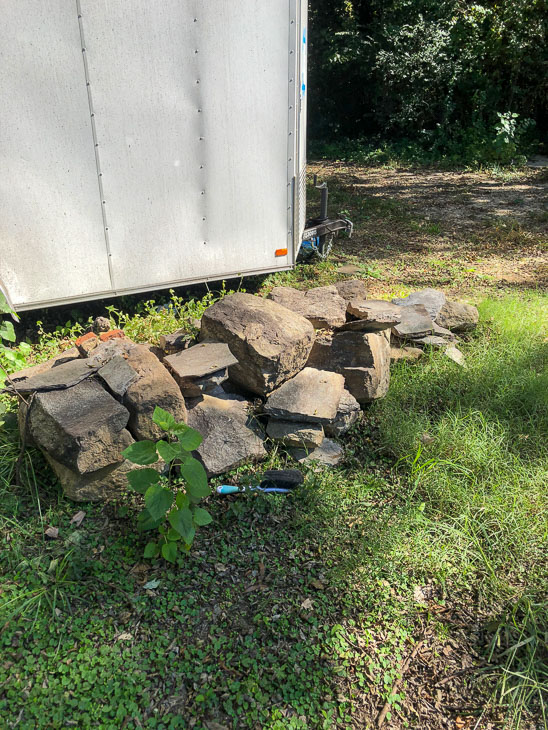
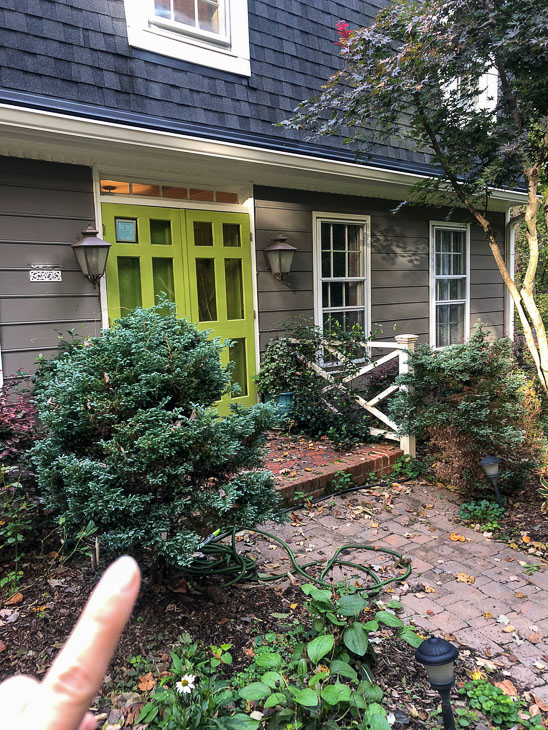 Pretty Handsome Guy and I dug them out—keeping the root ball intact—and loaded them into my truck. Then they were planted in front of the house.
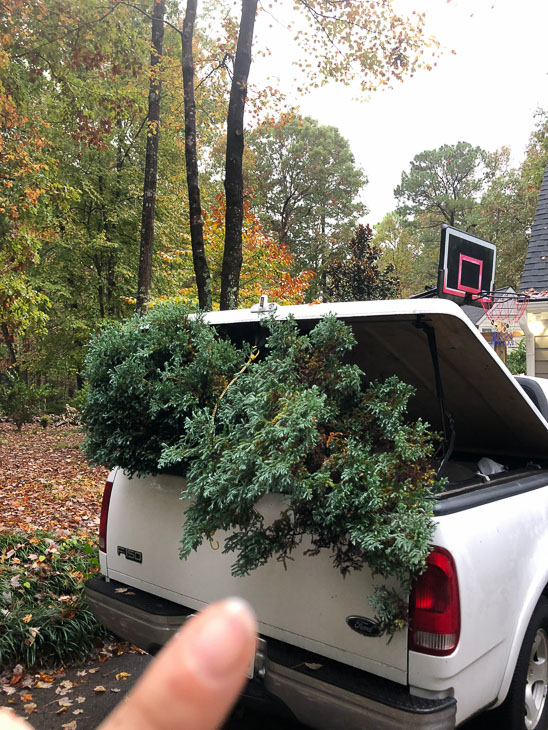 The bushes are much better suited in front of a raised porch. Best of all, they were free.
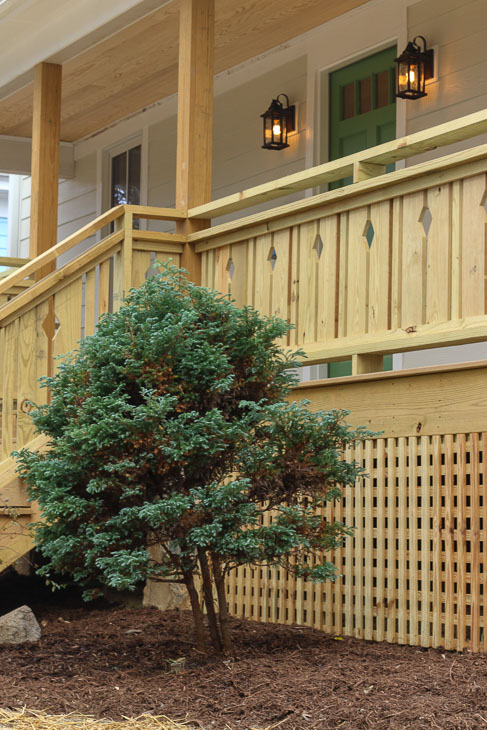
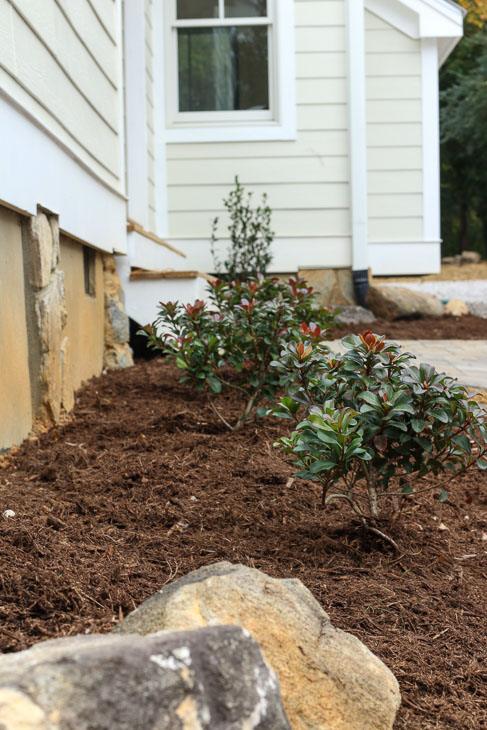

 The landscapers installed a beautiful paver patio that will last decades and control mud and dirt from entering the house.
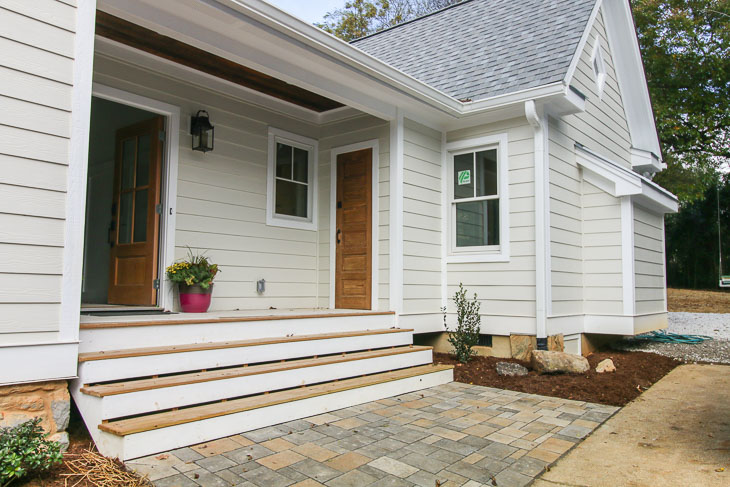
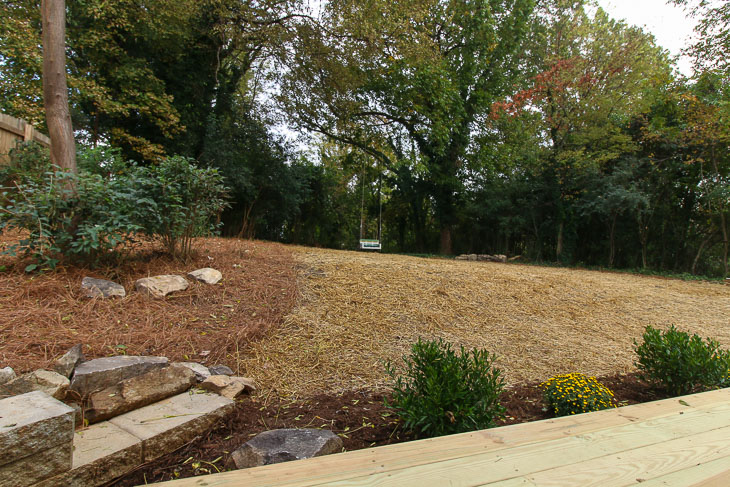
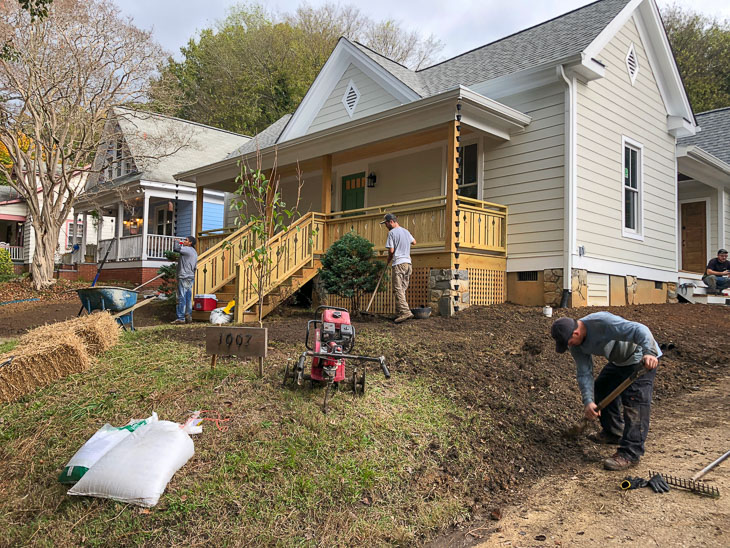 With four men and some big equipment, the landscapers were able to whip the front yard into shape quickly. The front yard was leveled and fresh dirt and grass seed was laid down. Finally, they planted a small tree where the old tree had been.


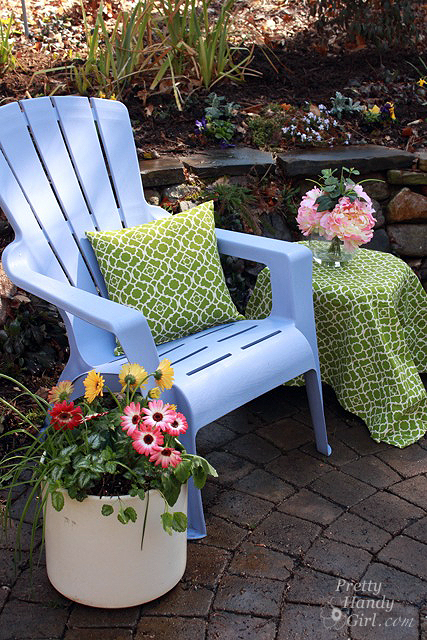
 Dress Up a Patio Table


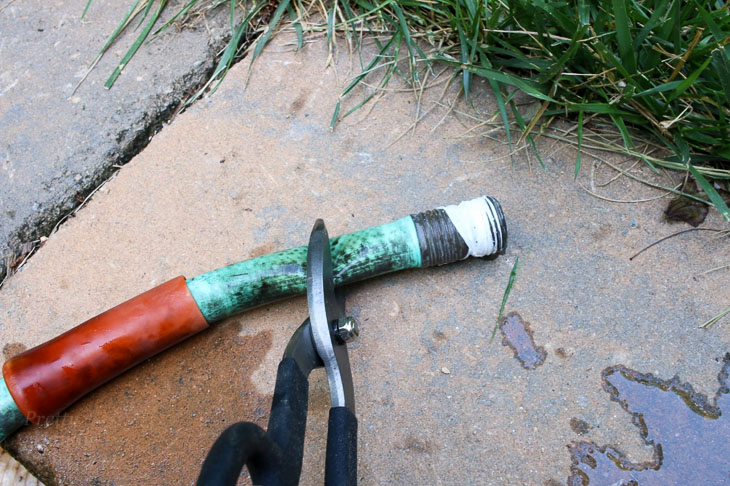
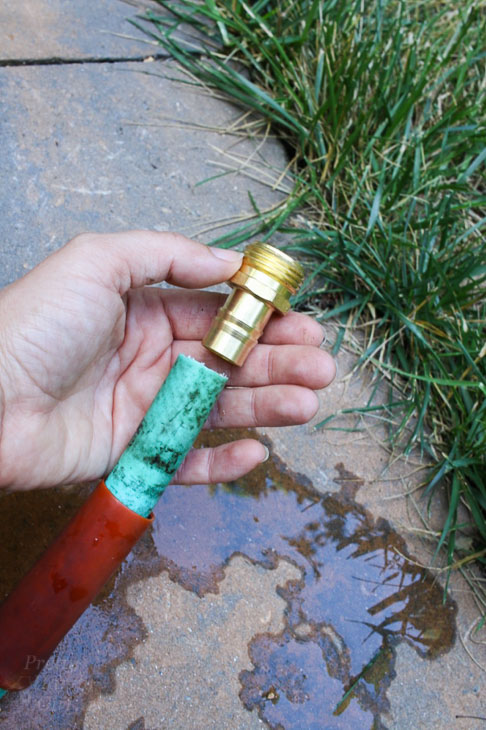
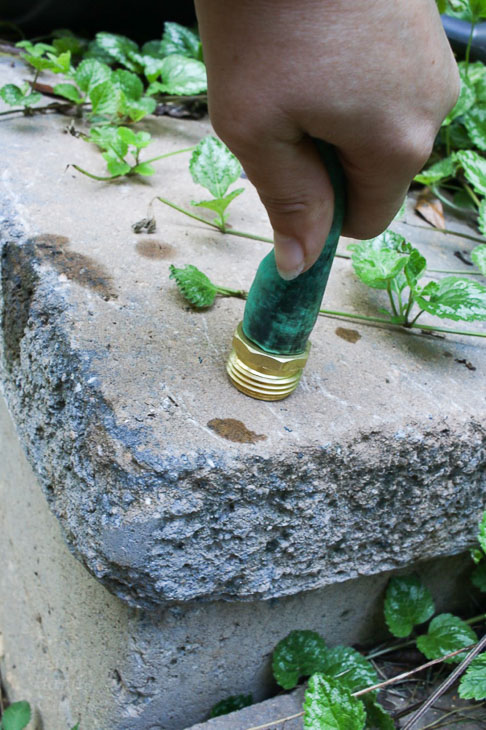
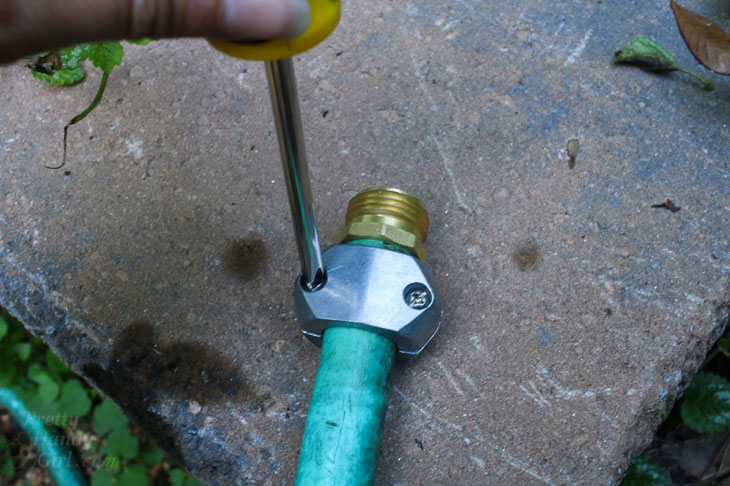
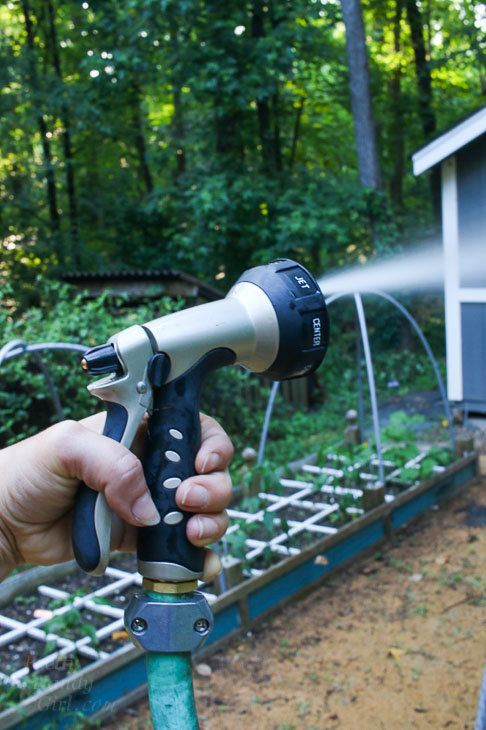
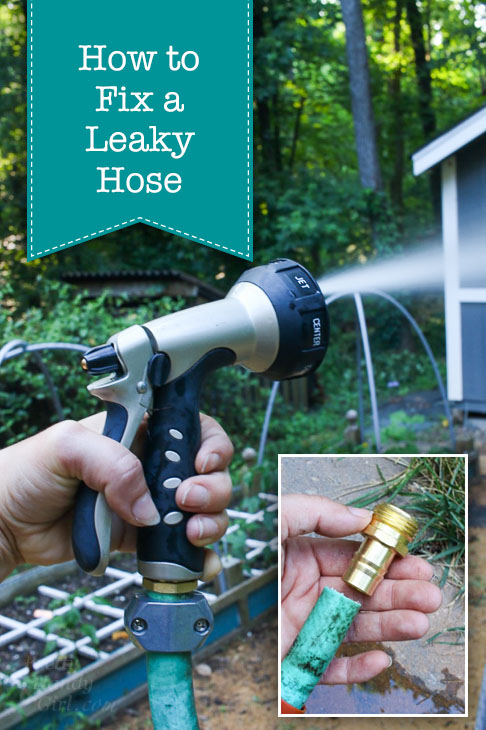 How to Easily Fix a Leaky Hose