Saving Etta: Front Yard Transformation
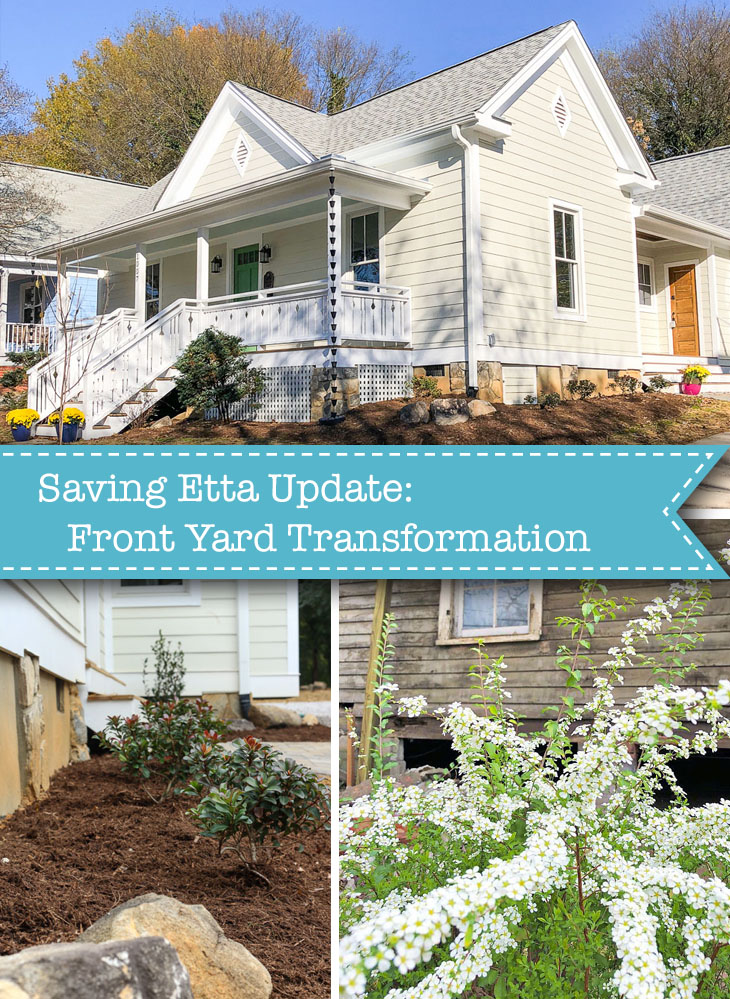 Saving Etta: Front Yard Transformation & Tips for Saving Money on Landscaping
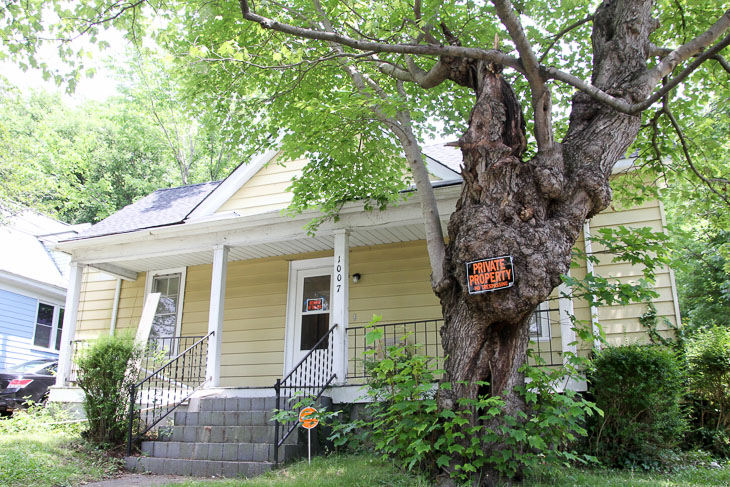
I hope you enjoyed the backyard transformation I shared on Monday. Like the backyard, the front has taken on quite the transformation of its own. One of the first things I knew I wanted to do at the Saving Etta house was to preserve the cottage charm curb appeal (especially around the front porch.) Sadly her charm had dwindled like the color of her faded yellow aluminum siding. The iron railings (that didn’t appear to be original) were barely attached to the porch columns. It was an easy choice to send them to the scrap metal yard.
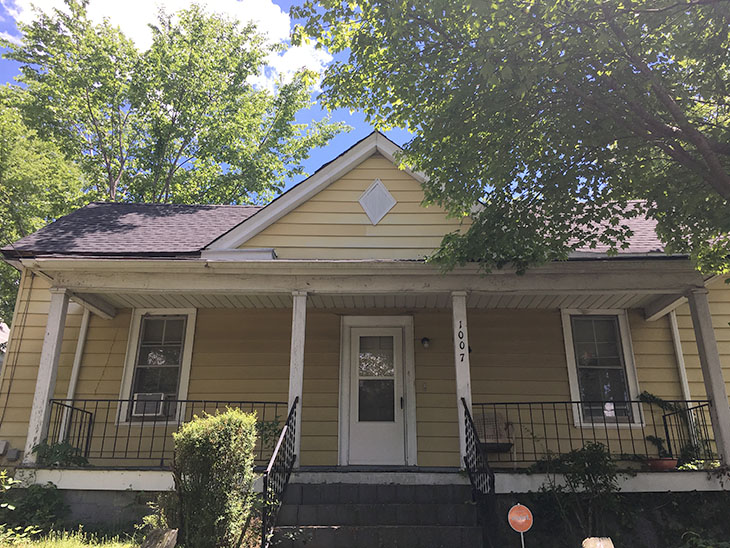
While removing the rotting porch floor boards, we realized we couldn’t save the porch framing. And in true “opening a can of worms” fashion, when exposing the porch ceiling rafters, we found the porch roof wasn’t flashed and it wasn’t tied into the house very securely. It was a sad day when I realized the entire porch had to be removed. Unfortunately, the demolition crew had finished months ago, so I had to try to get back on their schedule.
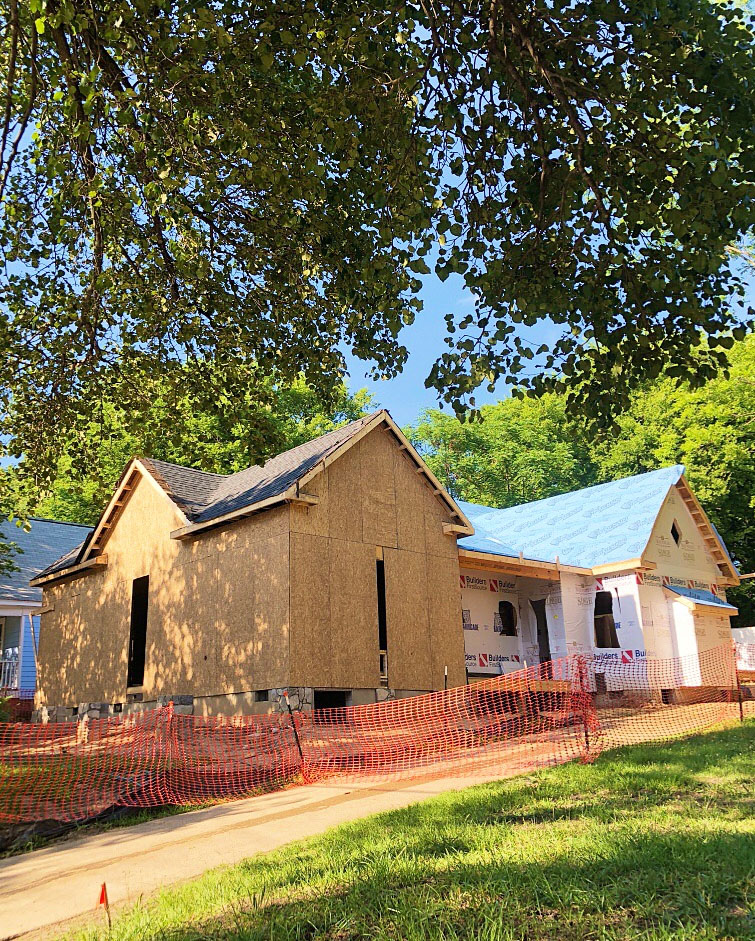
After the front porch was removed, new sheathing and house wrap was applied. Then my framers built the porch back to the same size. Before the siding and roofing materials were installed, the porch roof and band were flashed properly to prevent any water from seeping behind and causing rot or mold issues.
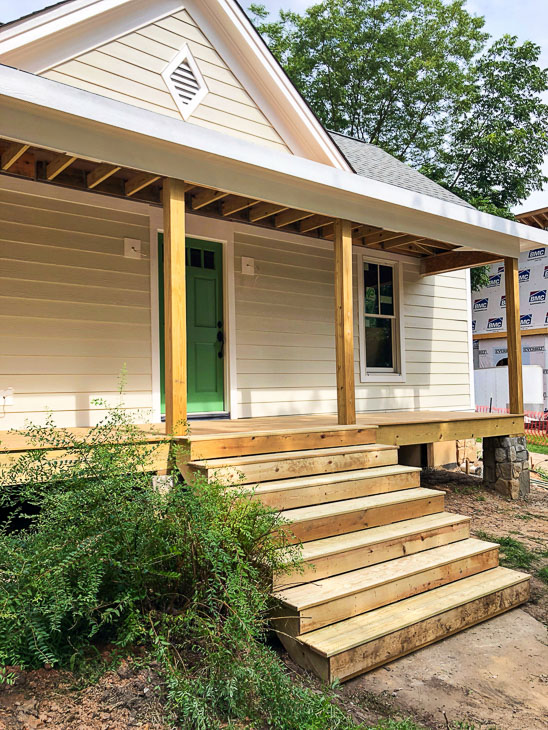
See that scraggly bush next to the stairs? I fought my subcontractors who wanted to cut it down. The framers in particular complained about it being in the way. Little did they know, that scraggly bush had a secret. In the spring it would look like this:
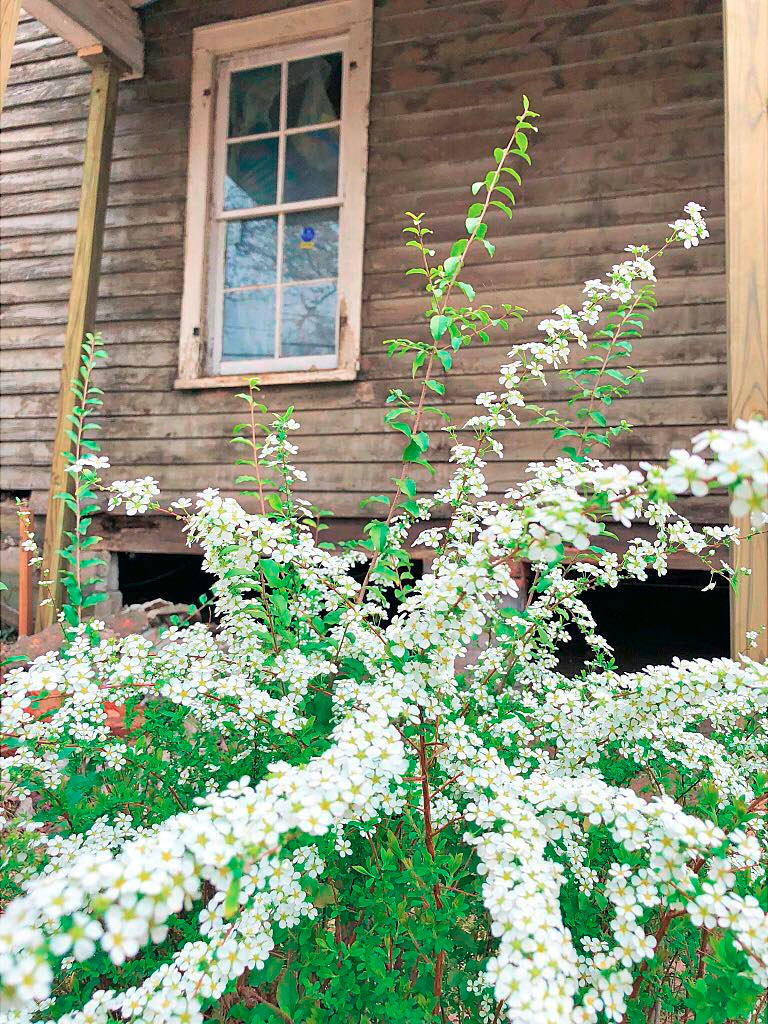
The white flowering bush is a Bridal Wreath Spirea with cascading white flowers once a year. Saving the spirea was part of my plan to save money on landscaping. I tried to reserve funds for landscaping, but surprises kept cropping up which cut into my landscape budget. Consequently, I put my thrifty thinking cap on and came up with a few strategies to make the most impact for the least amount of money.
7 Strategies for Low Budget Landscaping:
-
- Do as much labor yourself – As you saw in the backyard landscaping update, my family and I planned an entire yard work day. We cut back the weeds, trimmed bushes, hauled away brush, and mowed the lawn. This saved me the cost of paying someone else to do the work.
- Use plants you already have – As I mentioned above, I fought to save as many plants in the yard as possible. But, I’m also fortunate to have a healthy landscaped yard at home after years of hosting Free Plant Swaps in our neighborhood. Two of our bushes that have really thrived, are a pair of evergreen bushes by the front door. I’m not sure what type of bushes they are, but they might be in the juniper family. Regardless, they grew too big for the front of the house.
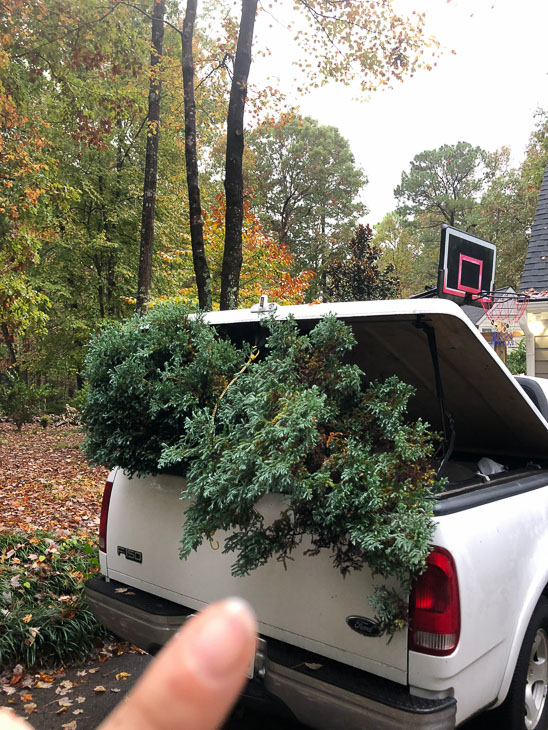
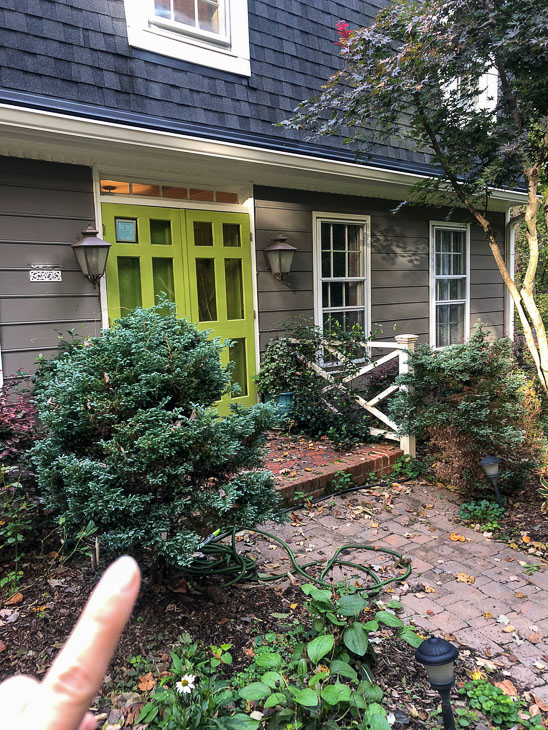 Pretty Handsome Guy and I dug them out—keeping the root ball intact—and loaded them into my truck. Then they were planted in front of the house.
 The bushes are much better suited in front of a raised porch. Best of all, they were free.
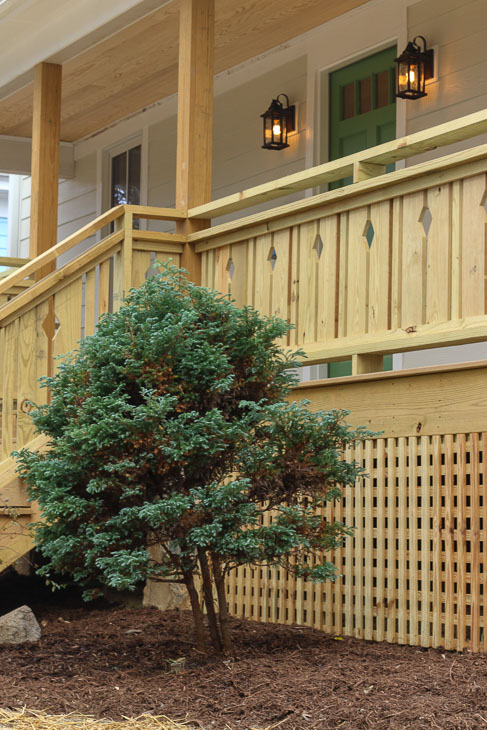
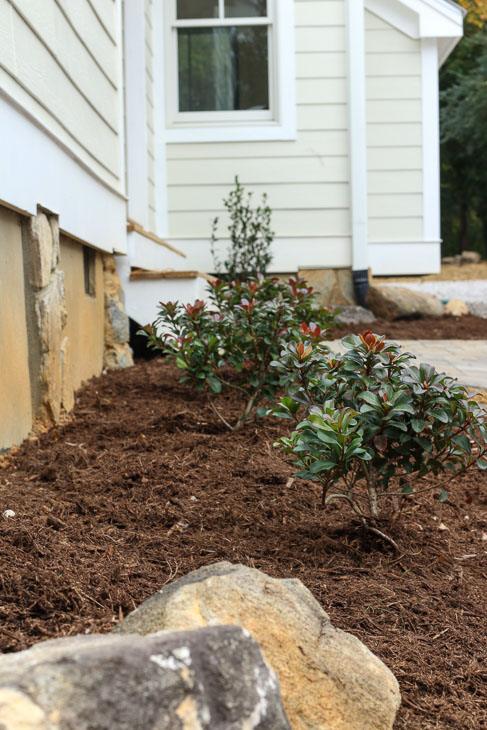
- Shop the discount section – Lucky for me, it was late fall when we got started on the landscaping. My local Lowe’s Home Improvement had a large selection of half off plants to choose from. I chose these evergreen abelia shrubs that have pretty red growth on the tips in the cold weather and will have flowers in the warm season. Always look for discounted plants in your local nursery. But, steer clear of dried out and stressed looking plants. If they appear healthy go ahead and purchase them.
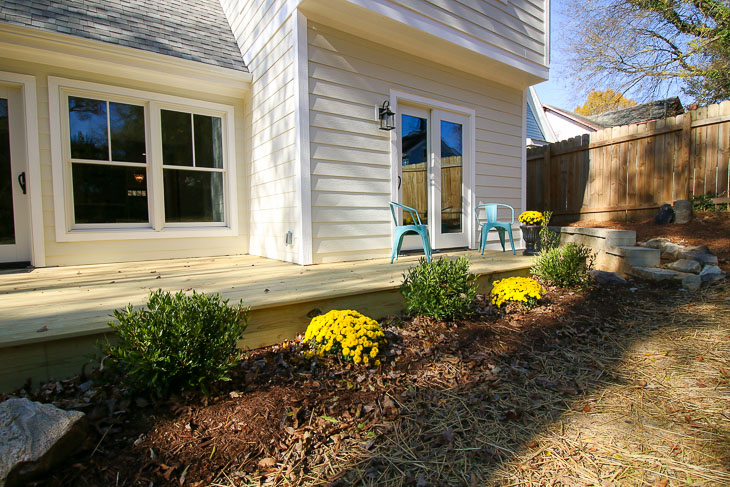
- Shop end of season flowers – Flowering perennials that have faded blooms are usually discounted as soon as the blooms start to die. But, if you’re lucky you might be able to cash in on a post-holiday sale. After Thanksgiving I stumbled upon a huge clearance of mums. Each pot was marked down to $1! Even big mum planters that were $30 a week ago were $1. I bought several mums and planted them throughout the yard to add some color. After the blooms finish, they can be cut back to encourage new growth. They’ll produce beautiful blooms again next year.
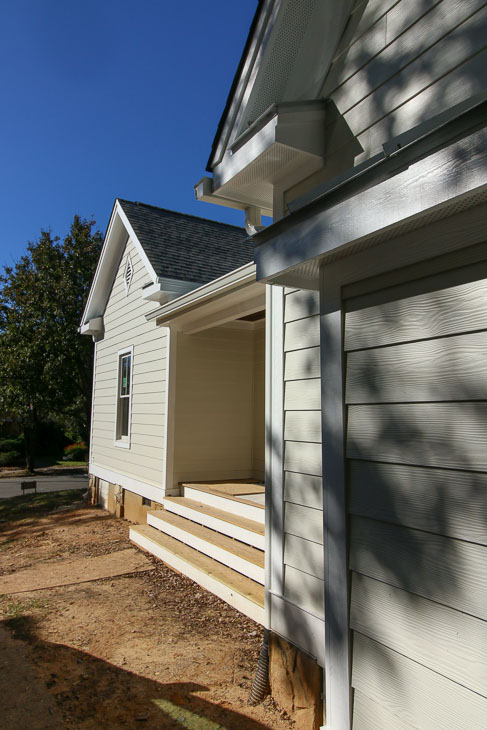
- Put money where it gets the most visibility – To get maximum visual impact in your yard, you’re going to have to spend some money. But chose to spend money on the show stoppers like a larger tree, a pergola (or make your own pergola or trellis), or spend on hardscapes like patios or walkways. On the side of the house, I chose to put a little more money toward the side entrance since this is the homeowner’s main entrance.
 The landscapers installed a beautiful paver patio that will last decades and control mud and dirt from entering the house.
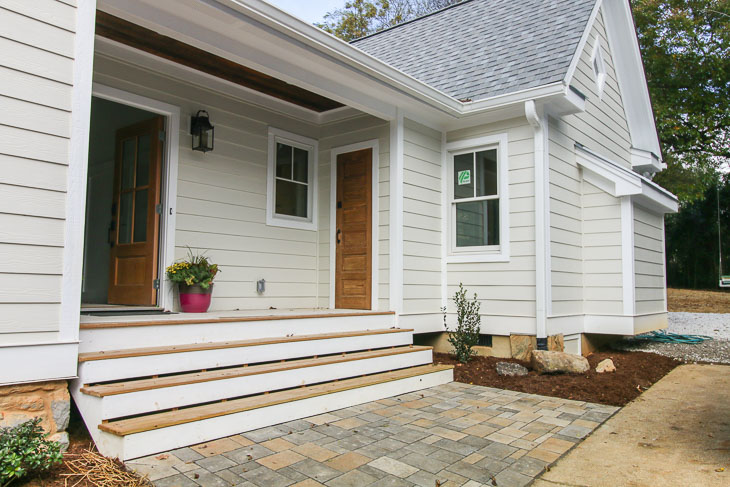
- Talk to your landscaper to see if they have extra materials or plants – Ask your landscaper if they have leftover materials or plants they would be willing to give you for a reduced price. When discussing my needs and budget with my landscaper, she told me if I was willing to be flexible she might have some leftovers she could use. Ultimately she installed an array of plants and the side entrance pavers at a discount, which gave me more bang for my buck.
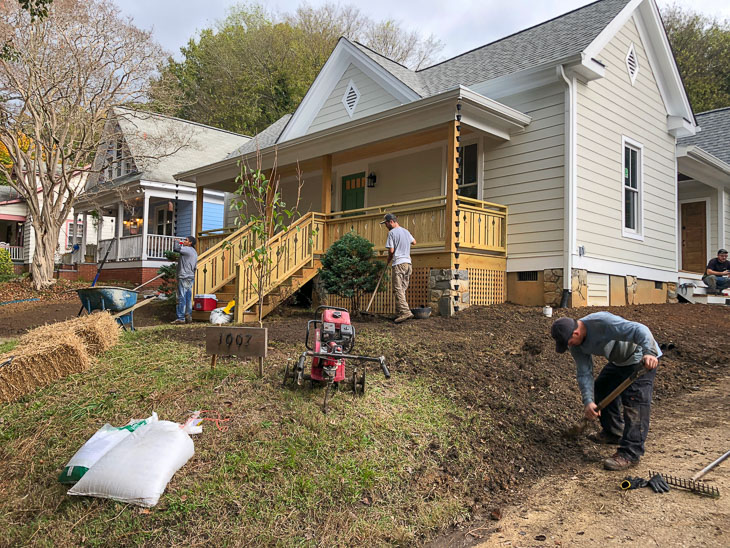 With four men and some big equipment, the landscapers were able to whip the front yard into shape quickly. The front yard was leveled and fresh dirt and grass seed was laid down. Finally, they planted a small tree where the old tree had been.
- Be patient – Save money by purchasing younger plants, trees, and bushes. Purchasing mature greenery can cost a lot more for those who want instant gratification. If you can wait a few years, the younger plants will get bigger. Same holds true for those scraggly clearance plants. They may have some broken branches or spent flowers, but if you cut them back they will grow back beautifully with time. You can also save money by planting grass seed instead of sod. If you can wait a few weeks, you’ll be rewarded with grass sprouts and more money leftover in your pocket. Better yet, if you continue to sow seed next season (fall or spring), you’ll fill in any empty patches.
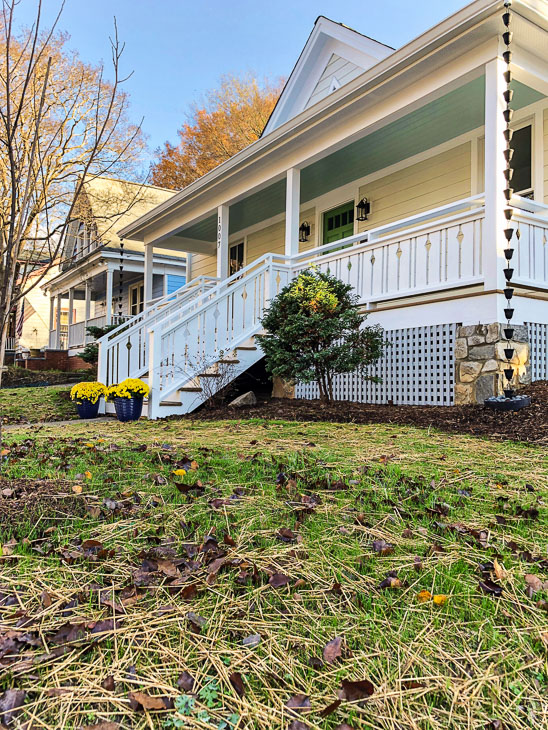
Saving Etta: Front Yard Transformation
Ready to see the front yard transformation? For fun, let’s take a look back on where this whole journey started!

June 2017 – I purchased the property.
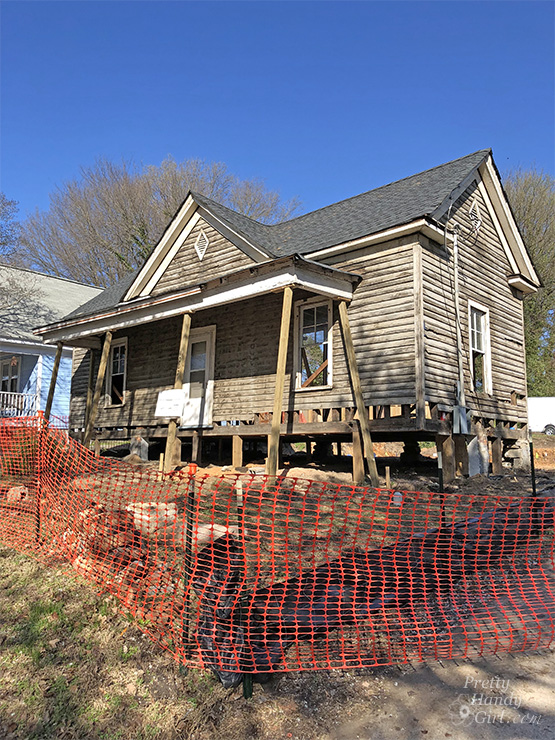
February 2018 – Demolition was completed by removing the poorly built additions in the back and removing all the siding and rotten framing.

May 2018 – New foundation, framing, and sheathing are completed.
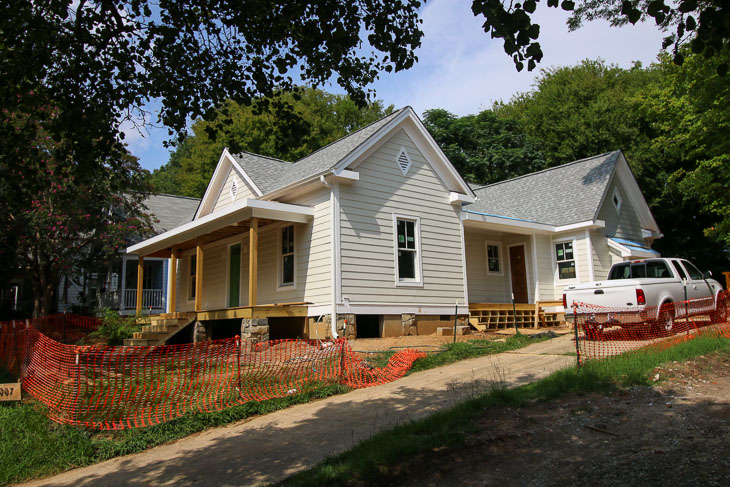
July 2018 – It’s finally looking like a house again. Siding, windows, roofing, and the new front porch are added.
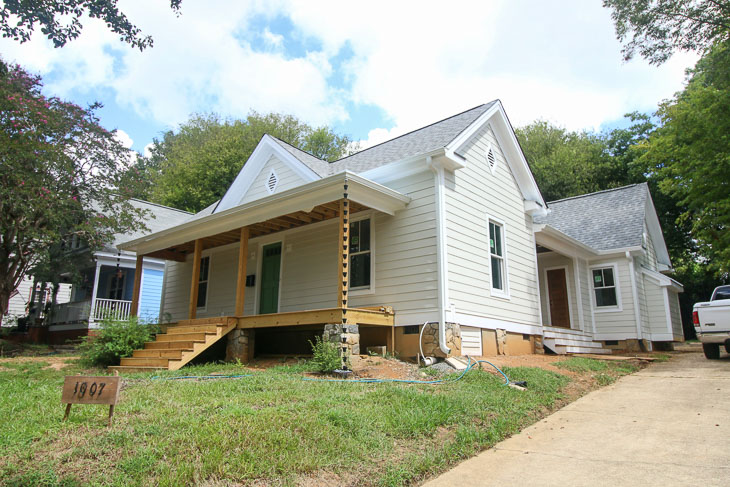
September 2018 – Side porch steps are completed. Gutters and the rain chains are added.
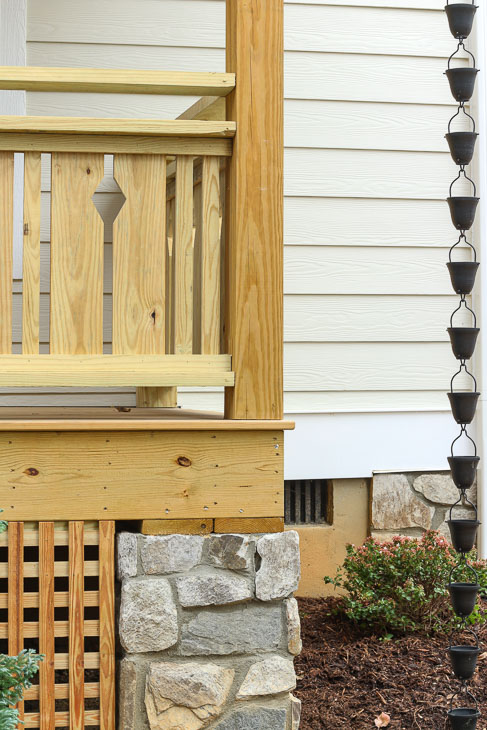
(This is where I bought the rain chains (affiliate link). They were the most affordable rain chains I could find, and I like how they look. The rain chains get plenty of compliments!
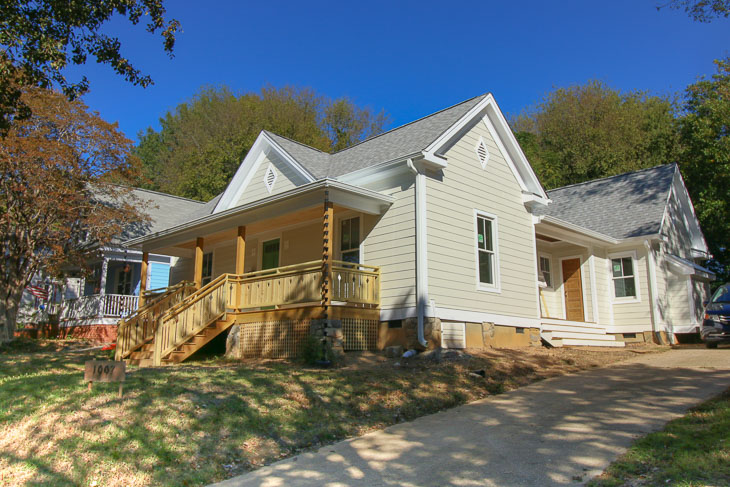
October 2018 – The front porch railings and ceiling are completed. My favorite addition are the flat sawn railings.
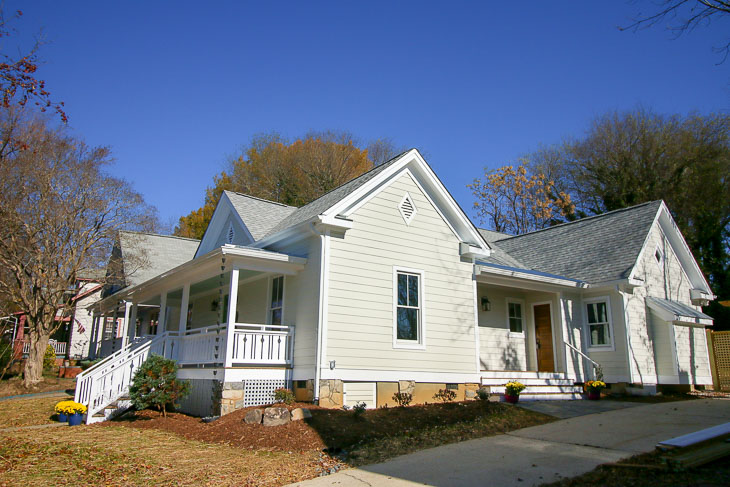
November 2018 – The house is completely finished and listed for sale. The first weekend we had it on the market we received multiple offers!
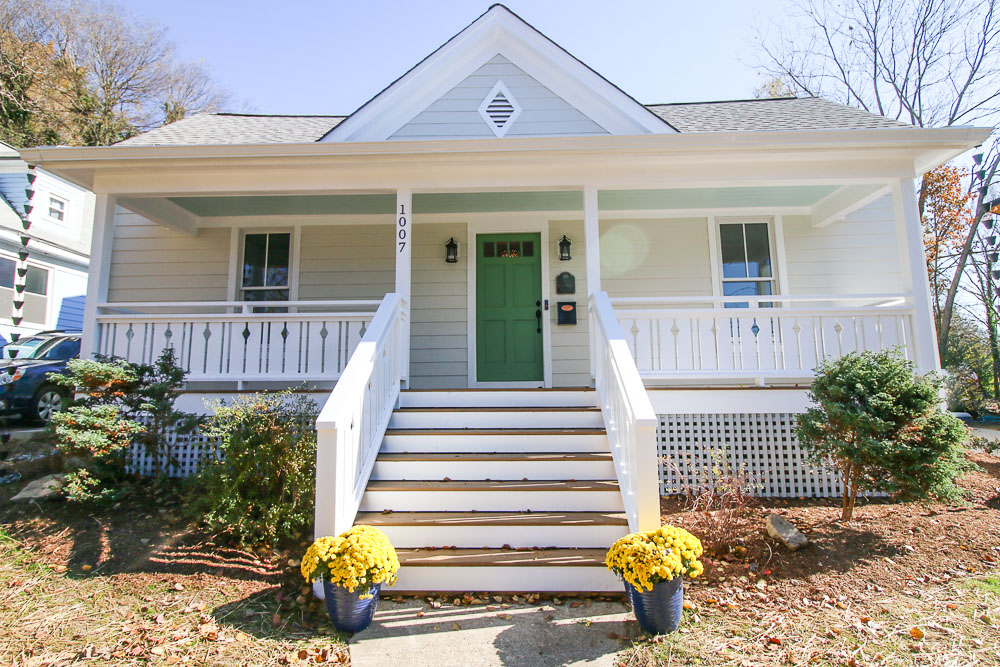
I can’t believe the house is finally complete. It took 18 months of hard work and patience while waiting for permits, subcontractors, and while I took a two week vacation with my family.
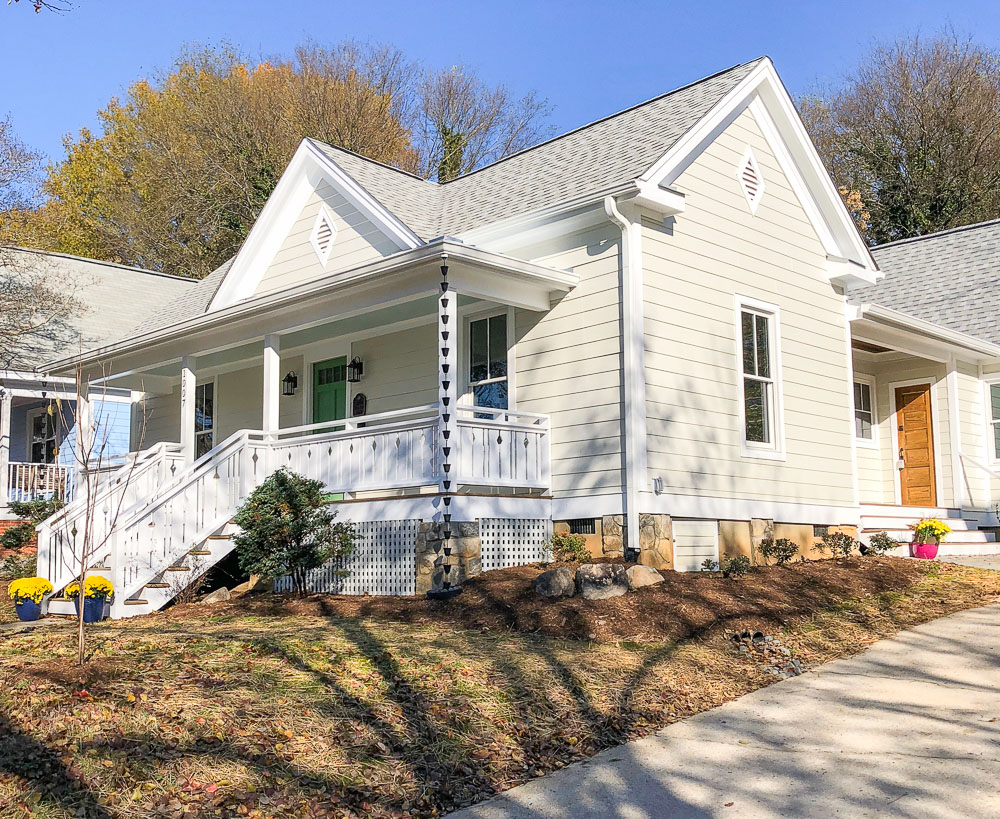
In the end it was all worth it and I love that Etta has regained her cottage charm.
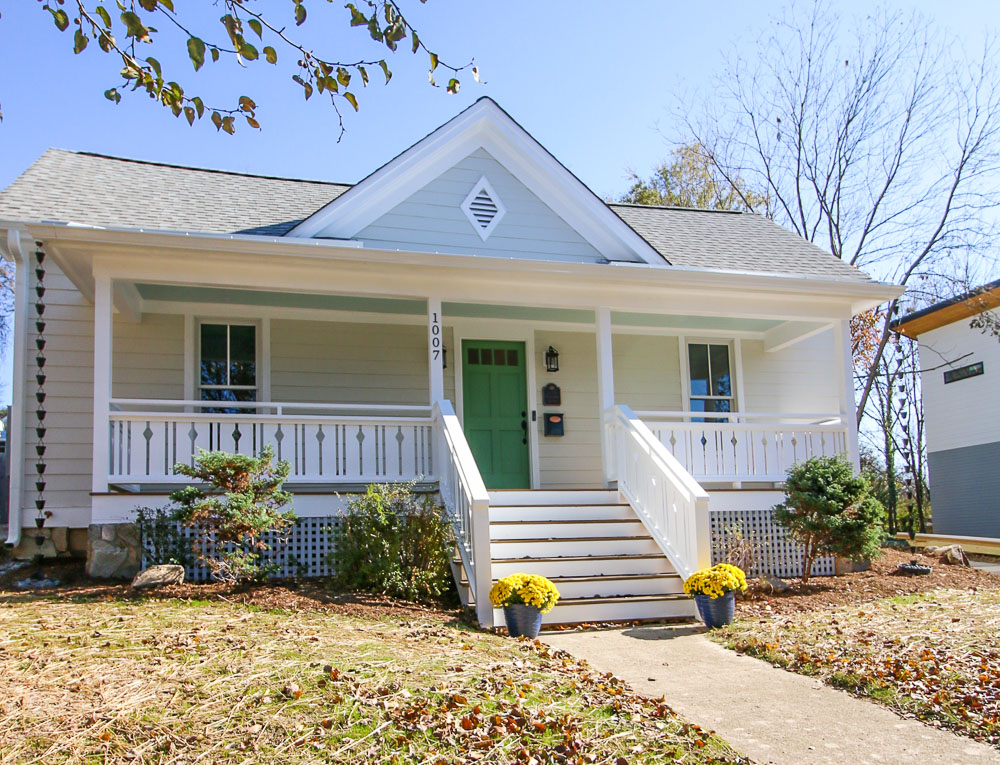
I can officially say Etta has been saved. Maintaining the same lines as the original 1900 house was very important to me. Wherever possible, I kept the original materials. When we had to replace old with new, I made decisions based on what looked closest to the original. I also tried to reuse materials whenever possible, like the old siding which found a new life on the side porch ceiling.
Stay tuned for more Saving Etta updates! There’s been a lot of work going on inside and I can’t wait to show you.
![]()


WOW! What a transformation and a lot of hard work. Great job!!
Beautiful labor of love you go girl your hard work payed off. Looks amazing. Wish I could see it in person
Etta is now complete, to show off her true glory. Wonderful suggestions for landscaping. Deals are always rewarding, plus one gets to salvage those poor souls and bring them back to life, sparing being sent off to the compost heap. Amazing what a little TLC can do. I can’t wait to see the inside! Right now, I’d move in, in a heartbeat!
I’m always fascinated hearing & seeing the incredible transformation. So happy you for your sale as well.
This house is really cute – just charming. My favorite part is the absolutely beautiful side porch and entrance!
Wow! It’s done! This has been an amazing transformation to follow. 😀 You’re incredible–can’t wait to see the budget breakdown, too (my inner accountant is showing 😉 ). Love these tips on thrifty landscaping, too. The ReStore around here always has truckloads of pavers and the like, too, so if you’re willing and able to install them yourself… that’s a bit more $$ saved.
Congratulations! I’ve enjoyed reading about your journey