Saving Etta: Demolition Update
Saving Etta: Demolition Update
Thank you so much for your comments on my last Saving Etta chapter. I might have mislead many of you into believing I wasn’t going to give you updates on the project. I will definitely be sharing updates and more posts about the Saving Etta project, I just need to put the elaborately written (and cliff hanger) chapters on the back burner for now. With that being said, I do need to get you caught up on the happenings at Etta.
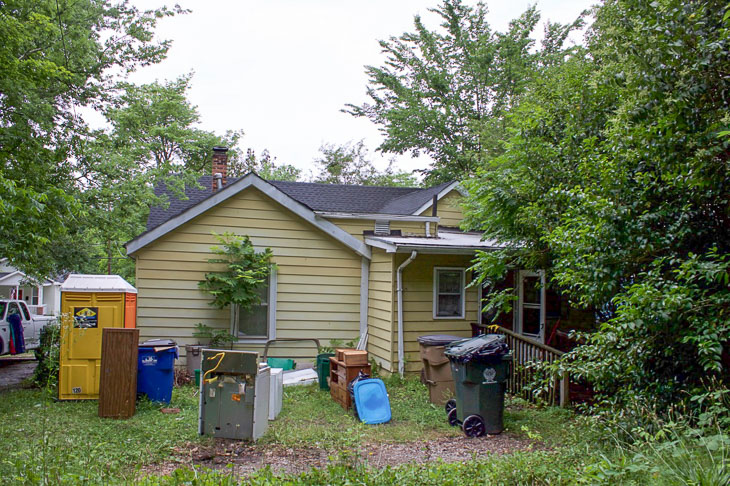
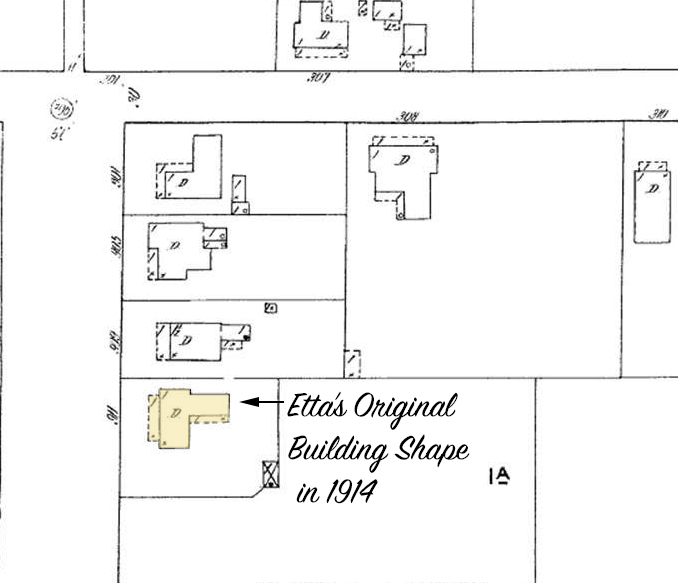
Shortly after purchasing the house, I consulted with several professionals about how to fix the crazy rooflines in the back of the house. Meg, the architect, was completely blunt with me and told me the only way to “fix the rooflines” was to tear off the series of poorly built additions on the back of the house. I believe her exact words were: “You’re not going to like what I have to say, but I think you need to tear that whole mess off. But, go ahead and think about it for a while.”
I didn’t need to think long. Her honestly was a breath of fresh air. I had lost lots of sleep trying to figure out how to fix it all. The roof leaked; the floors sloped dramatically in the back (5 inches in 10 feet in one room); and those additions were built super close to the ground on dry stacked cinderblocks. Add in a drainage issue where large amount of water ran off the neighbor’s driveway and under the house every time it rained.
I told Meg that I agreed with her and begged her to take me on as her next client. I was at a stand still until I could get building plans to submit to the city. Meg began working on a new structure that would essentially stay within the footprint of the removed additions.
I waited for more than a month for the final architecture plans, but it was worth the wait because I trusted Meg completely (and I was in love with her preliminary sketches.)
At the time, I was considering pursuing a historic property tax credit from the state of North Carolina. Meg was careful to keep the original 1900 house walls in tact in an effort to meet the requirements for the tax credit. But, after submitting the plans to the state preservation office, they denied my request on the grounds that they didn’t like the size of the addition (we added a small second floor onto the addition) and they didn’t want us to add closets to the front bedrooms in the 1900 portion. My contact in the preservation office actually suggested buying wardrobes and putting them in each bedroom instead of a closet.
Both Meg and I agreed, buyers today wouldn’t appreciate a wardrobe instead of a closet. And, I was in love with Meg’s architecture plans the moment I saw them. I decided to part ways with the preservation tax credit. However, this didn’t mean I was going to walk away from trying to preserve as much of Etta’s character as I could manage.
After the architecture plans were complete, there was a lot of waiting until we got the permits approved by the city. Honestly, this was the most frustrating part of the project. The reviewers would deny my permit but their comments might as well have been written in another language. It took several emails and phone calls to finally nail down what they wanted before the permits could be approved. The length of time from submitting the paperwork to the day the permits were approved was three months! It didn’t help that I submitted my plans shortly before Thanksgiving and the reviews persisted through the Christmas holiday. I never realized how many paid holidays our city employees get until I had to deal with the delays.
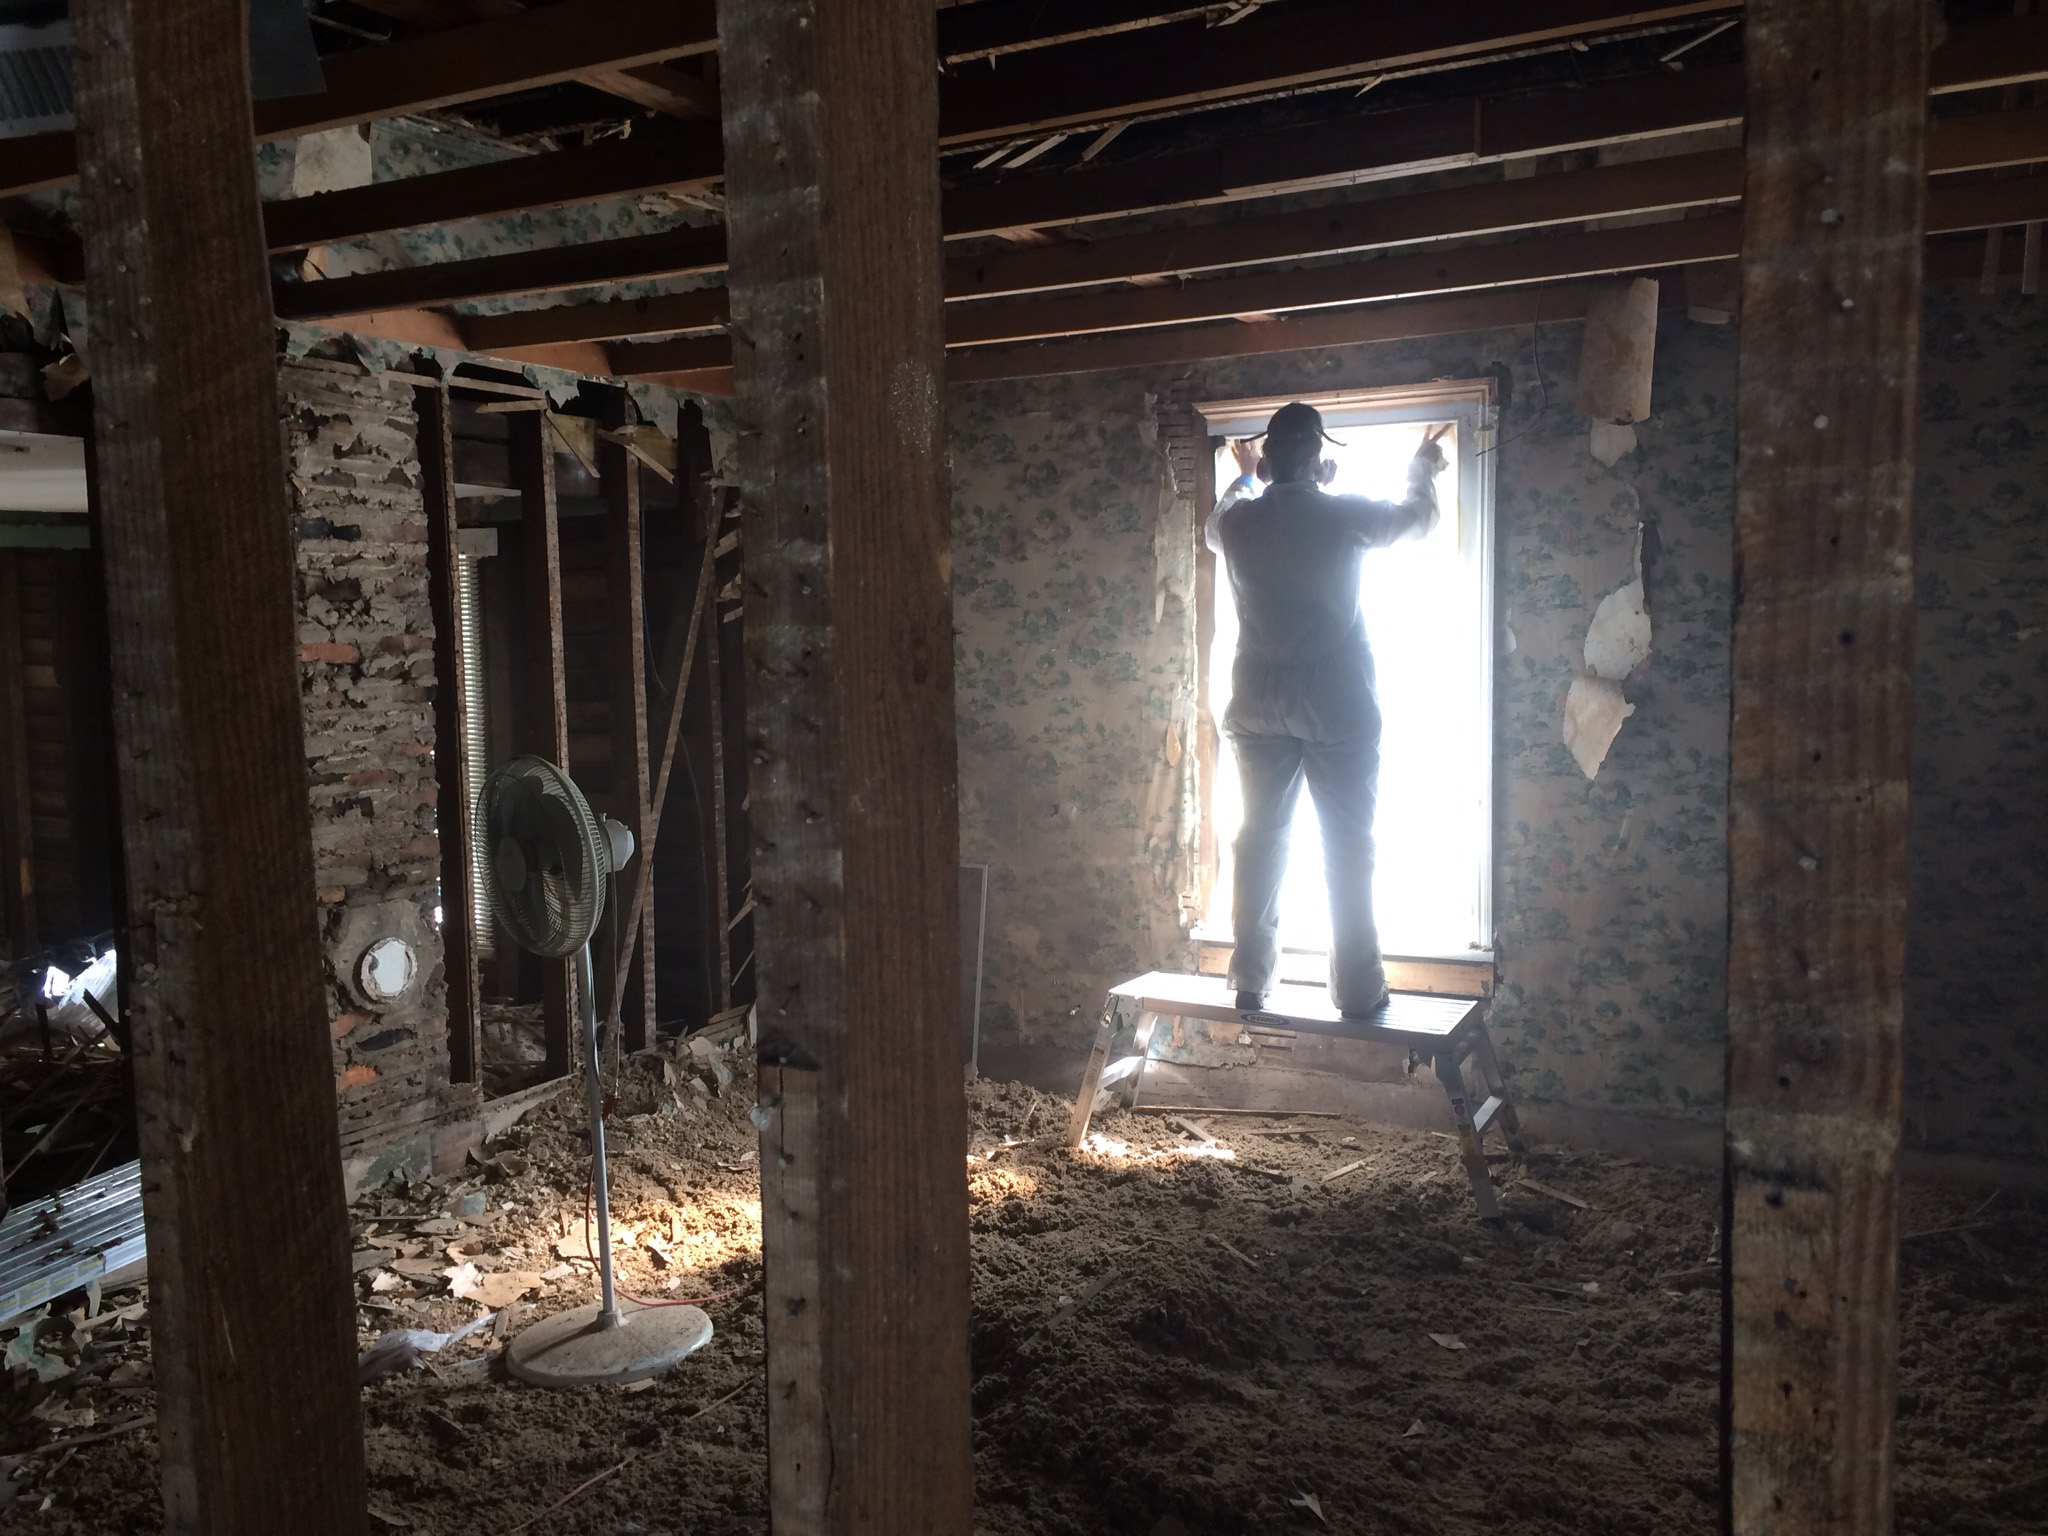
While the plans were being reviewed by the permit office, I started gutting the kitchen, pulling carpet in the front rooms, and trying to get down to salvageable building materials. Early on I ran samples to our local environmental lab for asbestos and mold analysis. When those results came back positive, I turned the project over to an asbestos abatement team and subsequently a mold remediation team.
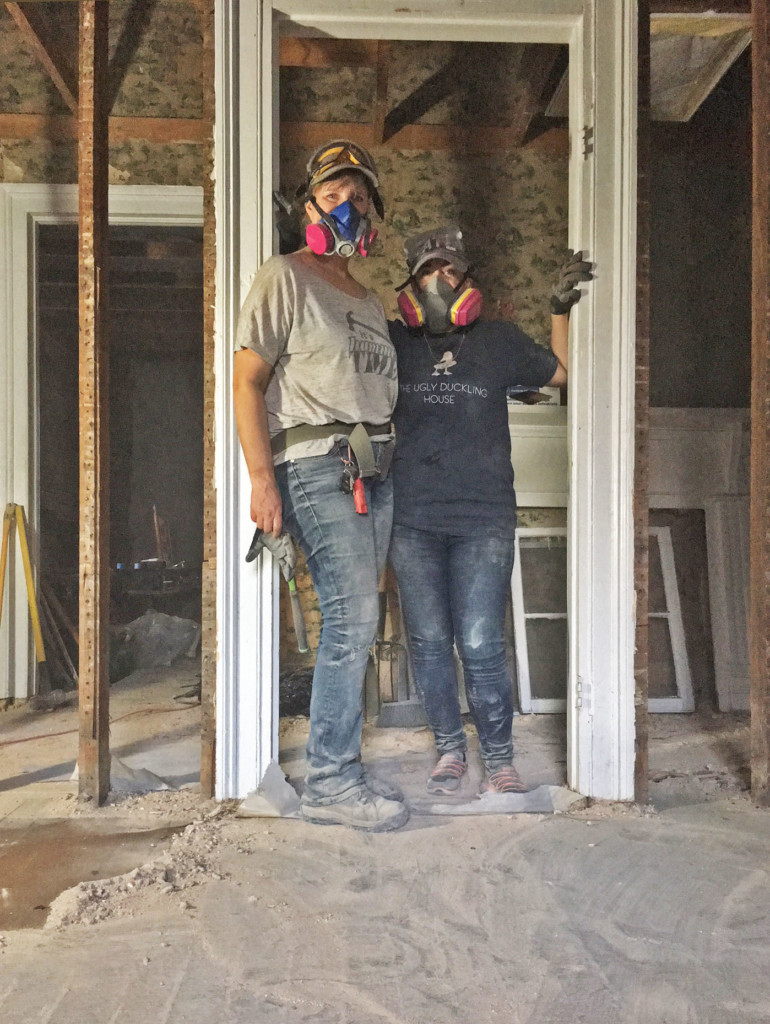
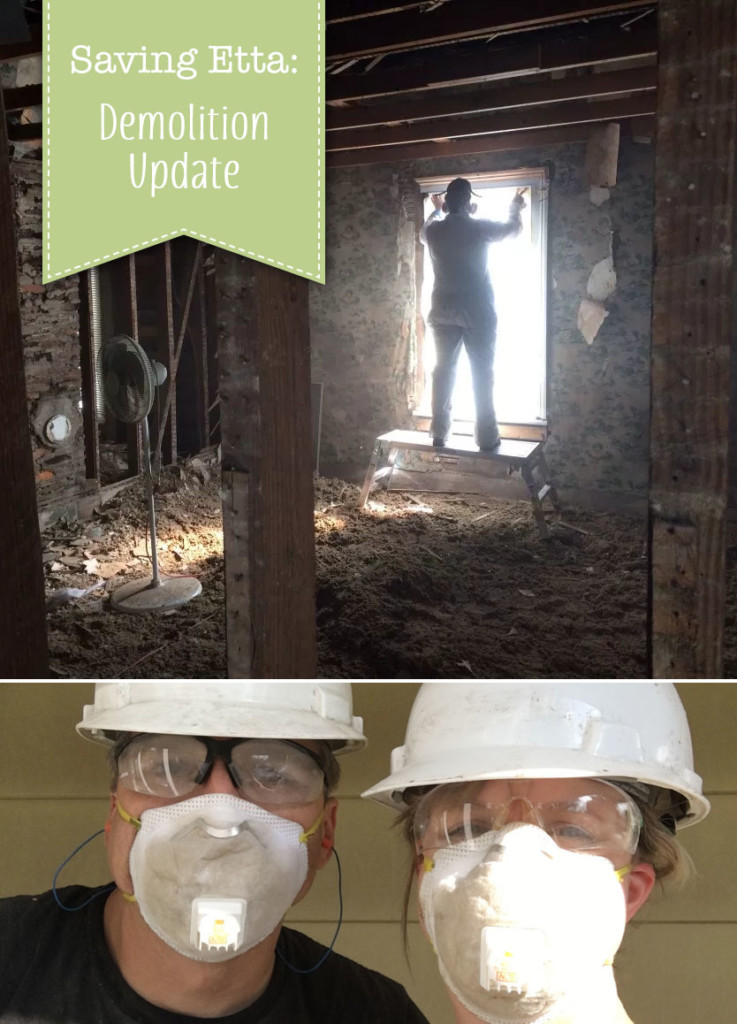
After the house was free of mold and asbestos, my family (and my friend, Sarah) helped with some interior demolition inside the house. While tearing out drywall, I discovered wall after wall of antique bead board behind the drywall. Plus, I found the original brick chimney. Demolition slowed down as I carefully salvaged the bead board and chiseled stucco off the old chimney. But, it was worth the time because otherwise these materials would have been torn down and sent to the landfill.
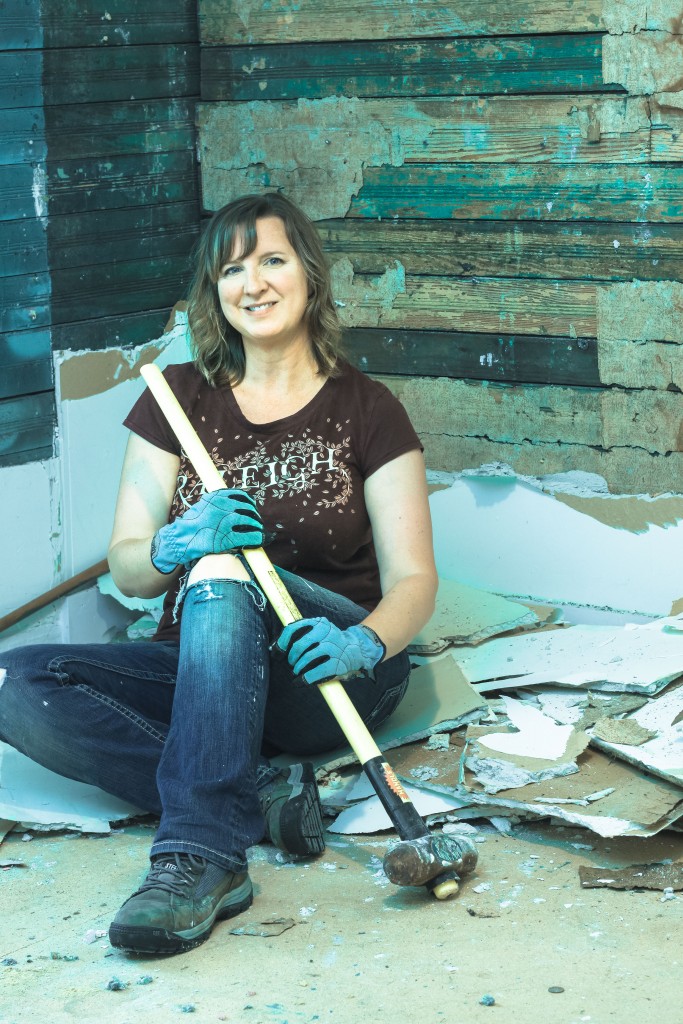
Finally, on February 9th, the city approved my plans. I called my demolition contractor and he and I met at the house to discuss the progression of removing the back half of the house. I’ve put together this short video of some of the highlights of the demolition process.
Hope you enjoyed the video! More updates to come soon.

Disclosure: The Saving Etta Project is sponsored by these amazing companies who believe in saving a historic home that would have otherwise been bulldozed. I am thankful for their kind support of this project.




Thanks for including the first demolition article I’ve ever read on a blog. You don’t see those a lot.
LOL, I guess not. It’s not the prettiest side of fixer uppers ;-D.
If you had it to do all over again, would you do it? Best regards,
Absolutely! I might be a little more savvy about what can be saved and what to leave to the demolition crew from the get go.
Tickled that the Etta stories will continue. Looking forward to continue reading about Etta. progress
I’m so glad you are going to continue with updates. I can’t wait to see Etta when you are done.
Thanks for the updates! This is way better than HGTV!