Saving Etta: Framing Progress

Saving Etta: Framing Progress
Last week I shared the demolition process at Saving Etta. After getting over the initial shock of being left with nothing but studs and a wonky foundation under the original house, I pulled on my boots (rain boots that is) and got to work building Etta back to her former glory.

The first order of business was to get rid of the skirts from the original pier and skirt foundation. On this type of building, the piers are the only thing holding up the house. The skirts are typically cinderblock walls that fill in the space between the piers. Truth be told, they aren’t even tied into the piers. Poor Etta barely had any piers that were in good shape. In fact we found some pretty questionable structural piers in the crawlspace. One “pier” was a giant bolder turned on its side. Another few piers made from bricks had crumbled into a red brick pile of dust.
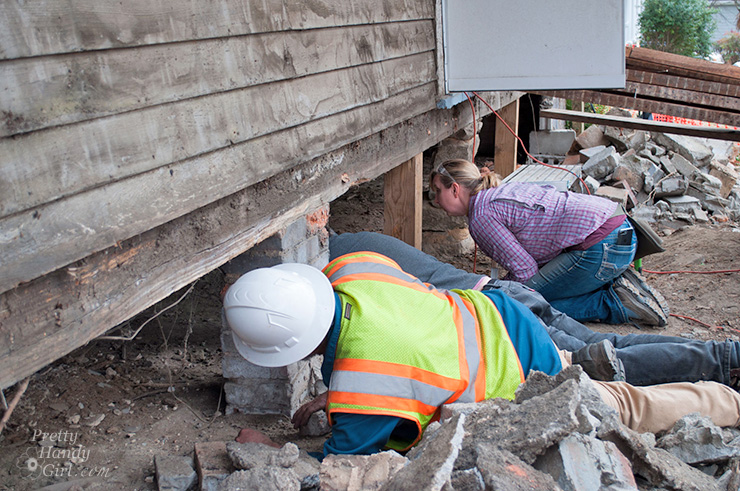
A local restoration contractor (and friend of my demo contractor) stopped by to give me some direction on how to shore up Etta’s foundation. He was the first person who helped talk me down from the proverbial cliff when he said, “I’ve seen worse. It’s not in as bad a shape as you think.” His words were what I needed to hear to stay on track.
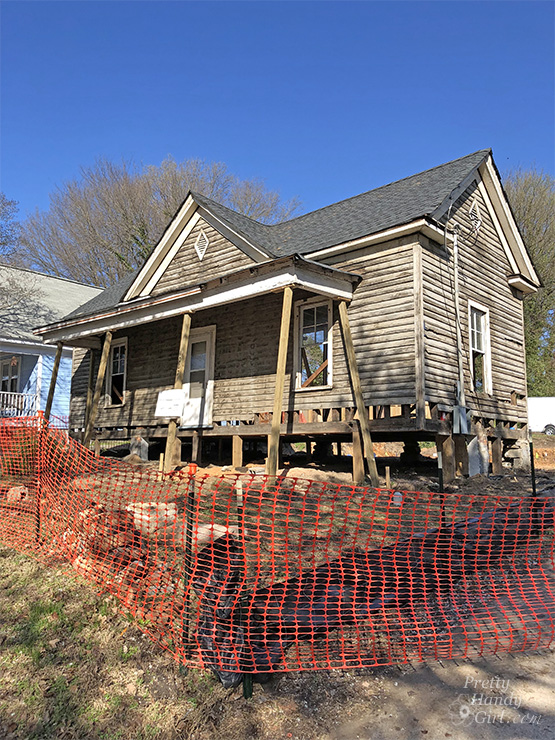
Once I had a clear direction and plans from my structural engineer, it was time to get to work. The demolition crew came back and supported the house with giant 6×6 beams so they could dig footer trenches under the house to prepare for a new foundation.
The back of the original house needed some new framing to address wood rot and a sagging band beam.
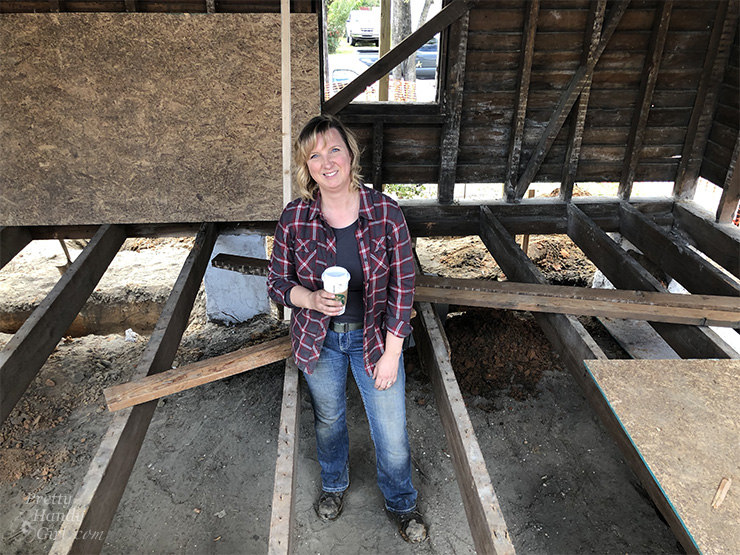
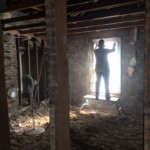
While the demolition crew continued digging out trenches for footers under the original house, I smoothed the crawlspace and dug out areas where the ground was too close to the floor joists. It was gratifying work knowing I was protecting the original floor joists from rotting. Little did I know we’d need to raise the interior floor, but I’ll tell you about in a few minutes.
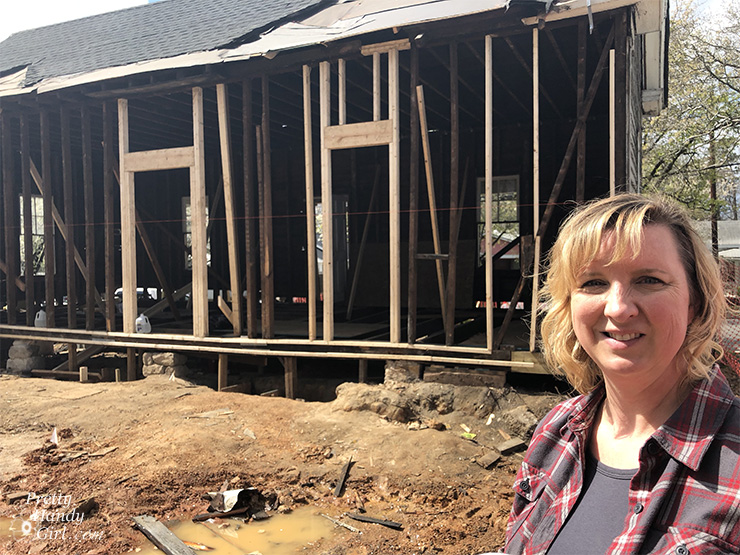
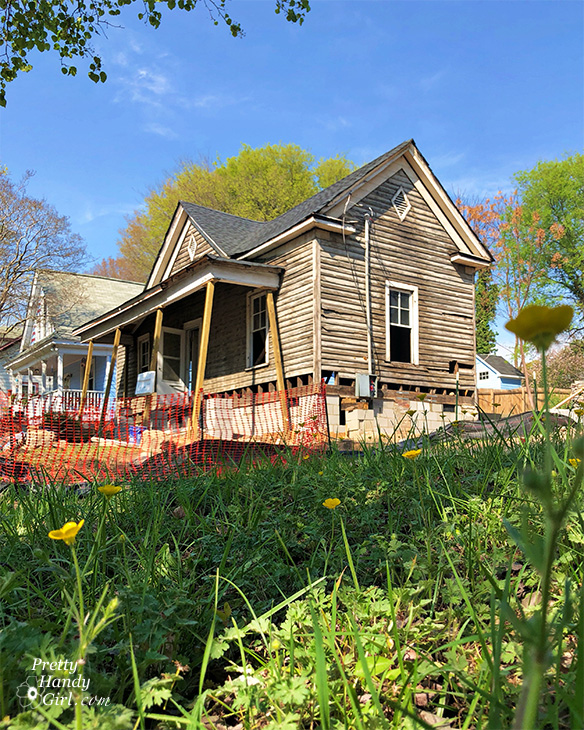
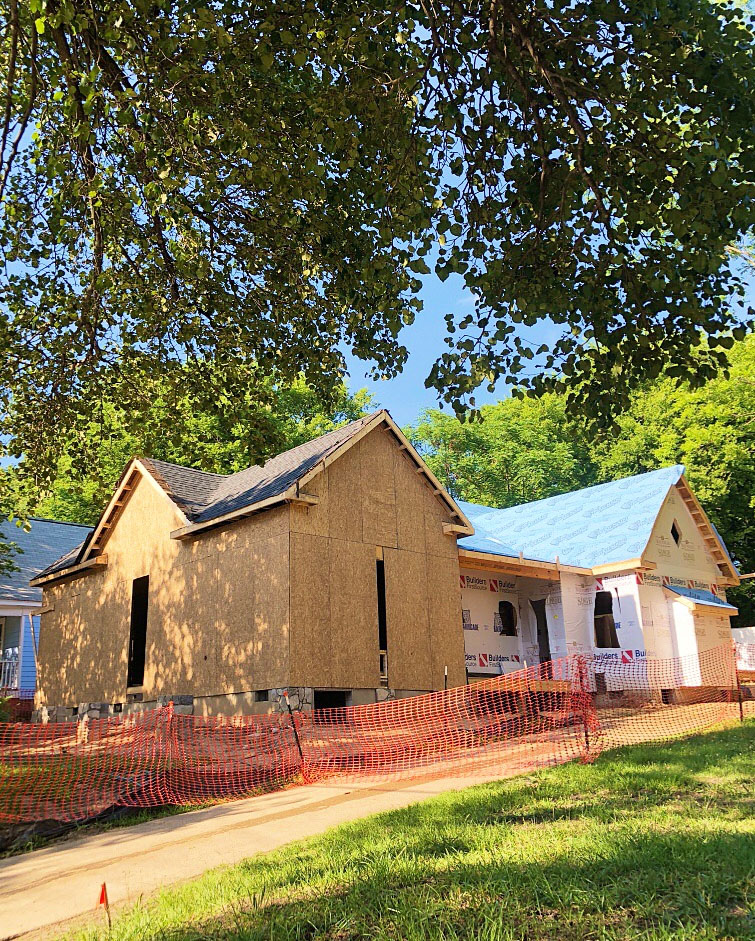
By the time demolition was done, poor Etta looked worse than when I bought her. But to restore an old house, you have to strip back all the layers to get to the core and assess what can be saved and what needs replacement or structural support. At the time this photo was taken, I thought we could save some of the original siding and the front porch. Unfortunately, neither was worth saving in the end.
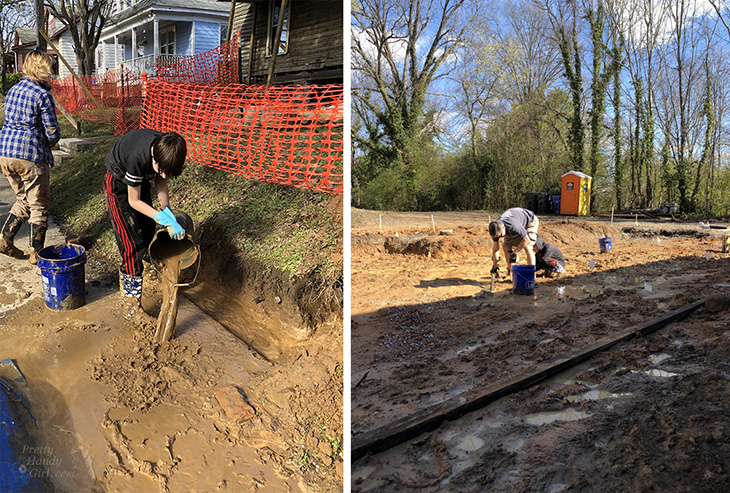
Remember those rain boots I put on? Well, the rain was a constant source of frustration for me as it filled the crawlspace area for the new addition. And it filled the hole we dug to find the water line so my plumber could hook up a temporary spigot for the concrete and masonry contractors. One weekend afternoon, I went downtown to see if the weather the day before had dropped much rain and was devastated to find a swimming pool in the back yard. My family came to my rescue and we spent several hours with buckets dumping the water out.
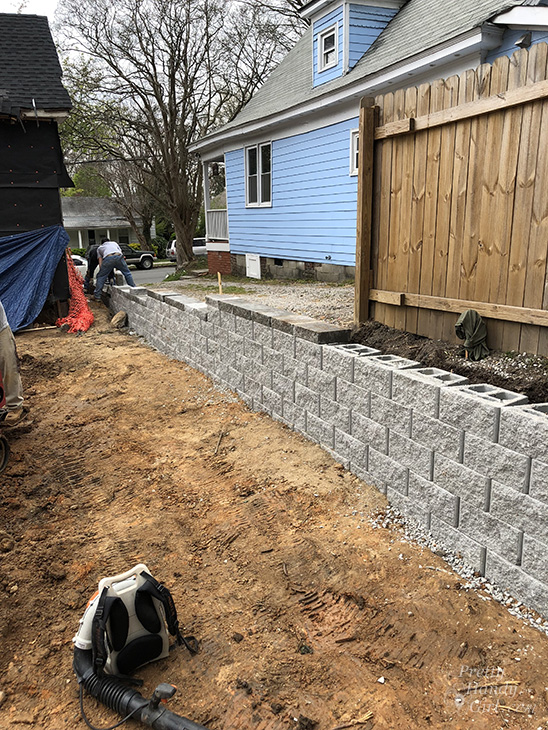
The other immediate problem that surfaced was the need to secure the neighbor’s driveway so it wouldn’t wash into my property. I spent thousands of dollars to put up a sturdy retaining wall (not in my original budget.) But, the piece of mind was worth the expense knowing it would also protect Etta from water runoff from the next door property. The wall provided its own set of headaches as I discovered I needed to retroactively apply for a permit. After providing several letters (one from me, one from the structural engineer, and one from the neighbor), the city finally approved the retaining wall. It felt like one more hurdle behind me.
The skies finally cleared enough to dry things out and allow the concrete contractors to dig the footers for the addition and fill them with concrete.
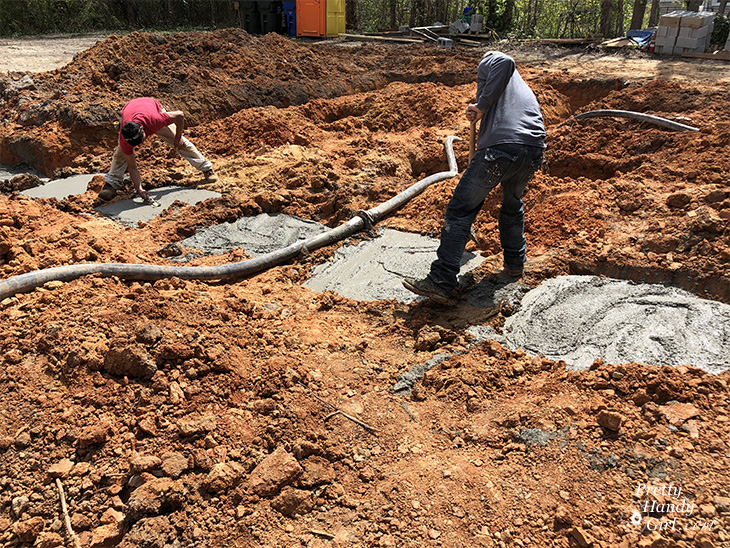
During the concrete pour, I had to add bolts to support three 6×6 piers for the side porch support. My framer was finishing up another job, so I took on this task.
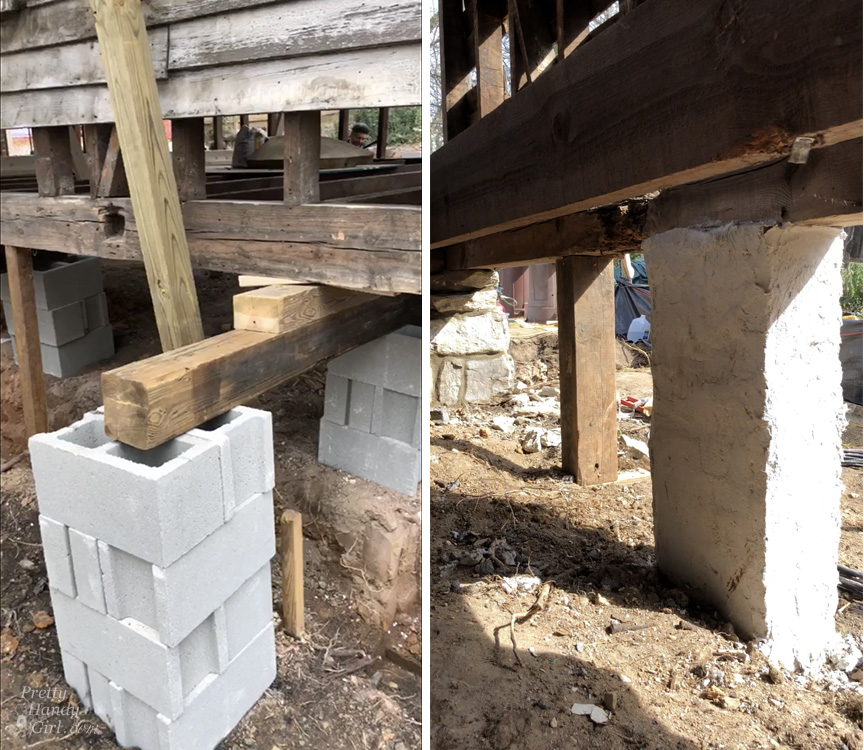
My masonry contractor started soon after the concrete footers were approved. He made quick work of installing the block walls and piers.
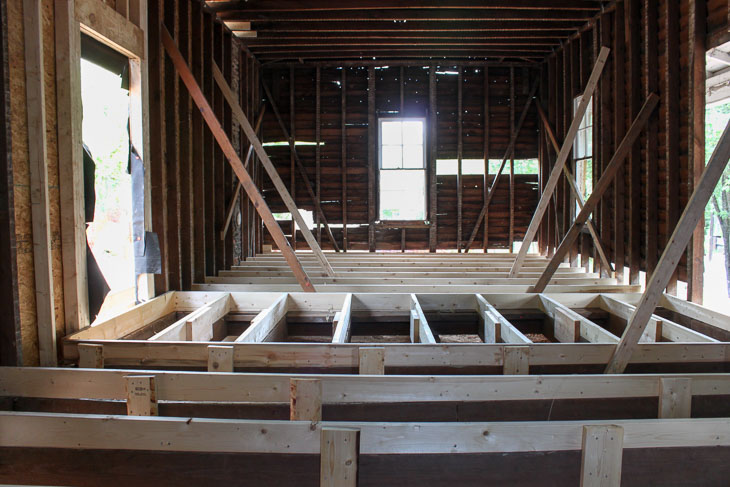
After the mason finished building the foundation, I realized there was an error somewhere along the way and the addition was going to be 5 ½ inches taller than the old house. I chalk this up to my inexperience and take full responsibility. (Live and learn is my new motto.) Luckily my framer had a creative solution. We decided to raise the floor height in the old house. This would also solve the sagging floor issue and provide a level surface for new floors. I can’t even begin to tell you how important it was having a framer who was full of ideas to solve the myriad of problems that cropped up.
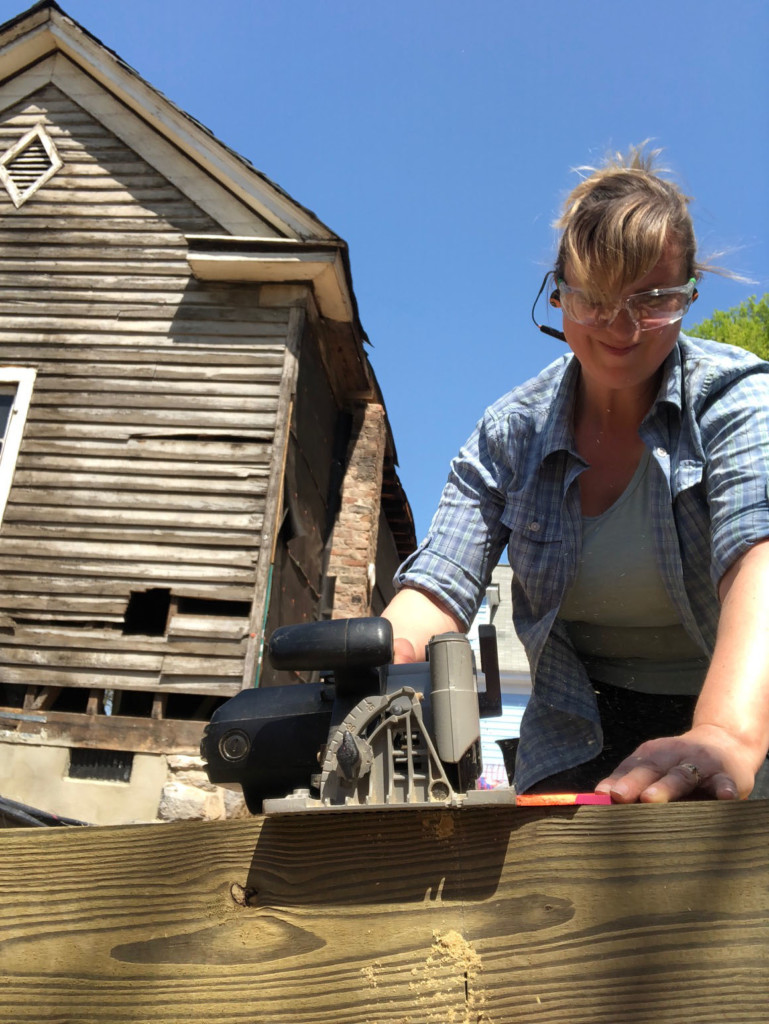
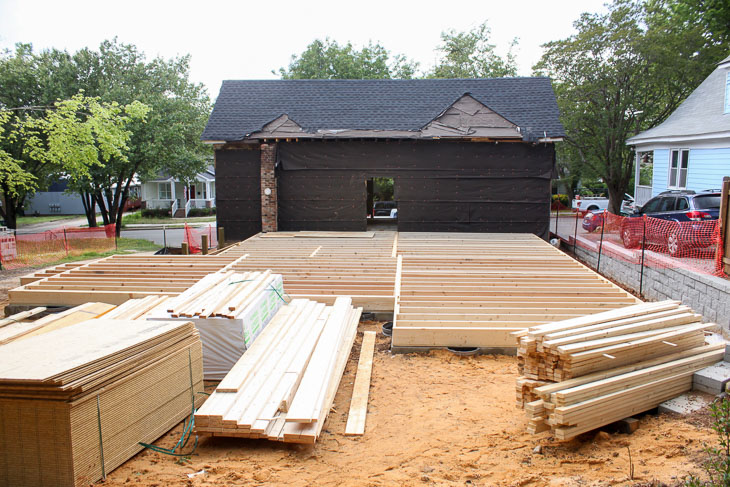
As the new floor joists were added on top of the old joists, I came to the realization that I couldn’t save the old siding. It was better to remove it, and add proper sheathing and house wrap to the old house. Not only would this protect the interior from drafts and moisture, but it would go a long way to cut down on the noise outside the house. (Pedestrians walking by, commuters, and a bus line all provide a fair amount of street noise.) I personally knocked down one wall of siding in the effort to save it for another use. I left the other two walls of siding to provide some strength to keep the exterior walls from racking. (Racking is when the top of the wall is forced in one direction while the bottom is held stationary or is forced in the other.) The rest of the siding would come off as the new sheathing was installed to prevent any damage to Etta’s remaining structure.
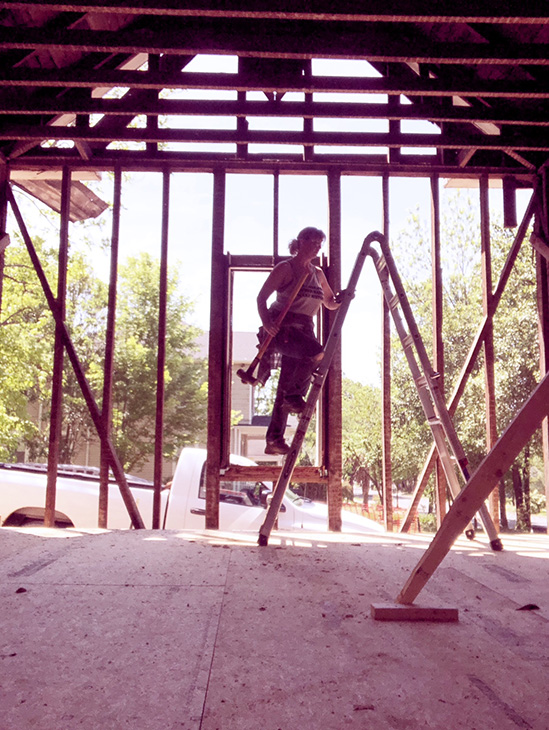
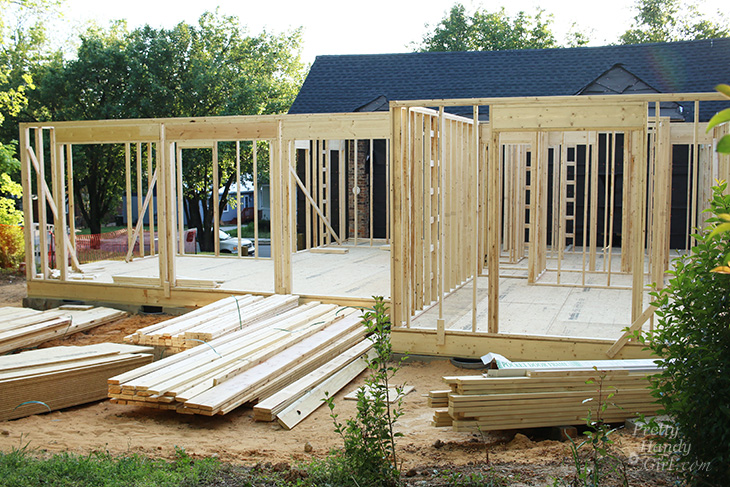
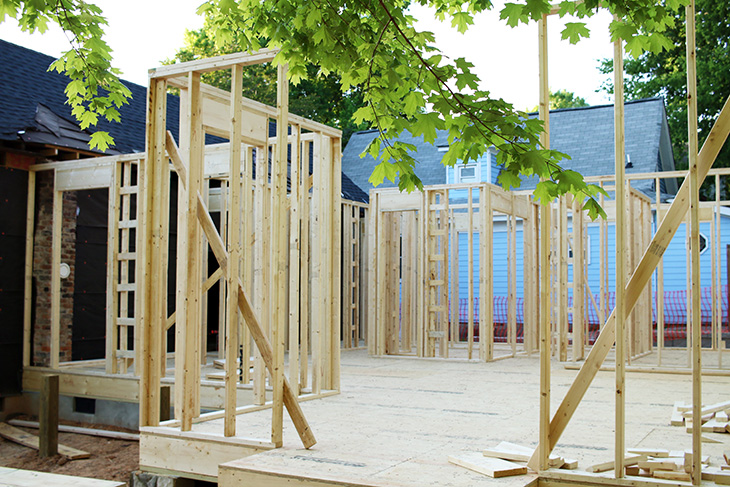
It was finally time to frame the new addition. On a side note, the term “addition” doesn’t seem to fit because usually an addition is less than the current square footage of a original house. In Etta’s case, the addition would be about three times the size of the house that was left.
The first floor walls went up quickly and it was a glorious sight seeing Etta’s new layout taking shape.
Along the way, I learned a lot about the latest building codes and how to fix small issues while framing.
As the addition took shape, the front porch kept popping up in my head. I struggled with the way it was built. One morning, my framer and I discussed the front porch and he convinced me it would be best to tear it off and rebuild it to code. I begrudgingly agreed with him and called the demo contractor back to remove the porch. But, like all other things in construction, there were some unforeseen delays.
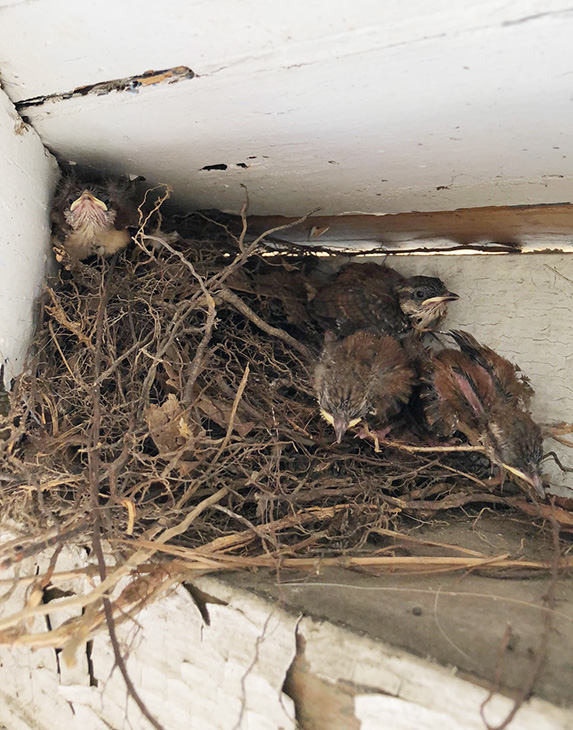
The afternoon before the porch was to come off, I found a new family of birds living in the porch rafters. I couldn’t, in good conscience, move their nest. So, we pushed off the porch removal until the birds flew the nest. After they left the nest, the front porch came off and the framers added new exterior sheathing. It was thrilling to see the new house taking shape.
Want to see a video of the framing progress? Here’s a time lapse video and tour of the house during framing. Enjoy!
I hope you are enjoying the updates and progress reports at Etta. I’ll be back soon to share more updates.
![]()
Disclosure: The Saving Etta Project is sponsored by these amazing companies who believe in saving a historic home that would have otherwise been bulldozed. I am thankful for their kind support of this project.


I’m so glad you are continuing to update! It sounds like you are making really smart decisions with what you can keep and what you can’t. Your future buyer is going to be thrilled with them!
Thanks Casey. It’s been a struggle to keep up with blogging and building. ;-D.
Thanks for continuing the updates! Love following along 🙂
WOW!! Can’t wait to see what’s next. 🙂
Thanks for the great update and overview. Best of luck
Holy cow, what a change!! I know with older homes it looks like you destroyed the original but I know you have not. Still, I didn’t know the extensions were that large.It will be nice to reorganize the flow of the house. Fingers crossed the hurricane did little to no damage to Etta.
take care down there! Don’t want you to wash away! I am still tickled pink to see new episodes of ‘Saving Etta’ in my inbox, thanks!
I’m enjoying watching Etta’s progress toward a refurbished life. My fingers are crossed that Hurricane Florence does no damage the genteel lady. Good luck!
Thanks Dianna, now that the worst of the hurricane has passed, I’ll head down there tomorrow to check on things.
Wow! It’s really coming along and I am looking forward to seeing the completed home. I hope that Florence has not caused too many issues..can’t wait until she finally moves out of here..
I hope so too. I’ll check in on Etta tomorrow now that the worst of the storm has passed us.
I can’t even recognize the original structure.. Now I’m totally disappointed. Way too big. Landscaping will all need to be done. Not what I .thought. Now looks like demolition not saving. I’m sure it will be beautiful. Etta is gone though.
Mary, I know it’s hard to look at in this state, but I assure you I have maintained the original look of the 1900 portion of the house. You’ll have to wait to see in the updates. The addition is actually within the original footprint of the additions we removed. Although, I know it does look big. Part of saving an old building is the difficult process of deciding what has to go because it won’t last another 100 years. I was sad about the siding, but knew it wasn’t the right decision to leave the brittle siding there. And the porch was very precariously built and it worried me that it would not survive another 100 years (and would potentially injure someone if the roof failed.) Anyway, all this to say, that I hope you’ll have a change of heart once you see her when she’s built back to resemble her original structure.