Landscaping 101 – Tools & Planting
Landscaping 101 – Tools & Planting
When we bought our first home 13 years ago, we were lured by the idea of having at least half an acre of land. Little did we know that it would involve LOTS and LOTS of yard work. Over the years we’ve learned several tips and tricks to creating beautiful landscaping that will last for decades. If you’re a new homeowner (or still trying to find your green thumb), here’s the Landscaping 101 course to help you hit the ground running. I’ll be sharing which yard tools are essential, how to pick the right plants, how to plant them, and how to add color to your landscaping. Pull up a stump and lets dig in!
Assess Landscaping Needs:
Do you have a variety of color in your landscaping? Unfortunately a soccer ball, flag and garden ornament don’t really count. Attractive landscaping will have a variety of colors, textures and tones to create variety and interest.
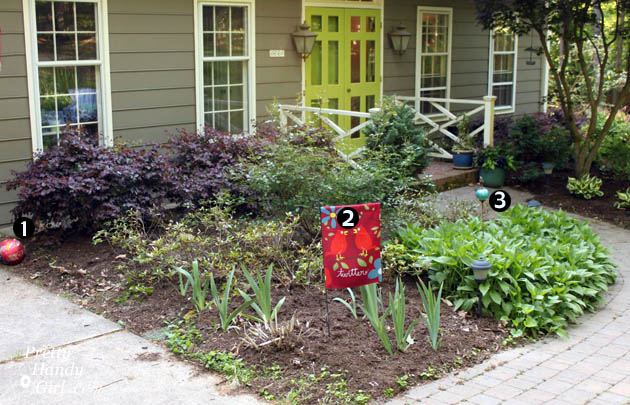
The great news is that you can remedy this situation in an afternoon (or less time depending on how much planting you need to do.)
Take a good hard look at your existing landscaping. What’s working for you and what is…ummm…dying. It’s okay to give up on shrubs and plants that are dying. If you just can’t stand the thought of killing them, transplant sickly plants in a less visible spot to give them a second chance. But, don’t leave them in your front beds where they aren’t adding any curb appeal.
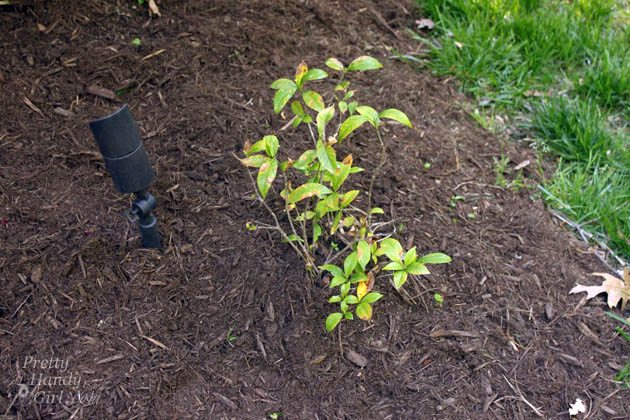
As an alternative, if a sad looking plant previously thrived in that location but it took a hit from frost (or a well-played soccer ball). You can try to save it by trimming the plant back to green stalks or near the ground. That’s exactly what I did to this Confederate Jasmine. I pruned it back to see if it would come back.
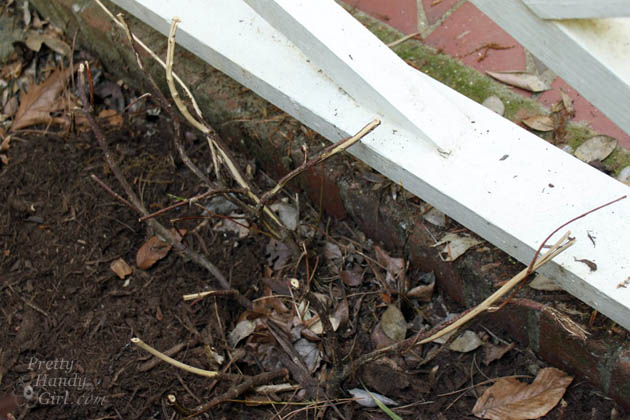
I also planted a new one right next to the old one for instant color and fragrance. That way the old one can take its time growing back while no one notices its stubbiness.

Make a list of the holes you have in your landscape. Note the sun and soil conditions there. Take your list with you when you go plant shopping.
How to Choose Appropriate Plants for your Landscape:
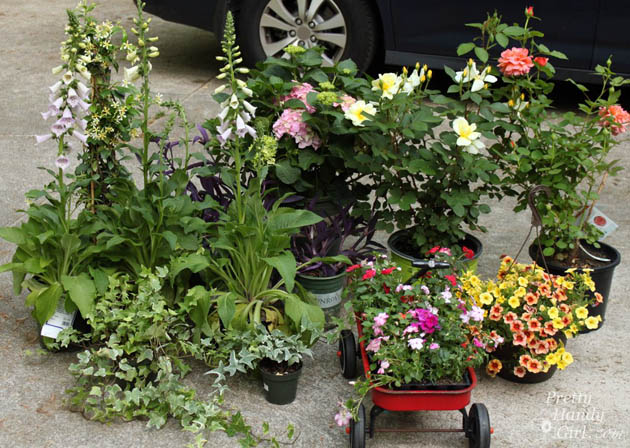
Be sure to shop for your flowering plants at a local reputable plant nursery. Picking up plants at the grocery store or other big box store will result in less than the hardiest plants. Nurseries take care to stock plants that thrive well in your climate. They are also more healthy and disease-free. Finally, the staff at the nursery is more knowledgeable and can help you choose plants that will do well in your garden. The grocery store cashier probably can’t help you with that!
If possible, shop for flowering plants at the time that you want them to bloom in your yard! A successful flower bed will have staggered blooms throughout the Spring – Fall. If you fill your flower bed over time, you’ll be sure to have blooms that appear at different times as opposed to picking all your beautiful blooming plants in one shopping trip. But, if you’re more of the once and done type, ask the nursery staff for a variety of plants that will stagger their blooms.
Sun and Shade Requirements:
Choose plants that will thrive in the existing conditions in your yard. It’s a great idea to map your landscape area and note the sun and shade areas on an hourly basis. Select plants based on those shade/sun requirements.
- Full sun = At least 6 hours of direct sun
- Partial Sun = 3-6 hours of sun per day. The plant must receive direct light for at least 3 hours.
- Partial Shade = 3-6 hours of sun per day. The plant must receive shade to help cool the plant later in the afternoon.
- Shade = Less than 3 hours of sun per day. But, the plant should receive some additional dappled sun throughout the day. No sun equals no life.
Also pay attention to your soil and drainage. A well drained soil will dry several hours after watering. Damp soil will stay moist and wet for at least a day after watering.
*A good tip is to save your plant tags and receipts. Most reputable nurseries will have a warranty on the plants they sell. Ask them for more information.
How to Choose Yard Tools:
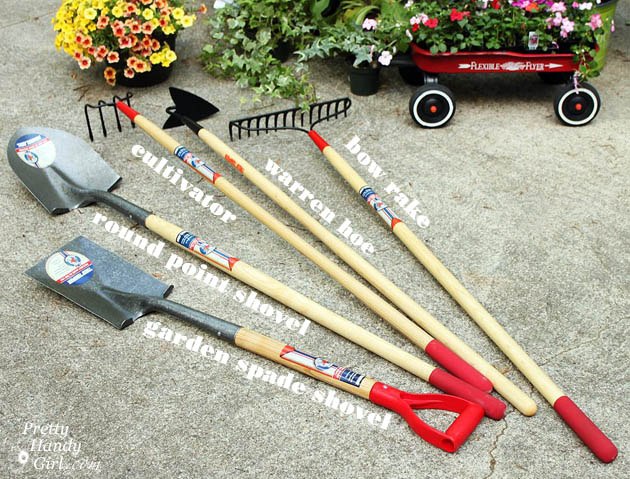
Disclosure: True Temper sent me these landscaping tools to try out. I was not told what to say about their tools.
A good starter set of landscaping tools are:
(I’ve included affiliate links for your convenience. I earn a small percentage from a purchase using these links. There is no additional cost to you. You can read more about affiliate links here.)
- Round Point Shovel – used for digging and transferring plants
- Bow Rake – used for leveling and loosening soil, spreading mulch, and ground cover
- Garden Spade Shovel – used for digging trenches, transplanting and edging beds
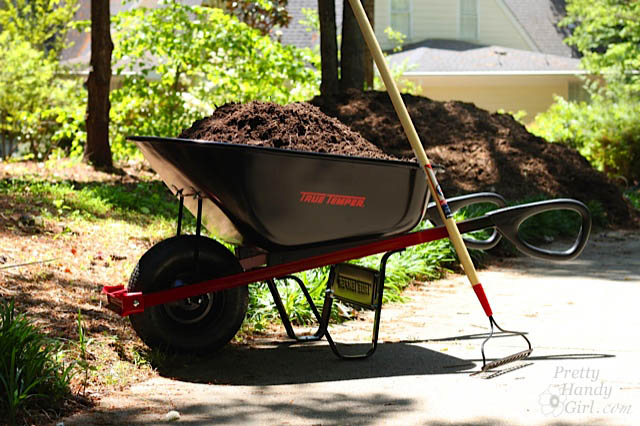
- Wheelbarrow – your best friend when it comes to hauling yard material
- Garden Trowel – A small trowel for planting, transplanting, digging up bulbs, moving dirt, potting, and much more!
- Cultivator – used for loosening and breaking up tough soil, removing rocks, weeding and aerating
- Warren Hoe – used for creating and planting rows of seeds and harvesting underground vegetables
- Leaf Rake – if you have deciduous trees, you NEED a leaf rake to remove fallen leaves
- Pruning Shears – a sharp pair of pruning shears are used for pruning, cutting blooms and dead limbs from bushes and plants
- Garden gloves – a good pair of garden gloves will protect your hands from thorns, scratches and dreaded poison ivy (or poison oak.)
If you’re new to landscaping, I’m going to give you some good advice about buying tools. As I recommend with power tools, don’t cheap out when buying landscaping tools. If you buy quality garden and landscape tools, they should last you a lifetime. If you go for the less expensive tools, you’ll likely spend more in the long run when you have to replace a broken or worn out tool.
For example, we have a True Temper shovel that has lasted us for over 10 years now. We’ve put that baby to good use digging in the rocky and clay filled NC soil. Some of the other tools we bought didn’t make it that long. Either the handles snapped or the tines on a rake bent over continued use. Buying two of the same tool means it would have been smarter and more economical to purchase quality from the start. (Live and learn.)
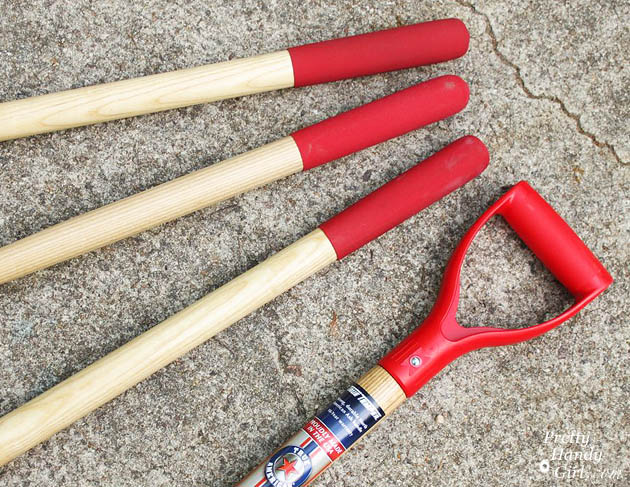
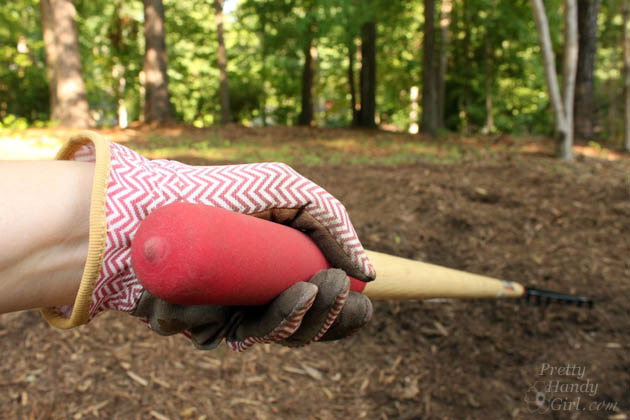
Good tools should be ergonomic, comfortable and made with quality materials that won’t break or bend over time. Look for strong defect-free handles. True Temper tools are high quality and Made in the USA. They’ve been making agricultural tools for over 200 years! My favorite feature of these True Temper tools are the 10″ cushion grip handles. They are easy to hold and are good shock absorbers.
How to Plant Shrubs and Flowers that will Thrive:
Assess the health of your plants. Remove any diseased or dying plants. You don’t want them infecting your new greenery. Use a round point shovel to dig a circle around the root ball. Use your foot to step on the top of the shovel to get further depth and force to cut roots. When the plant is free, remove it and toss it or transplant it to a new location.
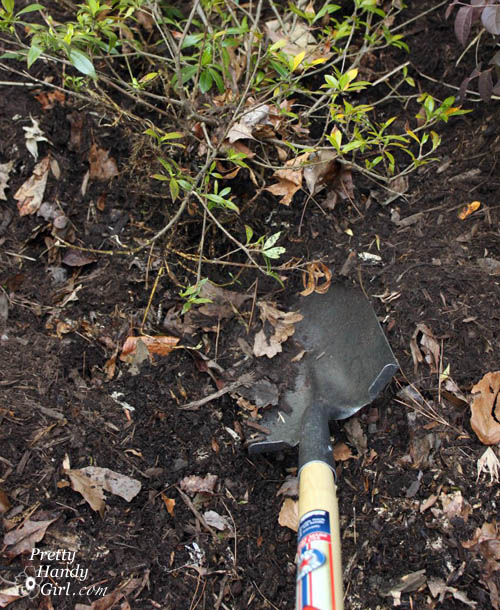
Dig a hole at least two times the size of the new plant’s root ball. And several inches deeper.
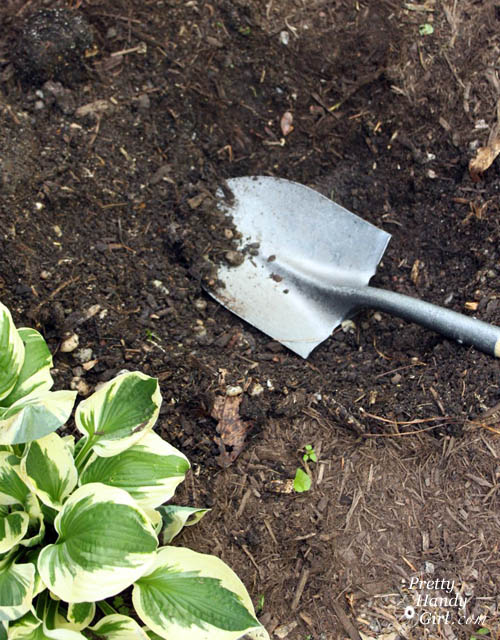
Break up rocky and hard soil with either a Warren hoe or cultivator (or both!) The cultivator works great at getting all the big rocks out of the way.
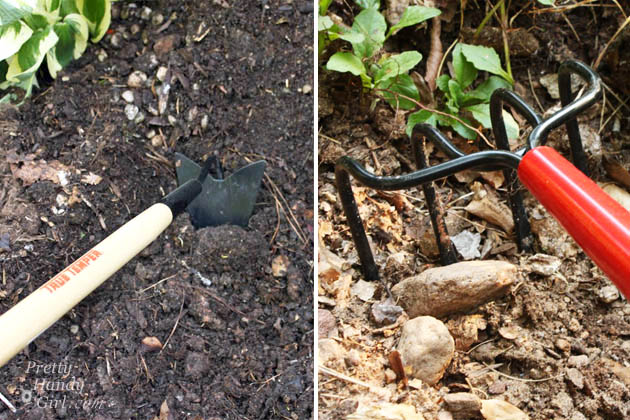
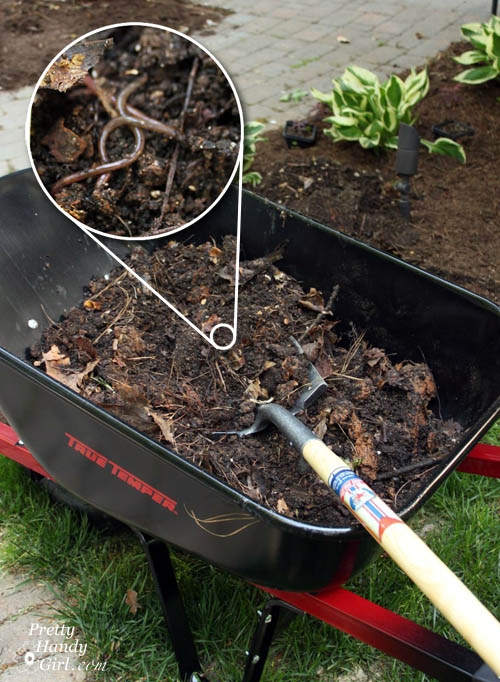
Fill the bottom of the hole with good organic compost. This stuff is black gold! A good compost pile will be full of worms working to turn your kitchen scraps into super nutrient rich soil for your plants. I’ll have to write a separate post on how I compost. If you don’t have access to organic compost, purchase a bag of good gardening soil to use. Mix the compost and dirt with the cultivator or hoe. The soil should have good drainage and no large chunks.
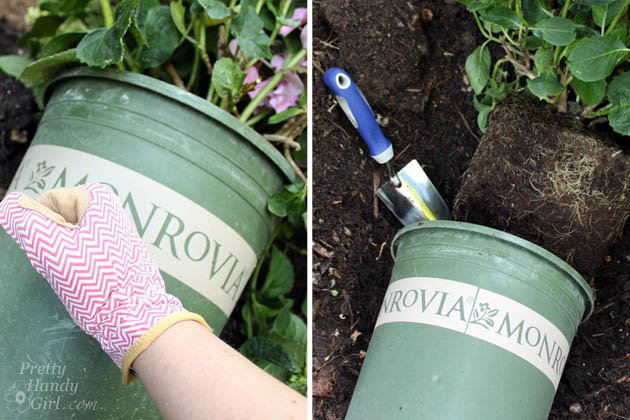
To free your plant from it’s pot, make a fist and pound around the outside of the pot. Gently tip the pot upside down while supporting your plant by its trunk. Gently lay the plant on its side.
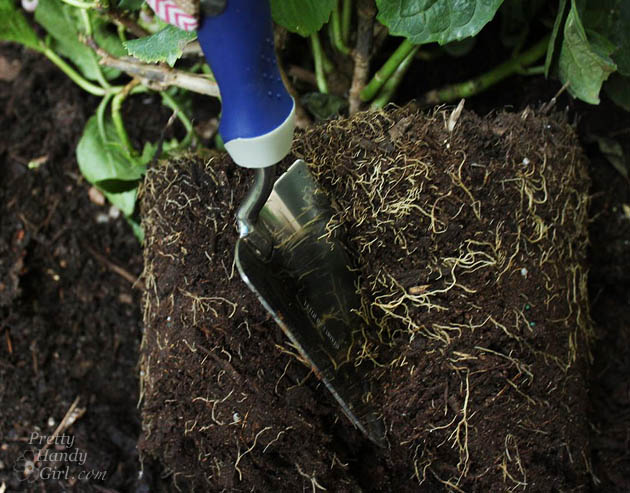
Use the hand trowel to slice into the rootball. This is especially important if your plant is root bound. You need to encourage the plant to expand and grow new roots out into the earth.
Set the plant upright in the hole you dug.
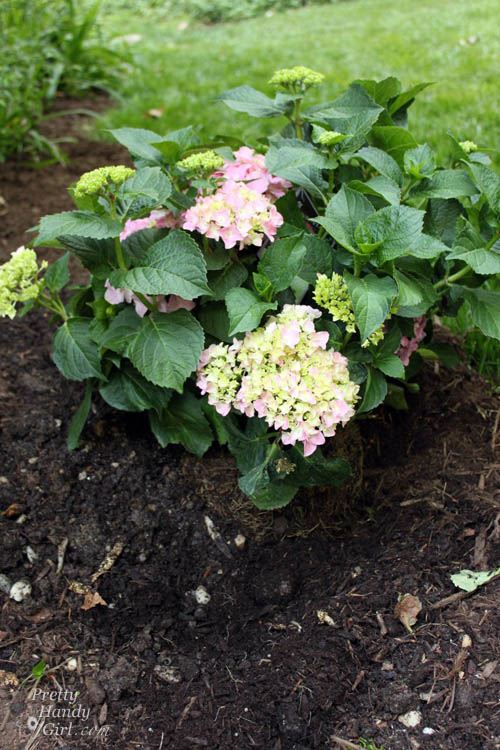
Fill around the root ball and cover the top of the root ball slightly with more soil/compost mixture.
Step around the base of your plant to eliminate air holes. It’s important to get good soil contact with the roots of the plant.
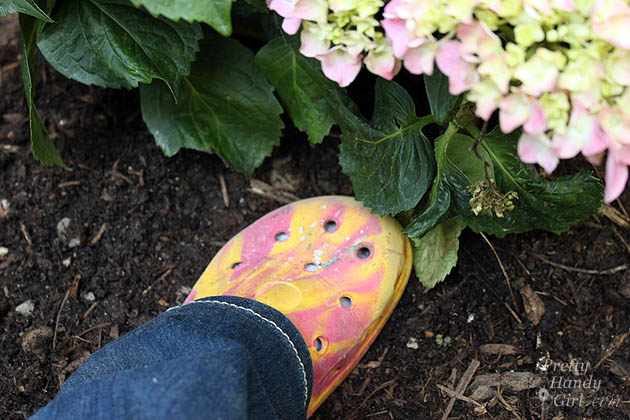
Water your newly planted flowers and plants daily for two weeks or more. Then taper off the watering to help them extend their roots on their own.
Mulch:
Adding mulch around your plants in the beds adds more than an attractive look. It keeps moisture in the soil and controls weeds. To weigh your options on which type of mulch you want to use, you’ll probably find this Mulch Selection Guidelines List helpful.
Save your back and energy by filling a wheelbarrow with mulch and bring it to your beds. Make sure the front wheel has plenty of air. Or learn how to replace a wheelbarrow tire that never goes flat!
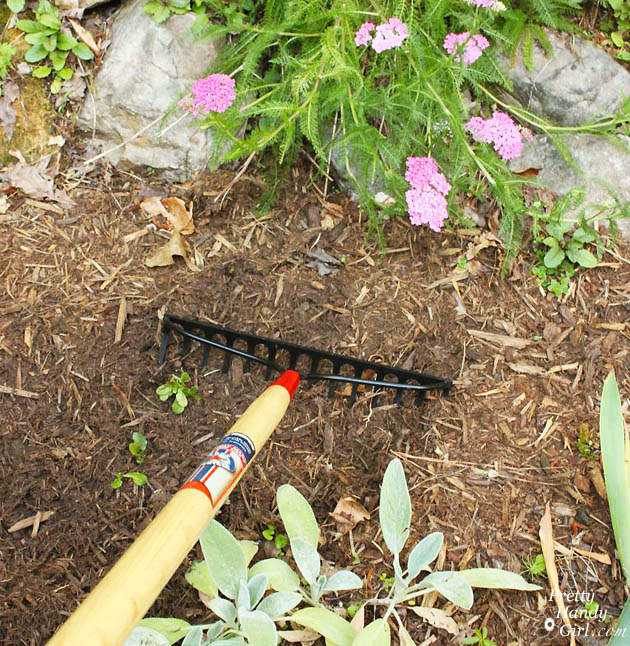
Spread the mulch 2 – 3″ deep around your plants with a bow rake. Anything less than 2″ won’t control weeds and retain moisture as well.
Container Gardening:
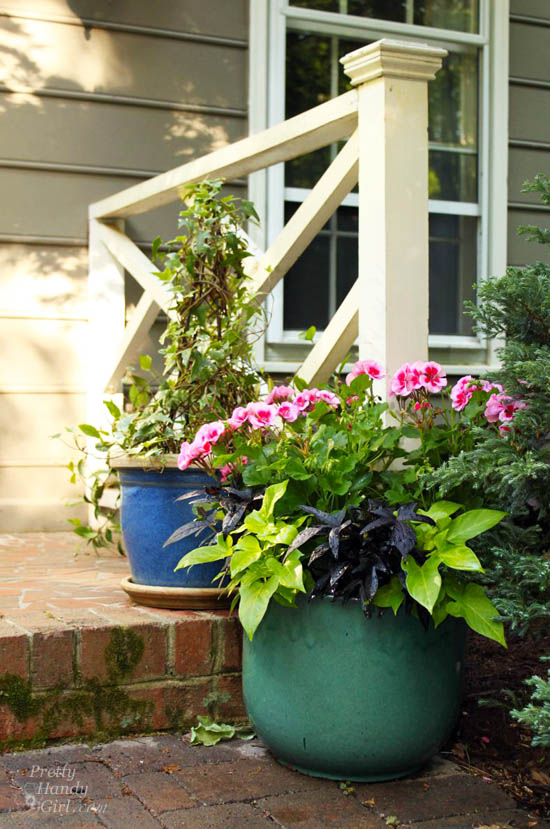
Potted plants help you “fake it until you make it!” A few potted plants with annual flowers in them is a great way to add pops of color exactly where you want them. They’ll draw attention to their color and blooms and detract from any landscape beds that are between blooms.
When they stop blooming you can pop in another container of flowers. Container gardening is the perfect activity for fickle gardeners because you can constantly change the look with new colors and plants. Learn all the basics for growing your own container gardens here.
Annuals are great for instant color, but once they are gone they won’t grow back next year. If you prefer to avoid yearly planting, buy perennials to plant in your pots. They will re-bloom year after year.
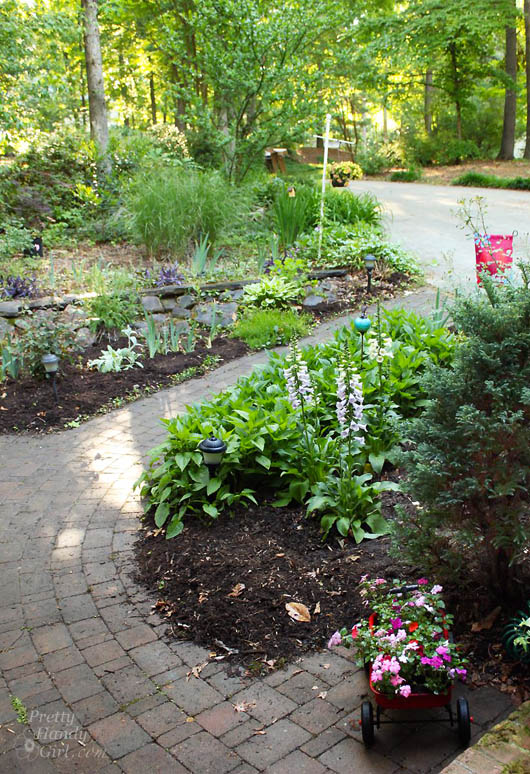
For a more portable arrangements, fill small lightweight pots or containers on wheels. (I had fun turning this old Radio Flyer wagon into a portable planter. Now I can wheel the wagon anywhere I want to add more color.)
Added Color to the Landscape:
Remember that “artificial colored” landscaping before?

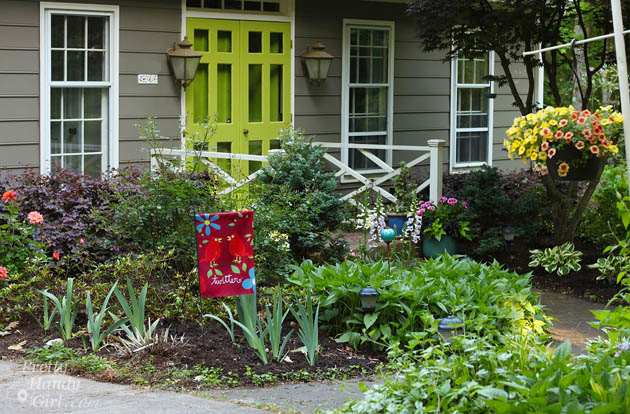
Within an afternoon it got a makeover worthy of an HGTV curb appeal segment.
Before the sad little gardenia was barely thriving.
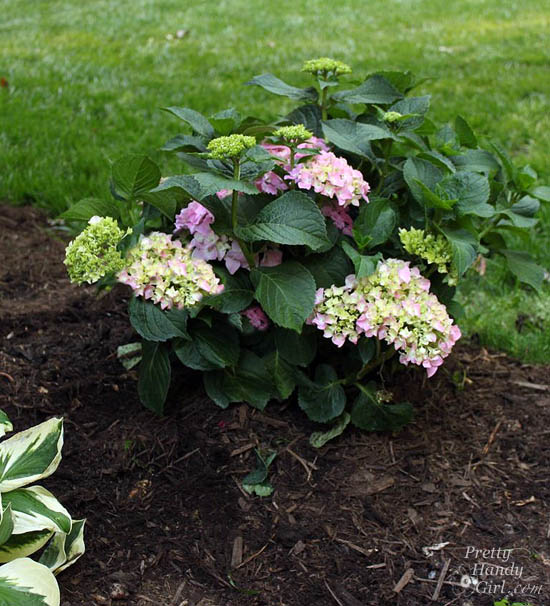
Presto! Instant color and blooms from a newly planted pink hydrangea.
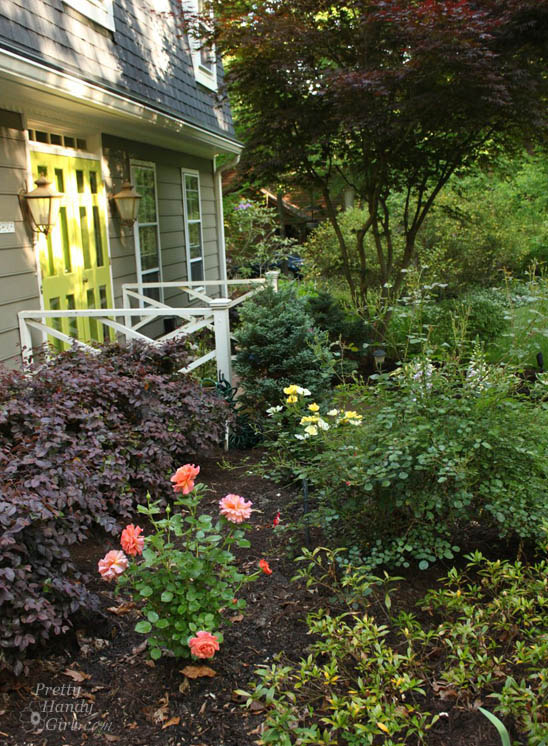
New rose bushes bring some fragrance and color to the previously color-lacking front bed. I had no idea that there were yellow knockout roses, but as soon as I saw them I grabbed them. If you don’t know about knock out roses, they are much hardier and disease resistant than their ancestors! Win!
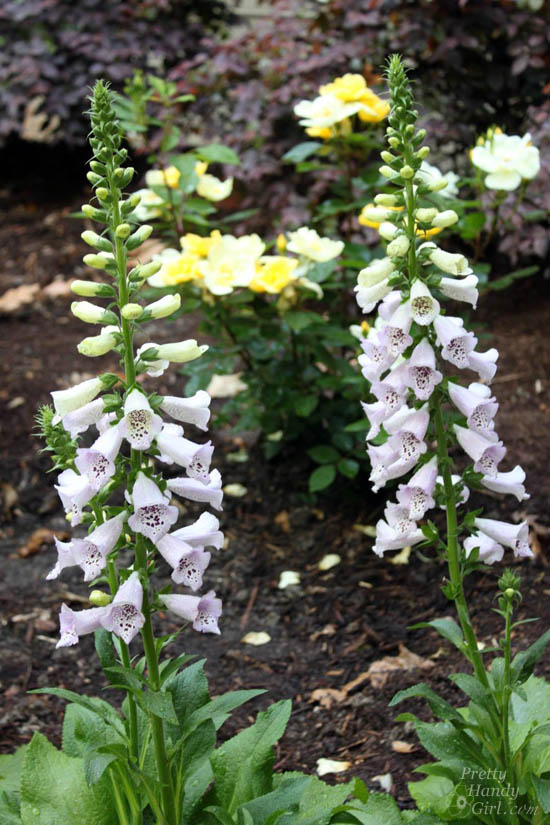
A few foxglove plants adds some height and visual interest to the flower bed.
Much better! In a week those irises around the flag and the big rose bush in the middle will be brimming with color.
Our front landscaping beds are my new happy place!
We get compliments from anyone who comes to our house (which is primarily the UPS and FedEx driver lately. Thanks guys!)
Do tell me, do you have any landscaping tips or secrets to share? Or maybe you have a favorite plant in your yard. Please tell me more!





Knockdown roses would stand up to NC summer. I live in Central Florida and my knockdown rose just keeps on flowering and hanging on. I do not have a green thumb but to me, knockdown roses seem easy.
I haven’t tried cardboard, but I do put several layers of newspaper down as a weed barrier, wet it and cover with mulch. So far so good. Only two pieces of grass popped up but they were rooted in the mulch, not in the ground. Guessing the seeds blew in. Way less expensive than using landscaping fabric. My parents donated their old newspapers.
I am so I love with it all. Thank you! By the way, can you come to my house and help me get a beautiful shady garden like yours?
Wish I could. Have a great summer.
If you put down cardboard( with out tape or staples) you dont have to put quite as much mulch.Wet it down after.
Also I find if I buy cheep mulchwhen it breaks down its full of weed seeds..
Excellent tip Jo!
My landscaping “secret weapon” is container gardening for no other reason than I seem to kill lots of different breeds of plants. While partially true, I have learned to really like creating giant pots of a few different plants. The colors and height you can get are really amazing.
Dhalias and Clematis are my favorite plants.
I’ve been looking for a good wheelbarrow, and that one looks like just the ticket! Love your landscaping tips!
I love Peonies and Hydrangeas. But I miss using Hibiscus and Plumbago from when I lived in Florida.
Looks great! I wonder though how well those roses will hold up to the hot NC summer? Do you have to continually water them?
In my few shady spots I love coleus plants which I get to decide which ones I want each year. I love the fact that the beautiful leaves are the glory of this plant. I never tire of them.