How to Create an Inexpensive Mulch and Stone Walkway
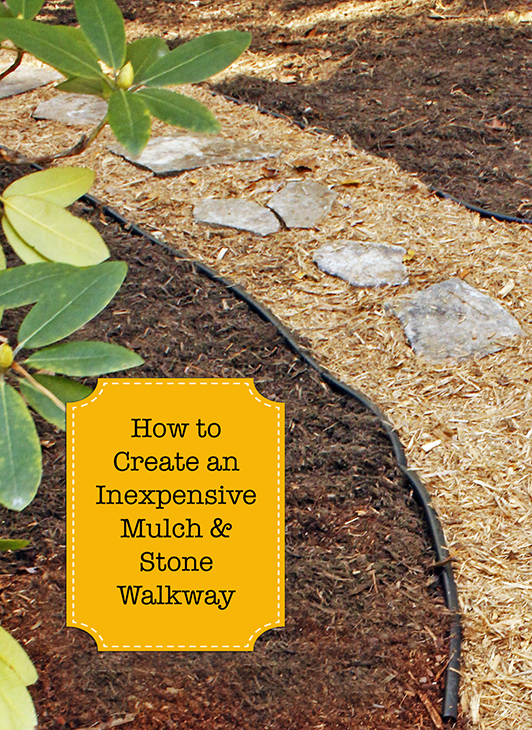 How to Create an Inexpensive Mulch and Stone Walkway
Spring is on its way and that means more rain. It’s also the time of year when the grass has been dormant and there is more exposed dirt and mud in your yard. Let’s be honest, everyone tends to have problem spots in their landscaping that end up looking like a mud pit. And if you have kids or pets running around, it won’t be long before that mud comes walking into your home.
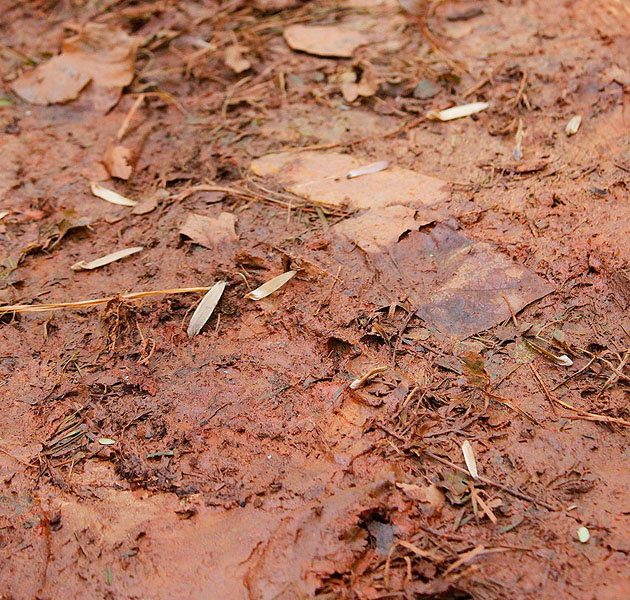
For those of us that live in the south, mud is not just wet dirt. It’s usually red clay! And unfortunately, it will stain everything you own and make housekeeping a nightmare. Time to come up with a fast and inexpensive solution to the mud problem.
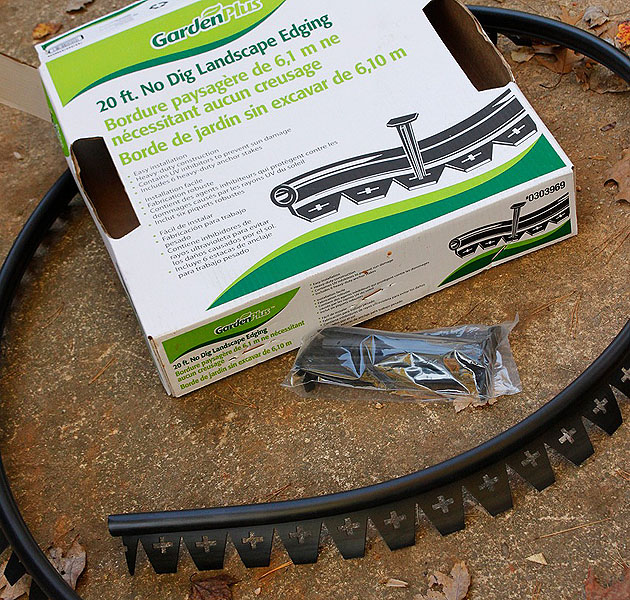
While searching Lowe’s for some ideas, I stumbled across this no-dig landscape edging. I was very excited to see that I wouldn’t have to dig a trench to bury half of it! Instead, it comes with pegs to nail into the ground. Suh-weet!
Materials:
(I’ve included affiliate links for your convenience. I earn a small percentage from a purchase using these links. There is no additional cost to you. You can read more about affiliate links here.)
- Flat stones or stepping stones (cost will vary)
- No Dig Landscape Edging Kits
- Two different colors of mulch (I used 20 bags -10 for each color) $3 each
- Yardstick for your width template
- Hammer
- Garden Rake
Instructions:
Gather all your materials near the path site. Layout your stones and walk on them to make sure they are spaced for a comfortable gait. (Do you see that stick in the above picture? That is my path width guide.)
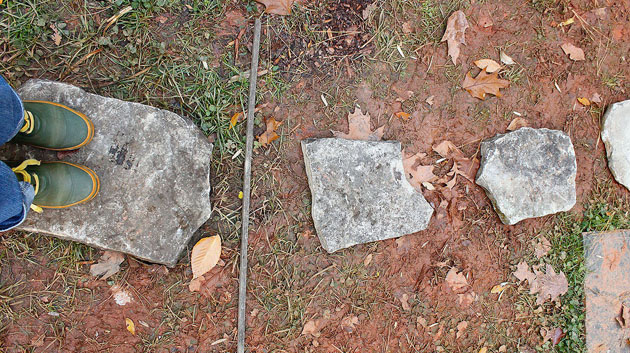
Use your path width template (aka stick) to keep your edging equal distance apart the entire length of your path. (You may need to put a weight on your edging or set a peg in halfway to hold the edging in place.)
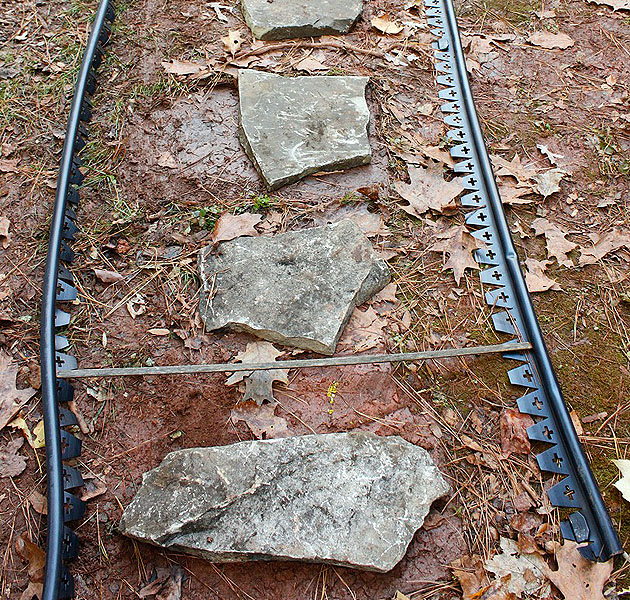
After the path and edging are laid out, step back and take a look. Make any tweaks to your pathway now.
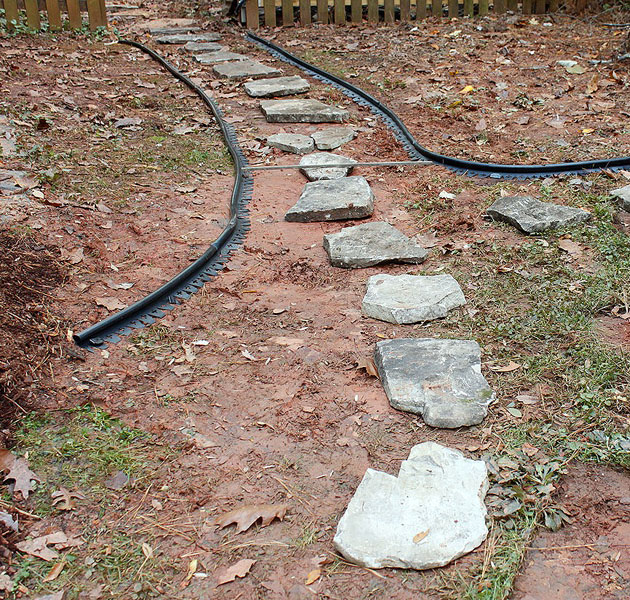
To set the path, start from one end and insert a peg into one end of the edging.
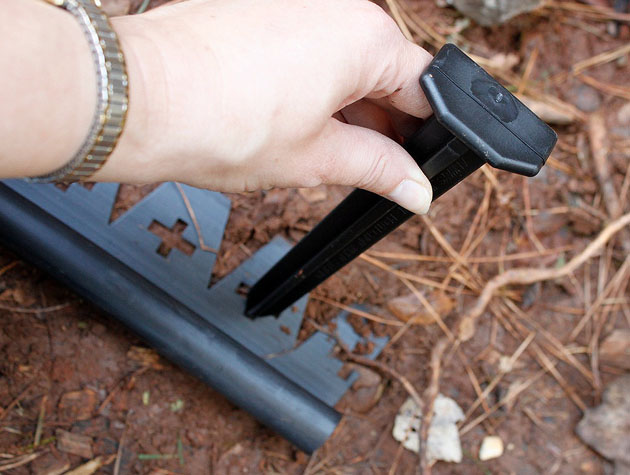
Then hammer the peg into the ground…
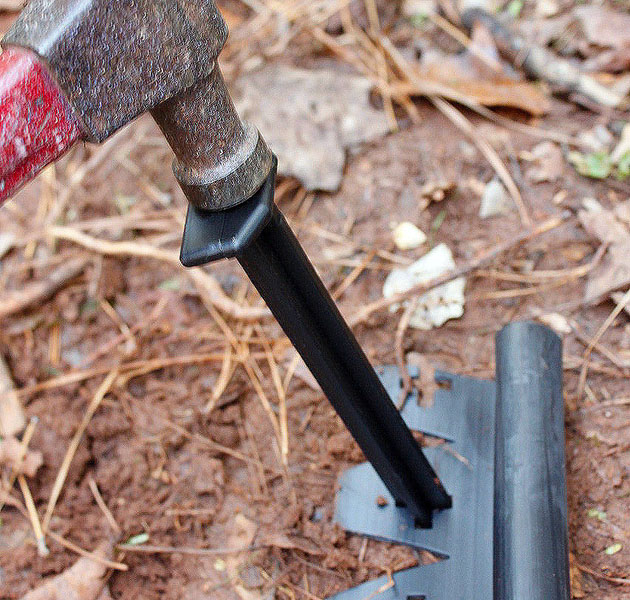
…until it is flush with the earth.
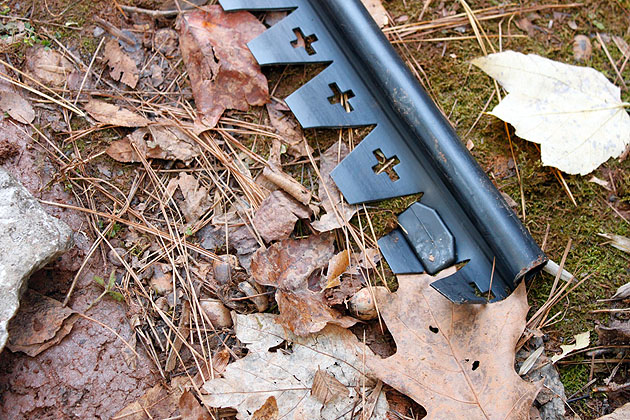
Continue setting a peg every 4-6 feet (and especially at the peak of any curves.)
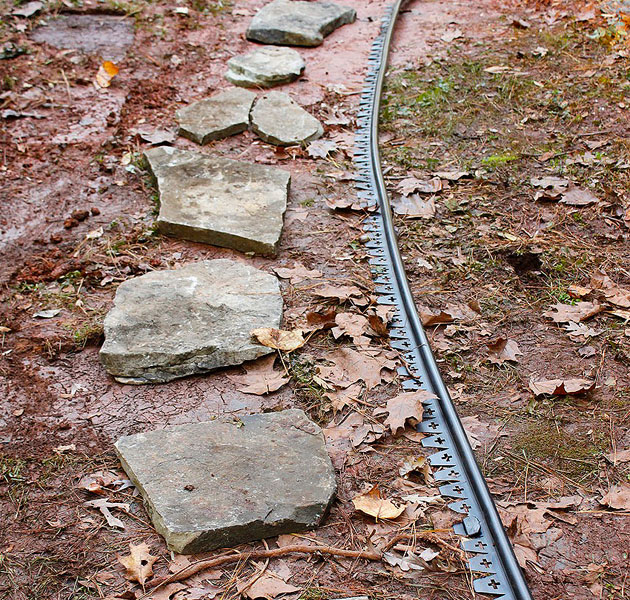
Repeat for the other side of your path.
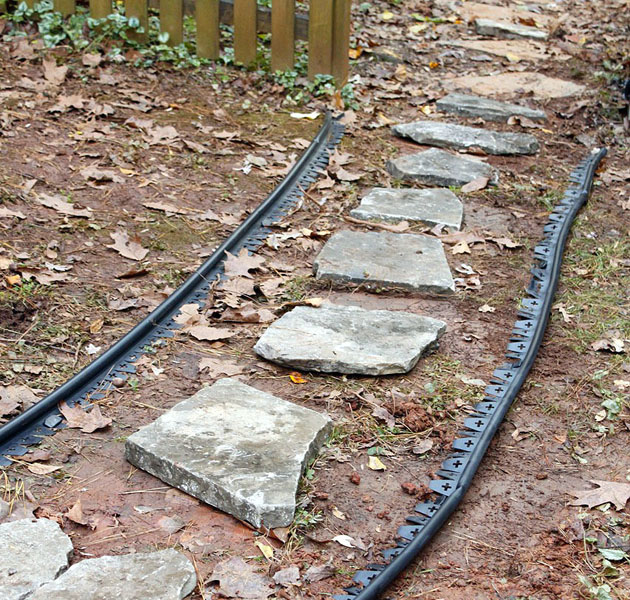
Open a bag of mulch and spread to the top of your stones and the edging. Use the back side of your garden rake to smooth the mulch and eliminate any high or low spots.
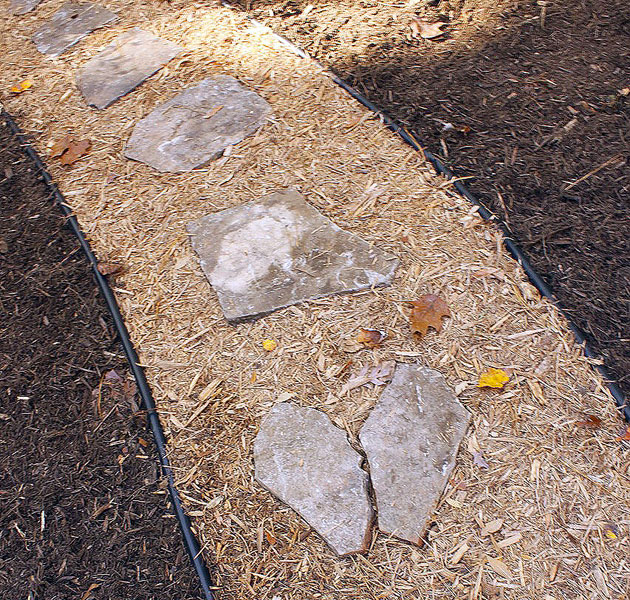
Repeat until you have filled your entire path. Then spread the second color mulch on the outside of your path.
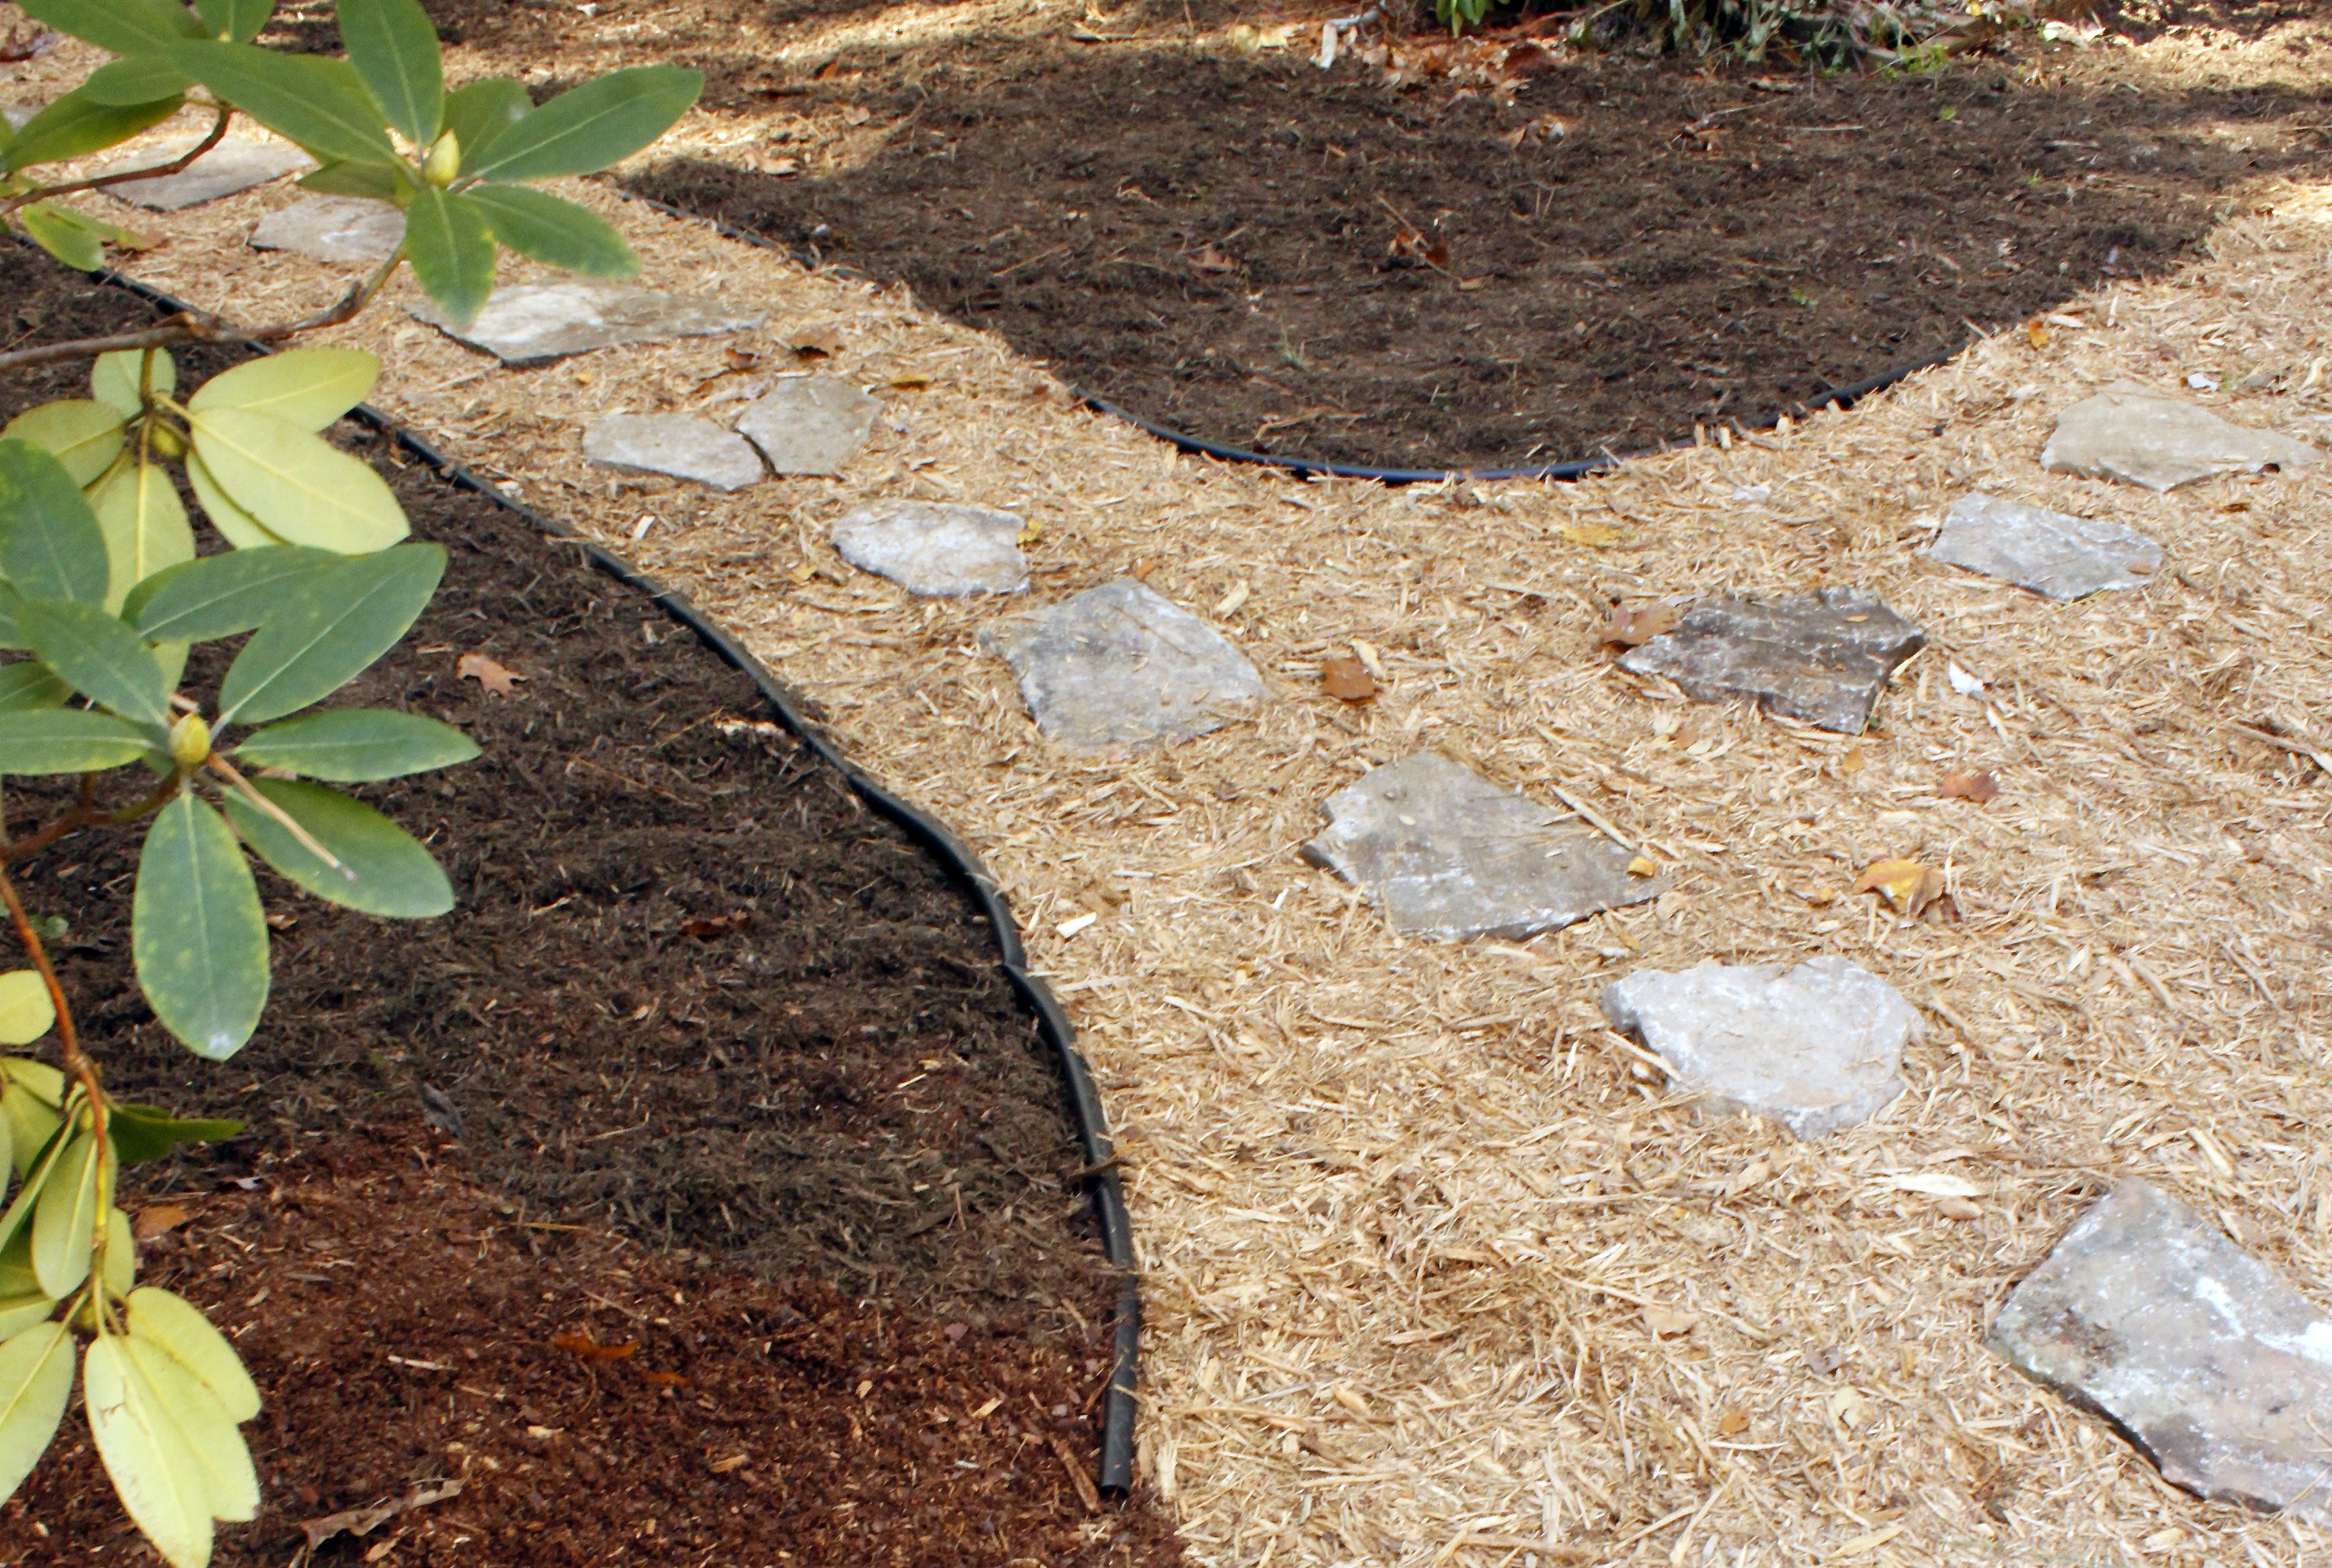
Don’t you just love the contrast between these two? The lighter colored mulch is cypress and the darker is hardwood mulch. Walk on your stones and put some dirt or sand underneath any that wobble. Now stand back and admire your finished path! I think my favorite stepping stone is the broken heart stone I made with two rocks.
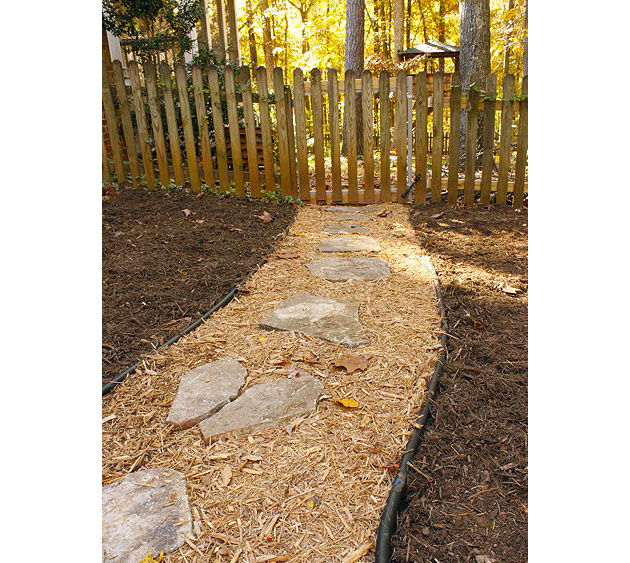
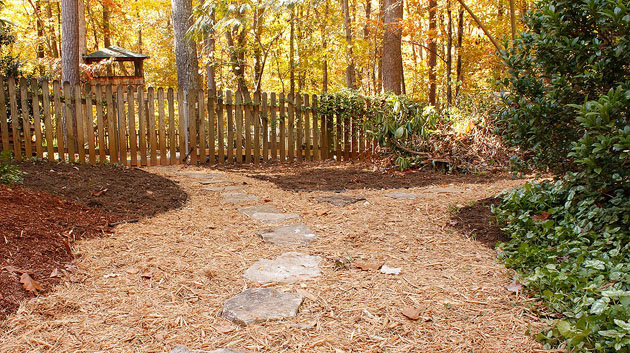
The entire path took me just over two hours. Not bad, and the bonus is that I didn’t need to go to the gym to workout that day!
![]()
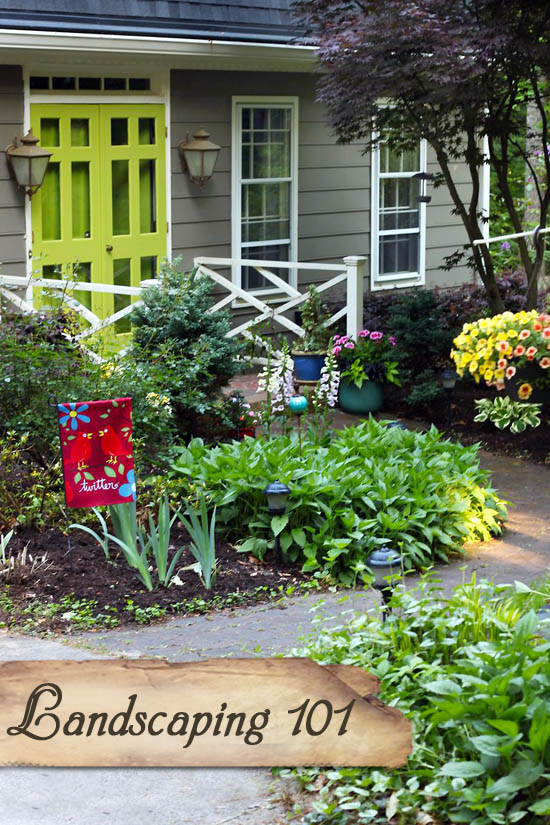
Want to improve your curb appeal? Here are some tips and tricks to improve your landscaping in no time!



Edging in rolls like this is available at Menard,s. Menaces has a plastic underlayment that replaces a gravel base. Place your leveling sand and then pavers.
Love your path! My husband and I are going to tackle a path this coming weekend. Do you not need a gravel or sand base? Most tutorials include those but I would love to skip that step if possible. lol
How has this path held up?
Gravel will help water drain away easier and a base will help level the stones easier. Although helpful, it’s not 100% necessary. Our path held up for years, we wold have to replace the layer of mulch every year as it broke down. But, we eventually replaced the path with pavers from a leftover project.
For my edging I am using bricks do I have to fill it with mulch to the height of the bricks
It’s up to you, but I would fill it to just below the bricks to help keep the mulch in place when it rains.
Hi- Where did you get your edging? It looks a bit heavier-duty than the stuff I see on Amazon and Lowes, I especially like the cross-shaped spikes.
It’s the same width, just the old style has a hollow tube for the top edge.
I’d like to try that, but what about weeds and grass? Should I lay down cardboard or weed blocker? Also, I made a stone pathway with pea gravel last year but the gravel gets scattered over the stones and to the side (even with edging). Is there any way to prevent that, i.e. set the gravel? Thanks!
Ellen
Yes, weed cloth is a good idea.
Can you drive a handicapped scooter over the mulch pathway without sinking in or ruining the mulch ?
It depends if the mulch is tamped down or not and the weight of the scooter and person.
do I need landscape lining to block weeds if sunny area?
It wouldn’t hurt.
Toward tge end of last summer, I did a pathway using pea gravel, this was the north side of our shady area, and I love it. On the south side of the house, we laid flagstones, love it to. Your pathway is fabulous, as always. Thanks for saring.
Looks fantastic! My husband and I are about to start this project, ourselves. Did you need to dig a hole for the stones so they are secure in the ground?
Looks like we figured it out! Thanks for the inspiration!