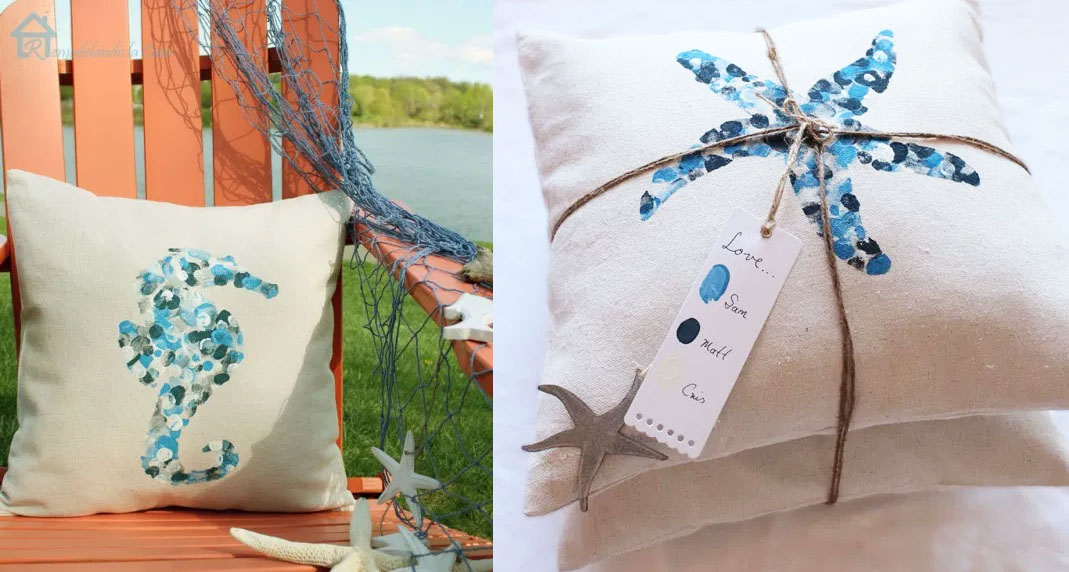
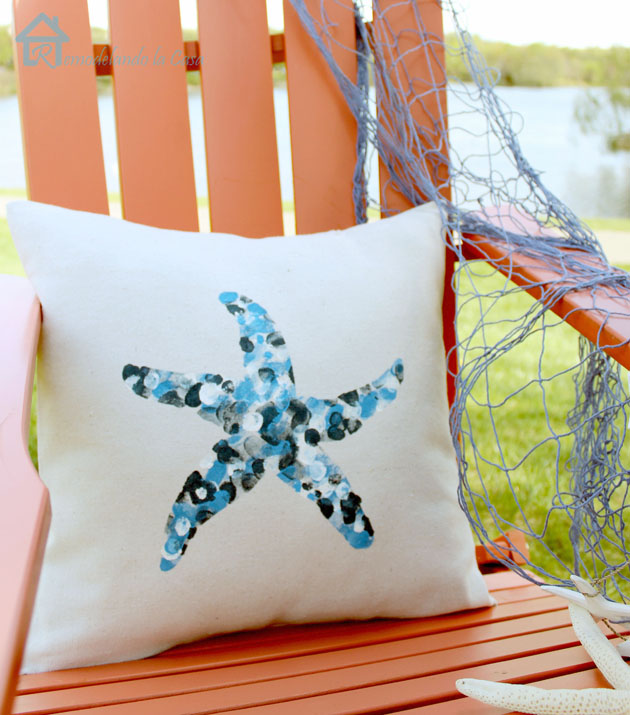
Envelope pillows are the easiest pillow covers to sew. Combine a beautiful pillow with a personalized thumbprint design and you have a great gift idea for parents or grandparents!
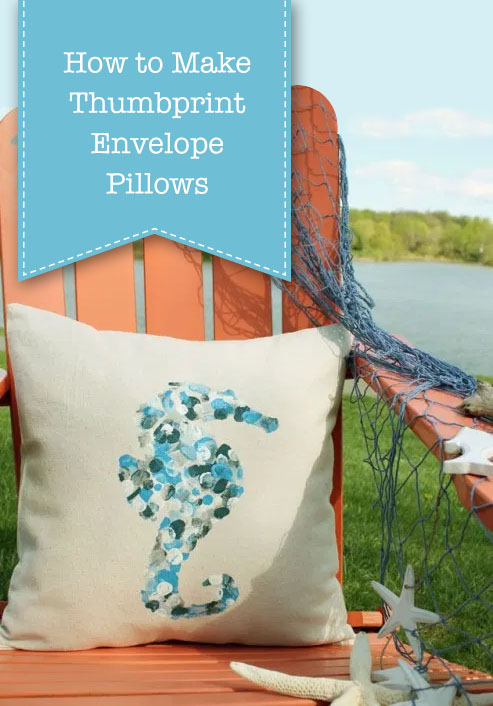
How to Make Thumbprint Design Envelope Pillows
Hello, it’s Cristina from Remodelando la Casa once again happy to share an easy and fun project where kids are more than welcome to give a helping “thumb” 🙂
Envelope pillows are the easiest pillow covers I’ve sewn and let me tell you, my sewing skills are not that good. A fabric rectangle is folded to create an “envelope”, four simple straight lines to sew and your cover is done! No zippers, no Velcro, the envelope holds the pillow really well.
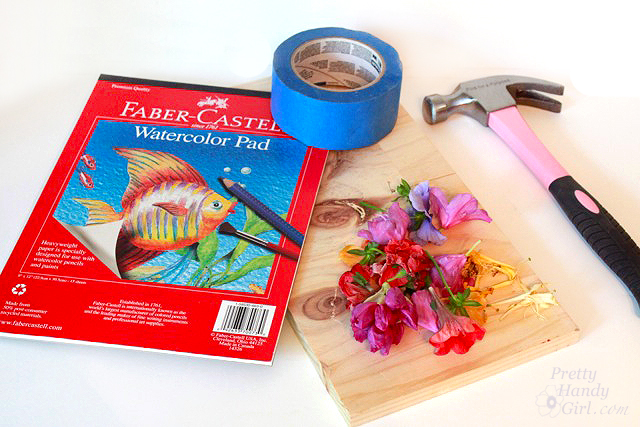
Materials:
(I’ve included affiliate links for your convenience. I earn a small percentage from a purchase using these links. There is no additional cost to you. You can read more about affiliate links here.)
- Fabric (I used drop cloth material), and all the necessary sewing materials.
- If you don’t have a sewing machine, this is a project you can put together using Stitch Witchery.
- Fabric paint colors:
- Contact paper
- X-acto knife
- 17″ x 17″ pillow forms
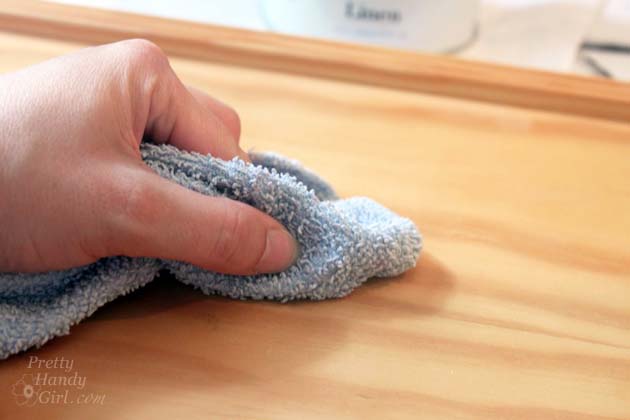
*Pre-wash and iron the fabric
Instructions:
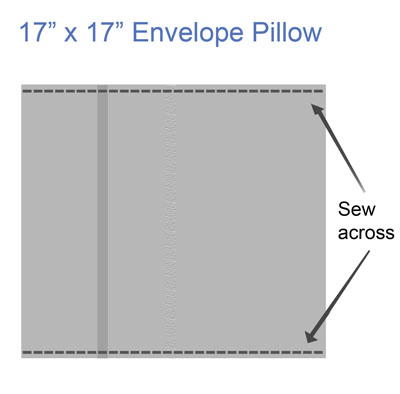
For a 17″ x 17″ pillow insert, use the following dimensions.

Once the fabric is cut to size (18″x 40″), hem the left and right edges. (Fold in ½” twice, as seen in the picture below. Iron it flat and hem.) Do the same on the other side.
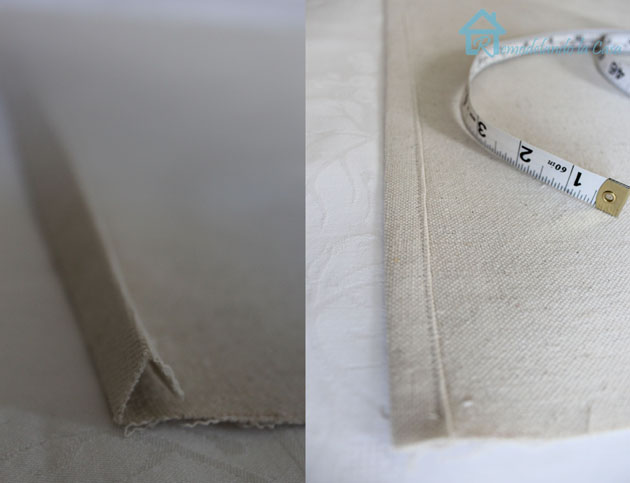
To create the opening on the back, fold the left side over and iron.
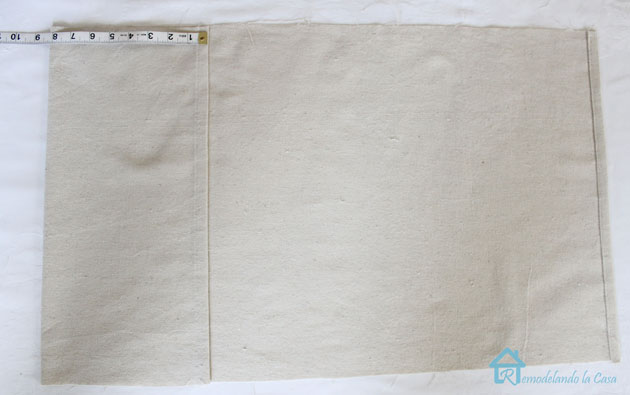
Do the same on the other side. These folded lines are a good visual point to help you center the design on the front face of the pillow later on.

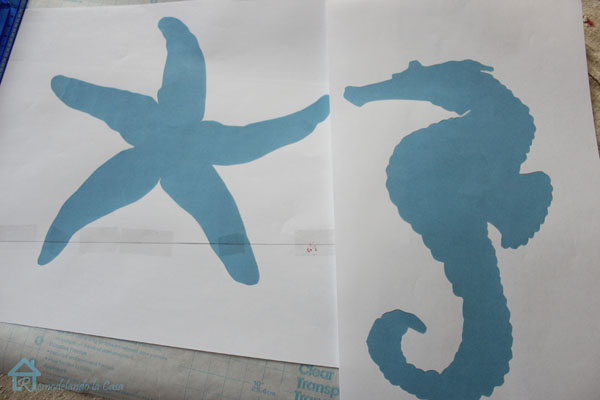
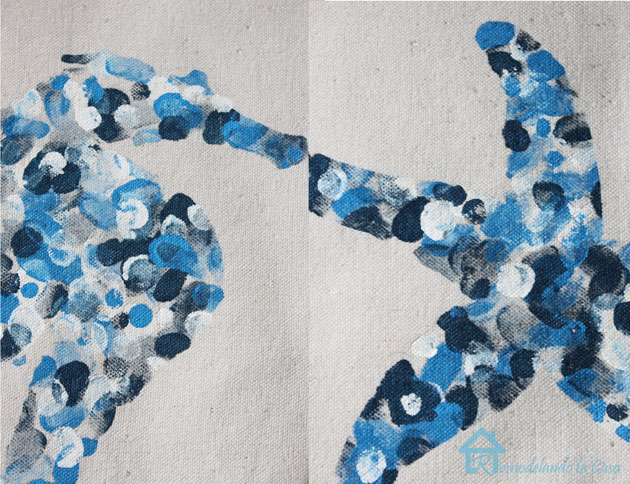
Before sewing across the top and bottom of the cover, let’s work on the design (the fun part!) Print the starfish and seahorse silhouettes. (for these pillows print at 120%.)
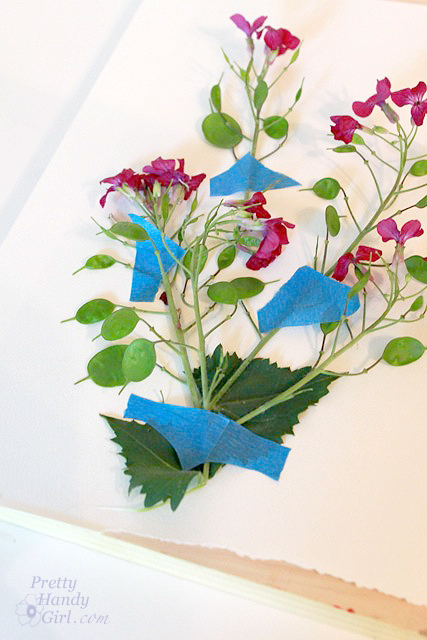
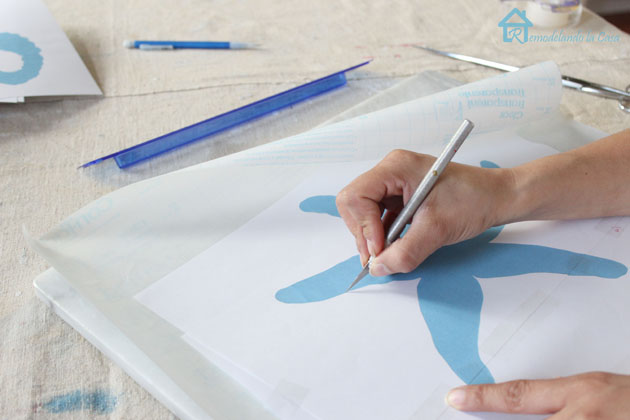
Place each design on top of a big piece of contact paper, tape it in place.

Using the x-acto knife, cut through the printout and the contact paper following the outline of the silhouette.
After cutting, peel off the outer piece of contact paper and center the design on your pillow cover. Press the contact paper firmly all around the design to prevent paint from seeping through.

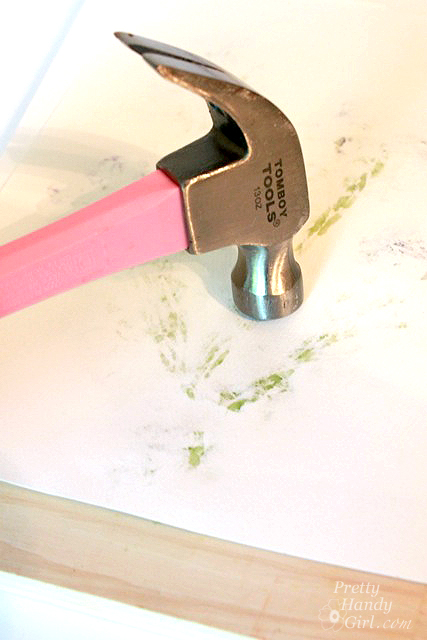
Now it’s time to call all those little artists and give them each a set of fabric paint.
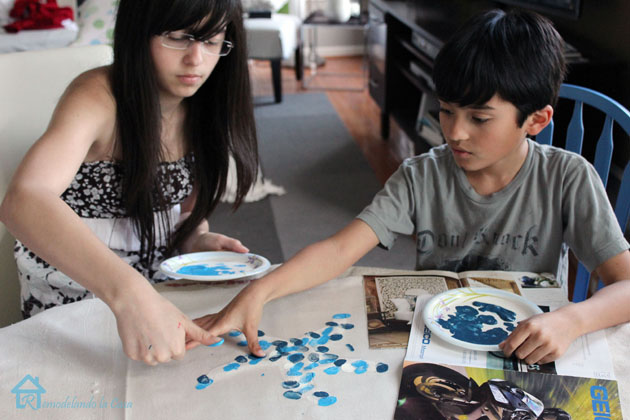
The thumb-printing / painting can begin…
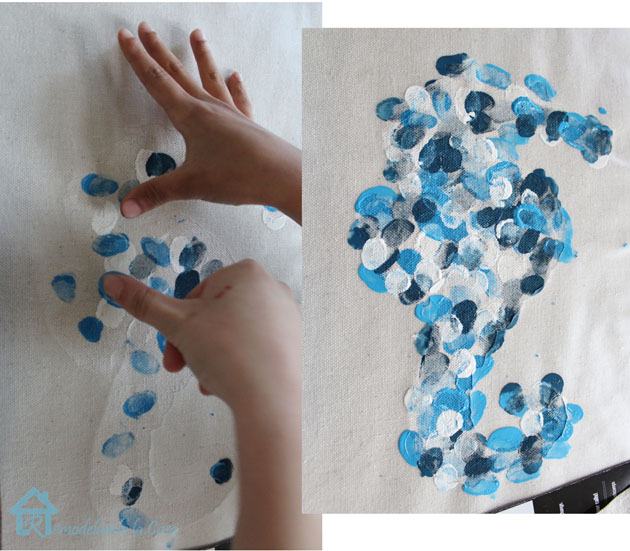
…until the shapes are filled.
Let it dry according to the paint manufacturer’s instructions. After the paint dries you can sew across the top and bottom, making sure the designs are on the inside.
 If desired, wash and iron the pillow covers. Insert your pillow form.
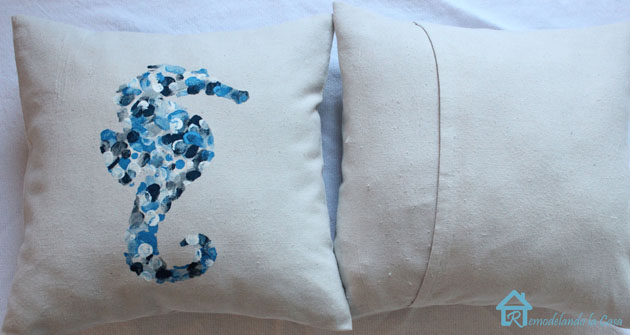
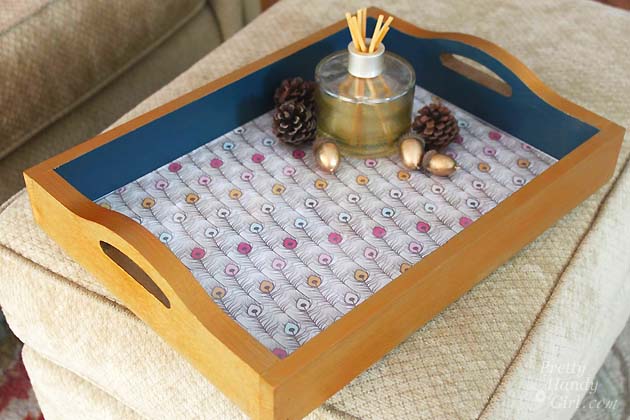
Place it on your favorite chair and enjoy!
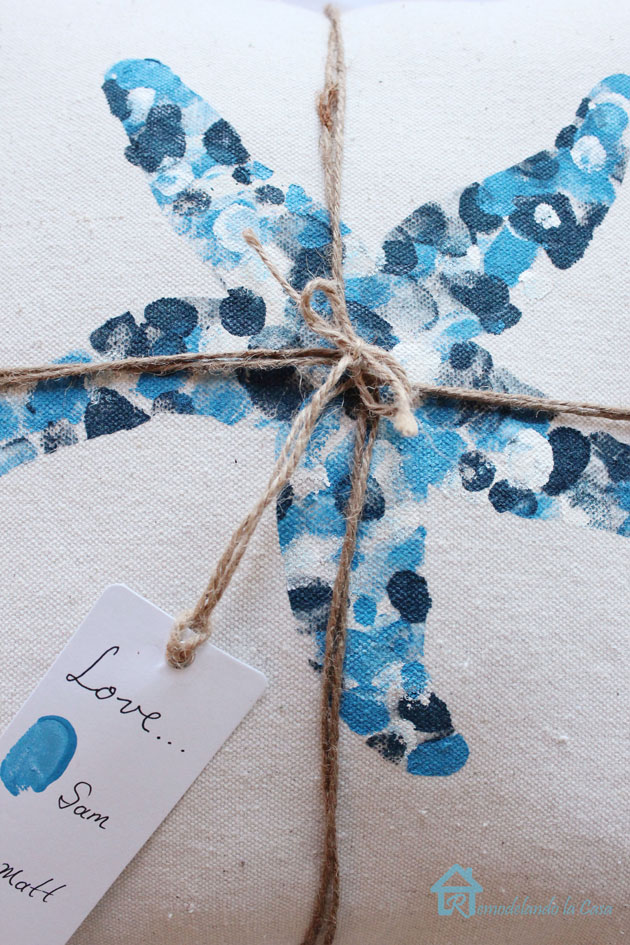
Our pillows are a present for a special person close to our hearts.

Of course, the artists had to sign it, or thumbprint it! Well, we did both!
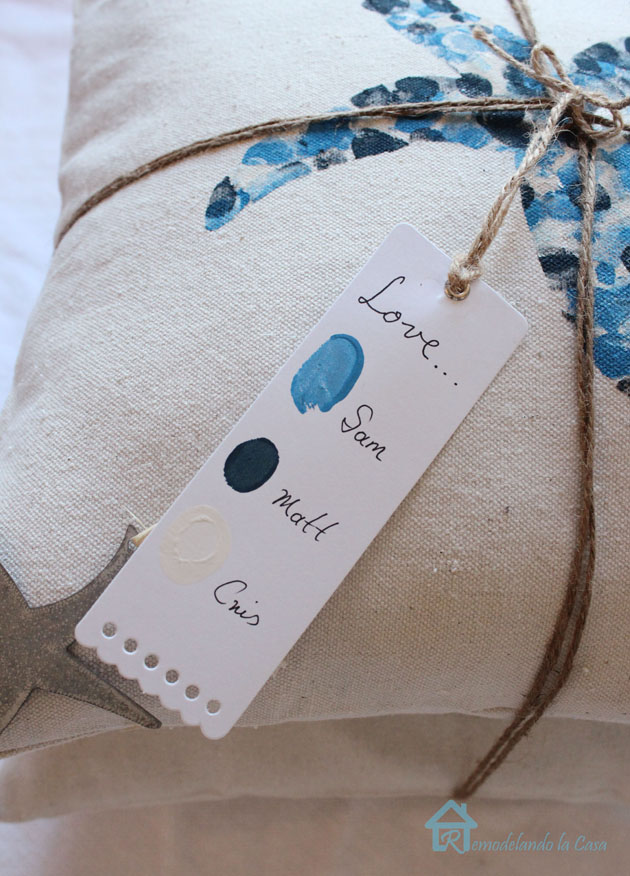
Are you ready to give the thumb printing a try? Kids love it! Hint, hint… this could be a nice project for Father’s Day (or Mother’s Day).

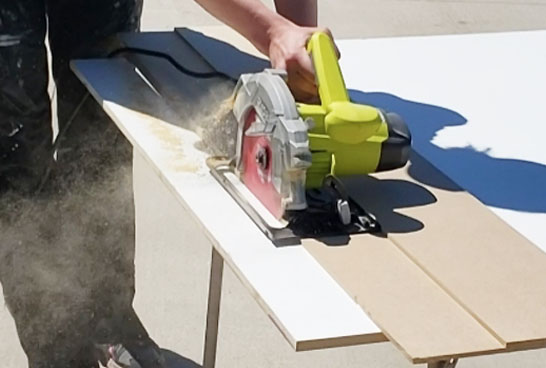
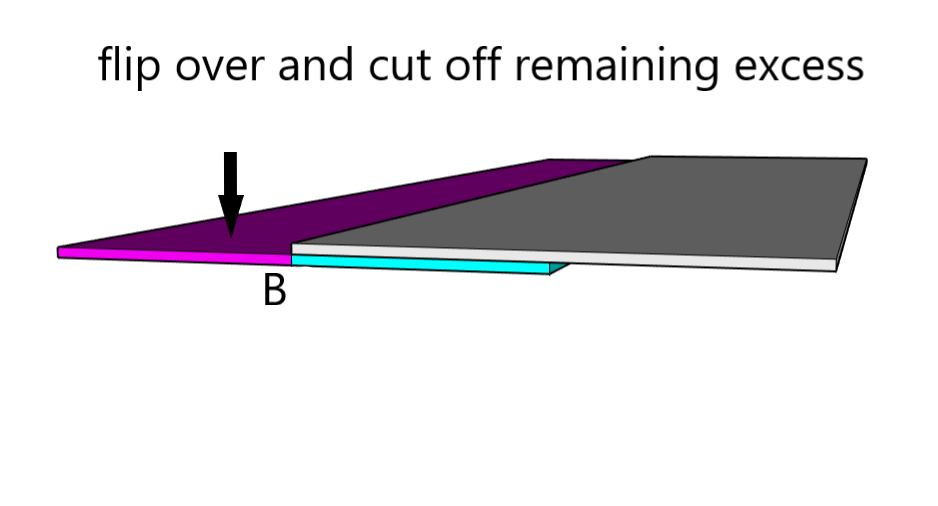
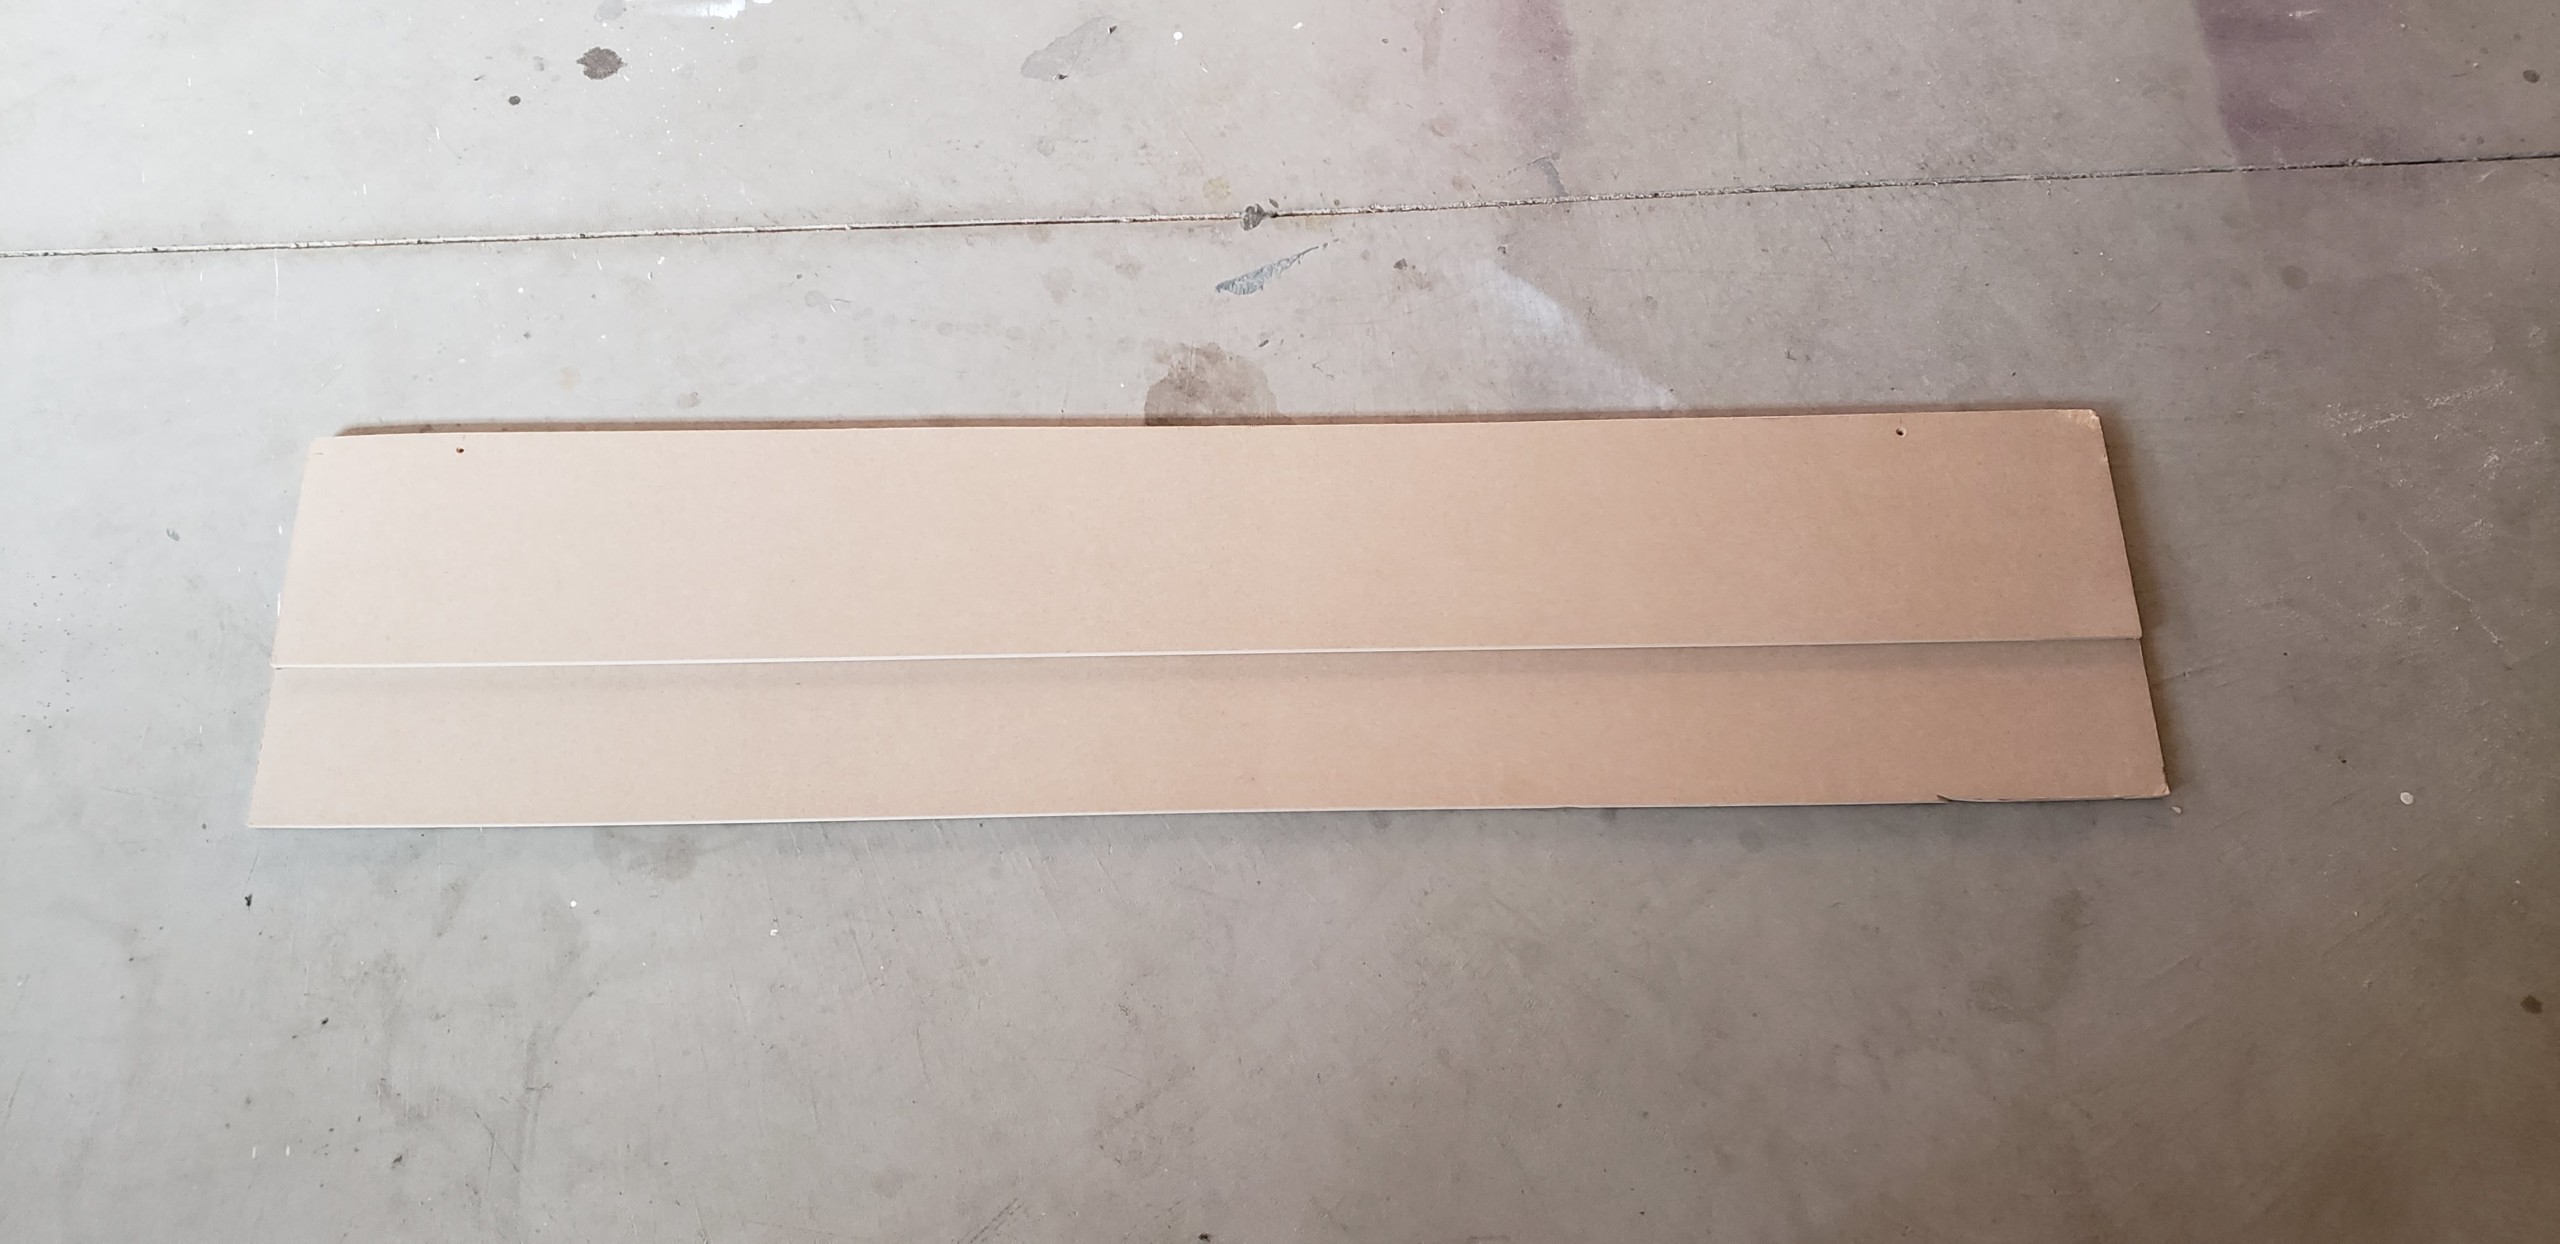
 DIY Track Saw Jig for your Circular Saw