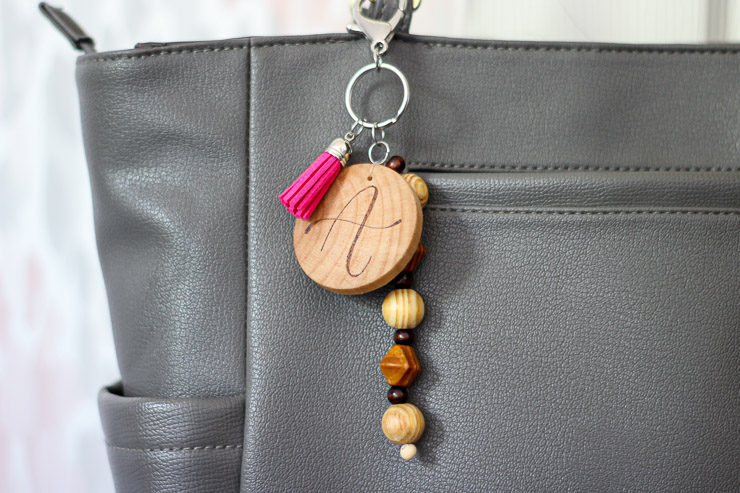
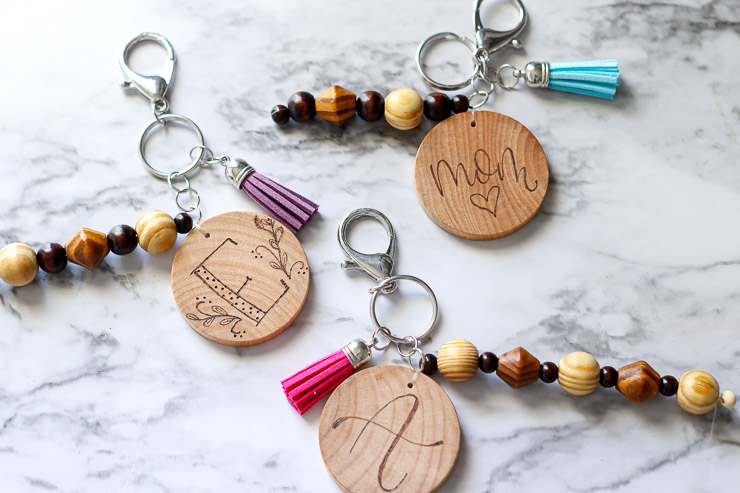
These fun wood burned personalized keychains are completely customizable and they involve burning things. Who wouldn’t want to do that? Personalized keychains make a great house warming gift, Christmas or birthday gift, and can even double as a fun way to dress up some gift wrap. Read on to learn how to make your own.
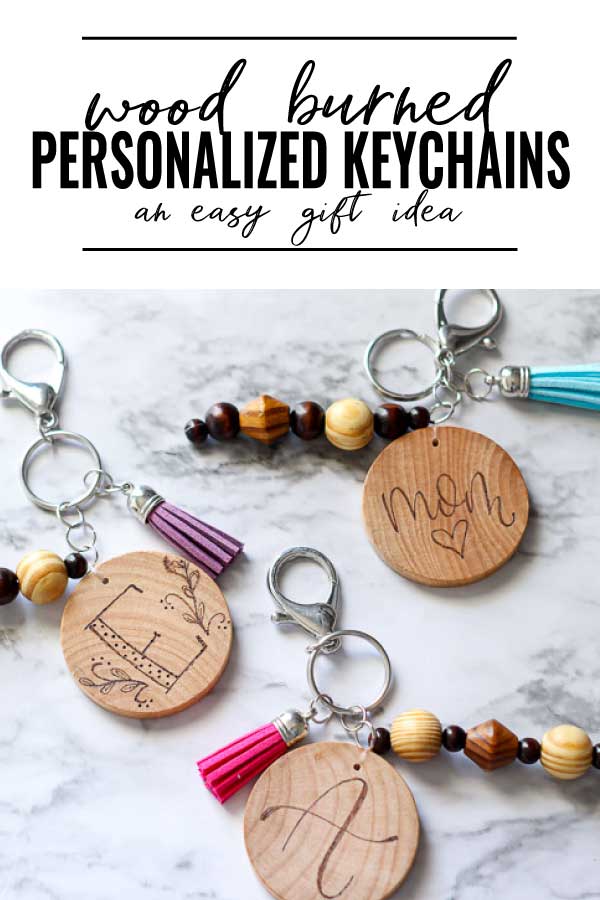
Wood Burned Personalized Keychains
Hey Pretty Handy Girl readers! It’s Amanda from Domestically Creative and I’m back with another fun and simple craft project that is a perfect holiday gift idea! Personalized items are the best gifts to give (and receive) but it’s even better when you can make those gifts yourself. Let’s heat up this joint and make these wood burned personalized keychains just in time for the holidays!
Materials:
(I’ve included affiliate links for your convenience. I earn a small percentage from a purchase using these links. There is no additional cost to you. You can read more about affiliate links here.)
- 2″ wooden craft circles with holes drilled
- Wood burner with pen attachments (soldering iron)
- Spray polycrylic sealer
- Keychain clasps or split rings (lobster clasp optional)
- Wooden beads assorted
- Beading line (or fishing line)
- 9mm open jump rings
- Decorative craft tassels (optional)
- Tweezers (optional but handy to have)
- Round Nose Pliers
Instructions
1. Create Wood Burned Design
Start by choosing a pen-like tip for your wood burner, screw it on and tighten the set screw into place. Plug in the wood burner and let it warm up.
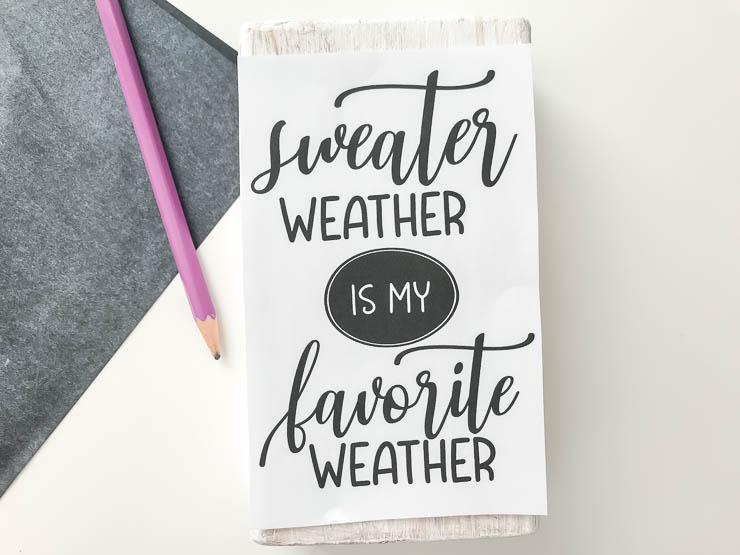
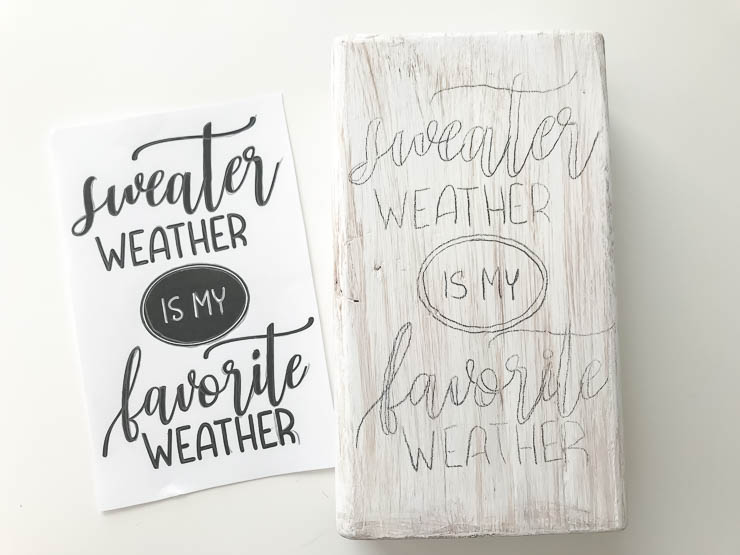
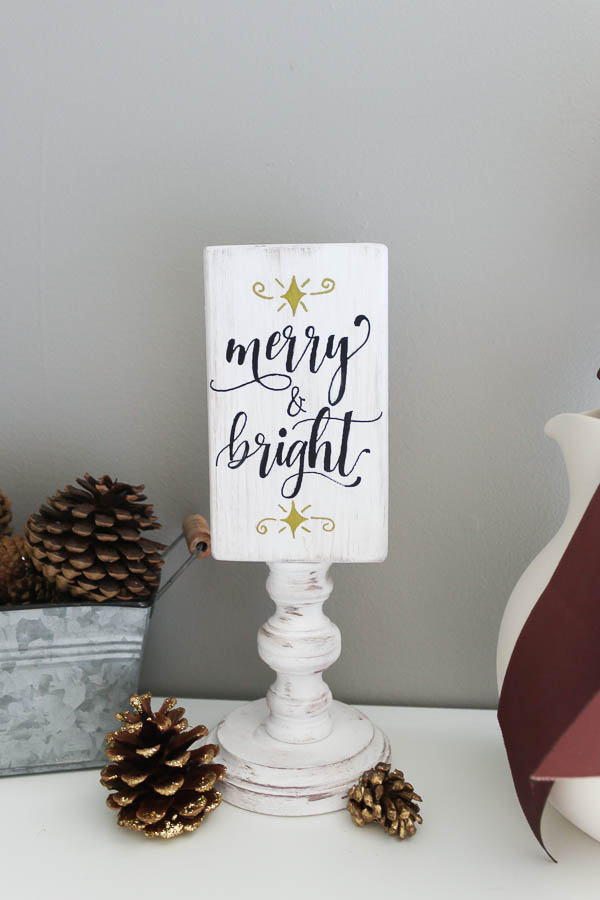
While it’s warming up, use a pencil to sketch the design onto one of the wooden craft circles. You can also use the same method used in these His and Hers Towel Hooks, or this Reversible Wooden Pedestal Sign if you want something more polished.
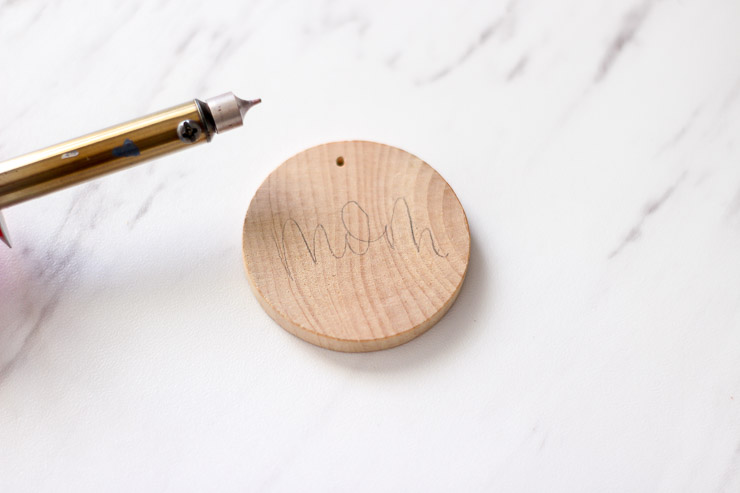
Next, burn on the design you sketched. Please use caution when using this tool as it gets VERY hot. You may consider wearing a pair of gloves as even the handle can get hot.
Tips for Wood Wurning:
- Start with an even surface. If the wood is not smooth, give it a light sanding first.
- Make sure to keep the tip moving so it doesn’t sit in one spot for too long, otherwise you’ll get uneven scorch marks.
- Use light pressure to get the burned look. Pressing down hard will create deep divots in the wood.
- Don’t worry about it being perfect, these are handmade keychains!
- If you like watching this sort of thing, here is a quick video showing the process
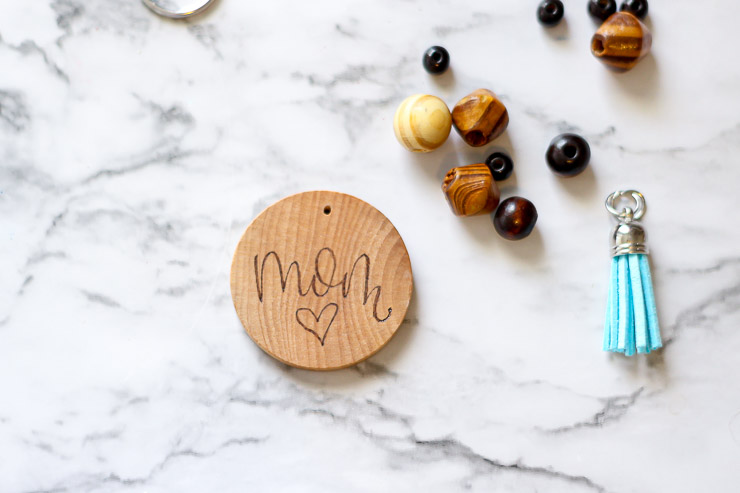
Once you’ve finished with the burned on design, let it cool down. Give both sides of the wood a coat of polycrylic sealer to ensure the longevity of the wood and design.
2. Assemble the wooden bead keychain
Cut a long length of beading line. String one wooden bead onto the line, then loop around and run the line through it a second time from the same direction. This will create a slip loop around the wooden bead giving the strand a stopping point. Tie a knot at the end to secure it in place.
Continuing stringing beads until you are satisfied with the pattern and design. Use the same method above to make a slip loop around the last wooden bead.
Attach the personalized wooden craft circle to the beaded set by looping the line through the small hole twice, going the same direction. Then tie a double knot to secure it in place. Be sure to pull the line taught! Snip off any excess line with a pair of scissors.
Watch this video to get a better understanding of this process:
3. Attach to Keychain Clasp.
Add a jump ring to the beaded set and clamp it closed with round nose pliers. Add another jump ring to that and attach it to a keychain clasp. If desired, add a decorative tassel to the keychain clasp as well.
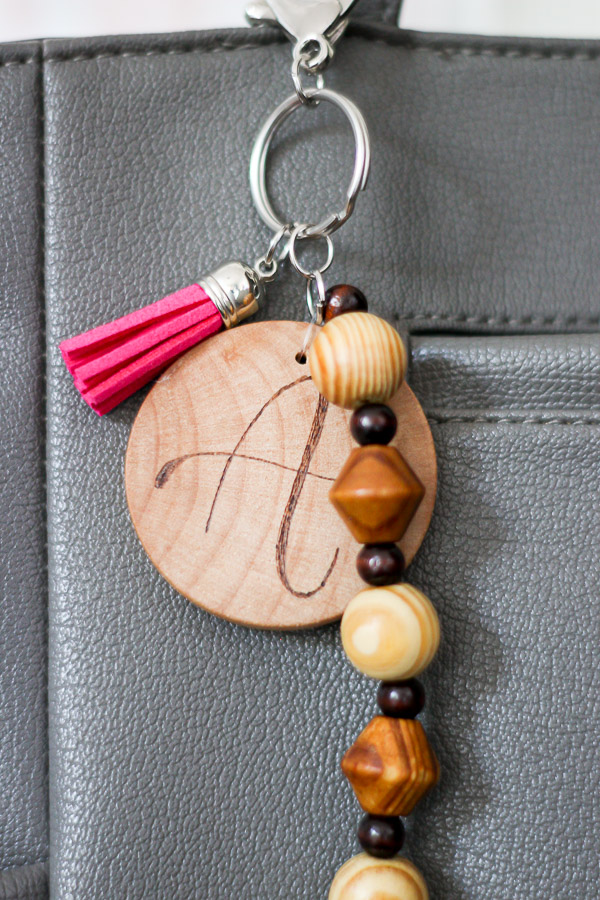
And there you have it! You just made a beautiful and one of a kind wood burned personalized keychain that you can give as a gift for the holidays.
You’ll have plenty of supplies to make more than one personalized keychain, so get creative with it. Your recipient is bound to love it!
![]()

I’m Amanda, and I am the creator and voice behind the food and DIY blog, Domestically Creative. What started as a place to share updates with friends and family after we moved from Illinois to Tennessee and then to Texas, turned into a passion for finding creative and frugal ways to feed us and decorate our homes.
I have always had the “make it myself” attitude and I’m not afraid to bust out the power tools or get creative when it comes to decorating our home on a budget. You can usually find me scouring the local thrift stores, garage sales and estate sales looking for my next makeover (like this litter box cabinet), or dreaming up ways to make our new house feel more like home. My most recent project was giving my home office a much needed facelift. Some of the plans included creating a fun inspirational accent wall and adding pegboard to store my craft hoards.
I currently call Missouri home, where I live with my husband, dog, and 2 cats in a pretty dull, late 90’s split level. My husband and I both love to travel the U.S and recently purchased a small travel trailer to tag along in our journeys. In our free time together we can usually be found working together on a home project, exploring a new place, or just lounging with our pup, Delilah.
I’d love for you to connect with me on social media via Facebook, Instagram, Pinterest and Twitter!
See all of Amanda’s tutorials HERE.


