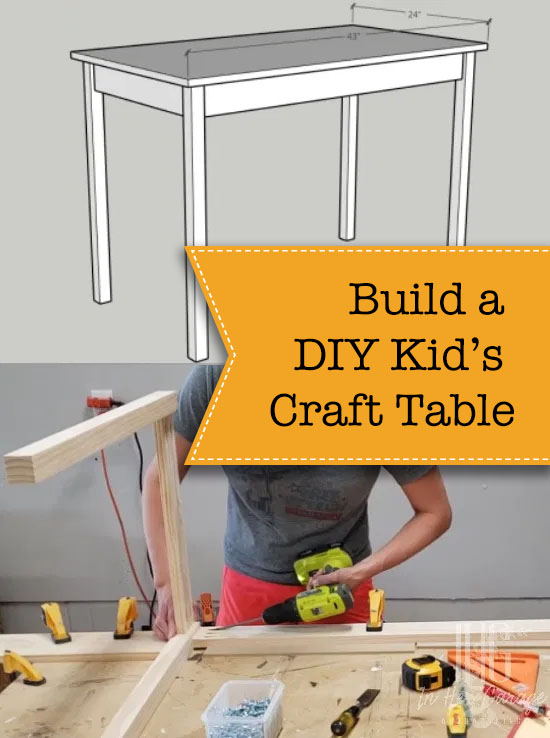
Have the kids taken over your kitchen table or island? Need somewhere to let the kids get creative? Today I am going to show you how to make a simple DIY kid’s craft table (or desk). Let’s get building.
DIY Kid’s Desk and Craft Table
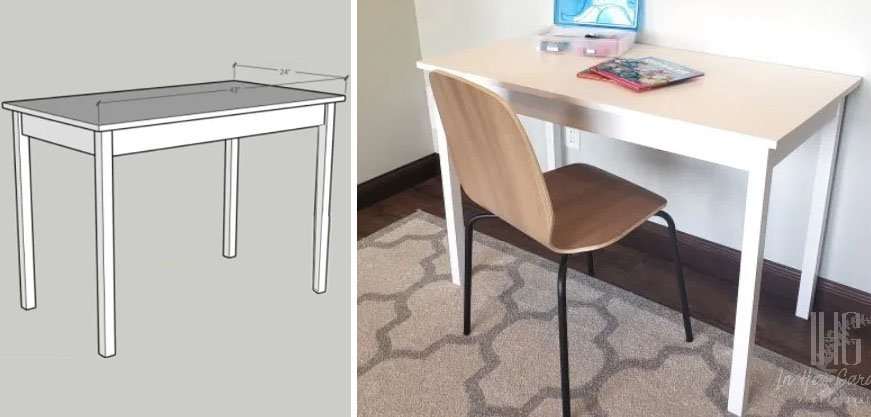
If your children are going to be home this fall for distance learning or you just want a spot they can call their own, then it is time to get a space ready for them!! This DIY Kid’s Craft Table is the perfect size for whatever your child will need and it is small enough to fit in a spare corner in your home. Let’s make it!
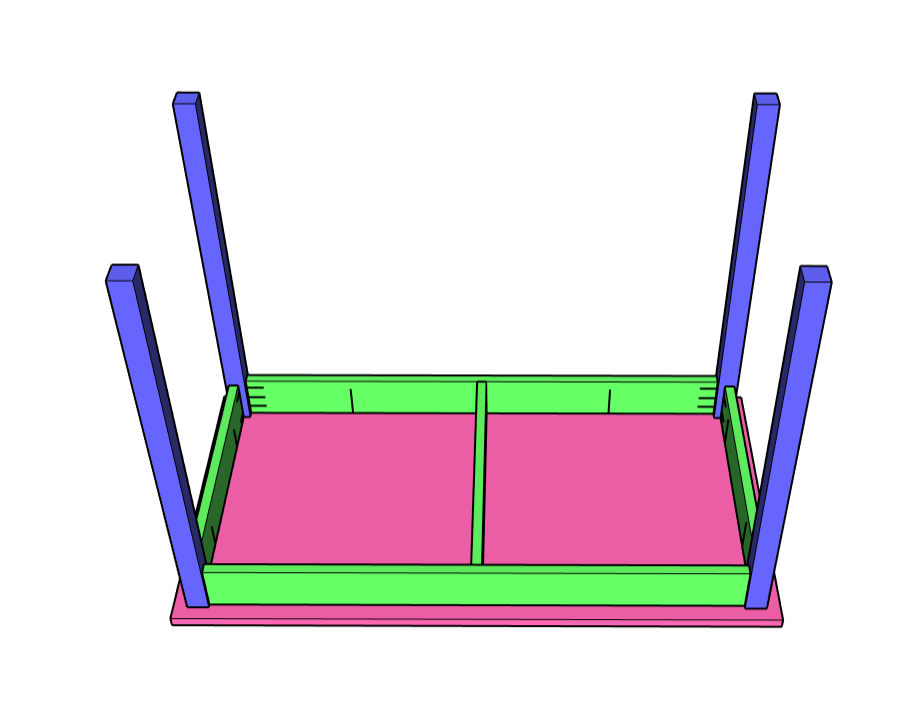
I made this particular table for a client and it measures 30”h x 43”w x 23”d but you can modify these measurements to fit your needs. Of course, the quality of lumber you use is your choice but I used clear pine from my local big box store because it paints better than using common pine boards. It may be more expensive but the boards tend to be straighter, it saves time on sanding, and I feel it yields a better-finished product. It doesn’t matter what wood you use as long as you love it.
Materials:
(I’ve included affiliate links for your convenience. I earn a small percentage from a purchase using these links. There is no additional cost to you. You can read more about affiliate links here.)
- 2- 2 x 2 x 8
- 2- 1 x 4 x 8
- 1- 3/4” x 2 x 4
- 1 roll iron-on edge banding
- 1/4” thick piece of scrap
- Wood glue
- 1 ¼” pocket-hole screws
- Paint or stain
- Topcoat
Tools:
- Miter saw or circular saw
- Table saw or circular saw
- Kreg Pocket-Hole Jig
- Drill
- Clamps (optional)
- Clothes iron
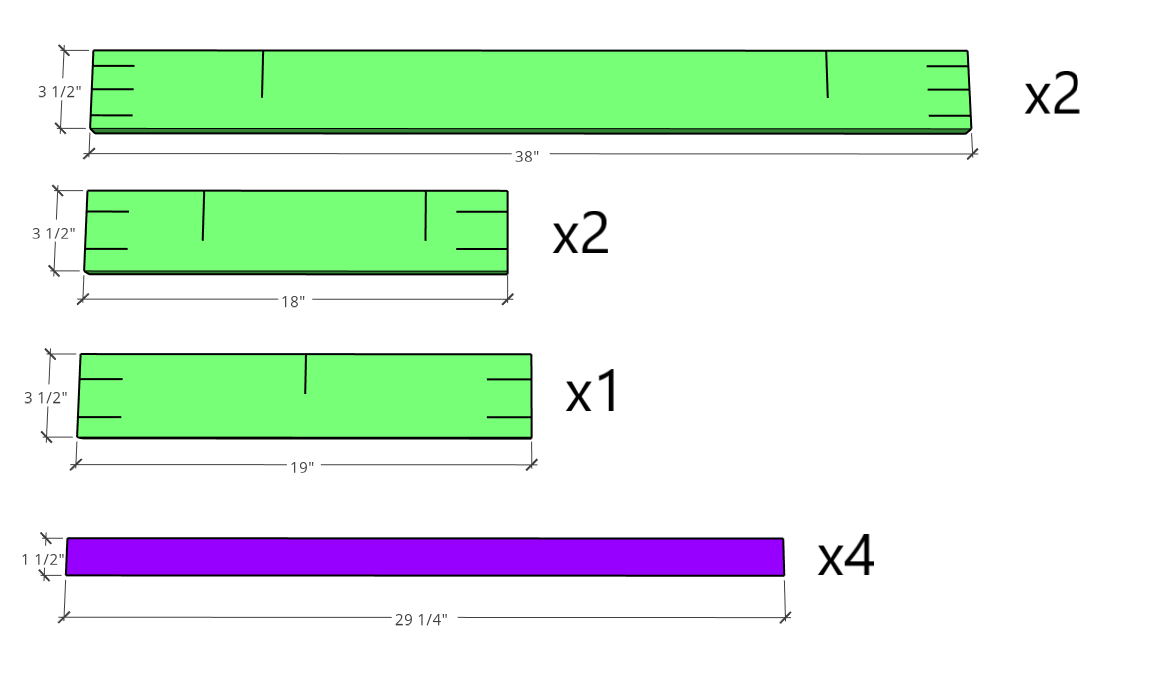
Cut list and pocket-hole placement:
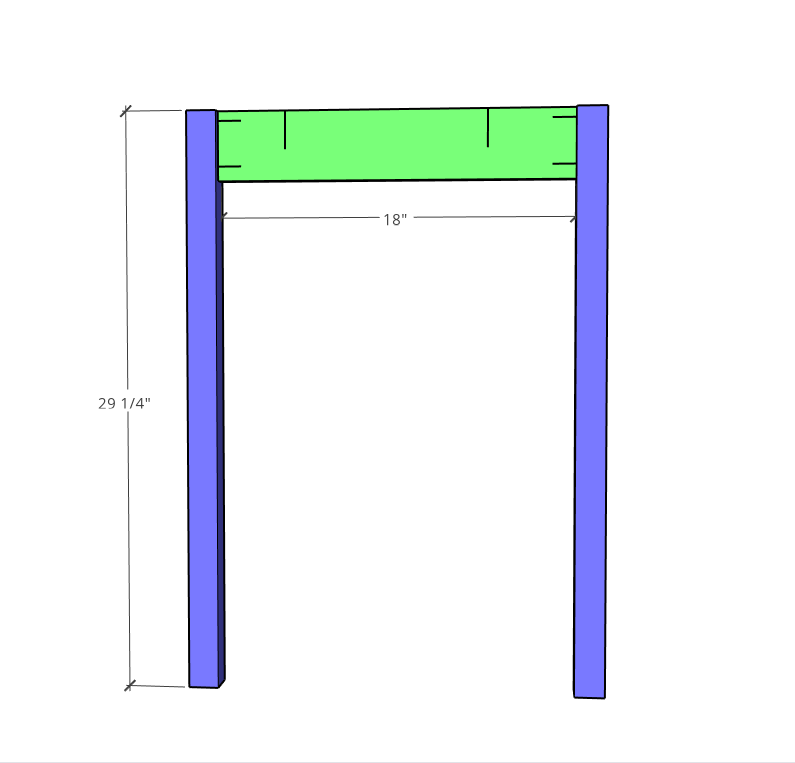
- 4- 2×2 @ 29 ¼”
- 2- 1×4 @ 38” (3 pocket-holes in each end)
- 2- 1×4 @ 18” (2 pocket-holes in each end)
- 1- 1×4 @ 19” (2 pocket-holes in each end)
- 3/4”x 43”x 23” birch plywood
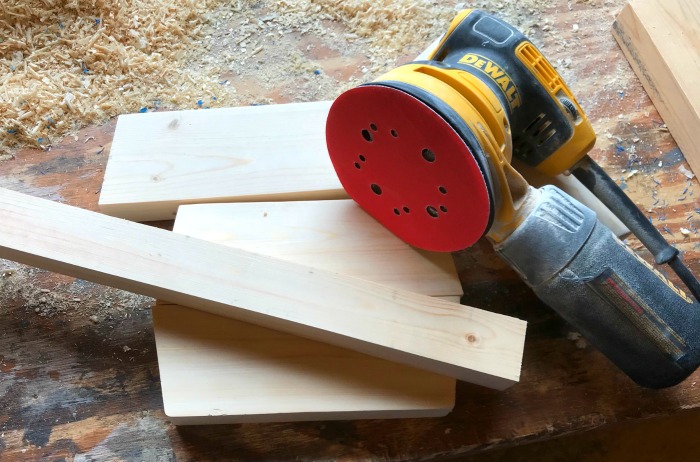
Step 1: Sand table components
- I know it seems odd to start with this step but trust me when I tell you it is much easier to sand these boards before they are in place. Depending on how rough your lumber is, begin using 60-80 grit sandpaper and incrementally work your way up to 220 grit sandpaper. I chose to use clear pine found at my local big box store so I was able to start with 120 grit sandpaper, which cut down my sanding time. This makes the extra money spent, well worth it!
Step 2: Assemble both table sides
- Sandwich one 1 x 4 x 18” (apron) board between two 2 x 2 x 29 ¼” (leg) boards. Pocket-holes should be facing up.
- To add a little detail, place a ¼” piece of scrap beneath the 1×4 board to inset it slightly. This will create a shallow reveal looks nice and also gives you a little grace because now the three boards don’t have to be flush to the same surface perfectly.
- Clamp the legs and apron boards together and join them using wood glue and 1 ¼” pocket screws.
- Repeat these steps for the other side of the table.
Step 3: Attach the front and back table aprons
- With both side components standing on their sides sandwich a 1 x 4 x 38” (apron) board between them, again placing a ¼” board beneath the apron to inset it slightly.
- Align the top of the 1×4 with the top of the side components.
- Clamp and attach using wood glue and 1 ¼” pocket screws.
- Carefully flip the piece over and repeat the above steps to attach the second 1 x 4 x 38” apron board.

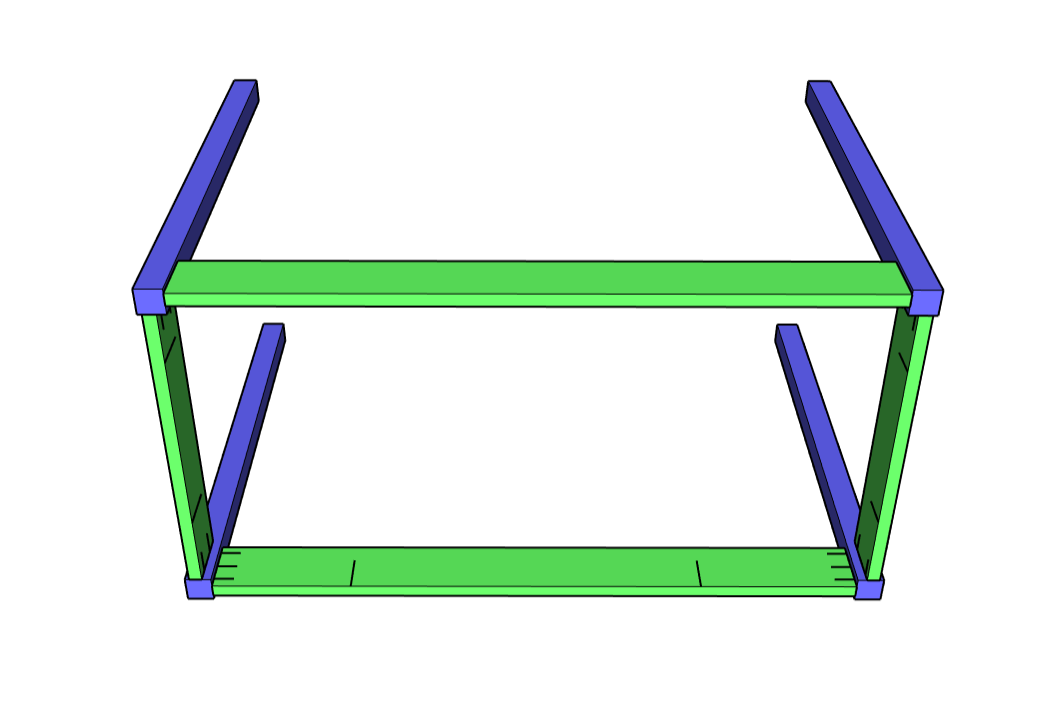
Step 4: Attach center support
- Attach the center support using wood glue and pocket screws between the two 1 x 4 x 38” boards centered in the middle.
Step 5: Clean up
- With a putty knife or chisel gently remove any glue squeeze out and sand smooth.
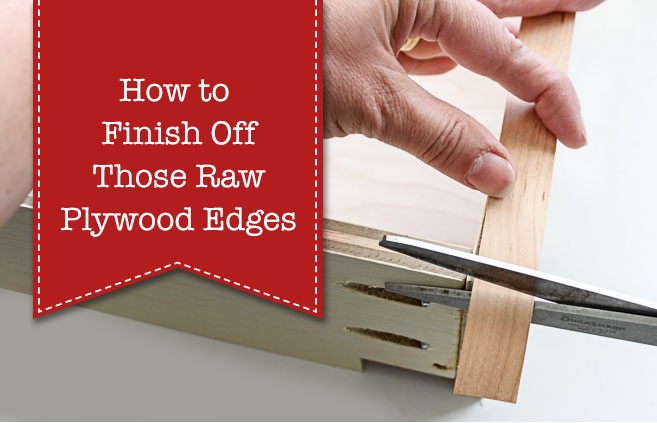
Step 6: Edge banding
- Once the plywood top is cut to size you will need to edge band to cover up the unsightly edges. I won’t go over all of the steps here but if you are new to edge banding please check out this tutorial on How to Finish Raw Plywood Edges.
Step 7: Finish
- Time to paint or stain and topcoat!! My client wanted this piece painted white, so I chose a premium latex paint and used a water-based topcoat to protect the paint and prevent yellowing of the finish in the future.

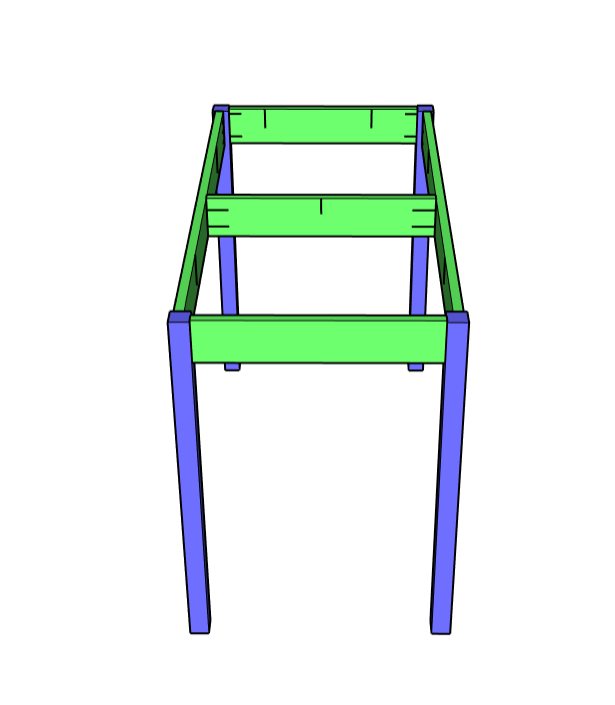
Step 8: Attach the top
- Place the tabletop on a flat surface (bottom side up) and center the base over the top upside down.
- This plan allows for a 1” overhang of the top on all sides of the table base.
- Using the pocket-holes that are shown in the diagrams below, attach the top with 1 ¼” pocket screws.
-
- Note: Normally I would not recommend attaching a tabletop using pocket screws IF that top were made of solid wood because of wood’s tendency to expand and contract. However, this top is made of plywood and the amount of expansion and contraction that will happen over time is negligible and should not affect the structure of the table base. If you are uncomfortable using pocket-holes to attach the top then feel free to attach it in some other way, such as with figure-8 fasteners or Z-clips.
Flip it over and admire your handy work!! Isn’t this DIY Kid’s Craft Table adorable?!


![]()
 Check out my latest blog post about building a DIY Folding Craft/Sewing Table! This table is large enough for any craft project but folds down when you don’t need it. Perfect for anyone with a small space but large crafting ambitions!
Hi! I’m Kristen, from In Her Garage, and I am a self-taught woodworker and DIY fanatic from Minnesota where I live with my husband and our two daughters. Between being a wife, mom, and registered nurse, I try to make as much time for DIY as possible. My love for building came after our family built our current home in 2015. After we moved in, we needed furniture, and instead of spending massive amounts of money to order the items we wanted I decided that I would build them myself. I started with a buffet table plan from the fabulous Ana-white and quickly set out to remodel my entire home office.
Since then I have started a side business building furniture for the people in my community. I love hearing my clients talk about the pieces they wish they had whether it be a rustic buffet table, a one drawer side table, or a toy box and then making it a reality for them. While starting my small business it made perfect sense that I would document my building journey so I simultaneously launched the In Her Garage blog and I love sharing my plans, tips, and tricks.
I am so glad that you found me here and please feel free to connect with me on Pinterest, Instagram, and Facebook to see what I am working on right now.
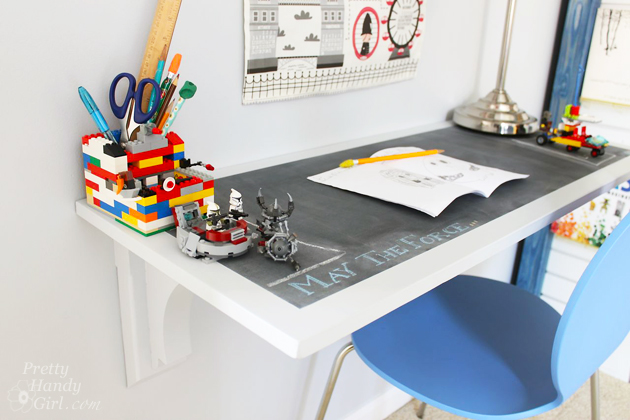
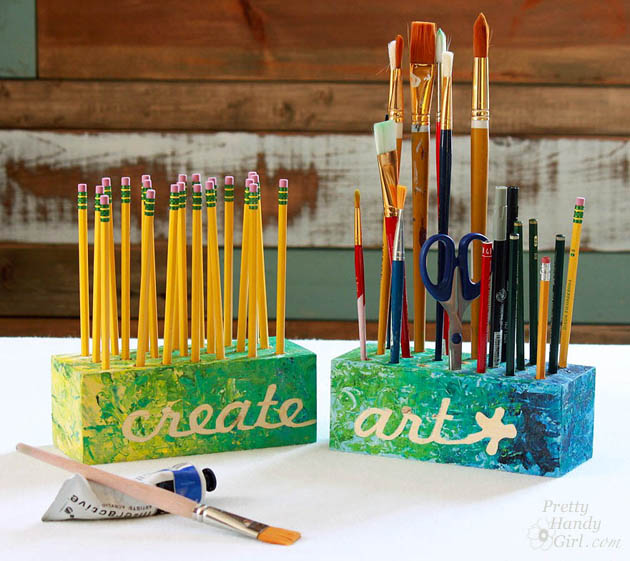
If you enjoyed this tutorial and are looking for other cute ideas for kid’s desk or craft table check out these two fun projects. Both of these could be great projects you could do with the kids to keep the fun going.
Creative Block Desk & Art Utensil Holder
Creating a Chalkboard Desktop.