Spray paint is a great product to use to makeover almost anything. It comes in many colors and finishes and is great for imperfectly shaped pieces that you can spray much easier than brush with paint. It’s a DIYer’s dream!
But someday you might want to remove that spray paint from an object you made over. Particularly a metal one like a wall hanging, hardware, or lamps.
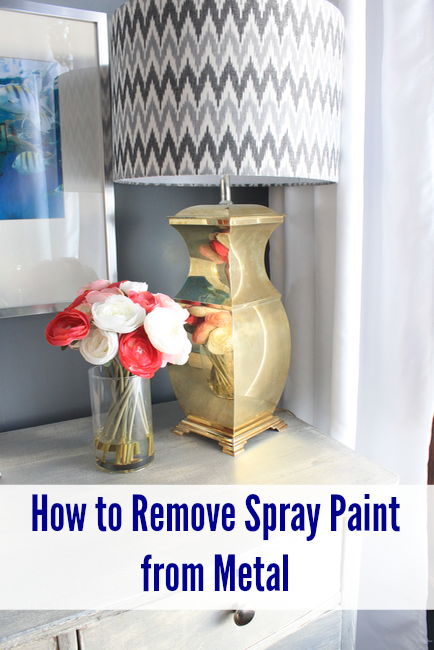
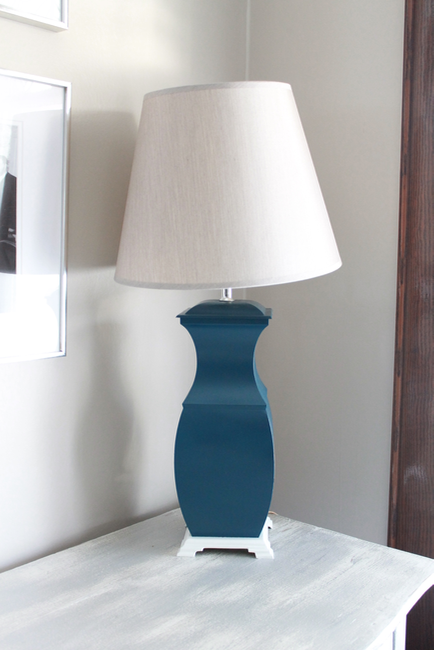
While I love the deep blue color, I wanted to return this lamp to its former brass glory to add more metallic to our living room.
I’m happy to tell you that yes, you can undo your makeover in just a few easy steps.
Here’s how to remove spray paint from metal.
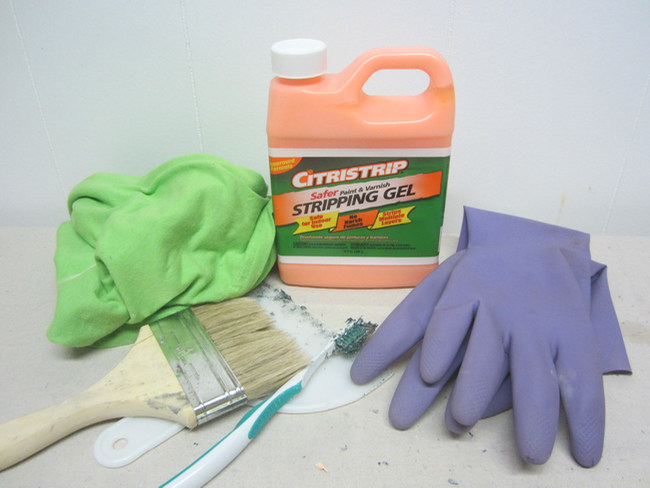
Materials:
Spray painted object
Citristrip
Paint brushes
Old toothbrush
Plastic scraper
Lint-free rags, such as an old t-shirt
Plastic gloves
Eye protection
Respirator
Acetone
Instructions
1. Place your object to be stripped on a rag.
2. Put on plastic gloves, respirator and eye protection.
3. Using a paint brush, spread the Citristrip over the piece in a thick coat. Follow the instructions on the Citristrip, letting it work for about 30 minutes. Test a section in 15 minutes. When the paint bubbles, you are ready to scrape it off. Read more
https://prettyhandygirl.com/wp-content/uploads/2016/01/How-to-Remove-Spray-Paint-from-Metal.png488650Decor Adventureshttps://prettyhandygirl.com/wp-content/uploads/2021/07/PHG-logo-tagline-2020-1030x211-R.jpgDecor Adventures2016-01-06 07:00:062019-12-06 08:15:31How to Remove Spray Paint from Metal
Welcome back, I hope you are ready to paint with me today! Paying a professional to paint your room is a waste of money. I’m here today to show you all the tips and tricks to Paint Your Room Like a Pro! If you’re just popping in, this week is Paint Week!
If you missed any of the paint week posts, here’s the recap:
Painting your room like a pro isn’t difficult, it does require the right tools, patience and the willingness to paint 2-3 coats if necessary.
Materials:
Paint tray
Paint roller with a 1/2″ nap for smooth walls. (5/8″ nap for textured walls)
2.5″ angled painter’s brush
1″ square artists brush
X-acto knife
Edger
Painter’s tape
Damp rag
Sanding block with 200 grit or higher sand paper
Extension pole for paint roller
Step stool or platform
Moveable light or spotlight
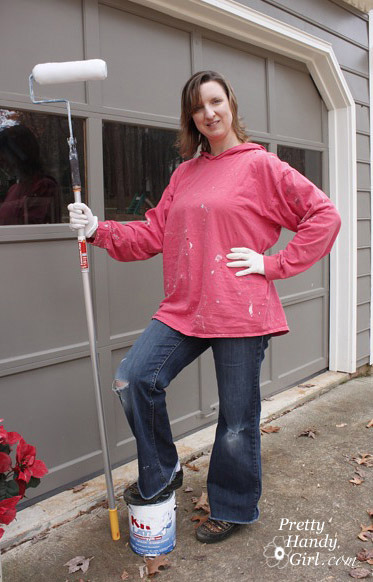
Are you all dressed up in your Sunday best? Go ahead and get changed into your paint clothes because you want to look like the Pros (and save your clothes from being damaged.)
When I paint a room, I always paint the ceiling first, unless it REALLY doesn’t need painting. It is more efficient to paint the whole room while you have the tarps down and supplies out. Besides, you know you won’t go back and paint the ceiling another day. Am I right?
Painting Ceilings:
I’m not going to lie, painting ceilings is a pain in the neck, literally! You will definitely need an extension pole to get the ceiling painted. If you have 20 foot ceilings, you might want to go ahead and hire a pro. Otherwise, this is definitely a DIY task, so let’s get this ceiling painting party started!
I’m going to assume that you are working with a previously painted ceiling. If you have newly drywalled or scraped ceilings, you’ll need to prime first.
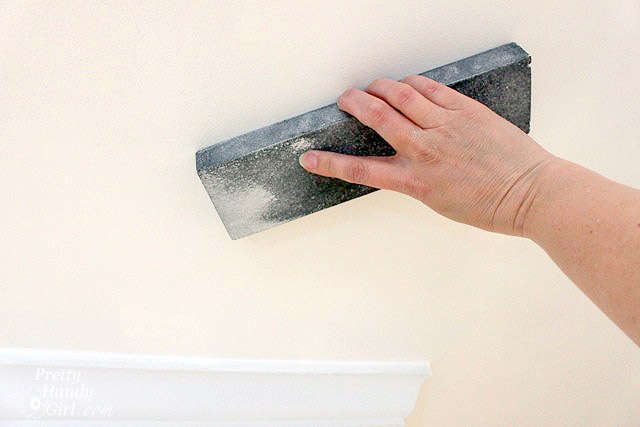
Begin by lightly sanding the ceiling. This should knock off any bumps and will lift any dust or dirt.
Wipe off the sanding dust with a damp rag or sponge.I found using a damp swiffer mop works great and cuts the time in half. (Of course if you have textured ceilings, you won’t be sanding or wiping with a damp rag. You can use a brush attachment and vacuum the ceiling.)
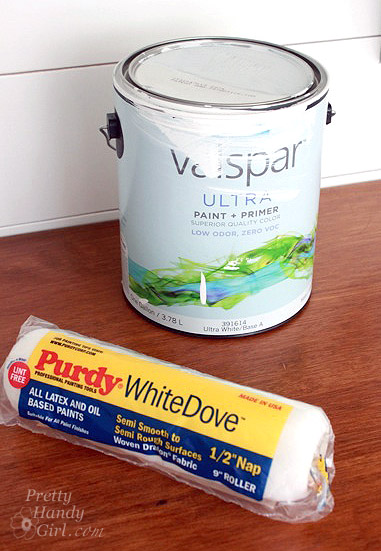
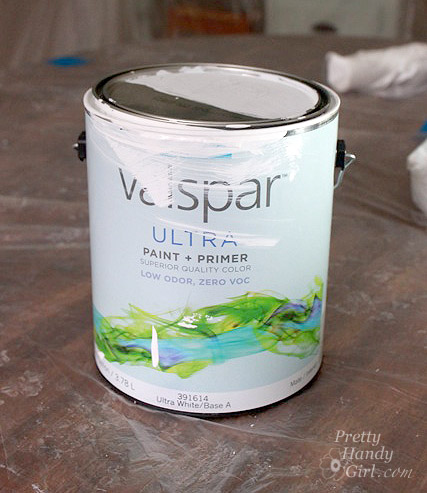
AND NOW, the moment you all have been waiting for — it’s time to crack open that can of paint!
Don’t use just any old paint for this job. First choose a flat finish, it will show less imperfections.
I prefer the Valspar Ultra White paint because it is the brightest white I’ve found. (Side note: Valspar has changed their formula to add primer to the paint. I don’t think the coverage is as good as the previous formula. But, it is still the brightest white I’ve found so I still prefer it.)
When choosing a roller use 1/2″ nap. It will hold more paint and you will be able to paint faster. To speed up the painting process even more, purchase the HomeRight EZ-Twist Paint Stick (affiliate link.) You can read my review, and see why I love the HomeRight Paint Stick. Use a fresh roller for each coat. It makes a difference to have a new roller, trust me.
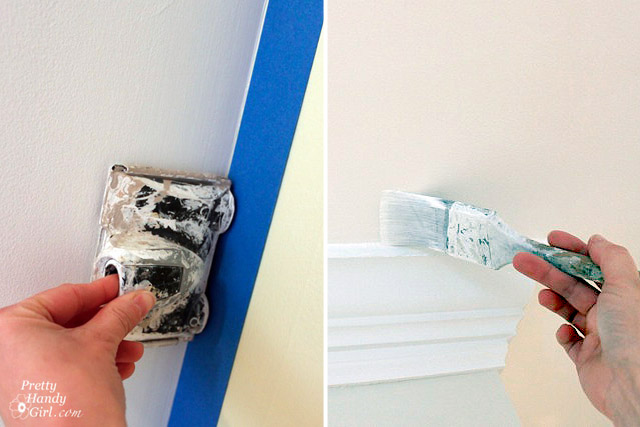
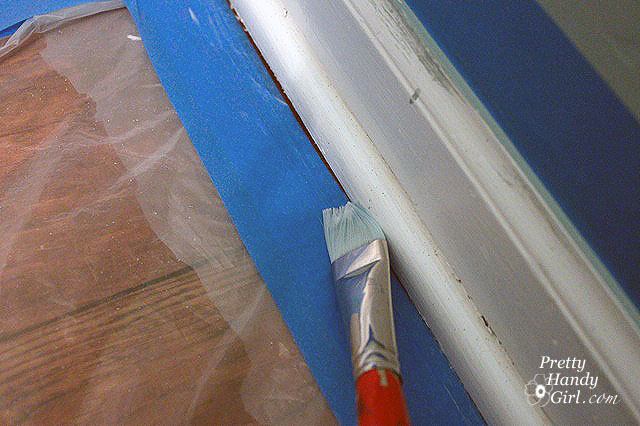
Start by edging around your ceiling. Use an edge roller or a paint brush to line the perimeter of the ceiling. You can use painter’s tape if you wish, or if you have a steady hand you can skip the taping. (If you are painting your walls or crown molding, you can skip the taping as well and paint the molding after you finish with the ceiling and walls.)
Pour your paint into the paint tray and start painting in one corner. Paint in random directions. Now isn’t the time to practice perfectly straight racing stripes. Read more
https://prettyhandygirl.com/wp-content/uploads/2015/08/How-to-paint-room-like-pro.jpg444625Brittany Baileyhttps://prettyhandygirl.com/wp-content/uploads/2021/07/PHG-logo-tagline-2020-1030x211-R.jpgBrittany Bailey2015-08-13 07:00:002021-08-09 18:36:20How to Paint Your Room Like a Pro
Today’s post contains the most important lessons I can impart on you. Prep work is 80% of a professional paint job. If you take the time to prep your room, it will make your paint job look flawless.
If you’re just popping in, welcome to Paint Week!
If you missed any of paint week, here’s the recap:
Today’s post will be about properly prepping your room before painting.
Clear the room:
Start by removing everything from your room that isn’t bolted down to the floor. The less you have to paint and maneuver around the better. Next remove anything on the walls. This includes towel bars, TP holders, pictures, outlet covers and switch plate covers. If you decide to leave a wall sconce, just know that if you ever put in a new light, you might have a spot that is unpainted.
Toilet paper holders and towel rods are easy to remove. Look underneath for the hidden location of a screw that attaches the fixture to the mounting bracket. Inside that hole is usually either a hex screw or a flat head screw. Turn the screw until you can pull the fixture off the mounting bracket.
Cover Everything Else:
Once the room has been emptied, bring in the tarps and dropcloths. Cover anything that is left in the room. Put an old towel or doormat in the entrance of the room to wipe your feet off should you step in any drips.
Even the neatest painter will drip paint! And if you are a klutz like me, you may even step in the paint tray. (Not a good thing.)
https://prettyhandygirl.com/wp-content/uploads/2011/04/sealing-edges-with-matte-med.jpg426640Brittany Baileyhttps://prettyhandygirl.com/wp-content/uploads/2021/07/PHG-logo-tagline-2020-1030x211-R.jpgBrittany Bailey2015-08-12 07:00:002021-08-09 18:41:30Prepping to Paint Your Room Like a Pro
Welcome to Paint Week everyone! This week we’ll be giving you the best tips and tricks for painting your home and beyond. Yesterday we learned How to Pick the Perfect Paint Color!
If you missed any of paint week, here’s the recap:
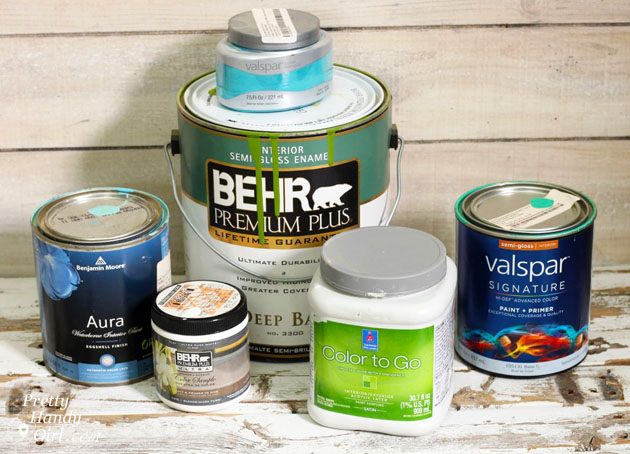
You finally decided on a paint color, but now you are utterly confused by all the types of paint available in the hardware store. How do you know which paint to use for your specific project? Picking the right paint the first time will save you the hassle of having to repaint in a year or two. Today, I’ll be covering How to Pick the Right Sheen and Types of Paint.
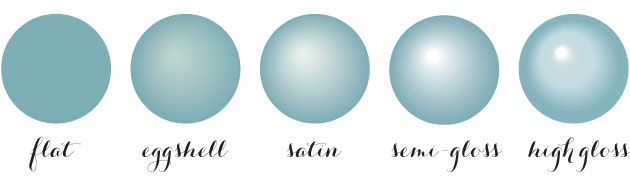
Sheen:
The sheen refers to the shine reflected off the paint when it is dry.
Flat – No reflection. Flat paint is perfect for ceilings where you want the color to be smooth and flat. The ceiling is the only place I recommend using a flat paint. If painted on a wall, the flat paint will show dirt and finger prints very easily and it is much harder to clean without leaving a mark.
Eggshell – One step above flat, this paint is a little easier to clean, but it also has very little reflection. If you have uneven or textured walls, eggshell paint will show less imperfections. Eggshell is a good choice for a bedroom or living room, but if you have kids I recommend moving on to a satin finish.
Satin – This is your middle of the road sheen. It has a very slight reflection. Satin is relatively easy to clean for an occasional mark or finger prints. It is an excellent choice for any wall in your home. Satin can also be used on trim and moulding, as long as you opt for a higher quality paint.
Semi-gloss – True to the name, this paint has a slightly glossy appearance and does have a reflection. Typically this paint is reserved for trim, doors, or wet locations like a bathroom or laundry room. It is also an excellent choice for furniture and cabinets because it can be wiped off easily.
Gloss – A high shine makes this paint durable and easy to clean. Gloss is typically reserved for windows, doorways, trim and furniture. Once dry, this paint is resistant to dirt, grease and grime. However, if you have any imperfections, gloss paint will accentuate them.
https://prettyhandygirl.com/wp-content/uploads/2015/08/paint-types.jpg454630Brittany Baileyhttps://prettyhandygirl.com/wp-content/uploads/2021/07/PHG-logo-tagline-2020-1030x211-R.jpgBrittany Bailey2015-08-11 07:00:212021-08-09 18:43:02How to Pick the Right Sheen and Types of Paint
After painting every room in two houses (trim, windows and doors included), I’ve amassed a bunch of tips and tricks for achieving the perfect paint job. This week will be devoted exclusively to painting your home. Five Days with five different lessons to help you perfect your painting skills. Ready to jump into this (into the lesson, not the paint, that is.)
If you missed any of paint week, here’s the recap:
Grab your white pants and painter’s caps and join me today to learn how to pick the perfect paint color!
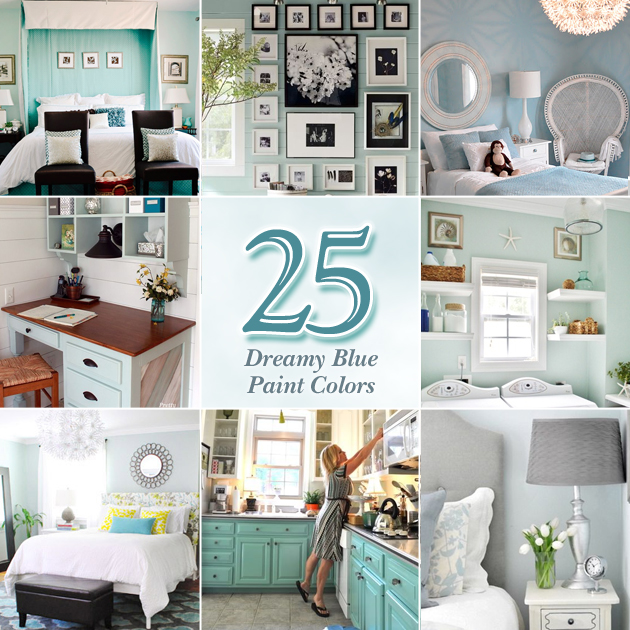
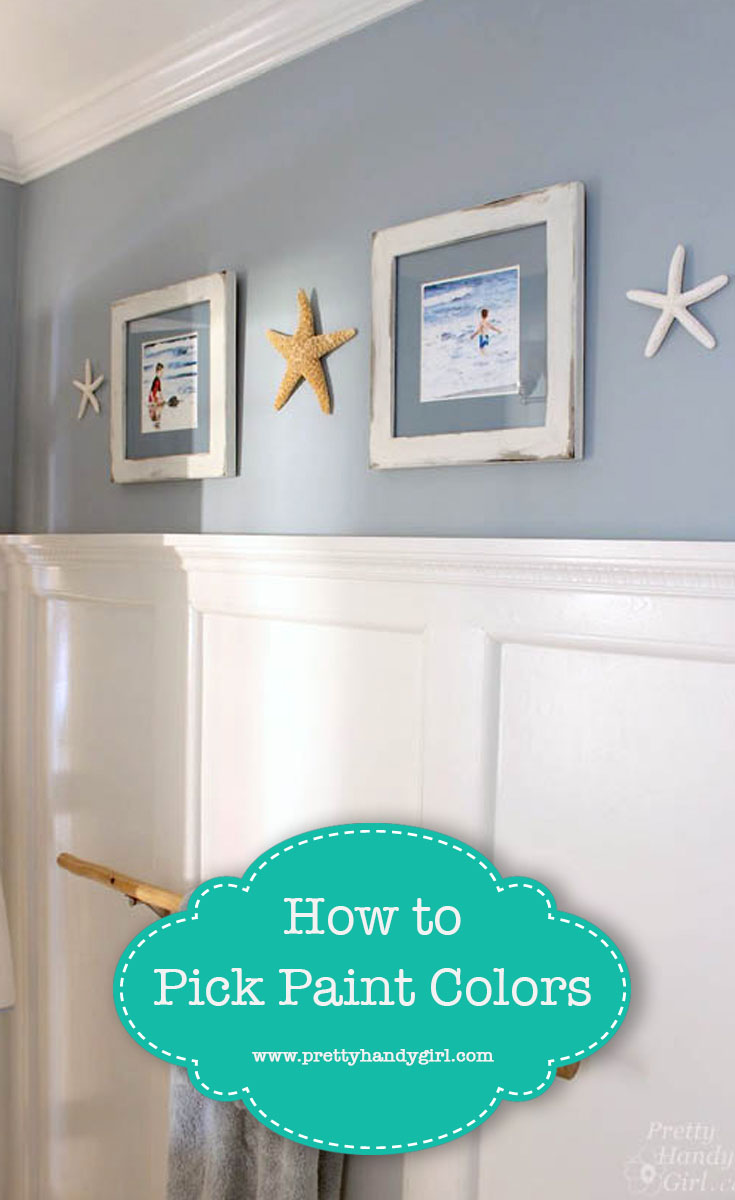
Choosing paint colors can be a daunting task. Looking at small paint chips at your local paint store can be a bit overwhelming. Especially because there are so many colors to choose from! (That can be a good thing too, in my opinion.) I can’t tell you how many times I picked up a few paint swatches of what I considered to be the perfect color, only to get home and wonder, “Who the heck picked out these ugly colors?” That’s because a color will look different in your home compared to that evenly lit display at the store.
You may think that the difference happens based on what light bulbs you use. That is one factor, but there are other factors at play. Do you have windows in your room? What direction do they face? Do you have a lot of trees outside? What season is it? Believe it or not, the light that is being reflected from outside your window will change the color on your walls. If you have a lot of leafy green trees, this will cast a green hue on your walls. Or if you live ocean side with a beautiful view of the water (you lucky duck) this can change your wall colors too. For the same reason, if you are picking a color in the winter and it’s stark white outside, know that when the trees fill out your color will look very different. This is why I rarely choose a paint color in the winter. 3/4 of the year we have lots of foliage on our trees.
With all these factors at play, it may seem impossible to choose a color. Rest assured, I have a sure fire way to choose a paint color you will love!
1. Pick Colors that are Less Bold
Almost every time I pick a color that I think looks amazing in person, when it’s enlarged to cover an entire wall, it ends up being too bold. For that reason, I know to chose paint swatches that are more muted. They may look dull on the chip, but in mass it will look more pleasing to the eye.
2. Create Larger Paint Chips. Looking at tiny paint chips won’t help you conceptualize that color over the entire wall. Making large paint swatches using foam board and sample paints is easy and can save you time when choosing the ideal paint color. I put together this short video to show you how I helped the school librarian select a paint color for the school library.
I knew if I could create big paint chips and let her live with the large chips for a few days, she’d be better prepared to make a final decision. As you saw, she was much more comfortable choosing this way.
3. Live with the Large Chips for a Week or Two. After you’ve painted on the larger poster board, see how they look in the morning light, afternoon and with ambient lighting in the evenings. Move the large chips around throughout the day and see if you still like the colors on all four walls of the room. Hopefully after a week, you’ll have a sunny and a cloudy day so you can experience that swatch in different weather situations.
4. If You Still Goof, Ask for Help. You’ve done all of the above and purchased an expensive gallon of paint. But, after putting up the first coat (and letting it dry) you know you hate it. All is not lost. Take the paint back and talk to the paint person. Explain to them what you don’t like about the color. A talented paint person can usually tint the paint to help you get a color you love.
https://prettyhandygirl.com/wp-content/uploads/2016/01/how-to-pick-paint-colors.jpg338558Brittany Baileyhttps://prettyhandygirl.com/wp-content/uploads/2021/07/PHG-logo-tagline-2020-1030x211-R.jpgBrittany Bailey2015-08-10 07:00:002025-06-24 15:36:53How to Pick the Perfect Paint Color