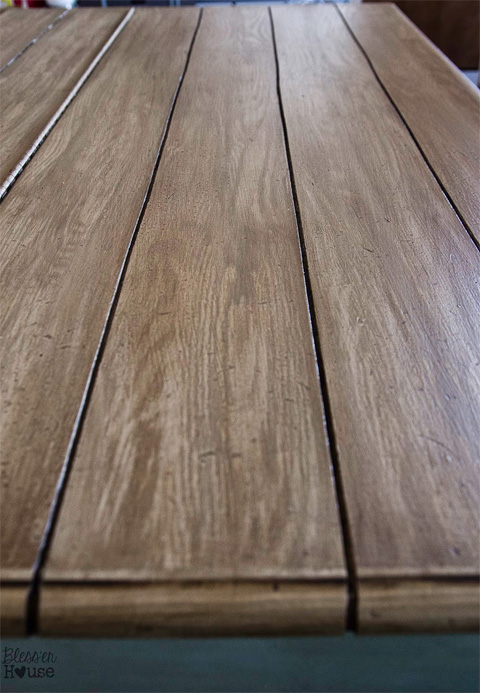
Building a Farmhouse Table has been on my mind for several years. I was never crazy about our hand-me-down dining set. But, I never had the time to build a table from scratch. Now that the table is done, I don’t know why I put it off for so long. Building a table is relatively easy DIY project. You basically need four table legs, 1″ x 4″ boards for the apron and a table top. Depending on your style, you can use anything for the top. You can cut grooves into an existing table top to create the plank look, like Lauren from Bless’er House did:
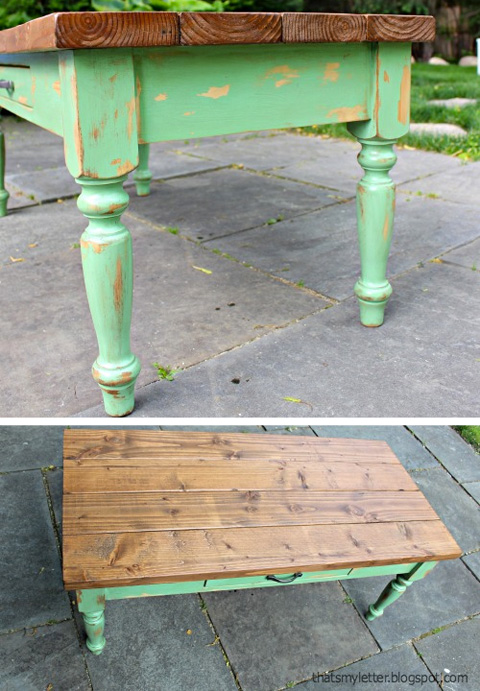
Or you could use 2″ x 6″ lumber to create a new table top like Jaime from That’s My Letter did:
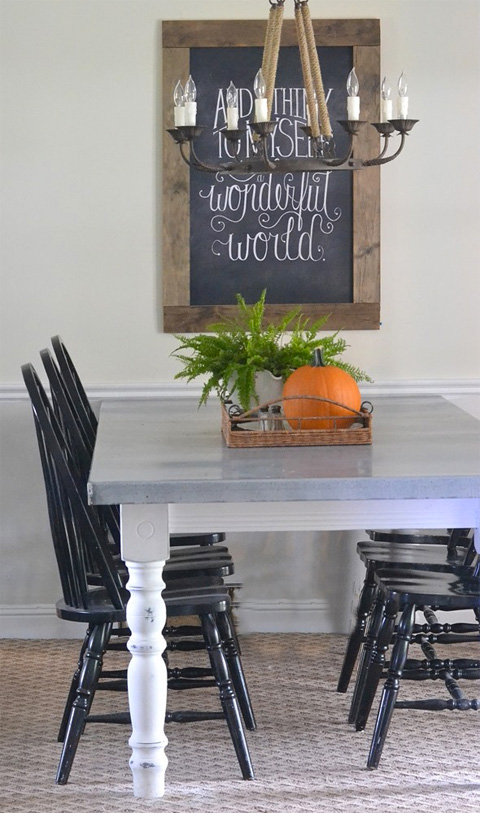
Or wrap MDF with galvanized sheet metal for a zinc top, like Traci from Beneath My Heart did:
Feel free to create a table top with something less conventional like a slab of marble, tempered glass or an old door! Use your imagination and creativity.
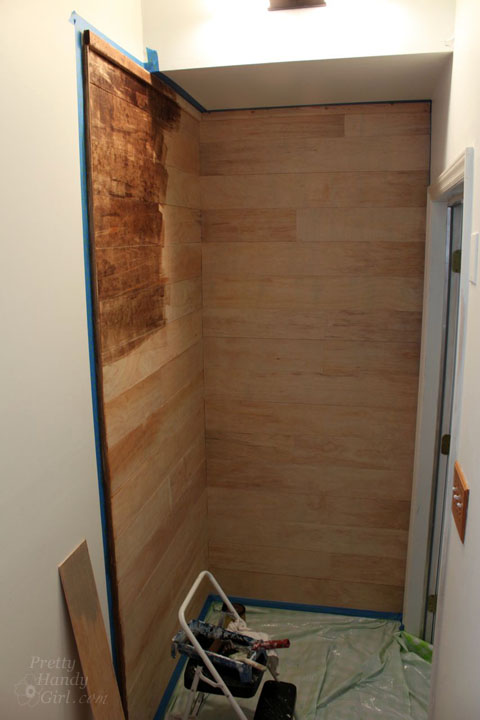
I chose to work with reclaimed lumber for a true farmhouse table top. I bought reclaimed rafters from The ReUse Warehouse in Durham, NC. When I paid for it, the lumber looked like this:
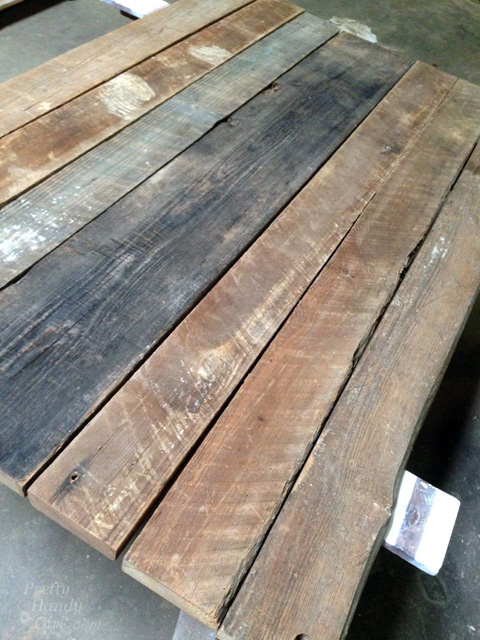
But, was transformed into this:
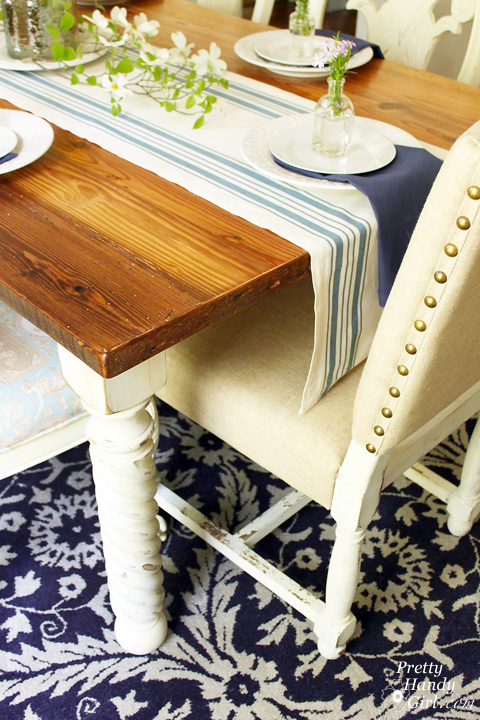
Here are the details for creating the reclaimed wood table top.
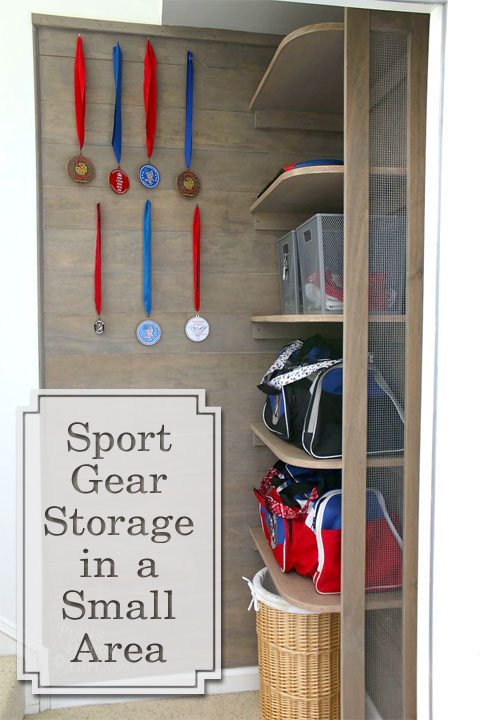
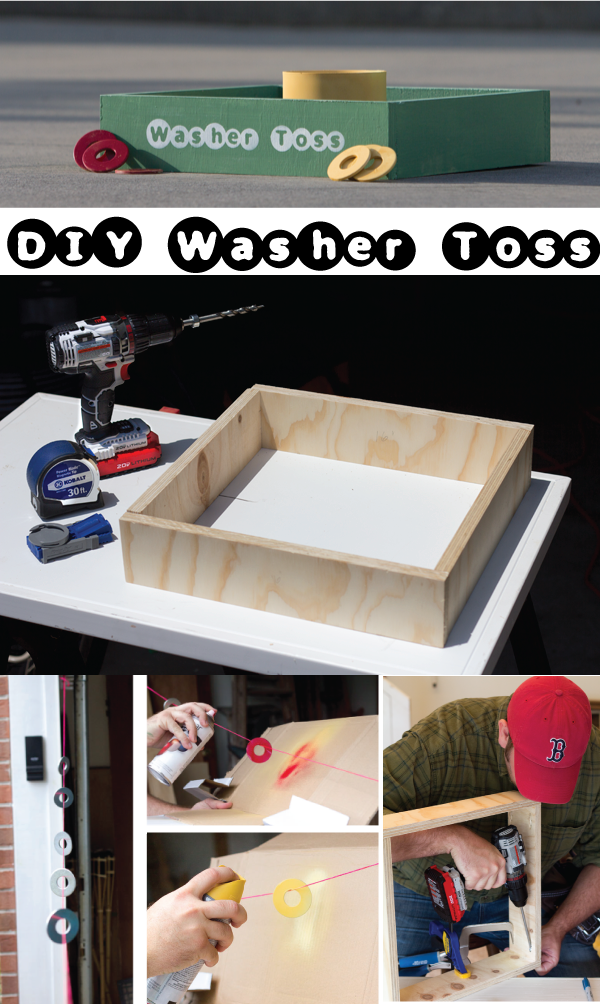
Today we’re going to learn how to build the table base!
How to Build a Table Materials:
(I’ve included affiliate links for your convenience. I earn a small percentage from a purchase using these links. There is no additional cost to you. You can read more about affiliate links here.)
- 4 Table legs (rope twist legs I used from Osborne Wood Products)
- Table top
- 1″ x 4″ Premium Pine (poplar or other straight knot free wood)
- Kreg Jig
- 2″ Pocket Hole Screws
(you may also need different depth screws if you have a thin table top) - Tape Measure
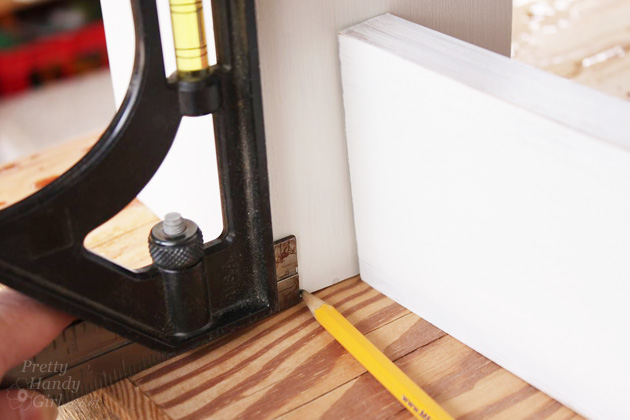
- Combination Square
- Clamps
- Pencil
Optional: 2″ x 4″ board for additional center support
How to Build a Table Instructions:
Measure your table top and subtract 8″ from the length measurement (my table is 71″ long, so the measurement I need for the base is 63″.) Measure the table top width and subtract 5″ from that measurement (my table is 42″ wide, so the measurement I need for the base is 37″.)
Next measure the thickness of the top of your table legs. Then double that number. This will give you the width of both legs per side. Subtract this number to get the length of your apron rails. (For example, my table base final measurement is 63″ x 37″. My table legs are 4″ wide x 2 = 8″. Therefore my two side rails need to be 55″ and the end rails should be 29″.)
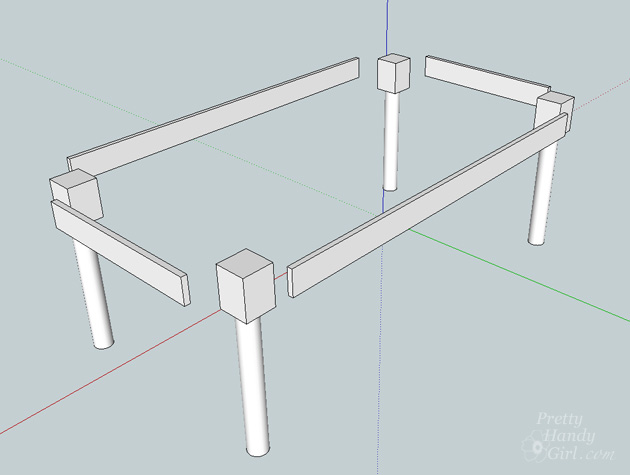
Cut the 1″ x 4″ boards to the size you figured out above.
Lay your legs and apron rails upside down on a flat surface. Double check your measurements, square and the table top dimensions against the table base. Read more