Boy's Red, White & Blue Themed Room | Pretty Handy Girl

Galvanized Tub Storage Bench for Kids | Pretty Handy Girl

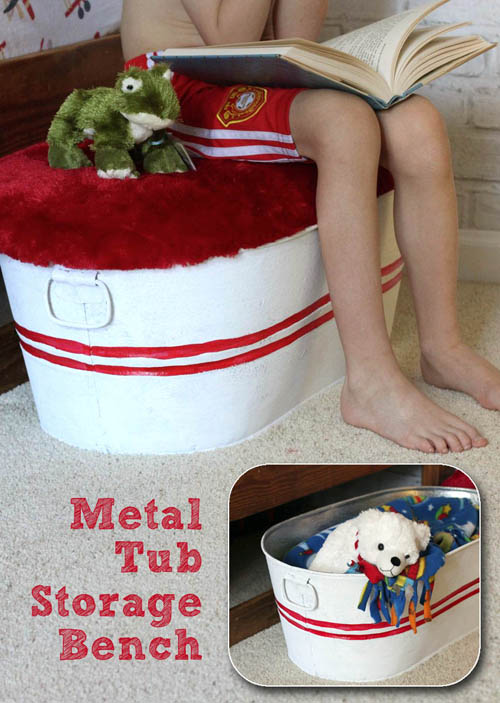
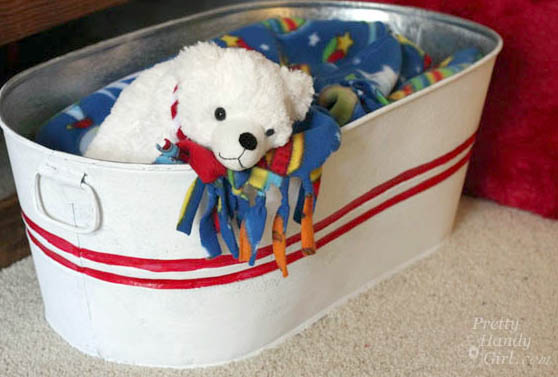
Every month Lowe’s challenges me to create another unique project to share with you. This month’s challenge was creative storage ideas. Have kids? This is a unique storage solution using a galvanized tub and a furry upholstered lid. It’s the perfect place to store and corral all that kid clutter in your child’s bedroom. The storage tub doubles as a bench and a step stool. Don’t be deterred if you don’t have children, the storage bench could be used for magazine storage and much more!

Grab these materials and tools and follow along with me (and my 13 year old assistant.)

Creating the Galvanized Storage Bench and Lid

(I’ve included affiliate links for your convenience. I earn a small percentage from a purchase using these links. There is no additional cost to you. You can read more about affiliate links here.)

Materials for the Galvanized Storage Tub and Lid:

Galvanized Tub Storage Bench for Kids | Pretty Handy Girl


Instructions:

Turn the galvanized tub upside down on the plywood. Use the sharpie to mark approximately 1/2 – 1″ out from the edge of the tub. Read more

How to make a hanging ornaments table runner | Pretty Handy Girl

I have half of the dynamic duo from At the Picket Fence today and I couldn’t be more thrilled! Heather and Vanessa are the sibling duo who create and blog about their beautiful homes and share scrumptuous recipes! I’m honored to have Vanessa here today to share this brilliant Ballard Designs knock off project.

How to make a hanging ornaments table runner | Pretty Handy Girl

page_break_2

Hi there! I’m Vanessa from the blog At the Picket Fence and I’m so thrilled to be visiting here today! Brittany’s kinda my hero and is helping me find the courage to tackle more DIY projects. Come 2014 my house isn’t gonna know what hit it! At this time of the year more than ever, being frugal is the name of the game and I love to try and come up with creative gift giving ideas for friends and family. Today I’m sharing with you a so simple, no-sew project!

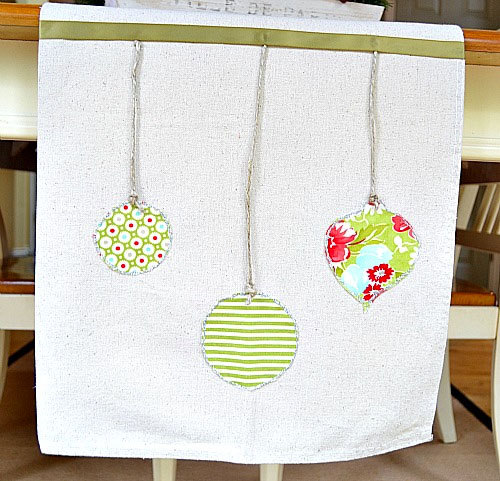
I just love me some Ballard Designs. Don’t you? But, their prices don’t love me back. So, I have to resort to knocking them off. That always sounds so wrong doesn’t it? Kinda has a Bonnie and Clyde ring to it. I’m just going to think of it as imitation being the sincerest form of flattery! This is my version of their hanging ornament table runner from last year and just to prove how very très frugal this really is, here’s the cost difference:

Theirs ~$79.00 …….. Mine ~ $15.00

How to make a hanging ornaments table runner | Pretty Handy Girl

Supplies Needed:

  • Drop cloth cut to size of runner you want (don’t wash the drop cloth first!)
  • Fabric squares or remnants in color/patterns of choice
  • Twine
  • Ribbon in coordinating color
  • Glitter Paint writer in color of your choice

Instructions: Read more

DIY Fabric Coasters

DIY Fabric Coasters

Hi everyone! I’m more than excited to be here at Pretty Handy Girl with Brittany and to be joining the amazing team of contributors. Are you enjoying the fabulous Très Frugal DIY gift ideas so far?

I’m Jessica and I blog at Decor Adventures, a place for you to find furniture makeovers, home improvement projects, craft and lots more DIY and home decor inspiration. Not to mention how to survive decorating a 113 year old house.

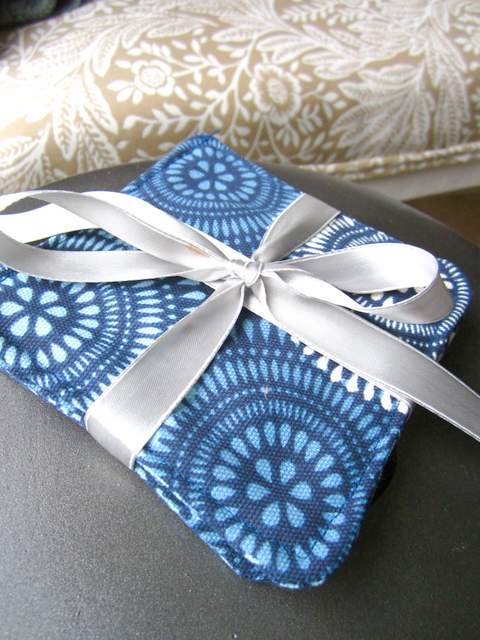
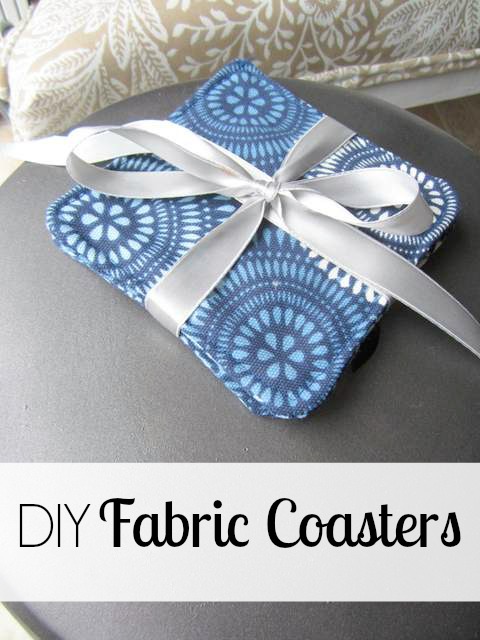
I’m really looking forward to sharing my ideas for how you can make your home a beautiful and meaningful place too. Today I’m going to start with an easy and super cheap fabric project, DIY fabric coasters. I love sewing and find it to be a relaxing yet productive activity. When I’m done making something like a table runner or reupholstering an ottoman I always try to think of what I can do with the leftover fabric. These small coasters were just the solution. Plus they make a great gift idea and tis the season for giving something specially made by you. Your family will love them, I promise. Here is how to make DIY fabric coasters.

DIY Fabric Coasters Supplies:

  • Fabric
  • Thread
  • Scissors or cutting mat and rotary cutter
  • Measuring tape or ruler
  • Pencil or disapearing ink sewing marker
  • Sewing machine and thread
  • Batting for in between is optional, but I did use it

DIY Fabric Coasters Instructions: Read more

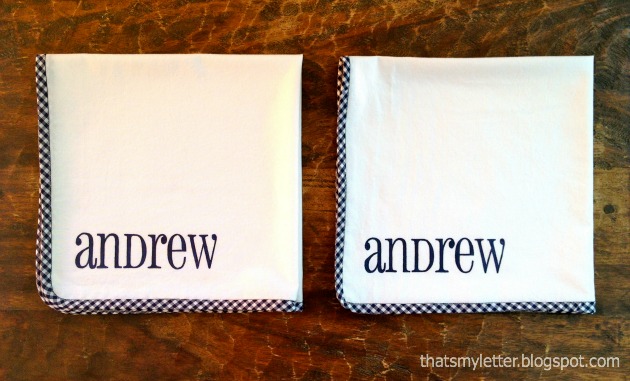
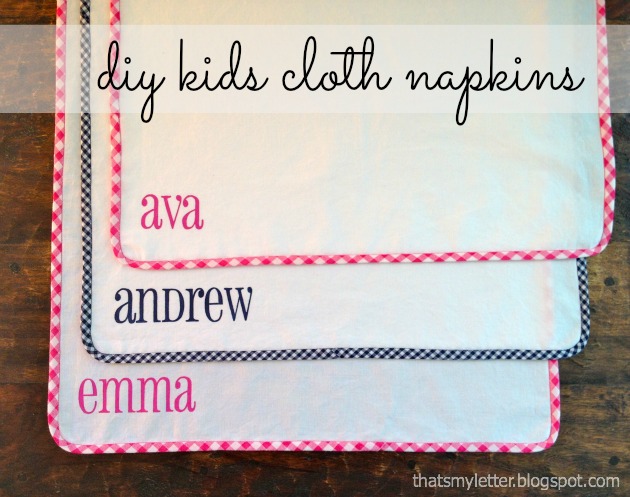
kids cloth napkins

Hello Pretty Handy Girl readers, contributor Jaime back again to share an earth-friendly, fun and very useful tutorial as we begin to think about back to school! Today we are talking about creating DIY Kids Cloth Napkins.

Let’s make personalized cloth napkins for kids, I promise they will be the talk of the lunch table at school this year!kids cloth napkins1

I was sending my kids to school nearly every day with a large paper towel to place on the lunch table, gosh knows I don’t want my kids eating directly off the school lunch table!  Then it occurred to me that using all those paper towels was extremely wasteful.

The solution: make them personalized cloth napkins which can be washed and reused AND makes for most stylish lunch spot at the table! Read more

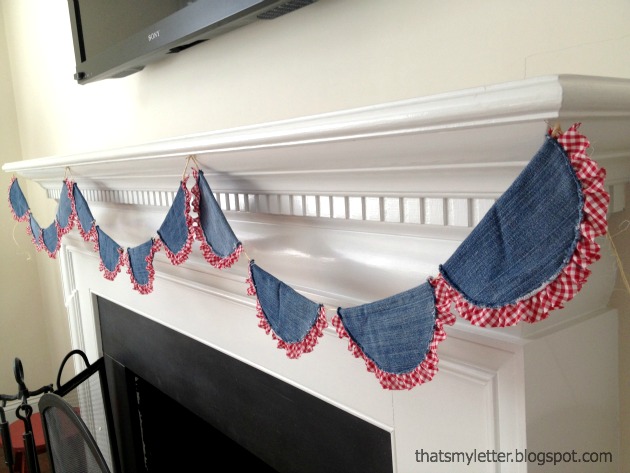
denim bunting

Summer is unofficially here and I’m back to share a patriotic sewing project that uses denim! Yes, another way to repurpose those old holey (or should we say too tight?) blue jeans.

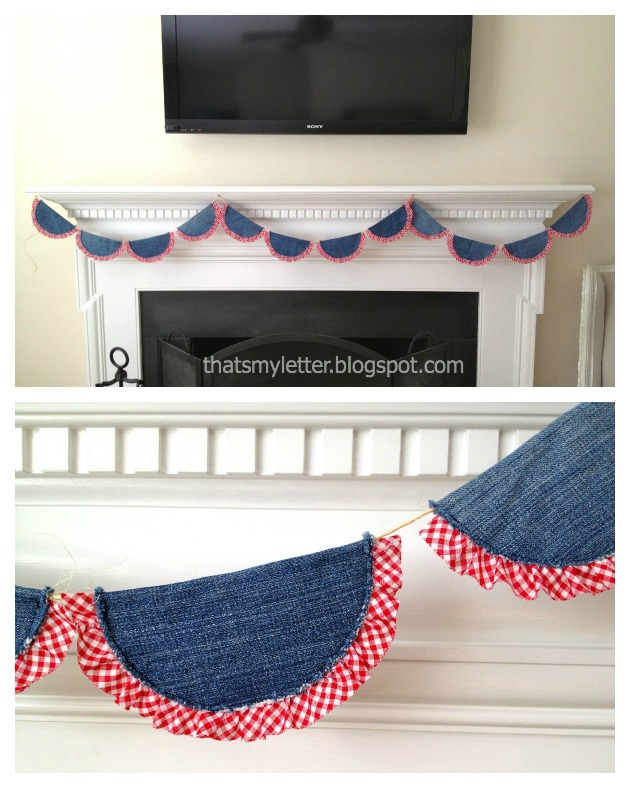
Nothing says 4th of July better than red, white and blue and this denim bunting is just that.  Blue denim combined with red and white gingham ruffle trim makes the perfect pairing and a great project to repurpose those worn out jeans.

denim bunting2

I think you might just be able to use this idea at your next backyard party regardless of the holiday, it’s chic, a little bit country, a little bit western and everyone loves denim.

I started with a pair of holey jeans that had seen the dryer one too many times and quickly made them into the cutest bunting decoration anyone with a little sewing skills could tackle. Read more