kids cloth napkins

Hello Pretty Handy Girl readers, contributor Jaime back again to share an earth-friendly, fun and very useful tutorial as we begin to think about back to school! Today we are talking about creating DIY Kids Cloth Napkins.

Let’s make personalized cloth napkins for kids, I promise they will be the talk of the lunch table at school this year!kids cloth napkins1

I was sending my kids to school nearly every day with a large paper towel to place on the lunch table, gosh knows I don’t want my kids eating directly off the school lunch table!  Then it occurred to me that using all those paper towels was extremely wasteful.

The solution: make them personalized cloth napkins which can be washed and reused AND makes for most stylish lunch spot at the table! Read more

Sometimes it can be frustrating when you want to make changes to your home to reflect your style, but you can’t because you are in a rental. Or you do own, but you don’t have the disposable income to make grand scale renovations.

I feel your pain! Long ago I resigned myself to the fact that I can’t make any major changes to our kitchen. But, I still stare longingly at photos of open kitchen shelving.

photo credit: Tatertots and Jello

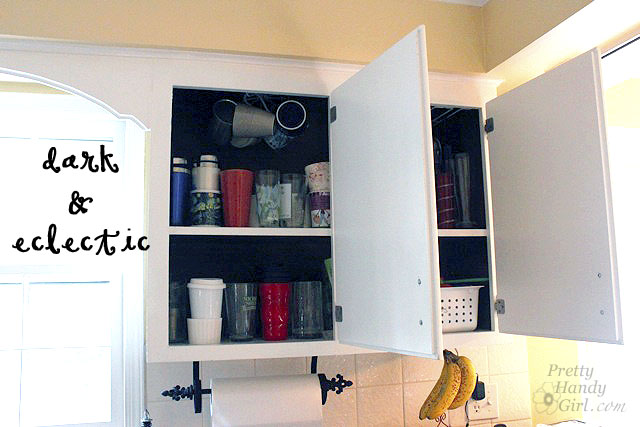
I love the look, but shuddered at the thought of open shelving showing off my eclectic (in the tacky sense of the word) dishes to the world.

The other day I decided to dream no more, now was the time to take action and make my kitchen a reflection of who I am! I put together a simple design plan:

Open shelving with patterned backed shelves (inspired by Tatertots and Jello’s shelves pictured above) and matching dishes. Plus, my plan had a “wind back the clock” option where I could return the kitchen to the exact same state it is today in no time.

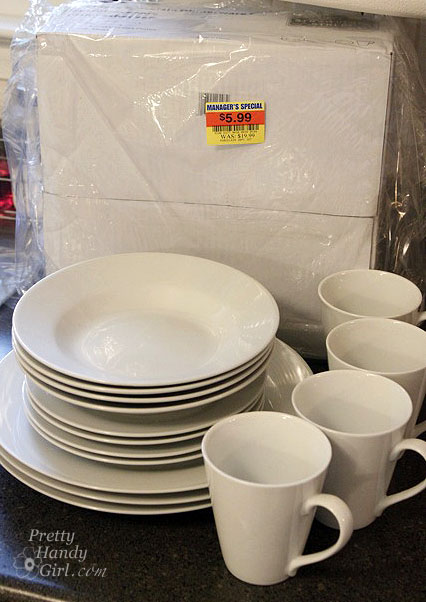
Truth be told, I saw this set of white dishes marked down on clearance ($5.99 for 4 place settings) at Kroger (our grocery store.) So, they were already in the mix.

But, here’s the sweet part: I sold my old 90’s cobalt dish set for $20 and then donated the rest of the mismatched dishes. So, I actually profited from my little dish switcheroo.

With car keys in hand and $20 dollars in my wallet, I set off to Michael’s to buy everything else I needed:

  • Foam board
  • 1 Yard of Top Drawer Bella Citrus Fabric
  • Clear packing tape
Check back with me on Wednesday to see the tutorial and reveal of my kitchen plans. I urge you to make your own plans to update one small space in your home. Make it your own and be proud of it.

Here are some inspirational ideas from Apartment Guide for changes you can make that won’t break the bank:

Want to find even more design tips for your home? Apartment Guide has budget friendly ideas and DIY how-tos for people in any sized home on https://www.movingtoday.comand https://www.apartmentguide.com/blog/

Get Posts Delivered in Your Email

Whether you’re living, looking or moving, ApartmentGuide offers how-to tips for making the most of your space on a budget.

If you’re ready for a whole new space or looking to move, ApartmentGuide has the photos, floor plans, features and tips to help you find the perfect apartment community.

Disclosure Statement:

Apartment Guide and owner Consumer Source, Inc. partnered with bloggers such as myself to participate in their monthly blogger program.  As part of that program, I received compensation.  They did not tell me what project to create or what to purchase. Nor did they influence my opinions. We believe that consumers and bloggers are free to form their own opinions and share them in their own words. Consumer Source’s policies align with WOMMA Ethics Code, FTC guidelines and social media engagement recommendations.

Clean Your Dryer Ducts - Prevent Fires

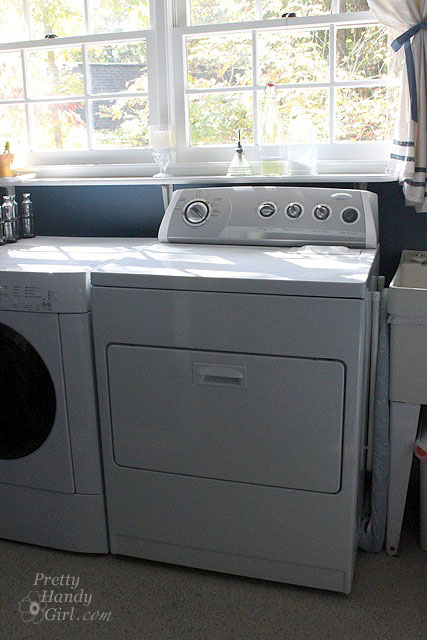
Once the weather turns cold and the heat kicks on, your home starts to get dry and static electricity arrives once again. This minor nuisance that causes siblings to shock each other for fun can actually be dangerous if it ignites lint that has built up in or around your dryer.

Why you should clean out your dryer ductwork:

According to The Consumer Product Safety Commission, ( CPSC ), annually there are tens of thousands of Dryer Fires leading to many injuries or death, due to dryer exhaust duct fires. You should clean your dryer hose and around it once a year, and inspect the vent and hose for any blockages at least every 6 months.

You could pay a professional to clean your dryer ductwork, but the price could be anywhere from $65.00 to $150.00! Ummm — no thanks — I’ll keep my money and do this myself. It only takes about 15 – 20 minutes to do and it is easy! As long as your ductwork is fairly accessible, you can handle this!

If your dryer exhaust hose tube is longer than 10′ this may be a bit more difficult. And if it is longer than 10′, did you know that your dryer may be working extra hard to dry your clothes? Worse yet is if you have a long tube that goes up into the attic (or the eaves) and then out the roof. The warm moist air from the dryer enters the cold attic, and condensation forms in the exhaust tube. Do you know where this little story is going? Well, at first your dryer can’t dry as quickly because the tube is blocked by water. Eventually it will fill with enough water to cause the exhaust tube to split and guess where all that water goes? Through your ceiling, that is where! Trust me on this one, it happened to us in our old house.

So, why don’t you sit back down and let me give you a little tutorial on cleaning out your dryer exhaust ductwork.

Instructions:

Start by unplugging your dryer and turn off the gas if you have a gas dryer.

Remove your lint trap and remove any lint from the screen.
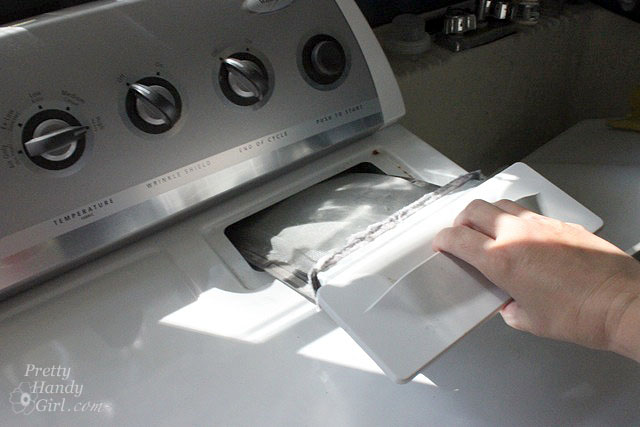
Clean Your Dryer Ducts - Prevent Fires

Using a brush (designed for cleaning out the coils under your fridge) bend the brush and run it inside the lint trap. Then follow up by using a shop vac or vacuum to suck up any lint and dirt loosened by the brush.
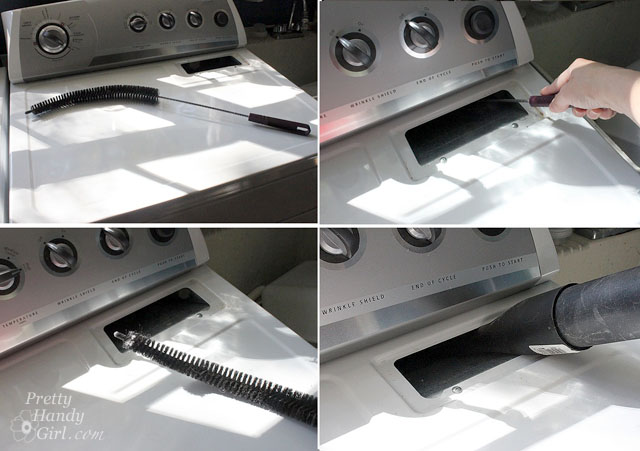
Clean Your Dryer Ducts - Prevent Fires

Pull the dryer away from the wall and disconnect the exhaust duct tube from the wall and the dryer. There are normally two kinds of hose clamps holding the tube to the dryer and wall port. The first is a ring with two prongs. Simply squeeze the prongs toward one another to loosen the clamp.
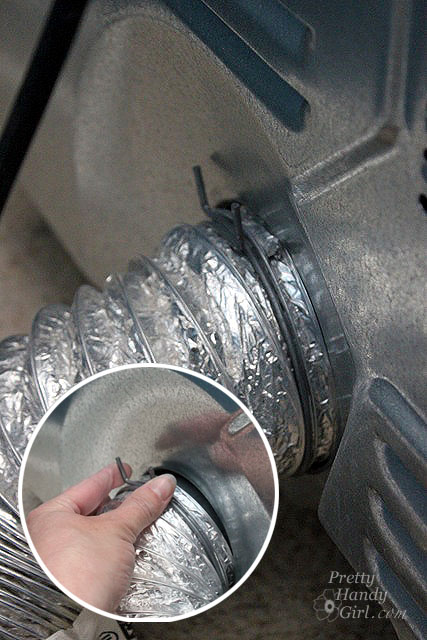
Clean Your Dryer Ducts - Prevent Fires

The second type of hose clamp requires a screwdriver to loosen the bolt attached to the clamp.
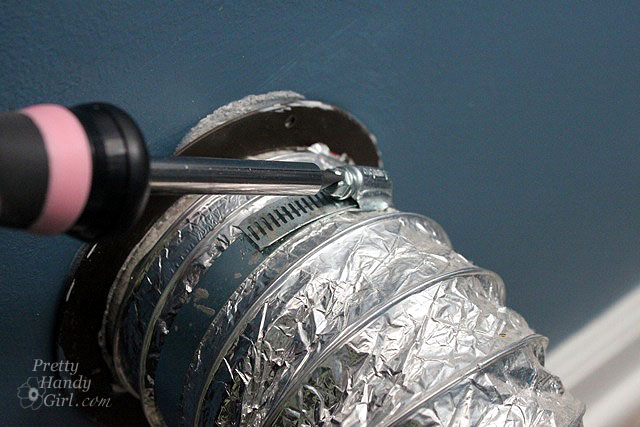
Clean Your Dryer Ducts - Prevent Fires

Slide the exhaust tube off the dryer and the port (hole in the wall.)

Use your vacuum to clean out both the dryer and wall ports.
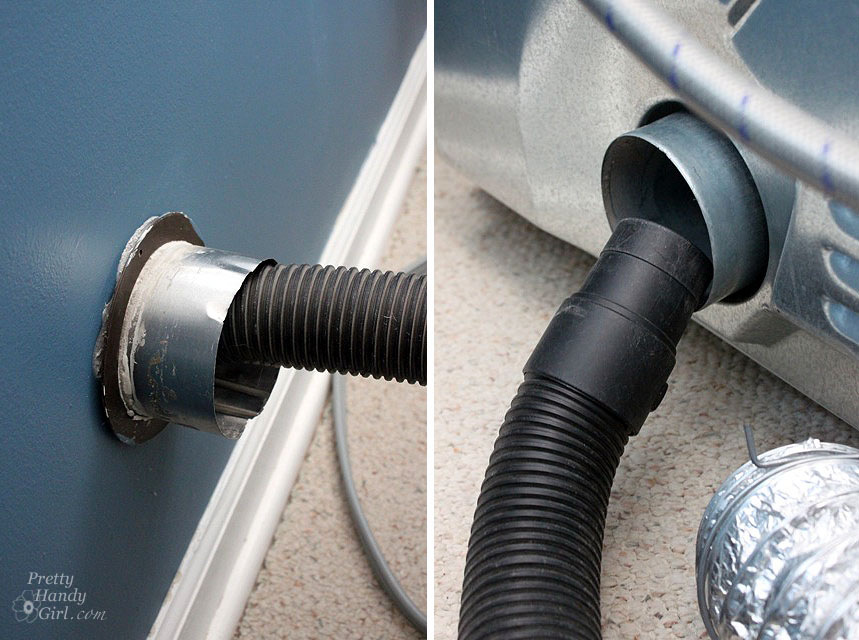
Clean Your Dryer Ducts - Prevent Fires

Then use the vacuum to clean out the dryer exhaust tube.
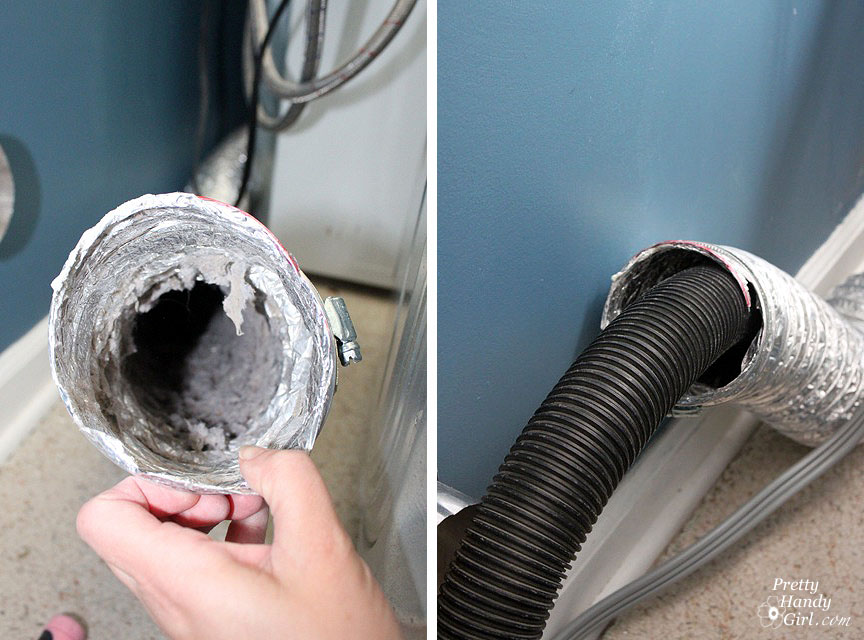
Clean Your Dryer Ducts - Prevent Fires

If you have an older style vinyl tube, it is important that you replace it with a metal one. The vinyl and foil ones are fire hazards. Also, if you can’t get your tube clean, go ahead and replace it.

If your tube is long or difficult to clean out, you may want to purchase a hose brush like this one:
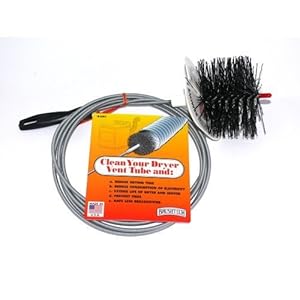
Brushtech B68C 10-Feet Long Dryer Vent Duct Cleaning BrushAmazon.com: Brushtech B68C 10-Feet Long Dryer Vent Duct Cleaning Brush: Home & Garden. (affiliate link)

While you have the dryer pulled out, vacuum off the back of the dryer, the washer, and the wall behind both. Eliminate as much lint as possible. A clean laundry room is safer than a lint covered one.
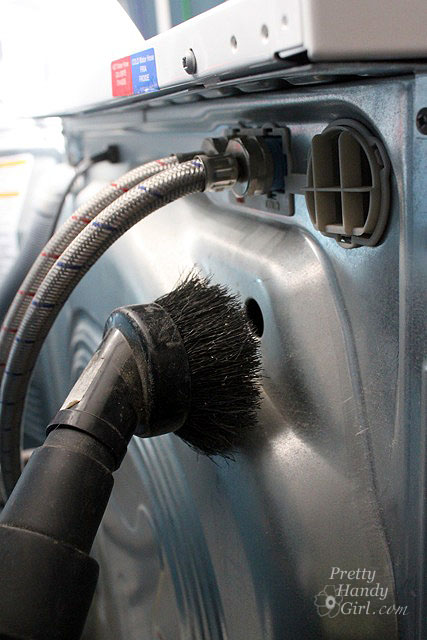
Clean Your Dryer Ducts - Prevent Fires

Re-attach the dryer tube to the wall and the dryer.
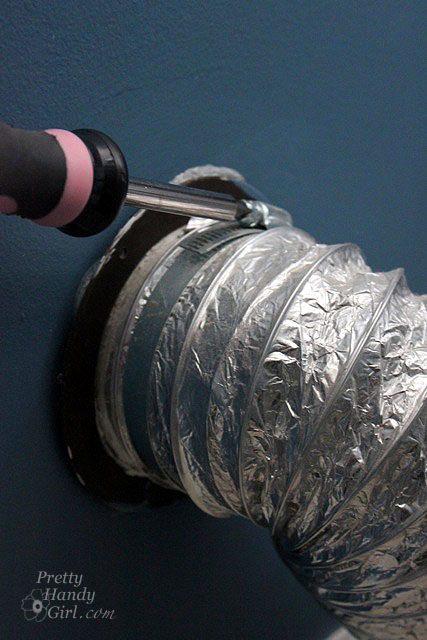
Clean Your Dryer Ducts - Prevent Fires

Gently push the dryer back towards the wall being careful not to crush the tube.
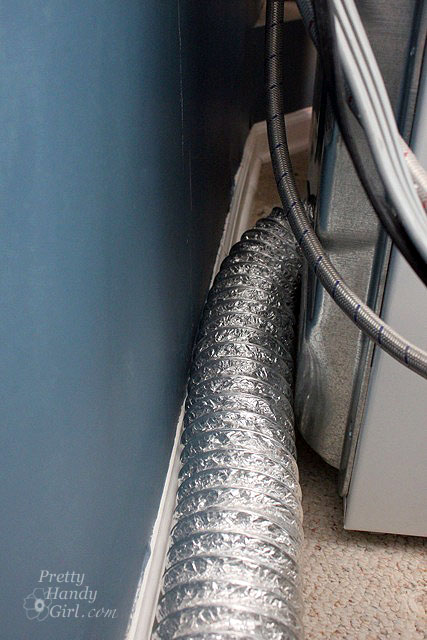
Clean Your Dryer Ducts - Prevent Fires

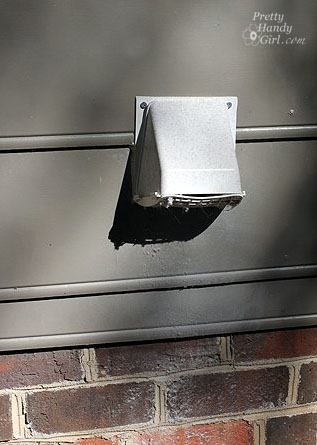
Locate your exterior dryer vent.

Clean Your Dryer Ducts - Prevent Fires

If you can reach the exterior vent, go ahead and clean it out also. Make sure the vent closes properly when the dryer isn’t running.Otherwise you may get birds, rodents or bugs in your vent. I don’t think I need to tell you that they won’t be helping your dryer’s efficiency!
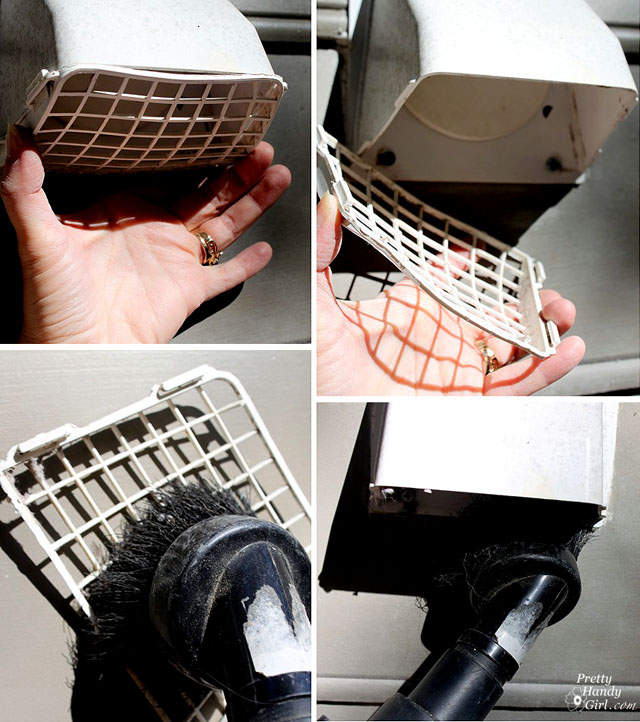
Clean Your Dryer Ducts - Prevent Fires

And that is it?! That was easy wasn’t it. Be sure to keep your home and family safe by cleaning your dryer exhaust ductwork yearly.

Update: I wanted to let y’all know that the flex foil pipe shown in this tutorial is FLAMMABLE! Luckily I found this out before we had a fire.

prevent_fires_replace_dryer_hose

Read about installing semi-rigid non-combustible duct in this easy tutorial!

Clean Your Dryer Ducts - Prevent Fires


You might also like:

keep HE Clothes Washer CLean

Learn how to keep your HE Washer Clean like the day it was delivered!

Miracle Stain Remover


DIY Laundry Detergent & Miracle Stain Remover


Top Ten Reasons to Do-It-Yourself

Top Ten Reasons to Do-It-Yourself

Top 10 Reasons to Do-It-Yourself!

Over the course of the last ten years writing this blog, I’ve met numerous people who have lamented that they wished they had skills like mine. Or have professed that they just didn’t have it in their DNA to be handy. Consequently, I’ve spent a lot of time trying to persuade people that they are handy but just don’t know it yet. Granted, growing up in a family of DIYers helped me take the leap of faith from paying someone else to fix, build, or create something to doing it myself.

If you’re still on the fence about taking on a DIY project, let me give you the Top 10 Reasons to Do It Yourself:

    1. Save Money, Save Money, Save Money. (Do I need to emphasize this again?) When you do something yourself, you keep the money in your pocket that you would have paid otherwise. Why not create a jar and put money in there every time you save money doing it yourself versus buying or paying someone else? Did you know that taking on your own room renovation could save you as much as 50% of the cost to hire out?
    2. Try It. If you fail, Watch and Learn. You’re sink faucet is leaking or your toilet is running. You get ready to pick up the phone to call the plumber but then you remember the bill last time he was at your house. If you are trying to repair something, you will either fix the problem or need to call a repair person anyway. (That being said, recognize your limitations. Don’t take on a complicated electrical project if you don’t know what the black, white, or green wires are!) Go ahead and call that repair person, but stick around and watch how the repair is made. Ask questions. A lot of times you will realize that you could have done the repair yourself and next time you will!
    3. Help is All Around You. If you can read and able to follow directions, there is a 95% chance that you will succeed at your DIY project. There are so many resources to assist you. Here are just a few:
        • Instruction manuals that come with the fixture to install
        • Online resources, try googling “how-to” instructions for the project
        • Ask a professional or home improvement store employee for advice
        • Search for instructional videos on Youtube.com
        • Check out a DIY book at your library
        • Buy a DIY book at your local home improvement store
        • Ask a friend, family member, or neighbor who you know has the skills
    4. The Time is Now. You can complete your project now instead of waiting for someone else to do it.
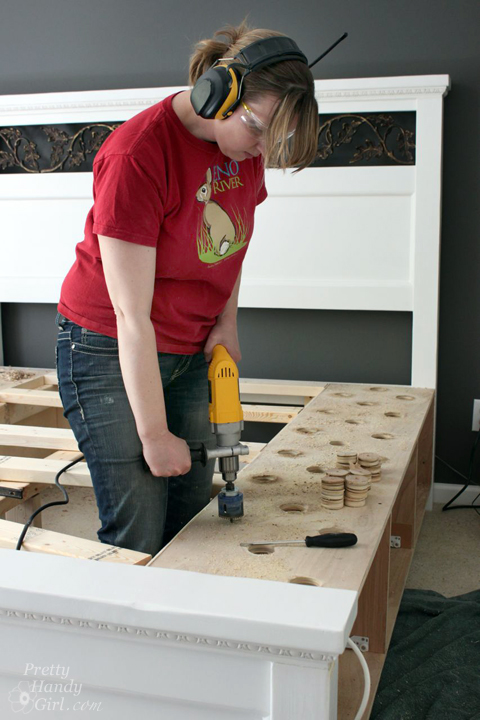
    5. Get into Your Zone. You may love the process of working with your hands. If you are a parent, you’ll appreciate the fact that unlike children, wood and building is predictable. The materials will bend to your will (or tools.) Personally I find DIY projects relaxing.Modified King Size Farmhouse Bed with Storage Drawers | Pretty Handy Girl
    6. Prevent Alzheimer’s Disease. Learn something new. Studies have shown, that challenging your mind improves your brain functioning and prevents Alzheimer’s.
    7. Lose weight. If you involve yourself in a DIY project, you will probably sweat a little! You will likely be climbing, moving, and generally using your body. Engaging in a DIY project will definitely get you off the computer and keep you moving until the project is done. Talk about finishing your move goals!
    8. Discover a New Skill. How do you know you can’t tile or paint or build? If you never try, you won’t know if you actually have a talent for DIY.
    9. Bragging rights. Simple, but if you DIY something, you must brag about it to the world.
    10. Sense of Accomplishment. Do you remember the last time you tackled something new or difficult? Wasn’t the sense of accomplishment you go when you succeeded HUGE?

Install a Post Mounted Birdhouse | Pretty Handy Girl

That’s the Top 10 Reasons to Do-It-Yourself! Did I forget any? If so, leave me a comment below.

Tomorrow you’ll get your third step in this Guide to Learn How to DIY Anything! Be sure to check your email inbox, it’s going to be a good one.

Ready to jump into your next DIY project now? You’ll find an entire gallery of projects to try here: