How to Create a Rustic Wood Headboard for $80 | Pretty Handy Girl

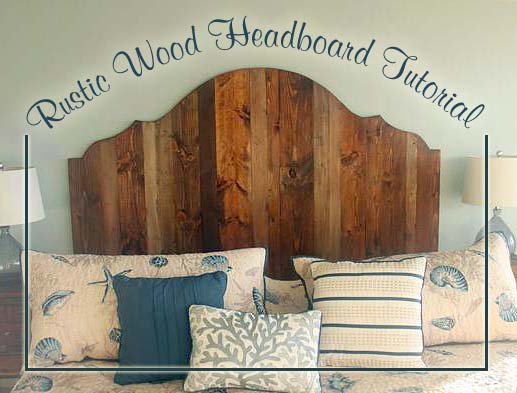
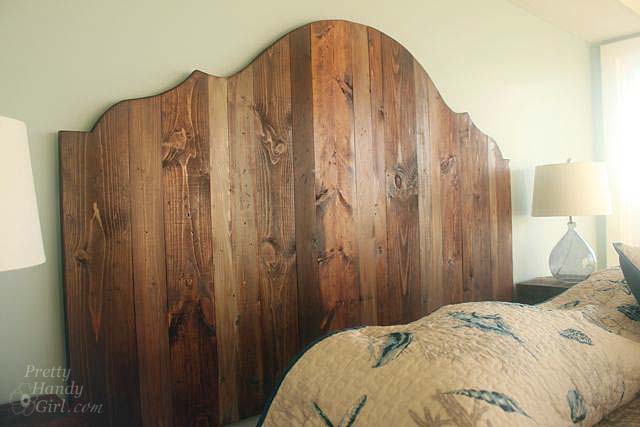
I’m back with more progress on the beach condo. I am really excited to share this tutorial on how to create a rustic wood headboard with you because it caused quite the buzz on Facebook and Instagram. This has to be one of my favorite projects that I completed in my stepmom’s beach condo. (You can see more pictures of the condo renovation on my sister’s interior design business page. Be sure to like her page, she has some great renovations to share.)

My sister, Caitlin, wanted me to make a unique rustic wood headboard for the master bedroom. Her budget was running low so she turned to Pinterest for some ideas and showed me this picture as inspiration.

I followed the link to a retail site where you could purchase the headboard for $2,195! {Cough, choke, gag…this was well out of our budget!} When we tallied the receipts, the lumber and materials to build our own king-sized headboard came in around $90 from Lowe’s! Woot woot!

And best of all, it is a relatively easy project that anyone can do if they have the right power tools.

Materials: Read more

How to Make Vintage Painted Oars | Pretty Handy Girl

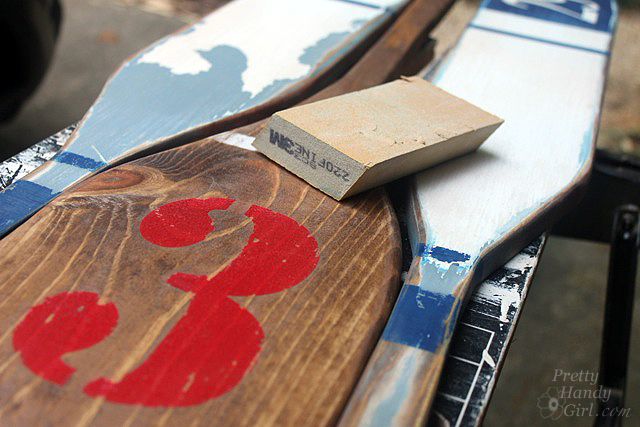
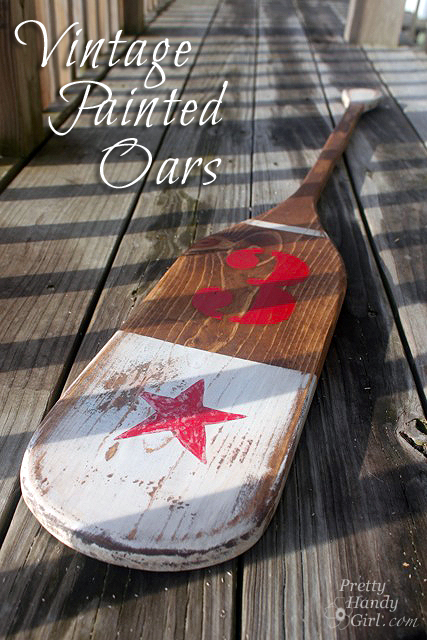
Vintage painted oars are nostagic objects for me. They bring back memories of camp and watching crew teams rowing along the Schuylkill River in Philadelphia. So, when my sister wanted to find some oars to decorate the beach condo with, I jumped at the opportunity to make some. If you follow me on Instagram or Facebook you know that my sister Caitlin (of Symmetry Designs in San Jose, CA) and I have been renovating Diane Chamberlain’s Topsail Beach condo. The condo is a great size (three bedrooms) and located ocean front. That’s where the pros ended. Sadly the condo was stuck in the 80’s: teal carpeting, orangey wood trim and cabinet doors that were falling off. We converged on the property back in September to start the renovation process.

Before the trip, I whipped out these fun painted oars. They were easy to make, you could sooo do this!

(I’ve included affiliate links for your convenience. I earn a small percentage from a purchase using these links. There is no additional cost to you. You can read more about affiliate links here.)

Materials:

3M™ Safety Products:

Instructions:

Clamp your 1″ x 6″ board to a work surface. Trace out the oar shape onto your board. You can use rulers and rounded paint cans or plates to trace the curves.

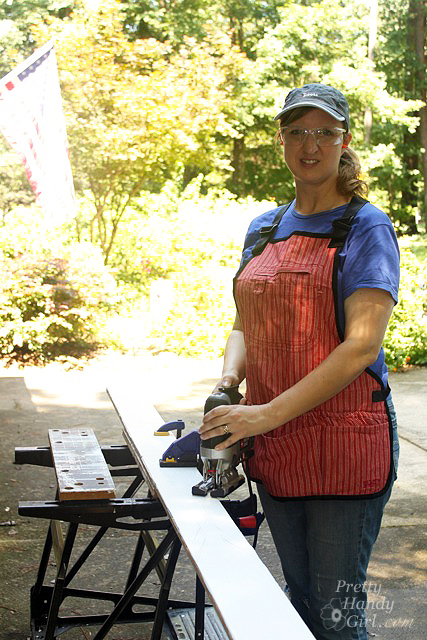
Put on your safety glasses, ear plugs and grab the jig saw.

How to Make Vintage Painted Oars | Pretty Handy Girl Read more

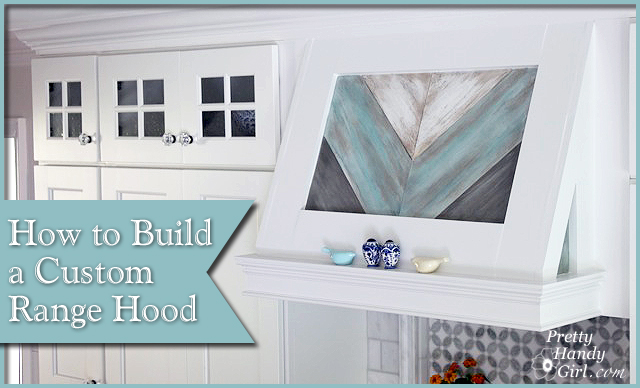
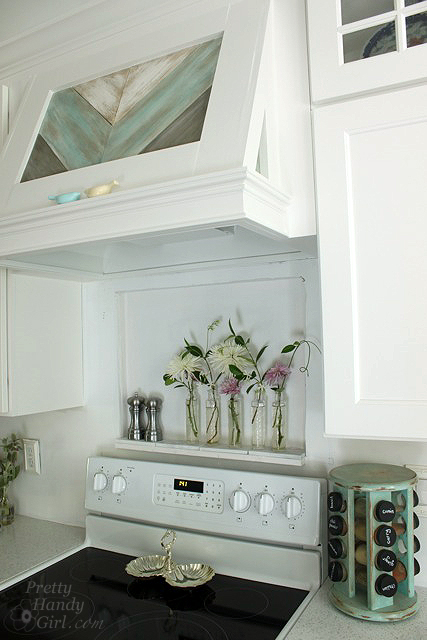
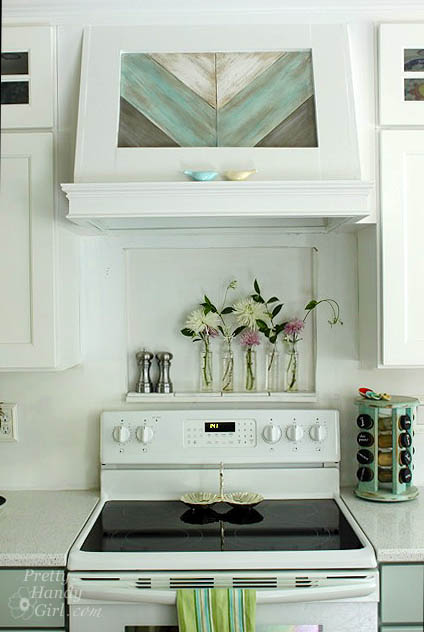
How to Build a Custom Wood Range Hood by Pretty Handy Girl

Have you seen the beautiful custom range hoods on my Pinterest board? From the beginning of our kitchen planning sessions, I knew I wanted to put in a custom wood range hood. But, finding a tutorial to build one was tough. The one that helped me the most was Cristina’s how to build a range hood tutorial.

build custom range hood

I knew when I built our hood that I’d need to take detailed notes and photos to help you accomplish your own project. I hope this tutorial helps you build your own range hood!

Build Custom Range Hood Materials: Read more

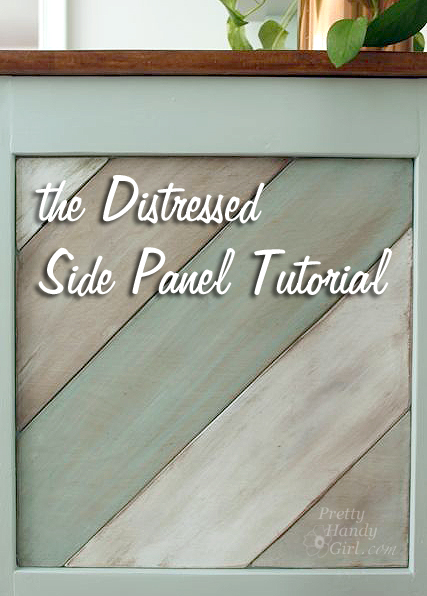
distressed_side_panel_tutorial

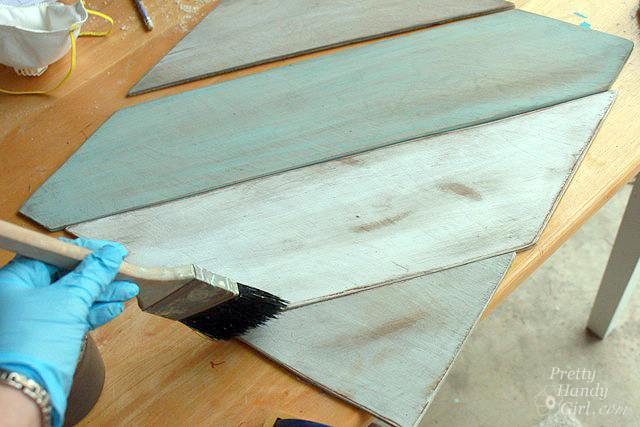
I can tell you are excited about this tutorial! I’ve had more comments and compliments on the side panel on my kitchen desk and on the range hood. Today we are going to talk about the painted Distressed Wood Panel Tutorial.

distressed_wood_range_hood

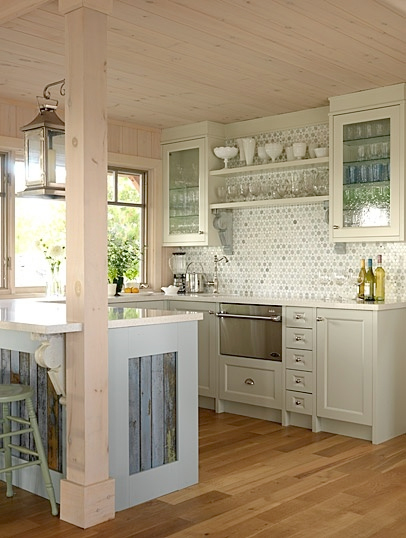
They are definitely the details in our kitchen that make it personal. I got the idea after seeing Sarah Richardson’s kitchen, where she actually used reclaimed lumber on the side of her cabinets.

Sarah_richardson_kitchen

But, I knew finding the right distressed wood would be tricky. Plus, I always worry about the presence of lead paint. Instead, I decided to make it and fake it. As promised, I’m sharing the tutorial with you. Read more

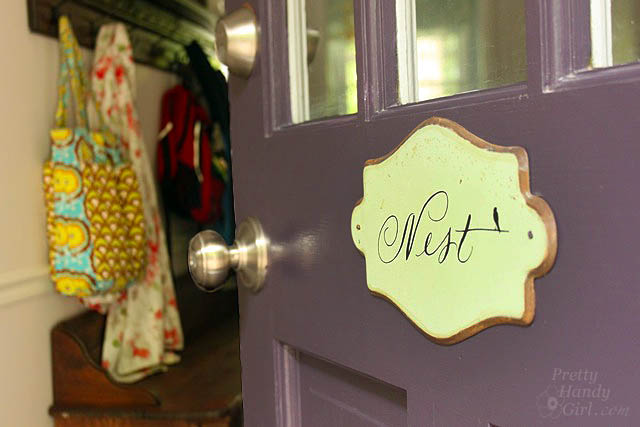
mudroom_tour_door_open

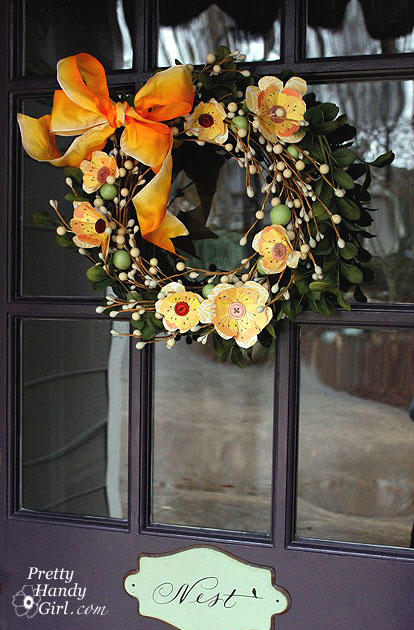
We made some serious progress this past week. Not only did we make a big dent in the “to do” list in the kitchen, but we also finished painting and installing the trim in the mudroom. It’s really nice walking past this little paper flower spring wreath and into a finished room! Check out the mudroom tour below.

Our mudroom is looking so nice that I decided to invite you over for a little mudroom tour.

Read more