Little Playhouse | Pretty Handy Girl

Little Playhouse | Pretty Handy Girl

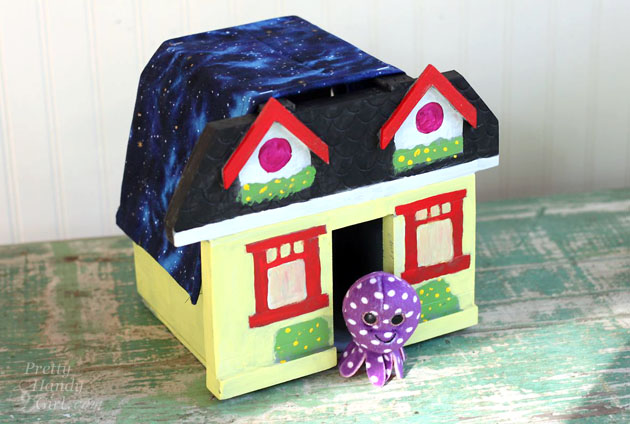
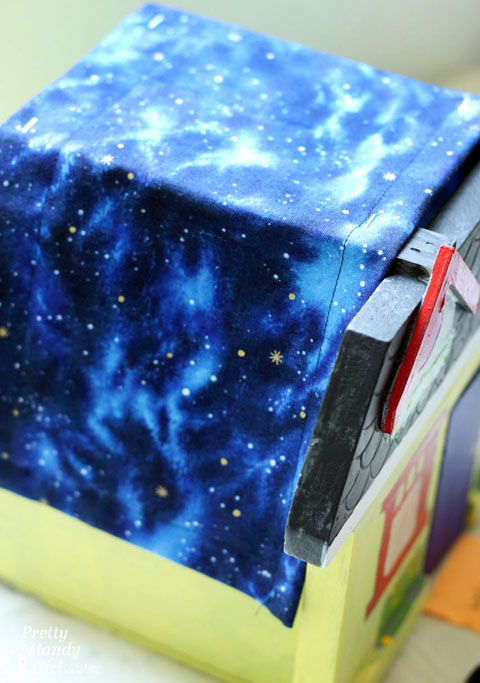
I love giving my boys creative freedom on projects. Frequently I let them have access to my scrap pile. Inevitably they build little houses for their stuffed animals. This little house was designed and painted by my 8 year old for Ollie (his little stuffed octopus.) I helped him build it. If you want to build a little playhouse for your child to paint, follow along.

Before we begin, I need to back up and tell you that this project is part of The Mystery Thrift Off.

#TheMysteryThriftOff is the brainchild of Lindsey from Better After. She chose a handful of people to take part in this challenge. After scouring her local thrift shops for ugly and hopeless items, she shipped off the chosen items to those of us in the challenge. I signed up—because frankly—I love a challenge. And, I love saving ugly items from the landfill. Be sure to see some of the other Mystery Thrift Off transformations at Better After and vote for your favorite.

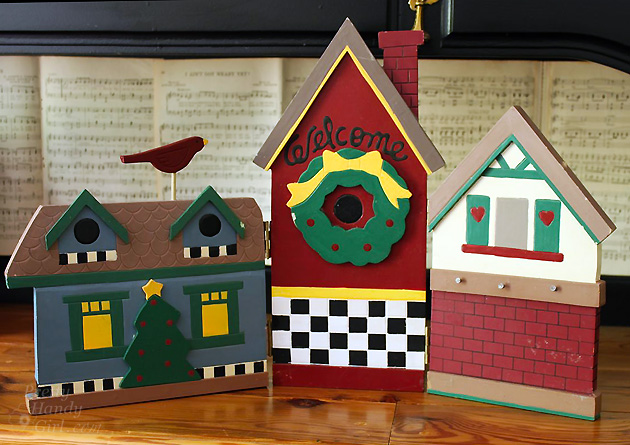
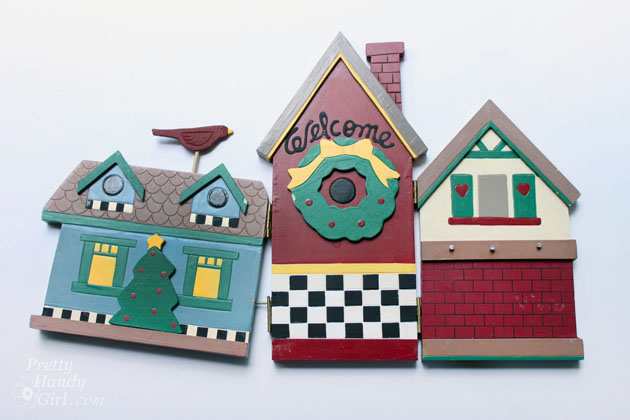
But, when the box arrived from Lindsey, I was terrified to open it up! I mean what if she had sent me a ceramic scabies bear!  Yikes. You can imagine my relief when I opened the box to reveal this dated Christmas village.

Chalkboard Arrow Sign (Mystery Thrift Off) | Pretty Handy Girl

Not too bad looking is it.? Truth be told, it was falling apart and the colors were hunter green, colonial blue, mauve and fleshy tan.

Chalkboard Arrow Sign (Mystery Thrift Off) | Pretty Handy Girl

I quickly pulled the three houses apart and began to transform them into A Chalkboard Arrow Sign, a Housewarming Gift Caddy and the Little Playhouse I’m going to show you today.

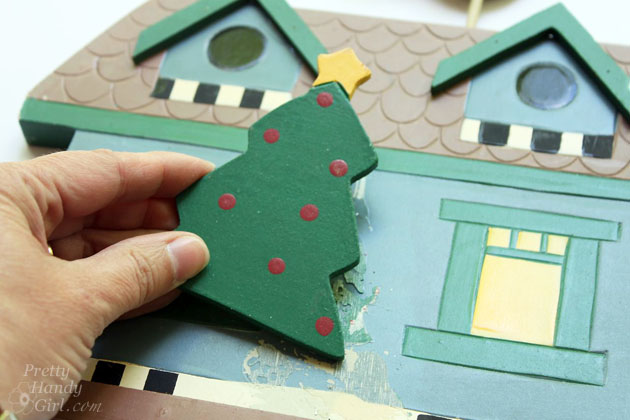
I began by removing some of the embellishments.

Little Playhouse | Pretty Handy Girl

I saved them for a future project.

Chalkboard Arrow Sign (Mystery Thrift Off) | Pretty Handy Girl

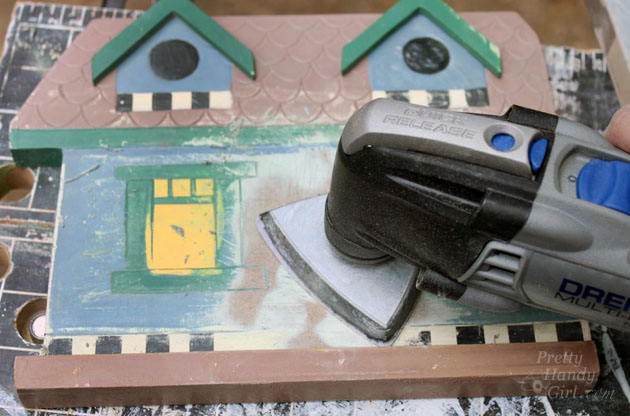
Next I sanded off the glue.

Little Playhouse | Pretty Handy Girl

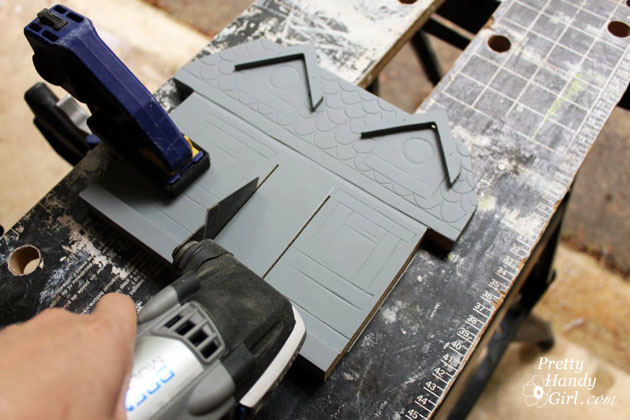
Here’s where you can pick up the tutorial. Start by cutting a house shape into a piece of plywood or scrap wood. Cut out a doorway (the Dremel Multi-Max worked perfect for this task.)

Little Playhouse | Pretty Handy Girl

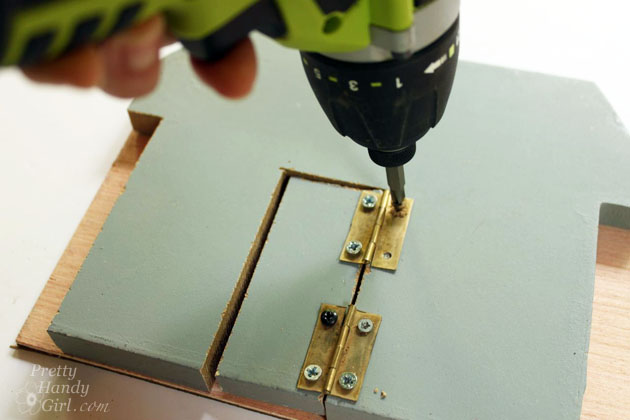
Flip the house shape over and attach hinges to one side of the door and the house.

Little Playhouse | Pretty Handy Girl

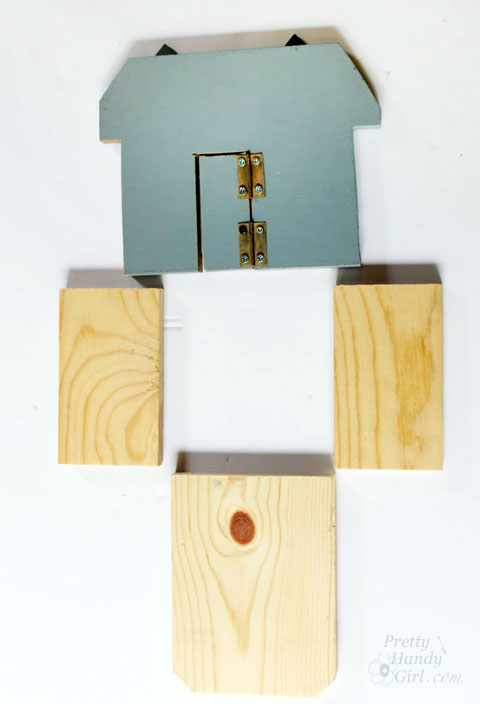
Cut two pieces for the sides of the house (1″ x 4″ lumber) and a back piece the same height as the house front.

Little Playhouse | Pretty Handy Girl

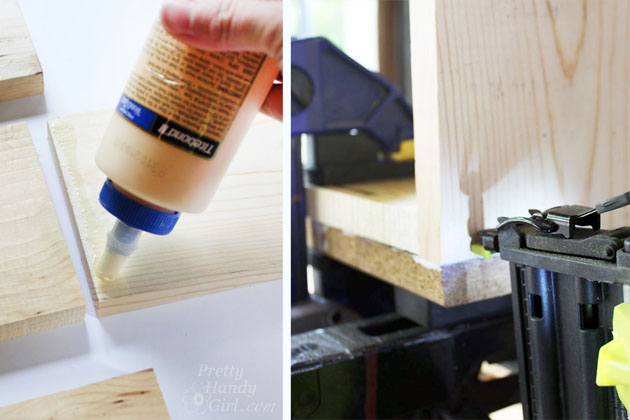
Clamp the back of the house to a solid surface and attach the sides of the house with glue and finish nails. Read more

Housewarming Gift Crate | Pretty Handy Girl

Housewarming Gift Crate | Pretty Handy Girl

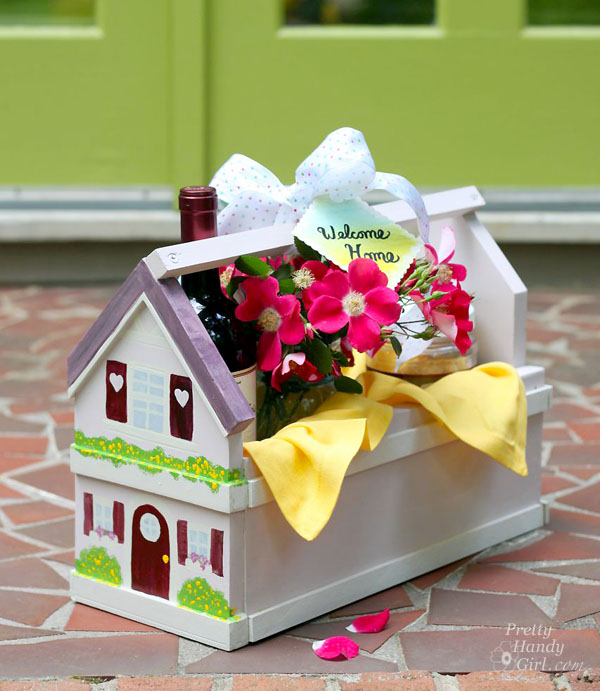
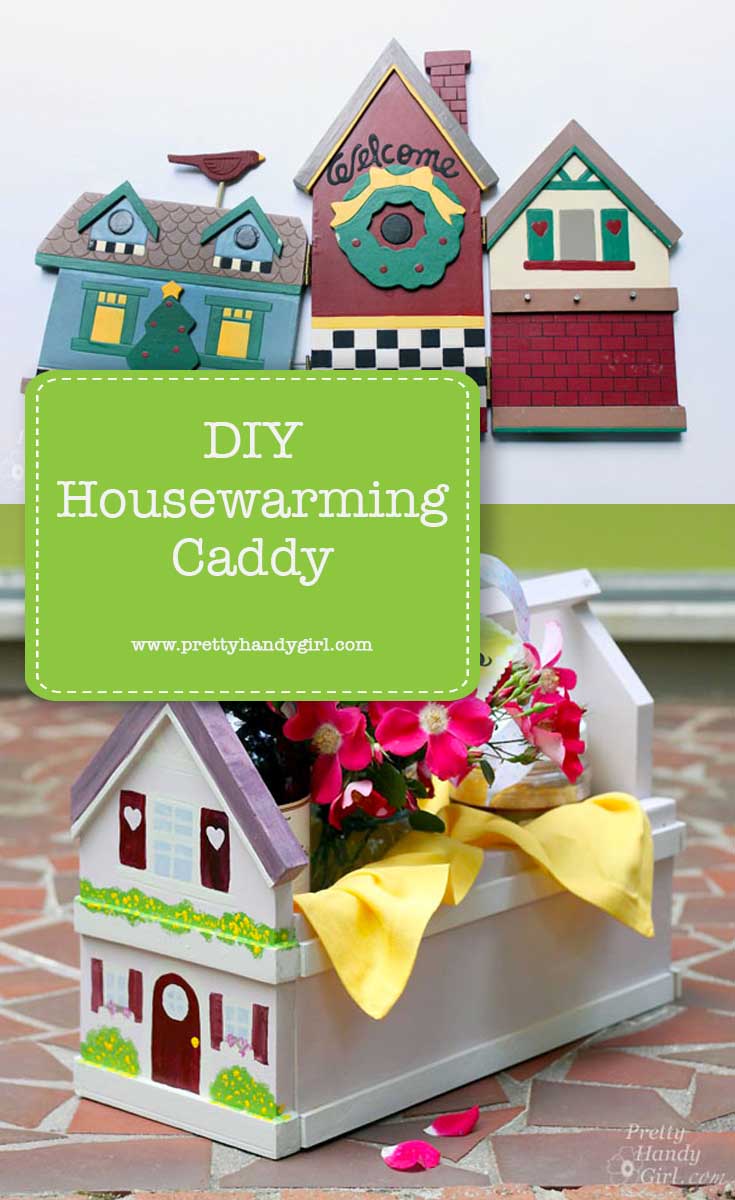
Do you have a new neighbor or know someone who just moved? It’s time to celebrate with them by giving them a housewarming gift caddy! This is an easy gift tote that you can customize to any size you like. Plus, the recipient can use the caddy for storage or display after the gift has been enjoyed.

Before we begin, I need to back up and tell you that this project is part of The Mystery Thrift Off.

#TheMysteryThriftOff is the brainchild of Lindsey from Better After. She chose a handful of people to take part in this challenge. After scouring her local thrift shops for ugly and hopeless items, she shipped off the chosen items to those of us in the challenge. I signed up—because frankly—I love a challenge. And, I love saving ugly items from the landfill. Be sure to see some of the other Mystery Thrift Off transformations at Better After and vote for your favorite.

But, when the box arrived from Lindsey, I was terrified to open it up! I mean what if she had sent me a ceramic scabies bear!  Yikes. You can imagine my relief when I opened the box to reveal this dated Christmas village.

Chalkboard Arrow Sign (Mystery Thrift Off) | Pretty Handy Girl

Not too bad looking is it.? Truth be told, it was falling apart and the colors were hunter green, colonial blue, mauve and fleshy tan.

Chalkboard Arrow Sign (Mystery Thrift Off) | Pretty Handy Girl

I quickly pulled the three houses apart and began to transform them into A Chalkboard Arrow Sign, a Little Playhouse and the Housewarming Gift Caddy I’m going to show you today.

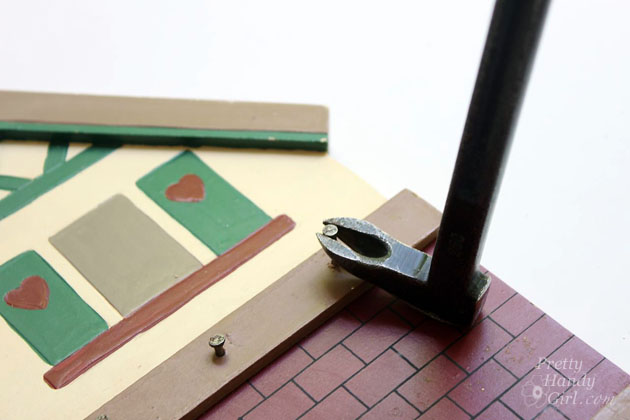
Before I got started, I removed some nails from the house on the right. And then I was ready to get building.

Housewarming Gift Crate | Pretty Handy Girl

Ready to create your own caddy? Let’s get to it.

Materials:

  • 1″ x 6″ board
  • Wood glue
  • Finish nails
  • 1″ x 1″ square dowel
  • 1/2″ lattice trim (or other decorative trim)
  • 2″ screws
  • Spray primer
  • Paint (used Botanical Home Decor Paint)
  • Craft paint
  • Paintbrushes
  • Patch-plus-primer
  • Putty knife
  • Sandpaper

Instructions:

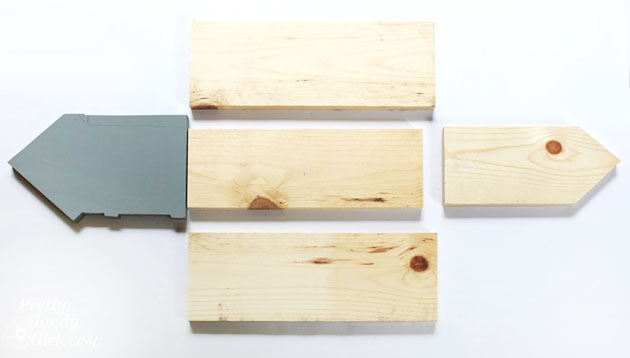
Cut the 1″ x 6″ into 5 pieces:

Housewarming Gift Crate | Pretty Handy Girl

  • 2 – 6″ x 15″sides
  • 1 – 6″ x 15″ base
  • 2 – 6″ x 11″ front & back pieces with a 45 degree corners cut into the tops

Add a line of glue along the bottom of the front and back of the caddy.  Attach them to the base with finish nails.

Housewarming Gift Crate | Pretty Handy Girl

Add a line of glue to cut ends of the sides and add a line of glue to the bottom of the sides.  Attach the front to the sides with finish nails. Repeat for the back piece.

Housewarming Gift Crate | Pretty Handy Girl

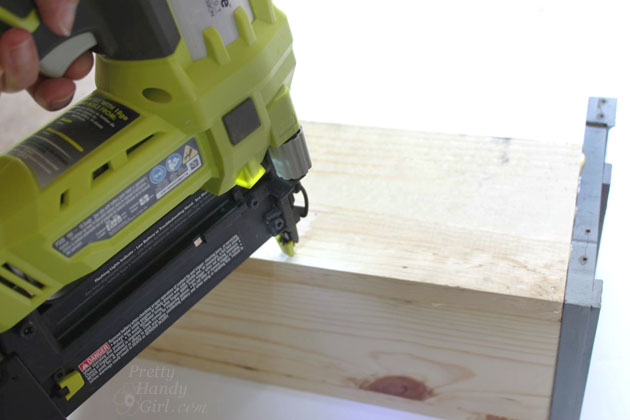
Attach the sides by nailing through the bottom and into the sides.

Housewarming Gift Crate | Pretty Handy Girl

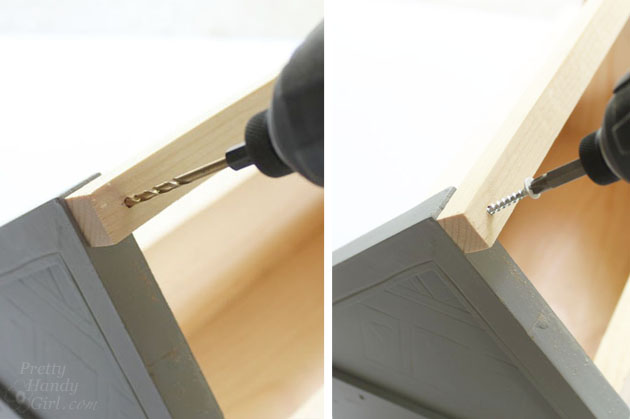
Pre-drill a hole into each end of the 1″ x 1″ square dowel. Attach the square dowel to the top of the front and back pieces with the 2″ screws.

Housewarming Gift Crate | Pretty Handy Girl

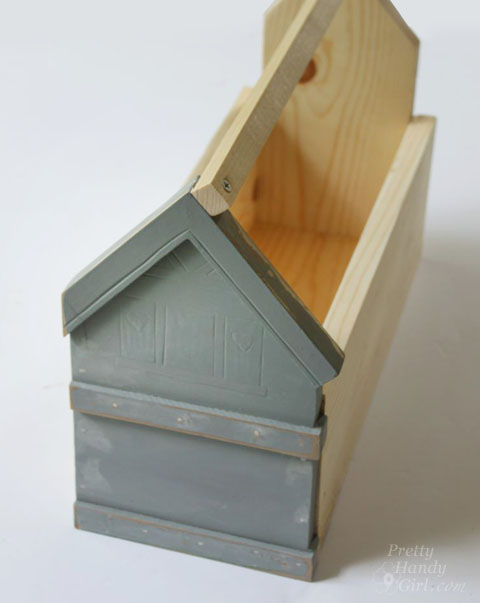
The completely assembled crate should look like this:

Housewarming Gift Crate | Pretty Handy Girl

Spray the caddy with spray primer inside and out.
Housewarming Gift Crate | Pretty Handy Girl

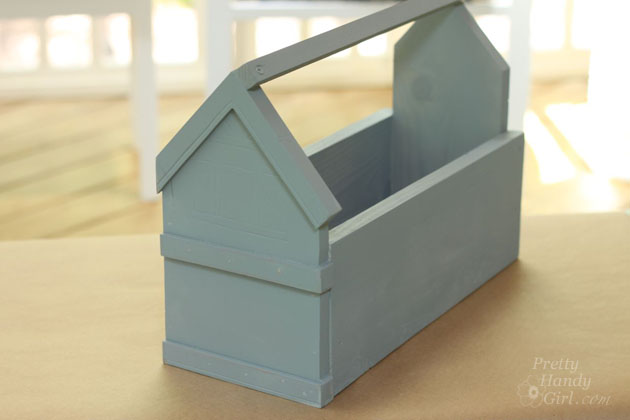
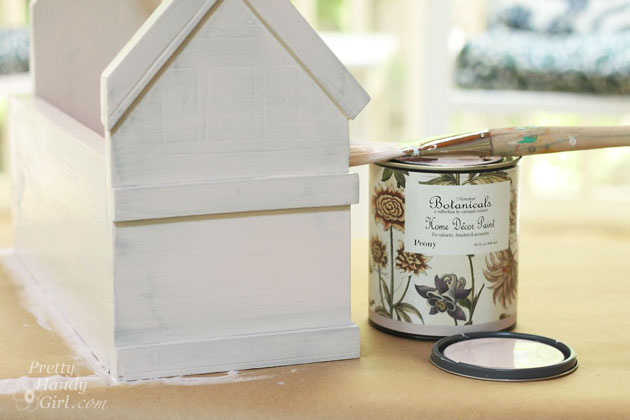
Paint caddy with a solid color first. (I used a new paint and love the texture and coverage. Botanicals Home Decor Paint in Peony went on smoothly like chalky paints.)

Housewarming Gift Crate | Pretty Handy Girl

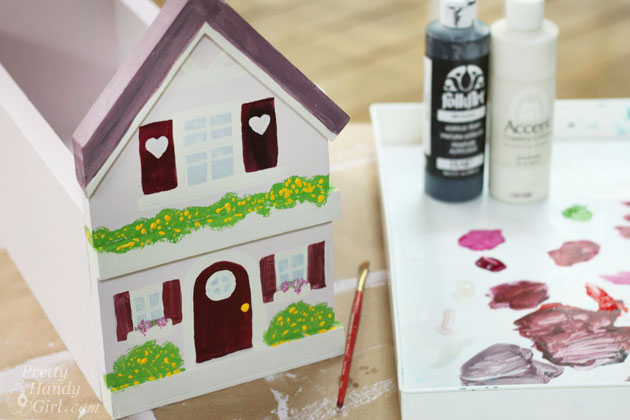
Use the craft paints to paint details like windows, shutters and a door onto the front of the caddy. If you’re feeling truly artistic, you can paint the back too.

Housewarming Gift Crate | Pretty Handy Girl

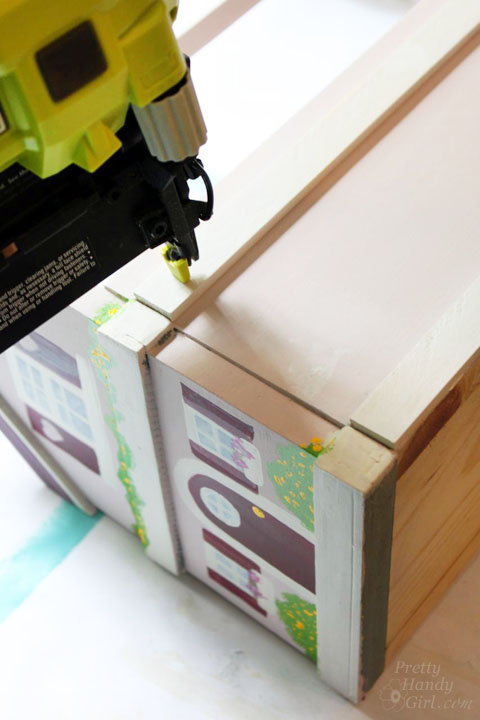
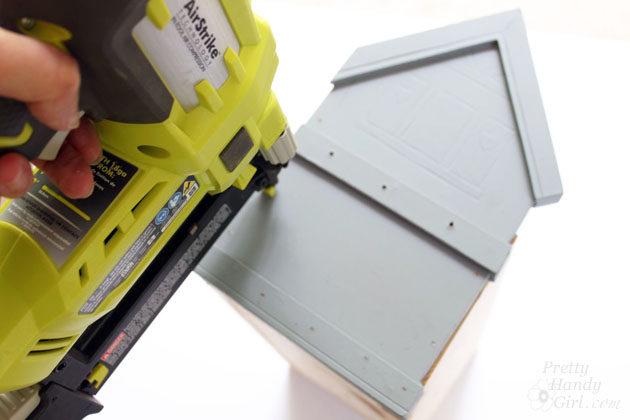
Nail the lattice trim pieces to the sides of the caddy for a little decoration.

Housewarming Gift Crate | Pretty Handy Girl

Putty all nail holes.

Housewarming Gift Crate | Pretty Handy Girl

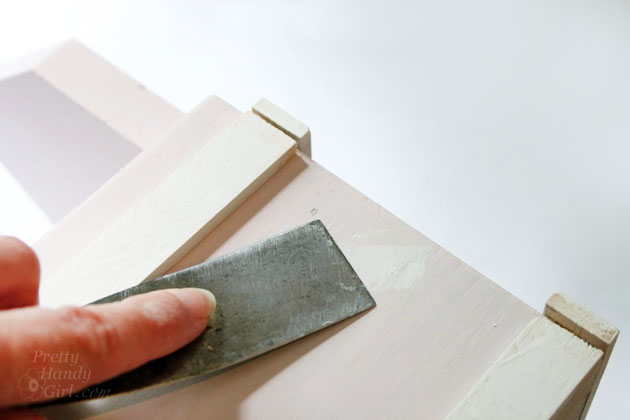
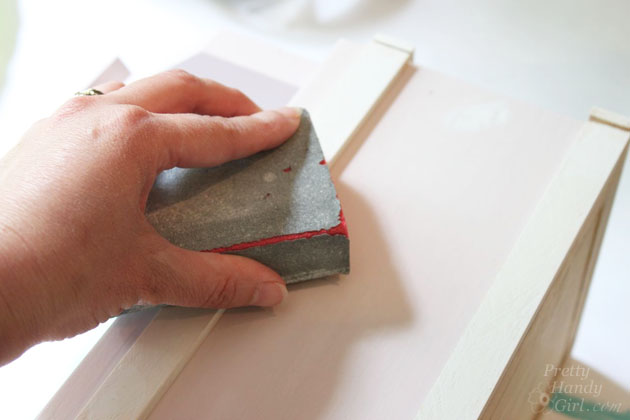
Sand the putty smooth after it has dried. Touch up paint the putty holes.

Housewarming Gift Crate | Pretty Handy Girl

Fill your caddy with wine, flowers, food or other goodies to celebrate the new homeowners.

Housewarming Gift Crate | Pretty Handy Girl

The recipient will be tickled pink. Haha, get it, a little pink house?

PHGFancySign


Pin for later!

Scrap Wood Planter Box

Scrap Wood Planter Box

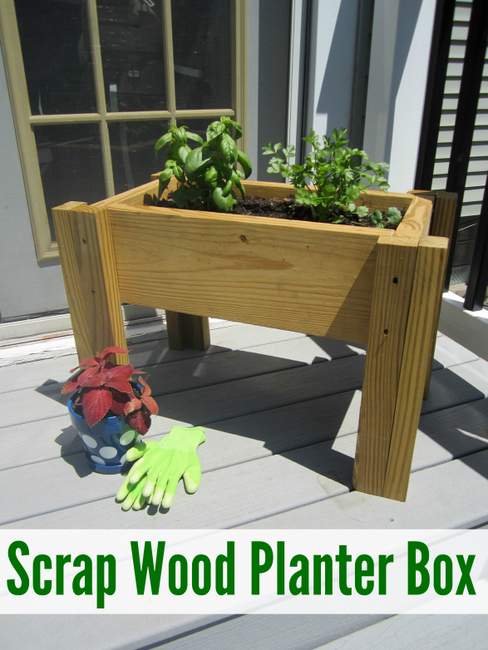
Hi, it’s Jessica from Decor Adventures, back this month with an outdoor project that’s perfect for summer. You know how your garage is filled with scrap pieces of wood from other projects you’ve done? Today you get to put those scraps to good use and make a planter box for plants or herbs. It’s very easy to use what you have and it won’t cost you much at all. Here’s how to make a scrap wood planter box.

The main box is made from 2″ x 8″ boards. You can make this box whatever size works for your space, or based on how much wood you have in your scrap pile!

Materials

The idea for this project is to use what you have on hand, so some of the sizes of your wood may vary. Here are the materials I used for this planter box.

  • 2×8″ pressure-treated wood for box and legs (or 2″x4″ pressure treated wood for the legs)
  • ChoiceDek composite deck material for bottom of box
  • 2″ x 2″ wood for bottom of box
  • Scrap triangles cut from 2″ x 4″ boards (Triangles can be cut out of 2″ x 4″s on a miter saw set at 45° degrees.)
  • Miter saw
  • Safety glasses
  • Drill
  • Screws
  • Potting soil
  • Plants or herbs

Instructions

The width of the three deck material pieces I used were 6 3/4″ each. This material was used to build our deck, so we had leftovers on hand and it’s great to use for plants since it won’t rot. The composite deck material is sold at home improvement stores and comes in different lengths and widths.

For the box and legs, you can use pressure treated lumber since it also resists rot and insects. The long sides of the box measure 19 3/4″ and the shorter end pieces measure 12 1/2″.

Cut your wood to size with a miter saw.  Using your drill and screws, assemble the box into a rectangle. Place the ends on each side of the longer boards as shown below:

Scrap Wood Planter Box

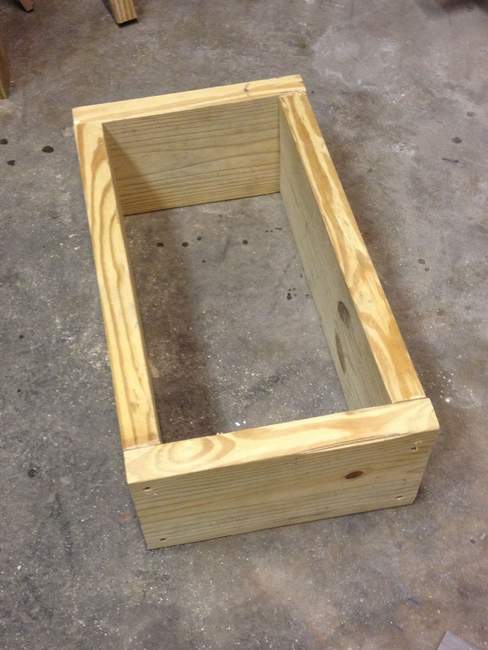
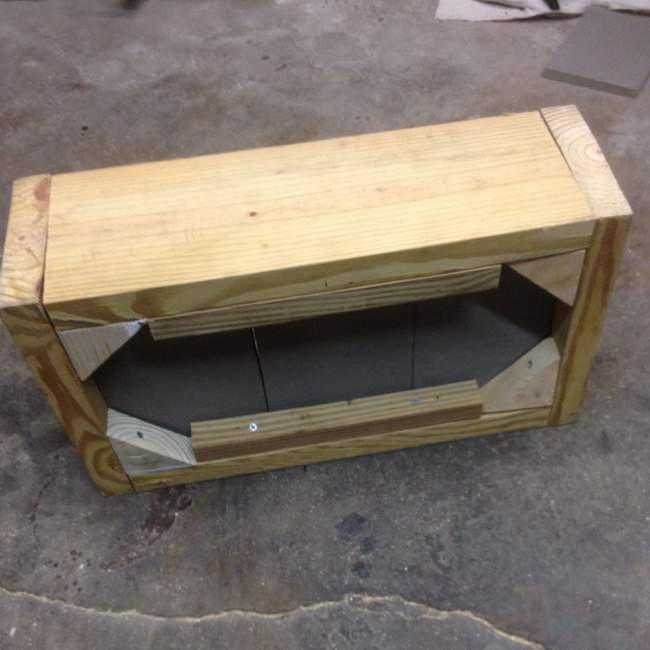
Screw the 4 triangles to the bottom of your box, into the corners, with your screws. Attach  the 2″ x 2″s along each long side of the box also lined up with the bottom of the box. This should give support on the underside so you can rest the composite pieces inside to make the bottom.

Scrap Wood Planter Box Read more

how to build a wood ammo box

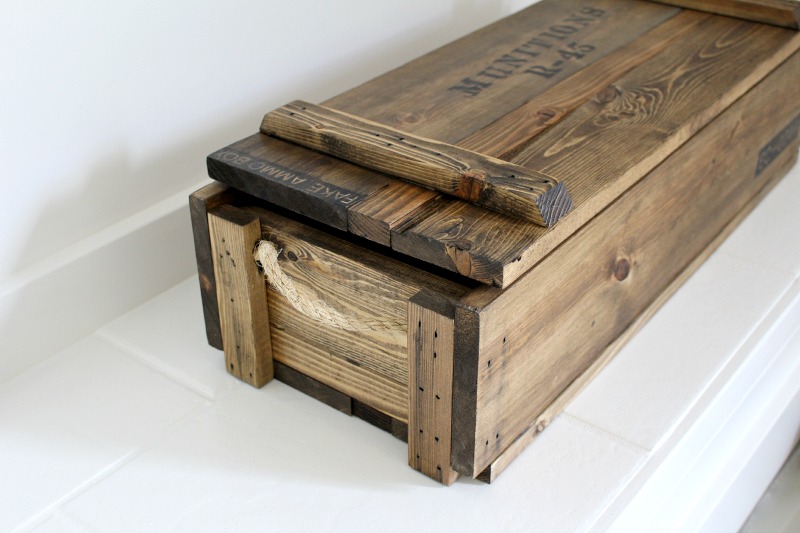
I’m super excited to have Pauline from My Altered State joining us today! It’s been a while since we’ve had a guest on Pretty Handy Girl, and this guest was certainly worth the wait! She’s joining us today to show you How to Build a DIY Decorative Ammo Box! This gorgeous crate may be for decorative purposes, but Pauline studied the construction of real ammo boxes to build it the same way the real ones are built. She’s amazing, and I know you’ll understand why in a minute.

I met Pauline at Haven last year, but I’ve been a fan of her blog way before we met. She is an avid upcycler and loves to use salvage materials in her projects.

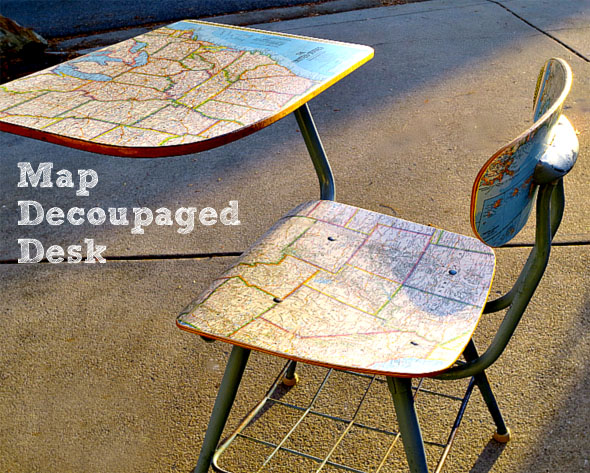
She has so many fabulous projects, I had a hard time picking a few to show you. Like this fabulous Map Decoupaged Desk/Chair!

DIY Decorative Ammo Box

Map Decoupaged Desk Chair

Or these beautiful Reclaimed Wood Snowflakes!

Reclaimed Wood Snowflakes

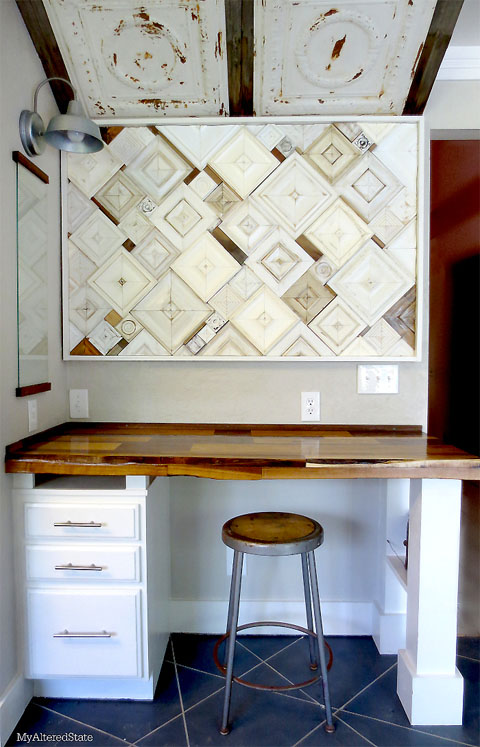
But, by far my favorite DIY project Pauline has completed so far is this desk and art installation in her kitchen!

Kitchen Nook Art Installation

And now, Pauline has an easy and unique tutorial for us today! Please clap, cheer and get on your feet for the amazing Pauline from My Altered State!

page_break_2
When I started blogging, I never dreamed that I would one day meet THE Pretty Handy Girl in person, let alone find myself writing a guest post for her.  So having said that, imagine how excited I am right now as I write my first guest post on Pretty Handy Girl!  Now it’s time to get started.  I hope you enjoy my DIY Decorative Ammo Box project.

ammo box diy

Wooden military ammunition boxes have been a staple in the vintage repurposing and upcycling world for a while. They are a versatile storage item with an industrial flavor, but sometimes they are hard to find. That’s when I get the urge to build.

In an effort to keep this tutorial from being too lengthy, you can find info on finishing and aging wood in this post. Now let’s get building.

DIY Decorative Ammo Box Materials:

To create a box with the dimensions of 27″ wide x 7″ tall x 10″ deep, purchase the following:

  • (2) 1″ x 6″ x 6′
  • (2) 1″ x 2″ x 6′
  • (1) 1″ x 4″ x 6′
  • Rope
  • Gorilla tape
  • Wood glue
  • 2 Hinges
  • Drill
  • Drill bit same thickness of rope
  • Clamp
  • Pencil
  • 2″ nails
  • Nailgun (or hammer)
  • Miter saw

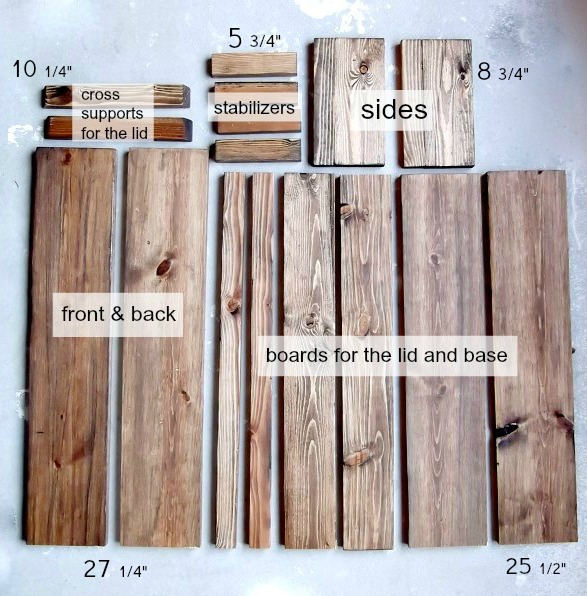
DIY Decorative Ammo Box Cut List:

cut list wood ammo box

  • 2 – 1″ x 2″ cut to 10 1/4″ (cut ends at 30 degree bevel as shown above)
  • 4 – 1″ x 2″ cut to 5 3/4″
  • 2 – 1″ x 2″ cut to 25 1/2″
  • 2 – 1″ x 4″ cut to 25 1/2″
  • 2 – 1″ x 6″ cut to 8 3/4″
  • 2 – 1″ x 6″ cut to 25 1/2″
  • 2 – 1″ x 6″ cut to 27 1/4″

DIY Decorative Ammo Box Instructions:

By copying the design of an authentic ammo box, I will show you how to build this DIY Decorative Ammo Box clear down to the way the handles are attached.

Lay out all your pieces for a “dry run” of the design:

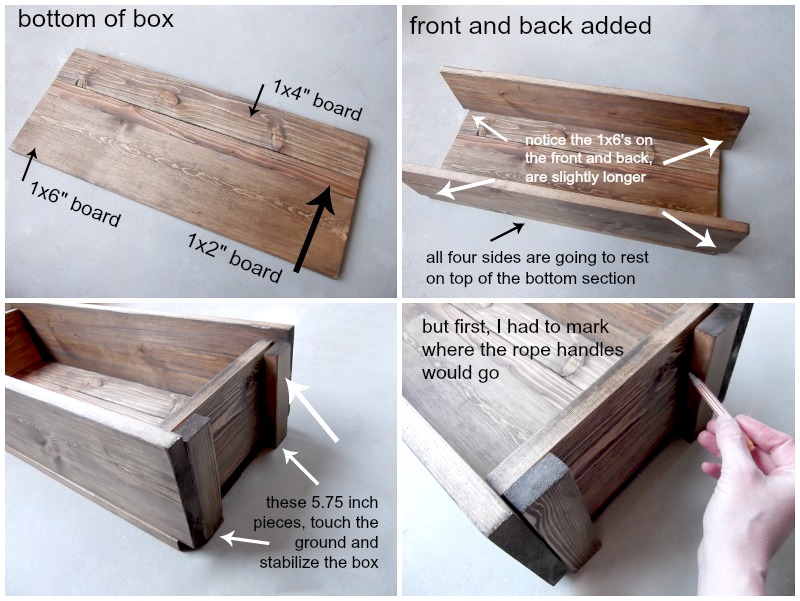
  • Bottom of box: (1″ x 6″ x 25 1/2″) + (1″ x 2″ x 25 1/2″) + (1″ x 4″ x 25 1/2″) boards.
  • Front and Back of box: 1″ x 6″ x 27 1/4″ boards
  • Sides of box (with rope handle): 1″ x 6″ x 8 3/4″ boards

Mark the location for your rope handles (approximately 2″ down from the top of the box.)

assemble wood ammo box

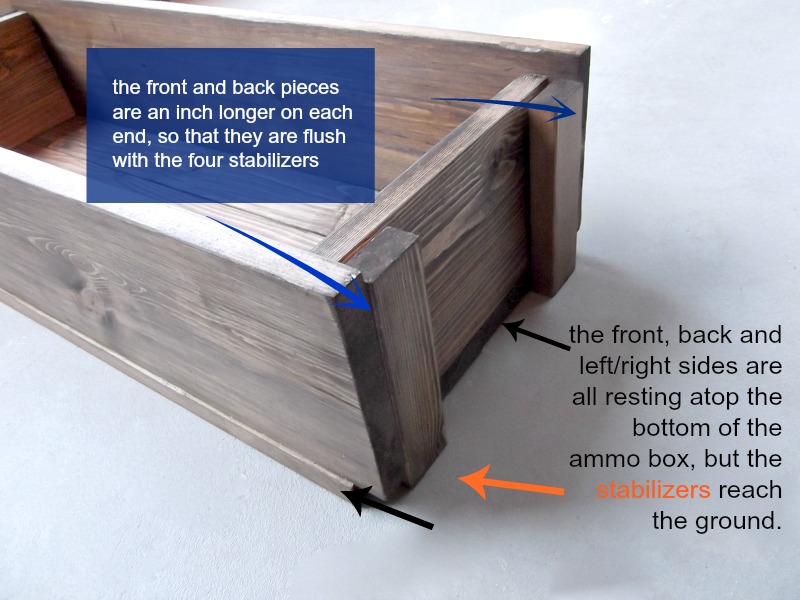
During the dry run, notice that the front and back pieces are an inch longer on each side. The stabilizing 1″ x 2″ pieces will rest on the ground, while the four sides of the box rest on the base.

diy ammo box design

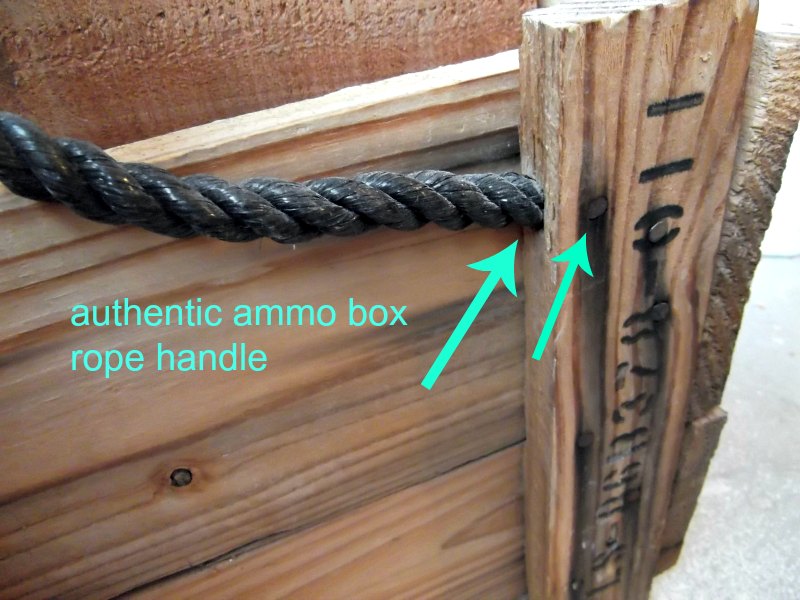
After all the ammo box collecting I’ve done over the years, you’d think I would have noticed how the handles were installed on the real thing. Nope. Never paid attention until now. Here’s a close up of the real thing:

military wood ammo box

A notch is hollowed out where the end of the rope goes, and then secured in place with nails. This design actually keeps any rope ends or knots from being visible on the inside of the box. Clever.

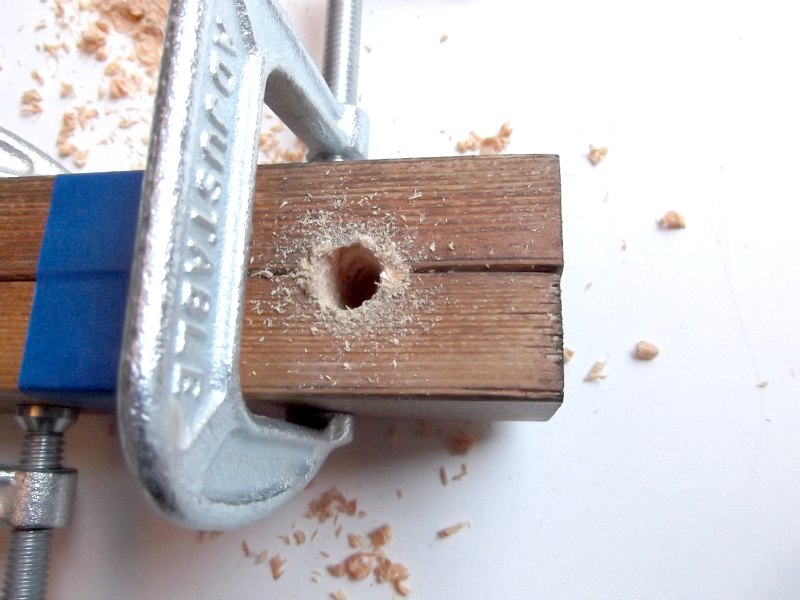
To create the notch, clamp two 1″ x 2″ x 5 3/4″ stabilizer pieces together. Use the drill bit to drill a hole directly in between the two pieces of wood. Repeat using two more 1″ x 2″ x 5 3/4″ pieces.

drill holes for rope handles

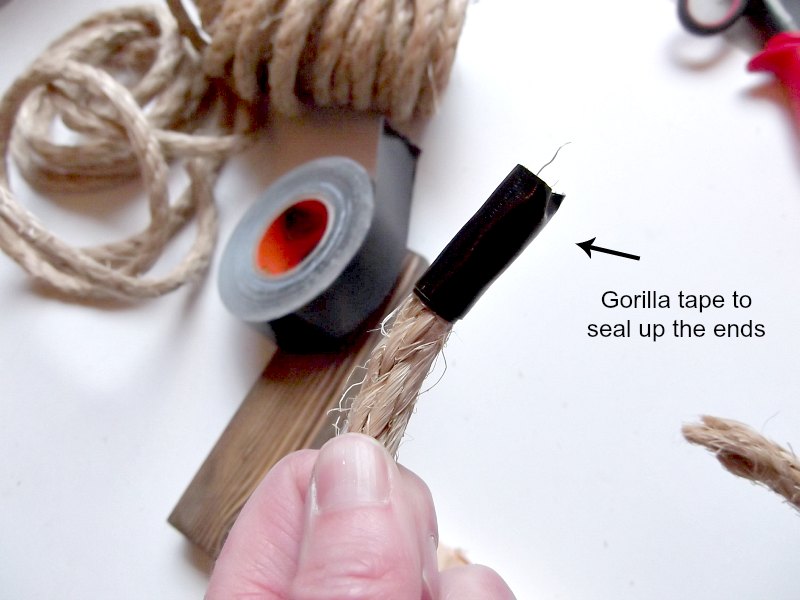
Use Gorilla Tape (or duct tape) to seal the end of the rope and keep it from unraveling.

rope handle wooden box

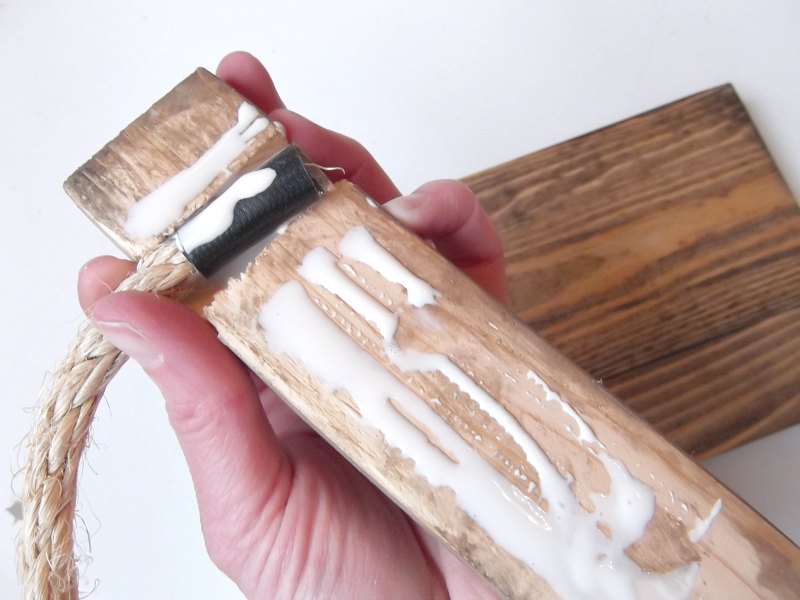
Rest the end of the rope into the notch of the stabilizer 1″ x 2″ and add wood glue to the stabilizer and the taped rope end.

wood glue diy ammo box

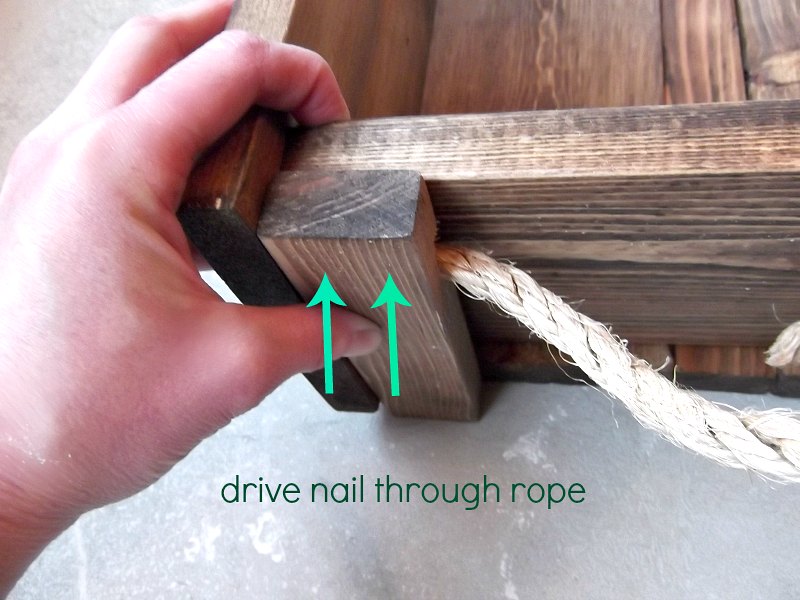
While holding the handle (stabilizer) pieces in place, drive the first nails through the wood, into the rope end and into the side of the box.

ammo box handles

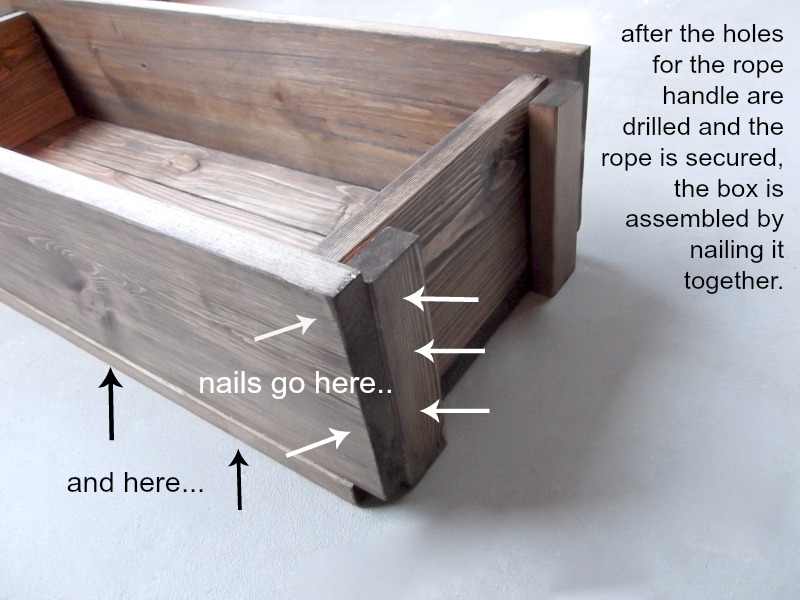
After driving two nails into the stabilizer pieces to secure the rope, drive two more nails through the front and back of the box, into the sides of the stabilizer pieces (as shown below.) Then go ahead and glue/nail all the sides together, while keeping it rested on top of the bottom boards.  (This will help you keep everything aligned and square.) Once all the sides are nailed together, flip the whole box upside down, and glue and nail the bottom boards into the frame of the ammo box.

diy ammo box secure sides

Assembling the lid:

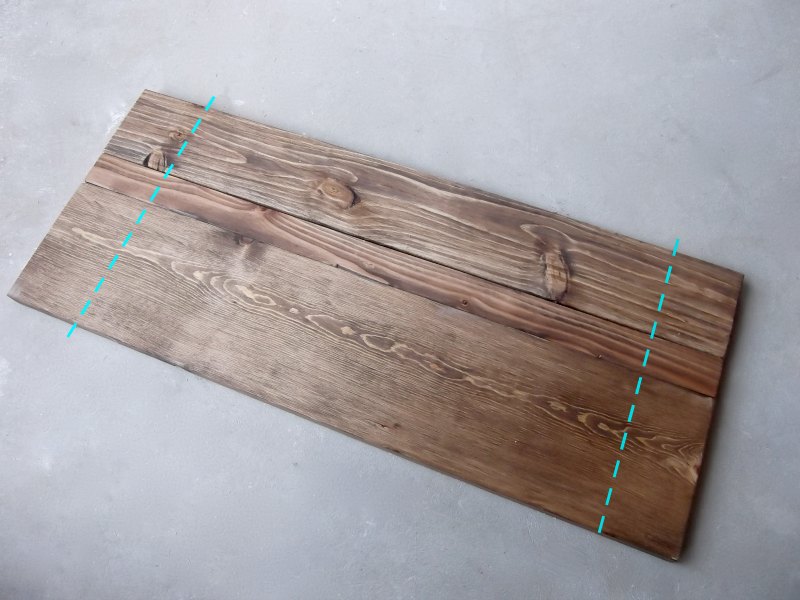
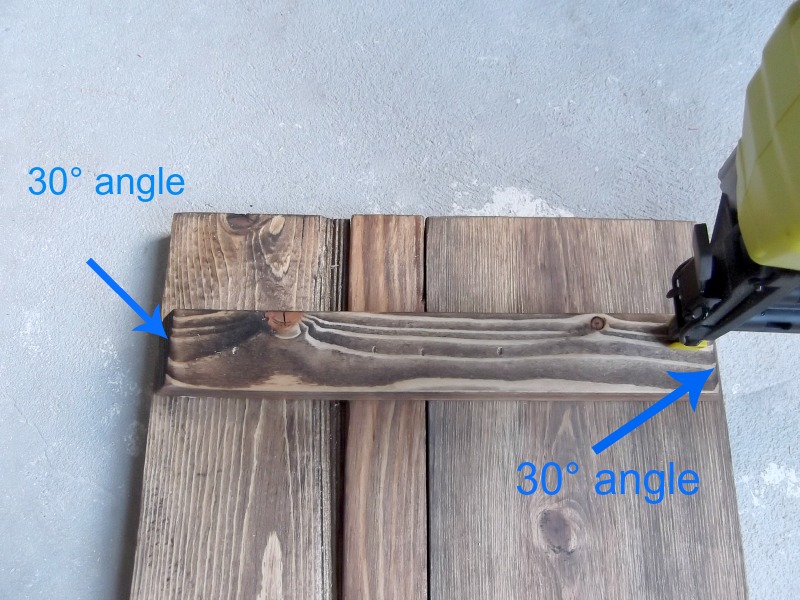
The three lid boards are identical to the boards on the bottom of the box: (1″ x 6″ x 25 1/2″) + (1″ x 2″ x 25 1/2″) + (1″ x 4″ x 25 1/2″) The lid boards are secured together by the two 1″ x 2″ x 10 1/4″ cross supports (the two pieces with both ends beveled at 30°.)

wooden ammo box lid

Nail on the cross supports about 2″  from outside ends of the lid.

ammo box lid

Attach the lid:

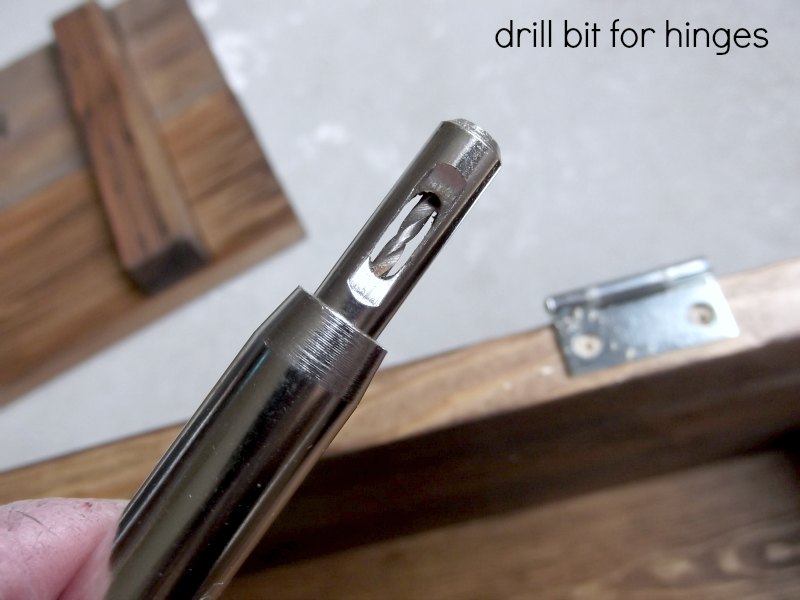
For a long time, if there were hinges involved in a project, I walked away in tears.  That is, until I discovered this little invention: a drill bit for hinges (affiliate link). I can’t say it enough as this little guy has saved my sanity a thousand times over.

Drill holes for the hinges, about 5 1/2″ from the outside edges of the box, and attach the hinges to the box and the lid.

drill bit for installing hinges

And that’s it!

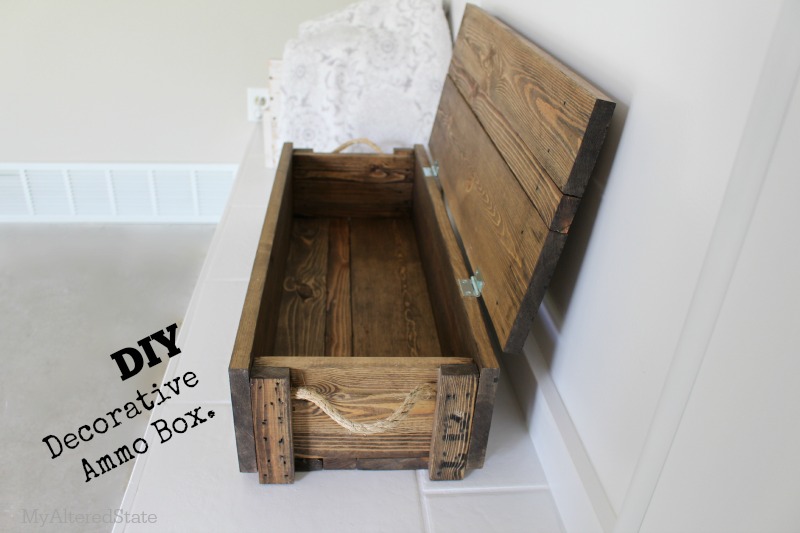
how to build a wood ammo box

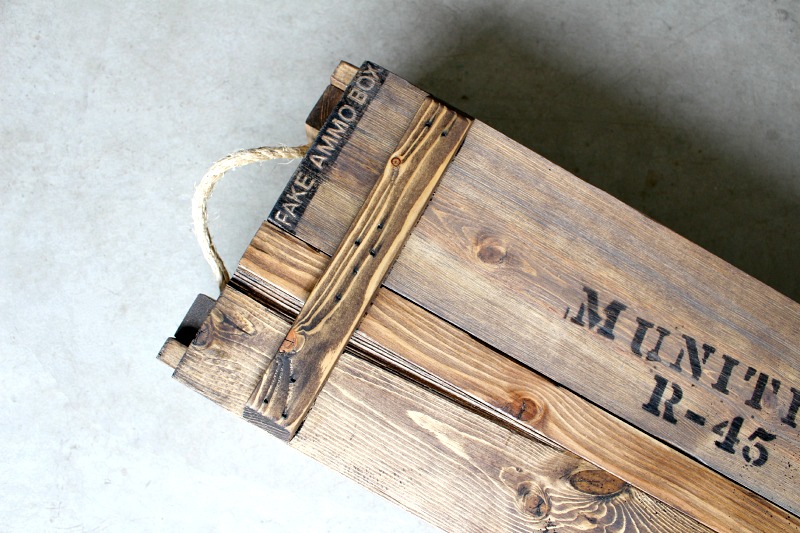
You’ve got yourself an ammo box, that has never actually held ammo.  What will you do with yours?

faux ammo box

I can think of a lot of other things that I might hide inside this box, like Wii remotes.  (After I add a lock, of course.)  😉

Visit this tutorial for the “how to” on the stain/distressing techniquefor this ammo box, where you’ll find great tips on aging wood with stain.

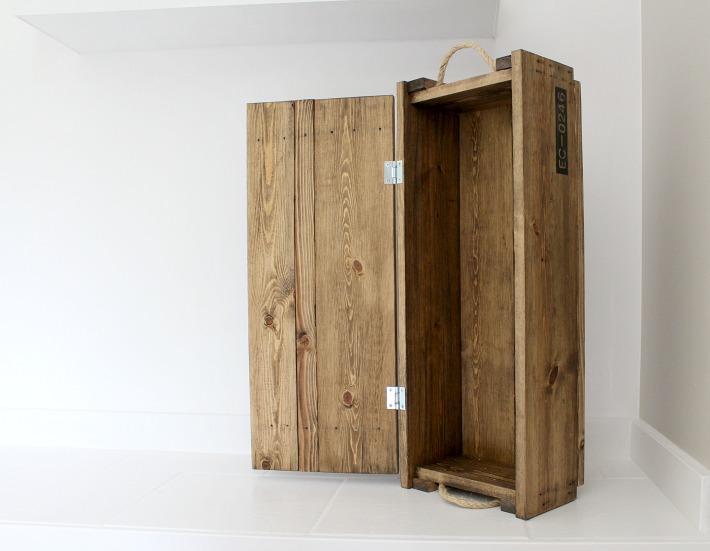
open ammo box

Hope you enjoyed!

Did I tell you Pauline is amazing or what?!

PHGFancySign

bookrack title 1

Who needs kids book storage that is easily accessible and holds a ton of books?  I’m Jaime from That’s My Letter and today I’m sharing a DIY wall bookrack with free plans to build your own.

This bookrack building project will have all your books corralled in no time.  The shelves are tapered and have plenty of depth for multiple books or thicker books.

bookrack 2

Personally I love this display style storage because it allows kids to see the book covers, easily making reading more enticing!

bookrack detail

I added a center cut out for style points, but this is totally optional. It doesn’t affect the operation of the bookrack.

bookrack profile

At only 4 1/2″ deep the bookrack is unobtrusive but still provides plenty of useful storage.

Materials:

  • 1 – 1x5x10 pine board
  • 1 – 1x4x10 pine board
  • 1 – 1x3x6 pine board
  • 1 – 1x2x6 pine board
  • 1/4″ plywood (1/2 sheet)
  • chop saw
  • measuring tape
  • pencil
  • sandpaper
  • wood putty
  • drill
  • pocket hole jig
  • 1 1/4″ pocket hole screws
  • 1 1/4″ & 3/4″ finish nails
  • finish nailer or hammer
  • wood glue
  • french cleat

Instructions:

Click here to download the step-by-step instructions to construct this bookrack.  Read through plans first before beginning.

bookshelf tapered plans

Cut list:

2 – 1×4 @ 31 ½” (sides)

3 – 1×5 @ 36” (shelf fronts)

1 – 1×4 @ 34 1/2” (bottom shelf base)

1 – 1×3 @ 34 ½” (middle shelf base)

2 – 1×2 @ 34 ½” (top shelf base & top cross support)

1 – ¼” plywood @ 36” x 31 ½” (back)

bookshelf tapered step 1 plans

Step 1: Sides. Follow measurements in guide above to cut out sides. Use a jigsaw and clamps to hold your wood steady. Cut 2 sides.

bookshelf tapered step 1 real

Tip: To ensure sides are equal, clamp together then sand smooth.

bookshelf tapered step 2 plans

Step 2: Shelf fronts. Attach (3) shelf fronts to sides at notched locations using glue and 1 ¼” finish nails. Read more