DIY-feather-art

DIY Feather Art | Pretty Handy Girl

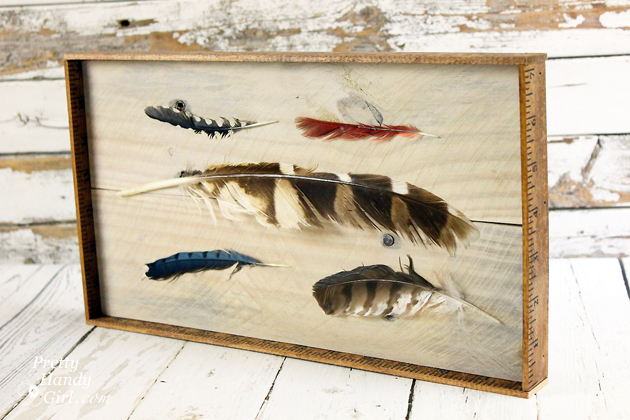
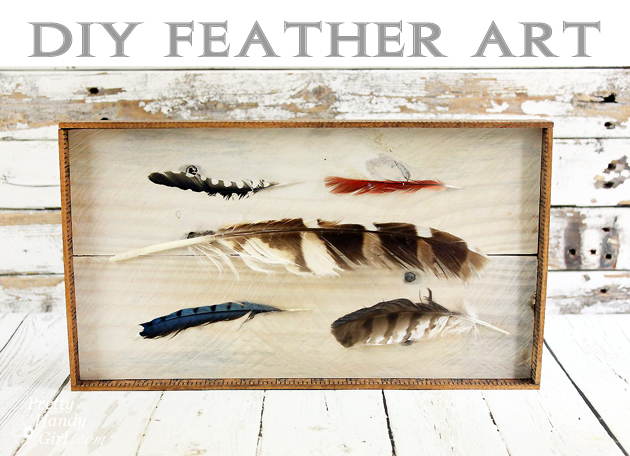
When I needed an extra piece of art for our living room gallery wall I created DIY Feather Art. You can create your own, but please purchase craft feathers, use fake feathers or paper feathers. (Per the Migratory Bird Treaty Act, it is illegal to collect feathers, nests and other anatomical parts of certain migratory birds.)

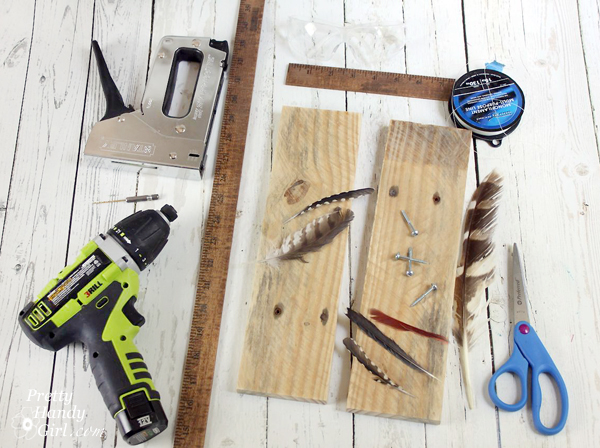
Materials:

DIY Feather Art | Pretty Handy Girl

  • Rustic 1×4″ boards (I used pallet wood)
  • Wood yardstick or lattice boards
  • Watered down white paint
  • Paint brush
  • Clamp
  • Scissors
  • Kreg Jig
  • Pocket hole screws (1.25″)
  • Nylon line
  • Small drill bit
  • Drill
  • Staple gun
  • 1″ finish nails
  • Hammer or nailgun
  • Wood glue
  • Feathers
  • Pencil
  • D-ring picture hangers

Instructions:

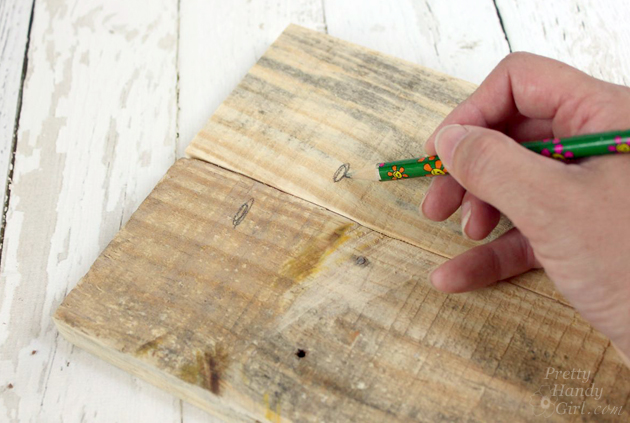
Cut your 1×4″ boards to size (or select one board the size you want for your art background.) To connect the two boards, mark the location to drill pocket holes.

DIY Feather Art | Pretty Handy Girl

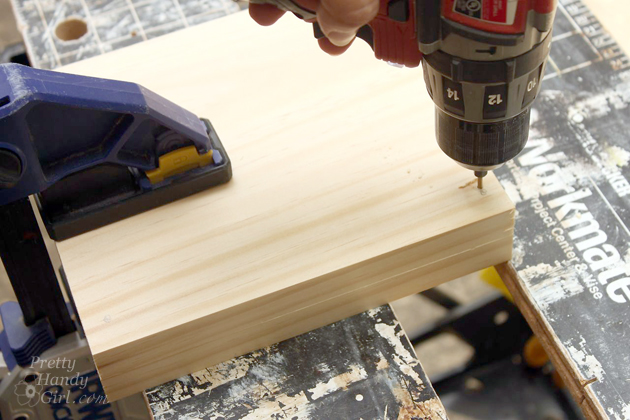
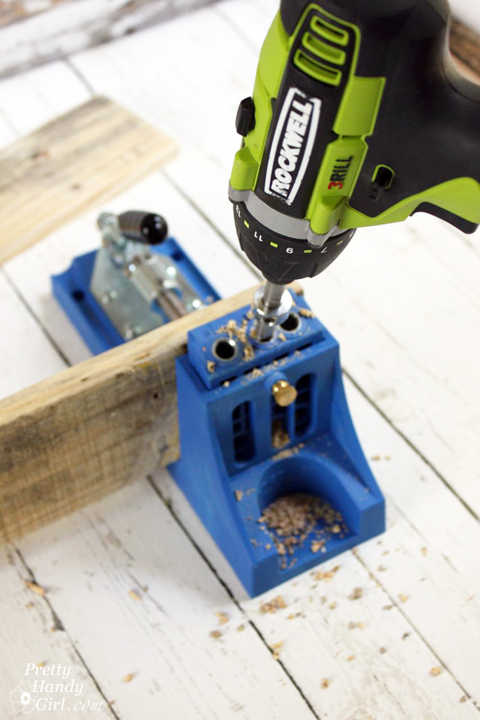
Use the Kreg Jig to drill pocket holes into the back of both boards.

DIY Feather Art | Pretty Handy Girl

Clamp the boards together and join them with 1 1/4″ pocket hole screws.

DIY Feather Art | Pretty Handy Girl

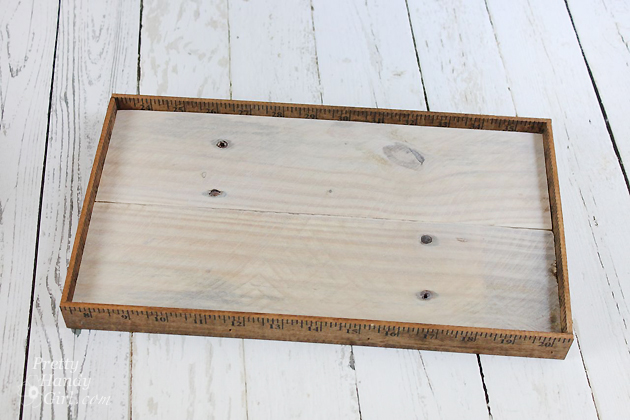
Flip the board over and paint it with watered down white paint for a white-washed look.

DIY Feather Art | Pretty Handy Girl

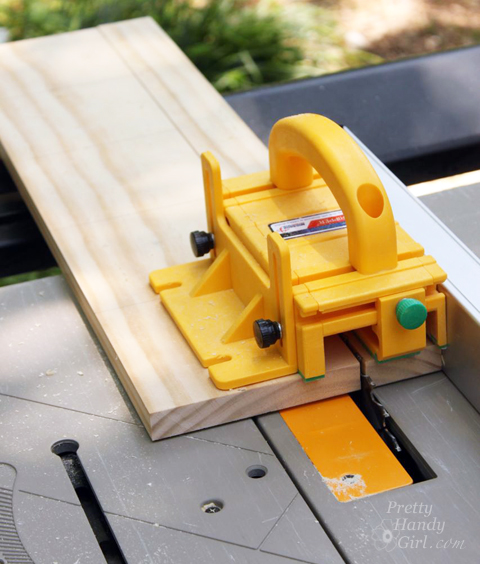
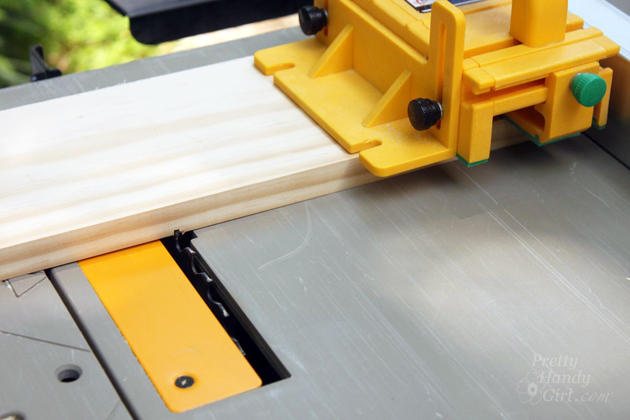
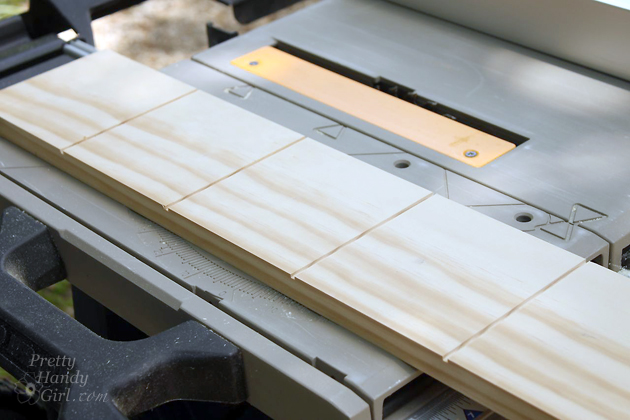
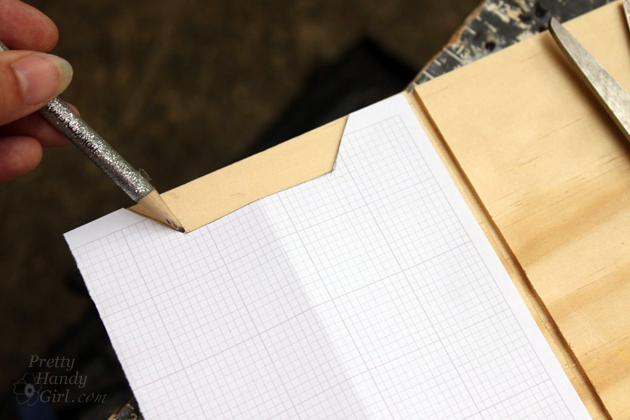
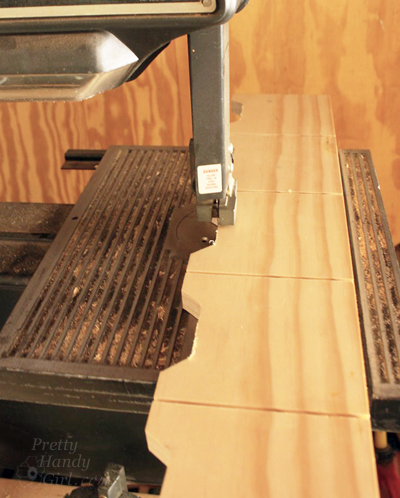
Mark the width of the white-washed board onto the yardstick. Cut two pieces the same length. Read more

How to Make an Ottoman Table

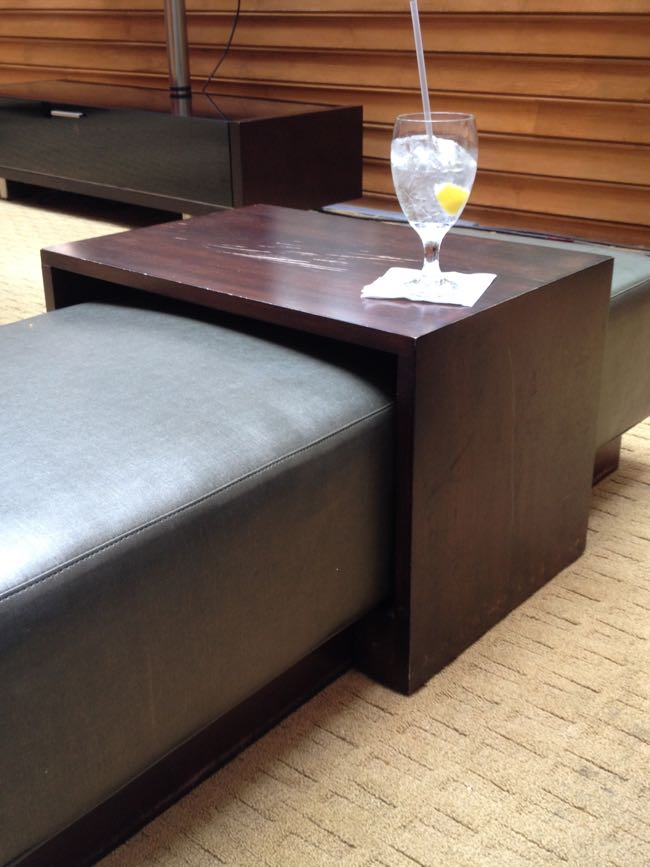
Design inspiration can often come in the least-expected places. It can happen when you are in an airport or at the farmers market or just plain window shopping in your home town. Last year when I was at the Haven blog conference, I fell in love with this table I saw in the hotel restaurant.

How to Make an Ottoman Table

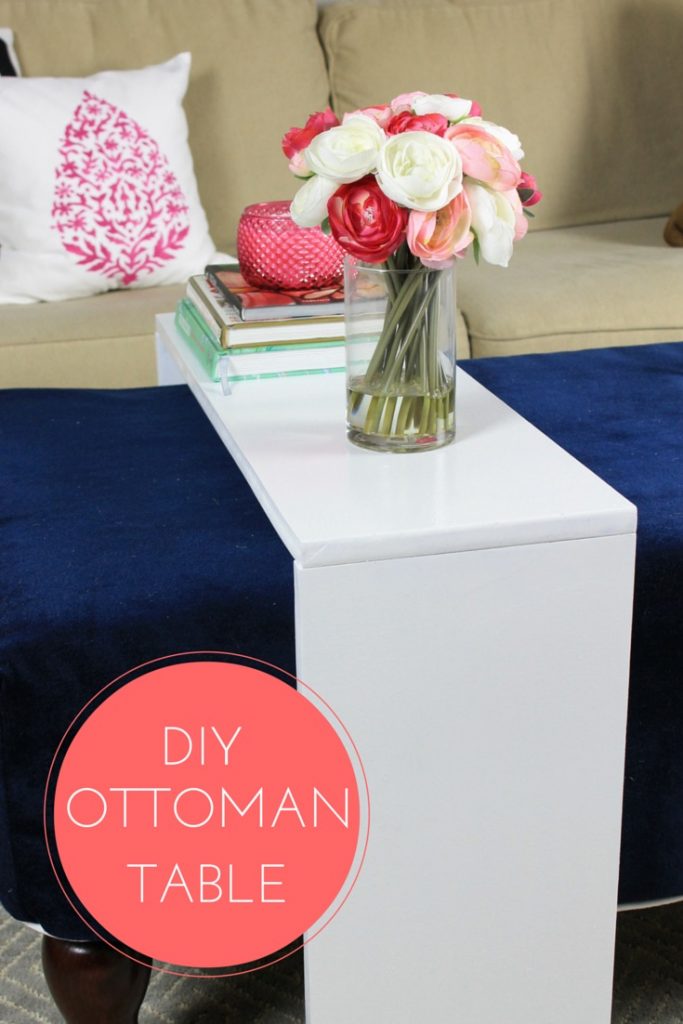
But want is it called? An ottoman tray, a side table, a bridge? Turns out it is all those things. Today I’m going to teach you how to make one. This simple piece of furniture is not only easy to make, but very functional too. It can fit perfectly over an ottoman in your home and give you a steady place for a book or your favorite drink. Or if you don’t have an ottoman, it makes a nice side table too.

Materials:

  • MDF board – These come in many sizes at the home improvement store. For this project I used a piece that was 1 x 10 x 72″.
  • L-brackets
  • Wood screws
  • Primer
  • Paint
  • Drill and drill bits
  • Circular saw (optional)

Instructions:

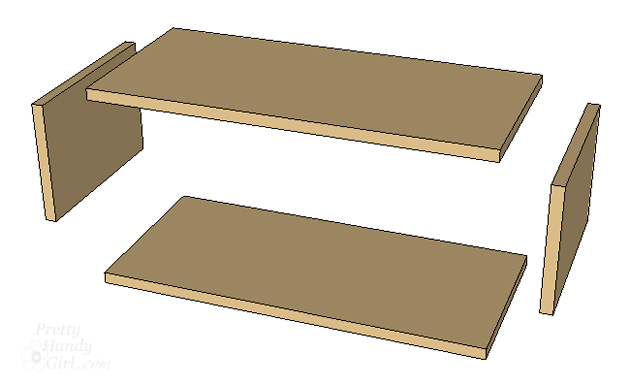
First, measure the size of the ottoman you want to slide the ottoman table over. Make sure you have enough clearance for it to fit the width and the height of the ottoman. You will have three boards total. Two that will serve as the “legs” and one that will be the top.

Transfer your measurements to the board. Using a circular saw, cut the board in two places according to your measurements, giving you three boards.

You can have the board cut for you at the home improvement store and save yourself a step. (This works for me a lot since I have a small car, then it easily fits inside on the way home.)

Wipe of any sawdust with a rag.

How to Make an Ottoman Table

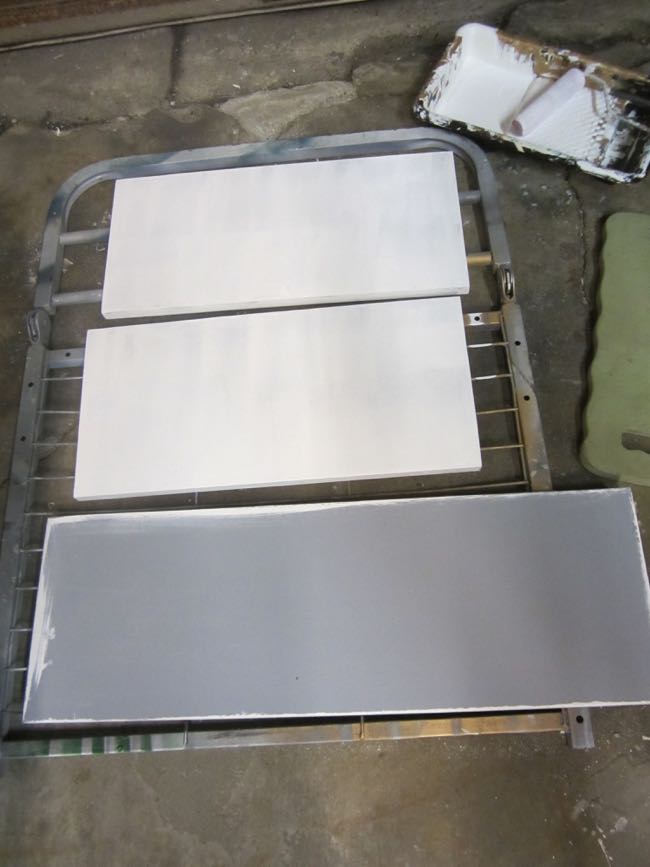
Prime and paint the boards. It’s a good idea to use a “gripping” primer so that your table will be stand up to frequent use. There are also enamel paints that are meant for furniture that you can use as the color. If you have paint on hand, use what you got! Or, sample cans are only around $4 and should cover your entire piece, depending on the size.

After the boards are dry, you can assemble the table. Take the top piece and turn it upside down on a soft surface. Place a “leg” board perpendicular next to it and mark where to place the L-bracket. Read more

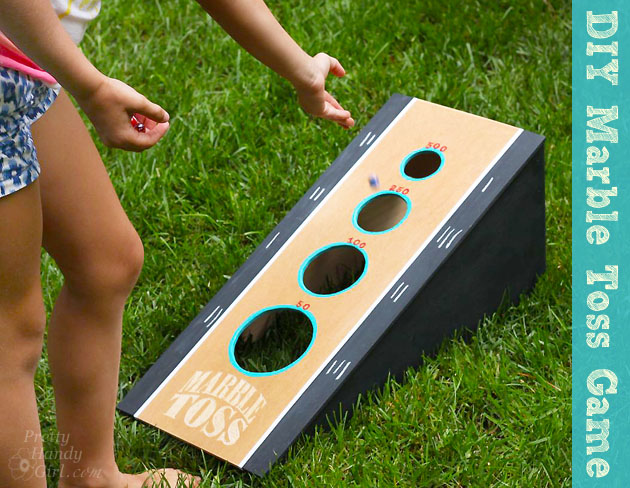
DIY Marble Toss Game | Pretty Handy Girl

This summer, parents are busy trying to keep their children busy with quality games and toys. Any seasoned parent knows that those electronic noise-maker toys have no place in a sane household. With this in mind, my friend Stefanie from Brooklyn Limestone has started a summer long series called “Die Ugly Toys Die.”

Die Ugly Toys Die

Every Thursday she’ll feature another DIY toy or game that you can make for your children. It’s time to get back to the basics and send those annoying and ugly toys off a cliff.

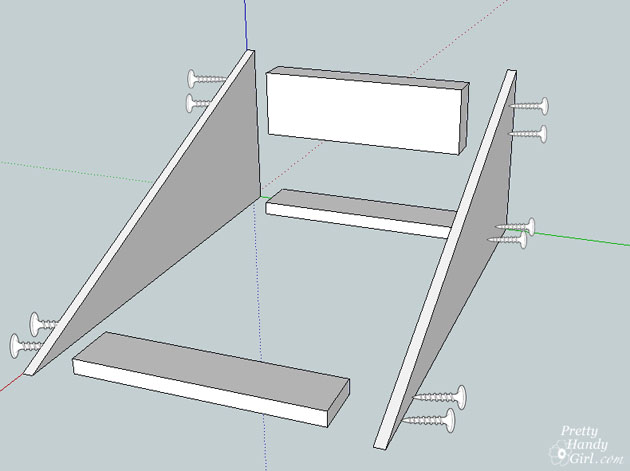
My tutorial for creating a DIY Marble Toss Game is starting the series today.

Click here to find the instructions to build your own. Then watch your kids have hours of fun challenging each other in a tossing game.

DIY Marble Toss Game | Pretty Handy Girl

Be sure to check over at Brooklyn Limestone every Thursday for a new DIY toy or game.

PHGFancySign

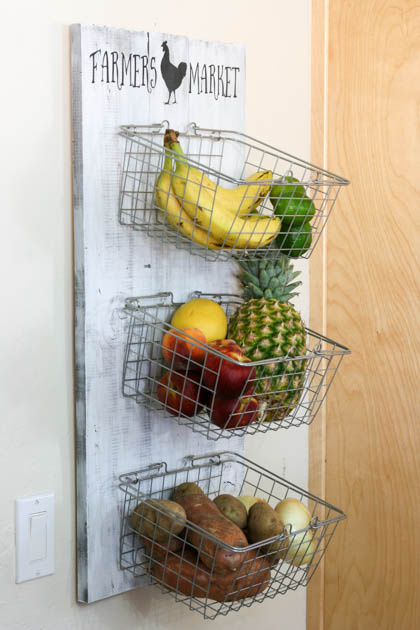
produce rack diy

diy-produce-rack

Hey everyone!  It’s Katie from Addicted 2 DIY again!  I’ve got a great project to share with you all to store your summer bounty.  I’ve been looking for a way to store fresh produce for a while.  It was driving me crazy storing everything on my kitchen counter or having it get lost in the pantry.  Forgotten potatoes start to smell pretty bad after a while.  I stumbled across some adorable wire baskets in the Target dollar spot a few months ago for only $3 apiece!  At that price, I bought several and figured I’d find some way to use them.  I thought they would be perfect to store fruit and vegetables, so I built this simple DIY produce rack using some scrap wood in the garage.

Supplies:

  • 1 – 1×6 @ 6′ long
  • 1 – 1×4 @ 8′ long
  • 2 – 5 gallon paint sticks
  • miter saw
  • staple gun
  • 3/4″ staples
  • wood glue
  • wood stain
  • chalk paint
  • adhesive vinyl
  • Farmer’s Market Silhouette cut file
  • wire baskets
  • screw eyes
  • drywall anchors and screws (I used 75lb anchors)
  • D-ring picture hangers

Cut the 1×6 into two 31″ pieces and the 1×4 into one 31″ piece.  Cut the paint sticks in half.

supplies-for-produce-rack

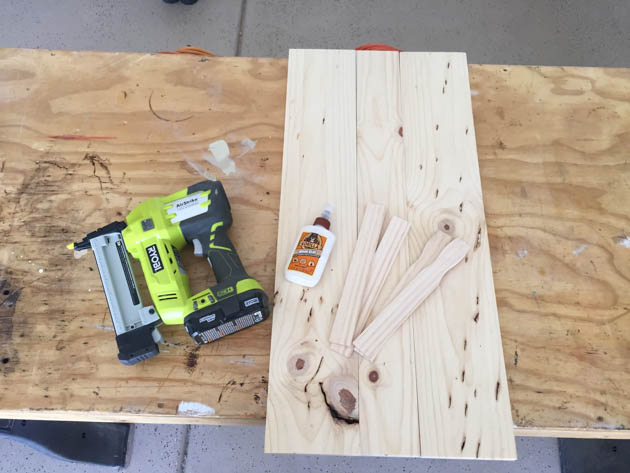
Glue and nail the paint sticks to the back of the boards using 3/4″ staples.  You can also use a brad nailer and 5/8″ brad nails if you don’t have a staple gun.

staple-paint-sticks-to-wood

For a weathered finish, stain the boards with a dark stain and then dry brushed chalk paint onto the wood until satisfied with the look. Allow the stain to dry overnight and then you can dry brush it the next day.

stain-produce-rack

To dry brush, add a tiny amount of paint to your paint brush and dab the excess off onto a paper towel, then brush it in even strokes on your wood.  It is a great technique to make your new wood look decades old. Read more

cupcake tray carrier collage

Jaime here from That’s My Letter today sharing a DIY cupcake tray carrier.  It’s summer and that means lots of friends getting together for BBQ’s and outdoor parties.  You can’t show up empty-handed to party, so why not take along this cupcake carrier?  It makes the perfect display tray and portable carrier all-in-one, plus a very useful hostess gift too!

I filled this tray with 24 regular size cupcakes, chocolate on chocolate is the favorite around these parts.

cupcake carrier 2

The tray is a fairly simple build, the trick is to create space between the top board (with all the cupcake holes) and the base so the cupcakes have a spot to sit down into.

cupcake tray carrier detail

Keep reading and I’ll show you how to make these holes as smooth as possible without tearing up the plywood.

cupcake carrier 1

Materials:                                                    

  • 1- 1x2x8 pine board
  • ¼” plywood handy panel
  • ¾” circular wood dowel
  • ¾” square dowel (6′ total)
  • wood glue
  • pencil
  • measuring tape
  • 1 ¼” & 3/4″ finish nails
  • 2 1/8” hole saw
  • ¾” spade bit
  • circular saw, chop saw
  • finish nailer

cupcake tray carrier


Cut List:

  • 2 – 1×2 @ 17 3/4” (long sides)
  • 2 – 1×2 @ 14” (short sides)
  • 2 – 1×2 @ 8 ½” (handle supports)
  • 2 – ¾” square dowel @ 17 3/4” (long spacers)
  • 2 – ¾” square dowel @ 12 1/2” (short spacers)
  • 2 – ¼” ply @ 17 ¾” x 12 1/2” (top & base)
  • 1 – ¾” round dowel @ 17 ¼” (handle)

cupcake tray carrier step one

Step 1: Sketch grid as shown above onto one piece of ¼” plywood. The orange portion indicates where to drill 2 1/8” holes using a hole saw.

cupcake carrier draw grid

Step 2: Drill holes using 2 1/8” hole saw.  To make the holes as smooth as possible without much tear out begin drilling on the grid side about 1/8″ down.

cupcake carrier start hole

cupcake tray carrier step two


Flip the board over and find the center hole.  *Be sure board is hovering over edge of table.  Place hole saw bit into the center hole and finish drilling the hole.

cupcake carrier hole back


cupcake carrier hole complete

The circular plywood piece should pop through to the ground.   Repeat this process for all 24 holes.

cupcake carrier all holes

Sand the edges of the holes smooth.

Step 3: Attach long spacers to long side of top using glue and ¾” finish nails down through top.

cupcake tray carrier step three


Step 4: Attach short spacers to short ends using glue and ¾” finish nails.

cupcake tray carrier step four

Then attach base from underside using glue and ¾” finish nails.

cupcake tray carrier base1Step 5: Attach long sides using glue and 1 ¼” finish nails.

cupcake tray carrier step five

Step 6: Attach short sides using glue and 1 ¼” finish nails.

cupcake tray carrier step six

Step 7: Predrill ¾” holes into handle supports near top end, drill only about ½” deep into 1×2. Attach handle supports to tray using glue and 1 ¼” finish nails.

cupcake tray carrier step seven

Step 8: Insert handle in between supports. Glue and attach using 1 ¼” finish nails through ends.

cupcake tray carrier step eight

Fill all holes with wood putty then sand smooth.  Paint your cupcake tray carrier with semi-gloss or gloss finish for easy clean up of any messy frosting!

cupcake carrier 3

Hope you enjoy this fun small build project.

cupcake carrier title

This cupcake holder makes a great party accessory or gift idea too!

Jaime signature~learn more about Jaime~


Pin for later!


This DIY cupcake carrier makes the perfect display tray and portable carrier all-in-one, plus a very useful hostess gift too! | DIY cupcake carrier | DIY cupcake tray | Pretty Handy Girl #prettyhandygirl #DIY #cupcaketray