Chalkboard Arrow Sign {Mystery Thrift Off}
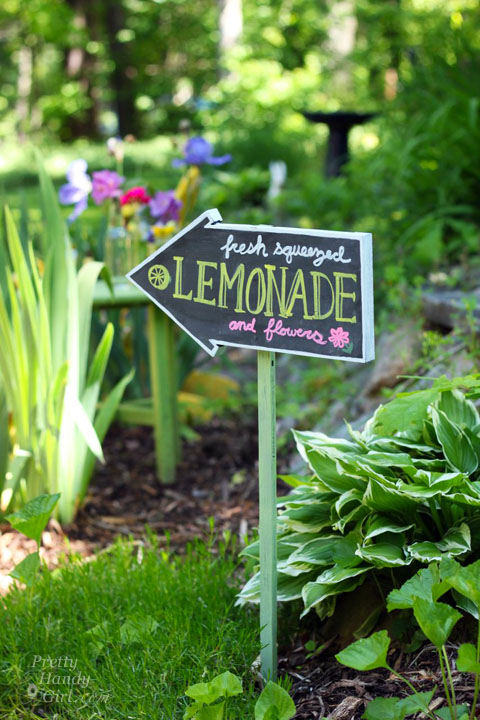
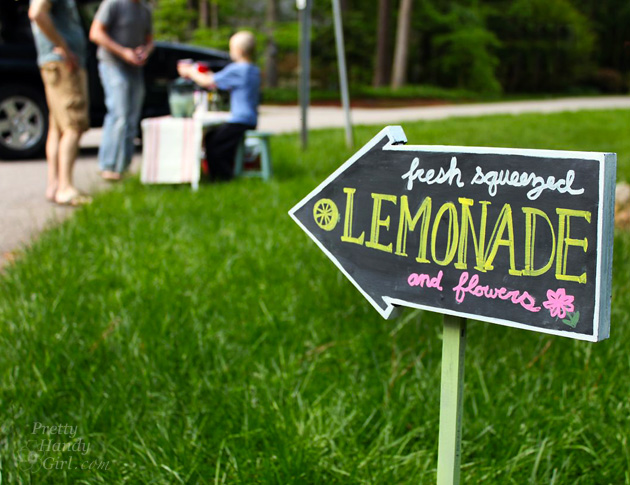
Are you having a yard sale, a lemonade stand or an open house? This Chalkboard Arrow Sign is an easy DIY project that will bring more attention to your event.
But, let me back up to explain exactly how this Chalkboard Arrow Sign came to be. Have you been following #TheMysteryThriftOff challenge? This is the brainchild of Lindsey from Better After. She chose a handful of people to take part in this challenge. After scouring her local thrift shops for ugly and hopeless items, she shipped off the chosen items to those of us in the challenge. I signed up—because frankly—I love a challenge. And, I love saving ugly items from the landfill. This week she’ll be revealing all the Mystery Thrift Off participants transformations and you can vote on your favorite!
But, when the box arrived from Lindsey, I was terrified to open it up! I mean what if she had sent me a ceramic scabies bear! Yikes. You can imagine my relief when I opened the box to reveal this dated Christmas village.
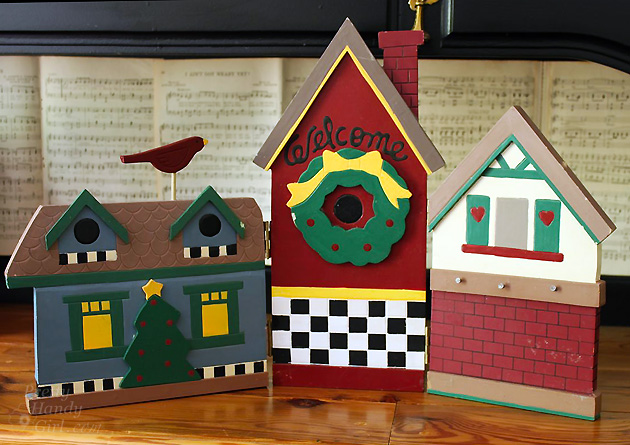
Not too bad looking is it.? Truth be told, it was falling apart and the colors were hunter green, colonial blue, mauve and fleshy tan.
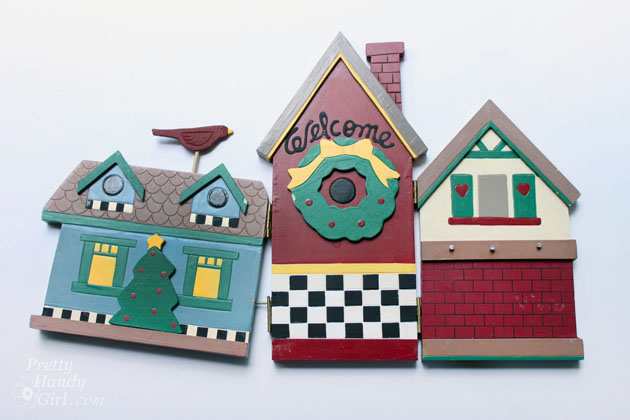
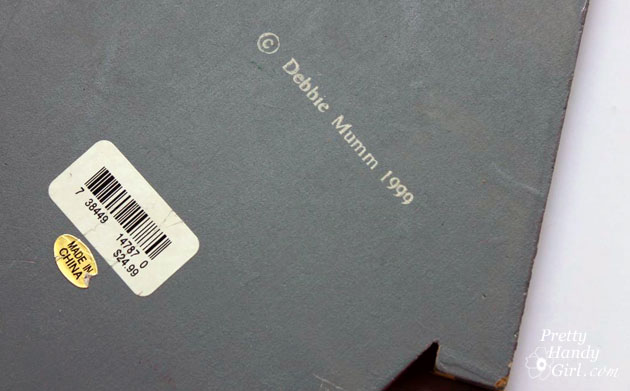
I flipped it over to reveal that this was the fine art of Ms. Debbie Mumm in 1999. And someone paid $24.99 for it! I certainly hope Lindsey didn’t spend that much. I think 1999 is calling and they want their village back.
I’ll quickly show you how I transformed this village and then we’ll get to the tutorial for how you can make your own Chalkboard Arrow Sign.
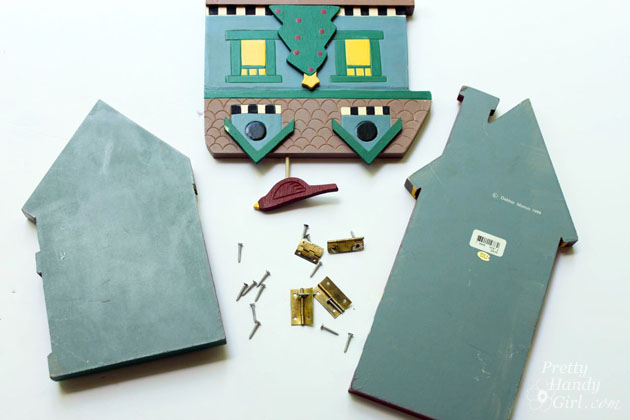
The hinges were easy removed from between the houses. I kept them for another project.
The wooden embellishments were popped off with a pry bar.
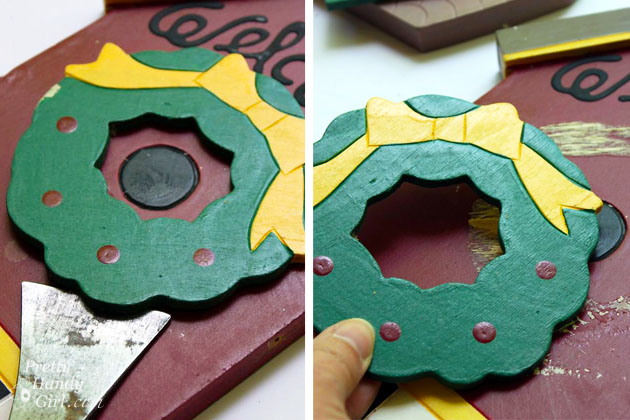
I also saved these embellishments for a future project.

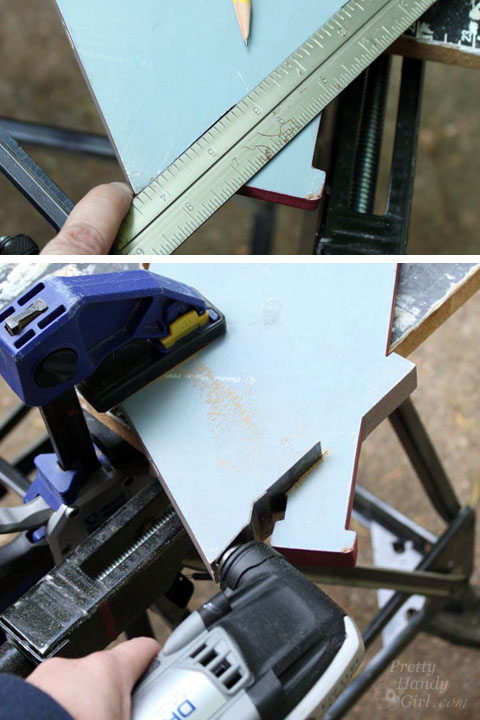
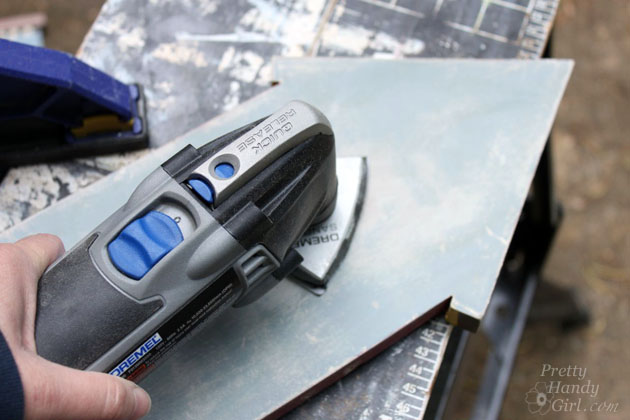
To create the arrow shape, I chose the middle tall building and cut off the chimney with my Dremel Multi-max.
Here’s where you can pick up the tutorial. 🙂
Materials:
- 9″ x 14″ piece of smooth plywood, masonite or wood board
- Jigsaw
- Sander
- Valspar Gray Spray Primer
- Chalkboard paint
- Foam roller
- Chalk Ink
- 1″ x 1″ square garden stake (look in the garden section of Lowe’s)
- Finish Nails
- Wood glue
Instructions:
Print out the Chalkboard Arrow Template. It should fit on a legal sheet of paper. Cut out the template and transfer the shape to your wood.
Use a jigsaw to cut out the shape. Sand any rough edges from your plywood.
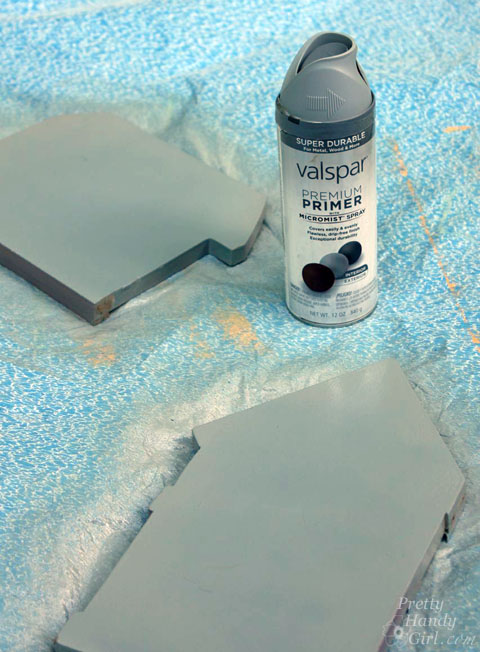
Spray the arrow with two coats of primer. Allow to dry between coats. Lightly sand the arrow after the primer has dried.
Use a foam roller to paint the arrow with Chalkboard paint.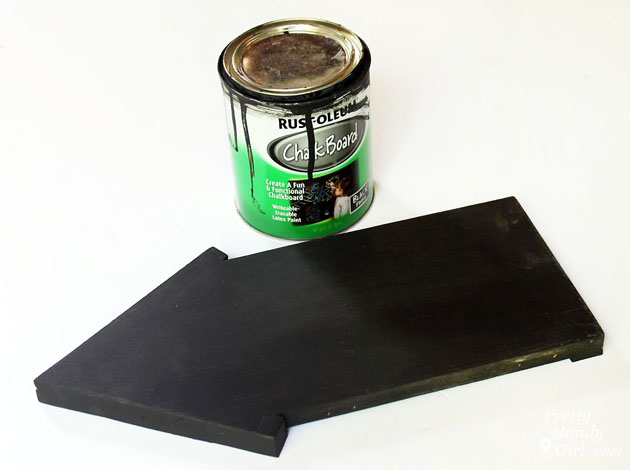
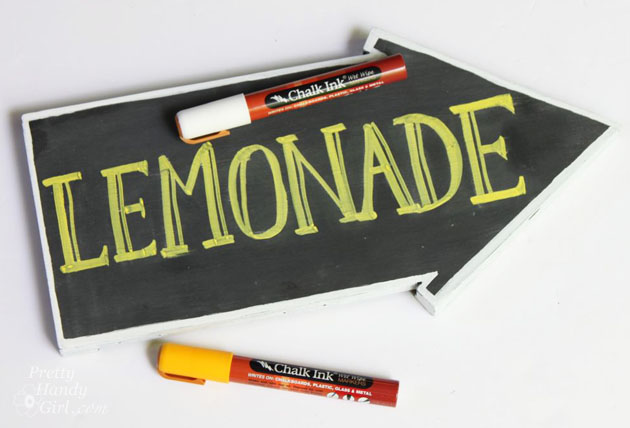
Write your message on the arrow. (These Chalk Ink markers* are the best erasable chalk markers I’ve tried!) *affiliate link
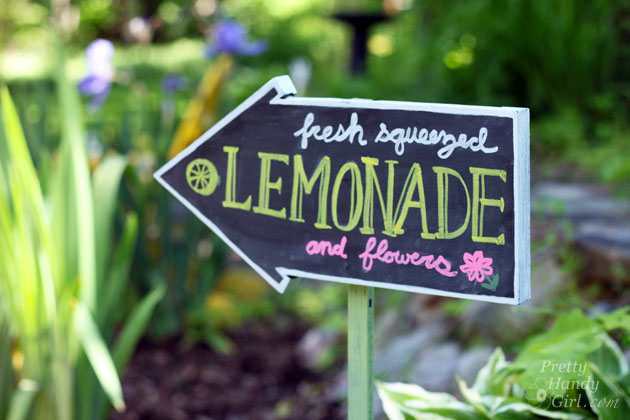
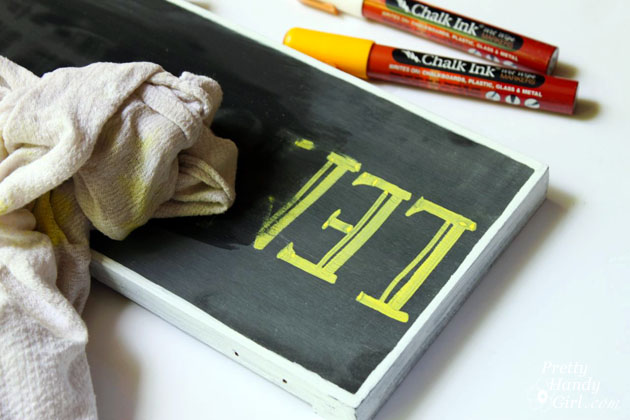
When you are done, you can re-use your sign by erasing the message with a wet rag.
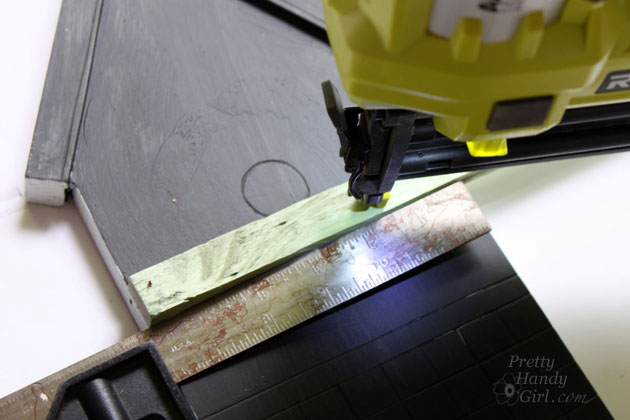
Flip over the arrow sign. Apply a little bit of wood glue to the garden stake and secure to the sign with small finish nails. (Tip: Let the garden stake meet the top of the sign or extend slightly over the top to make hammering it into the earth easier.)
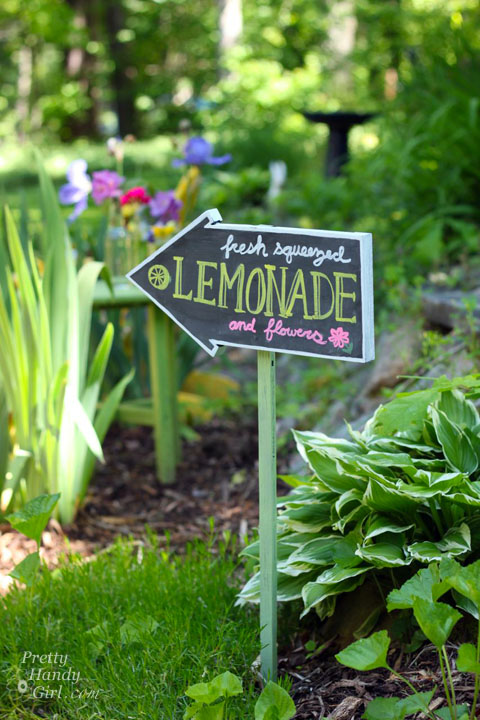
Use a hammer to bang your sign into the ground.
And start selling fresh squeezed lemonade (and flowers!)
What do you think? Cutest Chalkboard Arrow Sign ever, right?!
Be sure to head over to BetterAfter to see some of the other Mystery Thrift Off transformations! And if you liked my transformation, be sure to see the Housewarming Gift Basket and the Little Playhouse I made with the other parts!
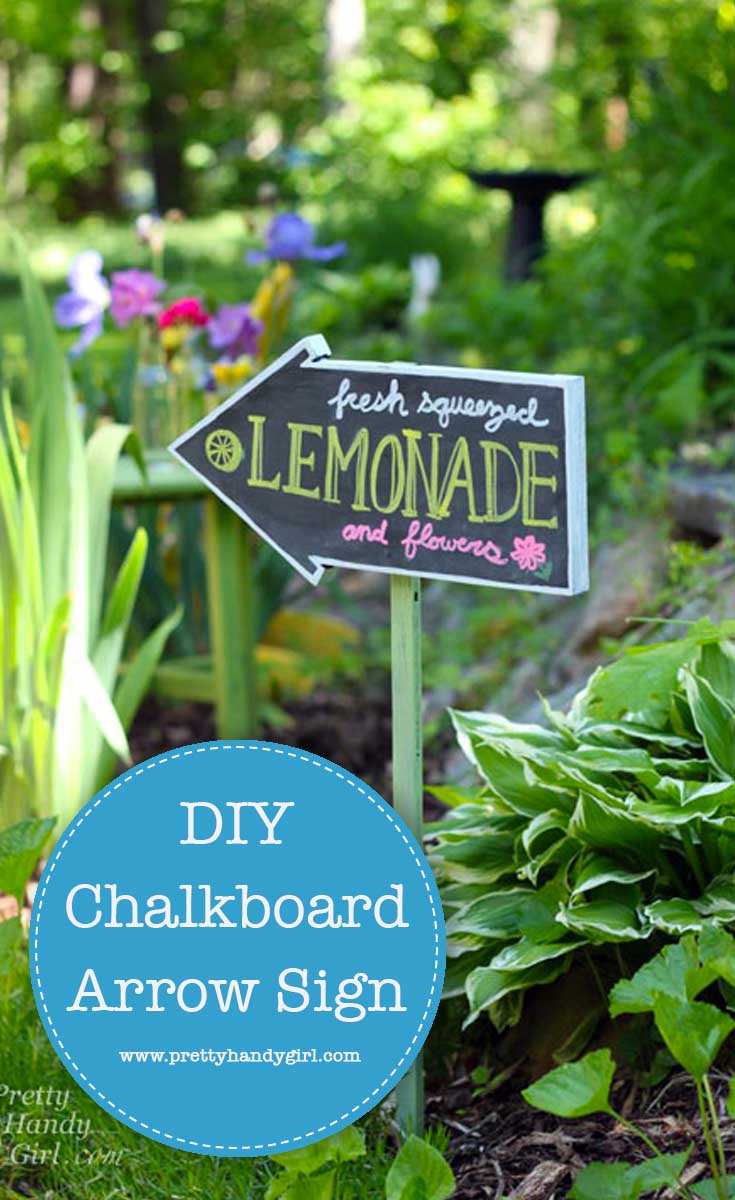
Pin for later!


I never thought of a great marker for garage sales, etc but this is an excellent idea! I bet if you baked up a batch of cookies for your son to sell, he would make a little bundle! I had to laugh at the original piece though.
That sign is super cute! I love it!
Paige
http://thehappyflammily.com