Housewarming Gift Caddy {Mystery Thrift Off}
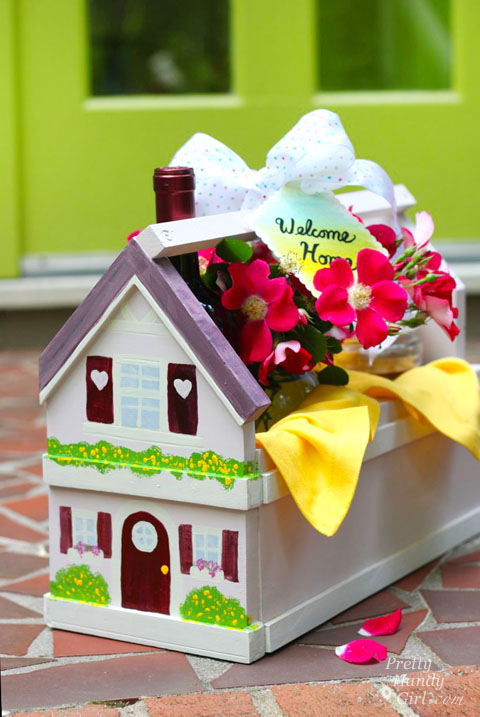
Do you have a new neighbor or know someone who just moved? It’s time to celebrate with them by giving them a housewarming gift caddy! This is an easy gift tote that you can customize to any size you like. Plus, the recipient can use the caddy for storage or display after the gift has been enjoyed.
Before we begin, I need to back up and tell you that this project is part of The Mystery Thrift Off.
#TheMysteryThriftOff is the brainchild of Lindsey from Better After. She chose a handful of people to take part in this challenge. After scouring her local thrift shops for ugly and hopeless items, she shipped off the chosen items to those of us in the challenge. I signed up—because frankly—I love a challenge. And, I love saving ugly items from the landfill. Be sure to see some of the other Mystery Thrift Off transformations at Better After and vote for your favorite.
But, when the box arrived from Lindsey, I was terrified to open it up! I mean what if she had sent me a ceramic scabies bear! Yikes. You can imagine my relief when I opened the box to reveal this dated Christmas village.
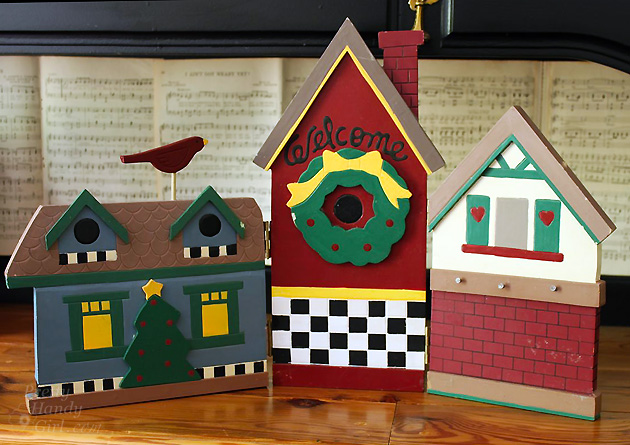
Not too bad looking is it.? Truth be told, it was falling apart and the colors were hunter green, colonial blue, mauve and fleshy tan.
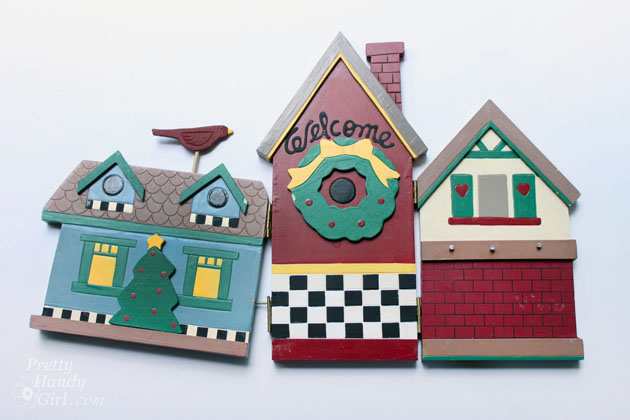
I quickly pulled the three houses apart and began to transform them into A Chalkboard Arrow Sign, a Little Playhouse and the Housewarming Gift Caddy I’m going to show you today.
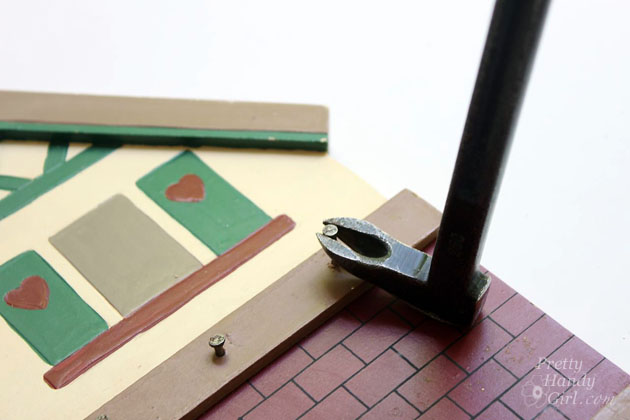
Before I got started, I removed some nails from the house on the right. And then I was ready to get building.
Ready to create your own caddy? Let’s get to it.
Materials:
- 1″ x 6″ board
- Wood glue
- Finish nails
- 1″ x 1″ square dowel
- 1/2″ lattice trim (or other decorative trim)
- 2″ screws
- Spray primer
- Paint (used Botanical Home Decor Paint)
- Craft paint
- Paintbrushes
- Patch-plus-primer
- Putty knife
- Sandpaper
Instructions:
Cut the 1″ x 6″ into 5 pieces:
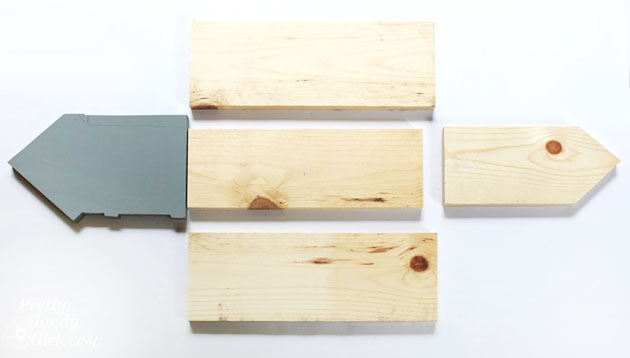
- 2 – 6″ x 15″sides
- 1 – 6″ x 15″ base
- 2 – 6″ x 11″ front & back pieces with a 45 degree corners cut into the tops
Add a line of glue along the bottom of the front and back of the caddy. Attach them to the base with finish nails.
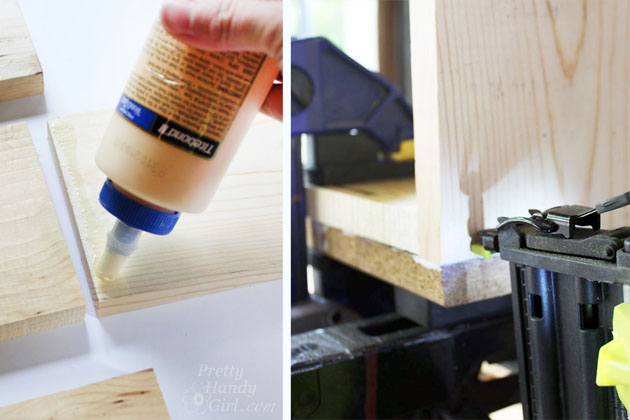
Add a line of glue to cut ends of the sides and add a line of glue to the bottom of the sides. Attach the front to the sides with finish nails. Repeat for the back piece.
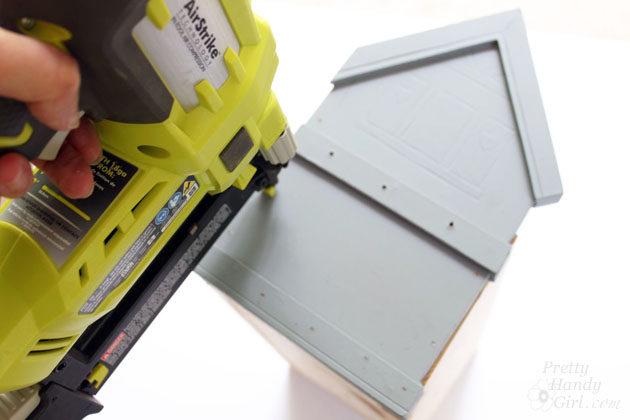
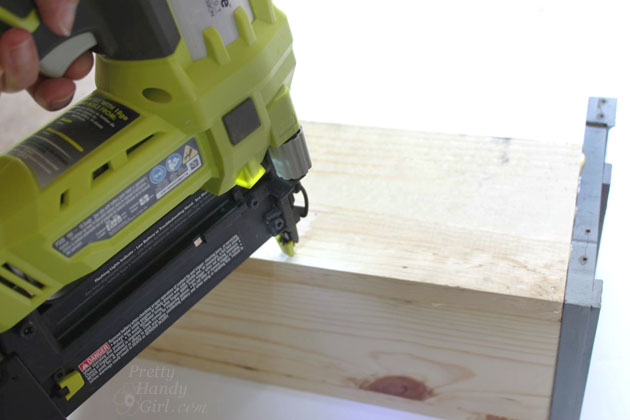
Attach the sides by nailing through the bottom and into the sides.
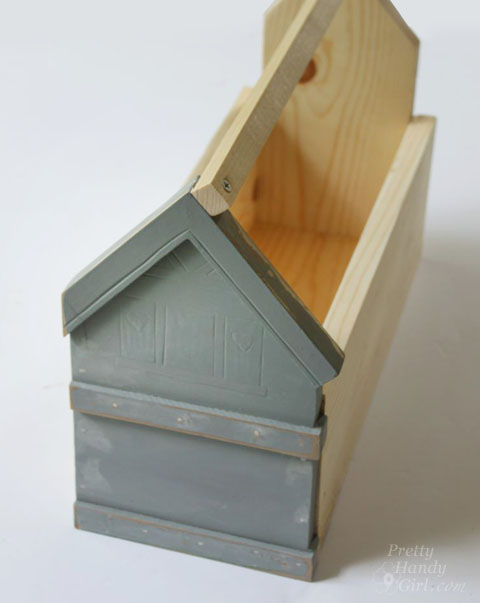
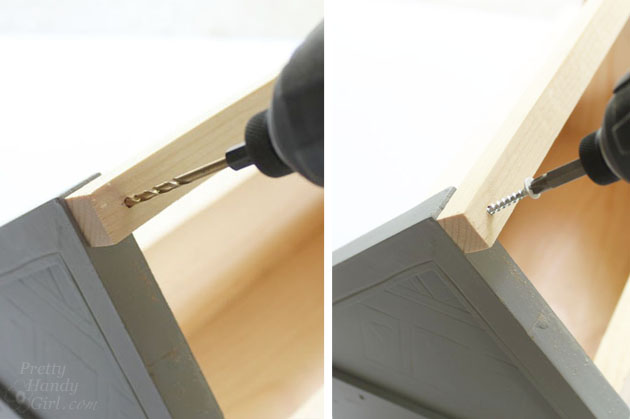
Pre-drill a hole into each end of the 1″ x 1″ square dowel. Attach the square dowel to the top of the front and back pieces with the 2″ screws.
The completely assembled crate should look like this:
Spray the caddy with spray primer inside and out.
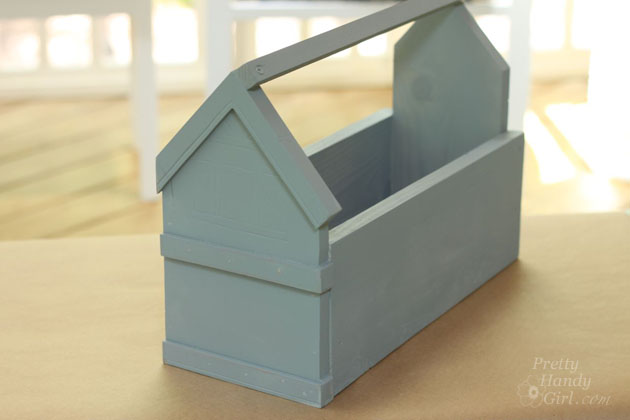
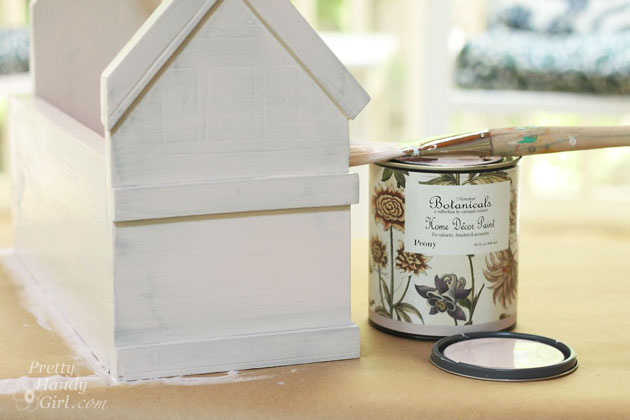
Paint caddy with a solid color first. (I used a new paint and love the texture and coverage. Botanicals Home Decor Paint in Peony went on smoothly like chalky paints.)
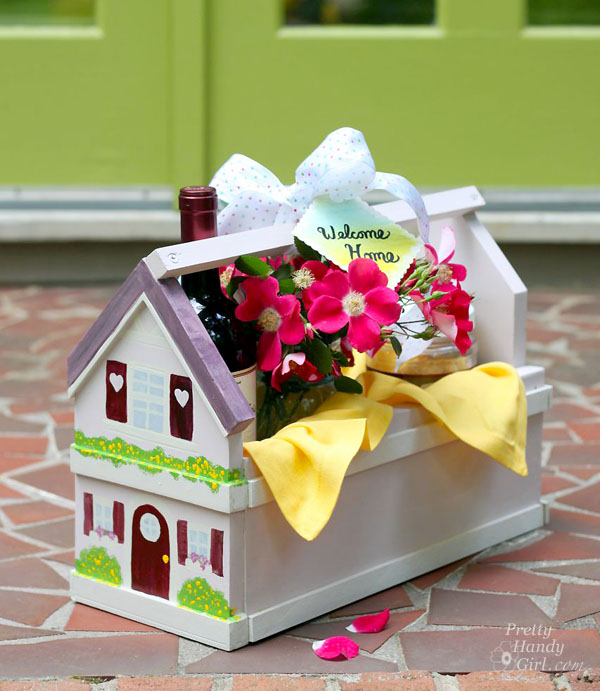
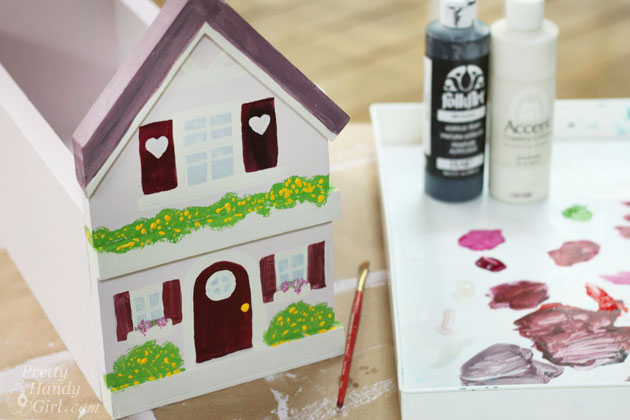
Use the craft paints to paint details like windows, shutters and a door onto the front of the caddy. If you’re feeling truly artistic, you can paint the back too.
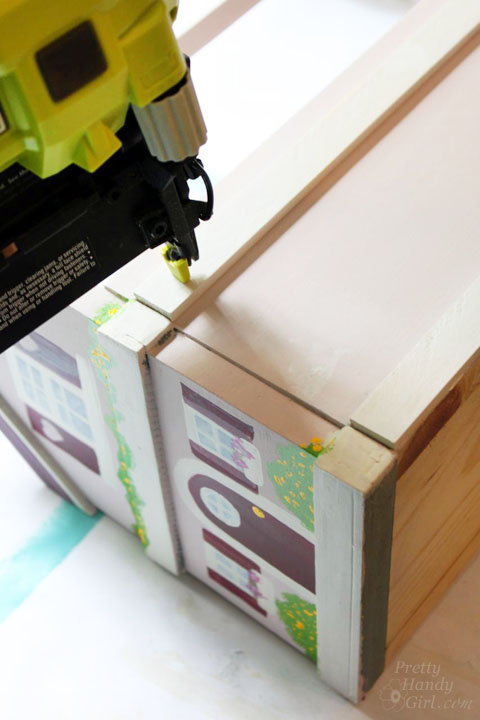
Nail the lattice trim pieces to the sides of the caddy for a little decoration.
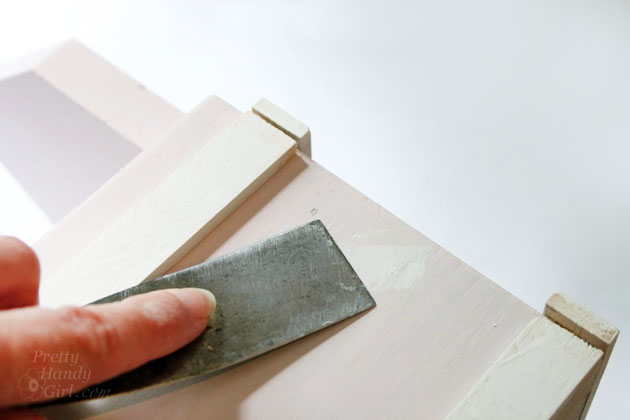
Putty all nail holes.
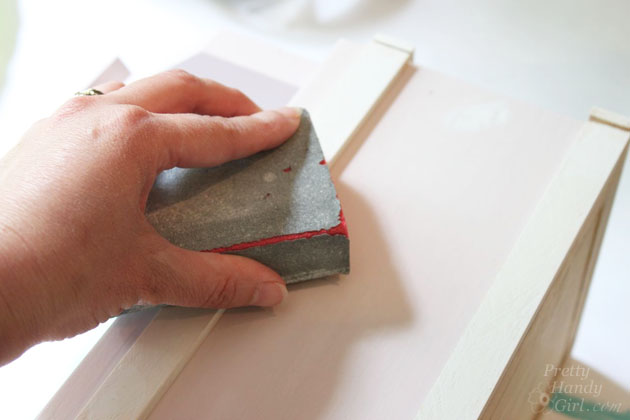
Sand the putty smooth after it has dried. Touch up paint the putty holes.
Fill your caddy with wine, flowers, food or other goodies to celebrate the new homeowners.
The recipient will be tickled pink. Haha, get it, a little pink house?
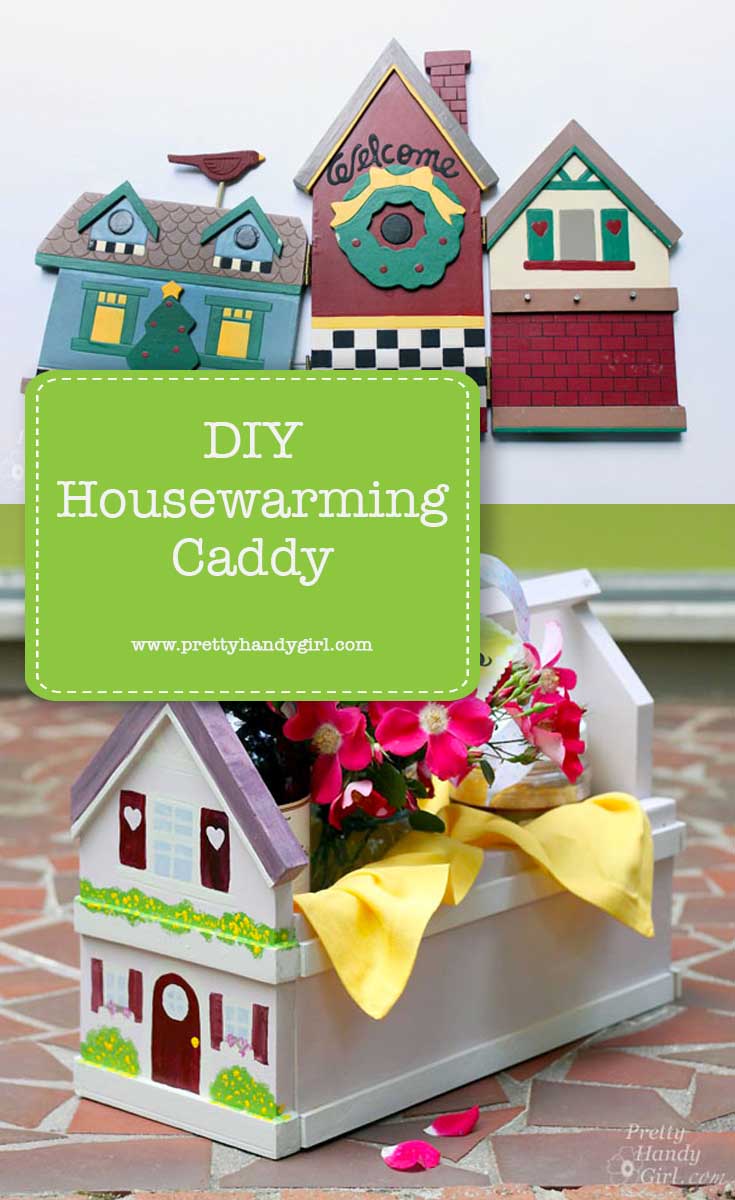
Pin for later!


What a sweet gift that you made & so thoughtful. Great tutorial as always!