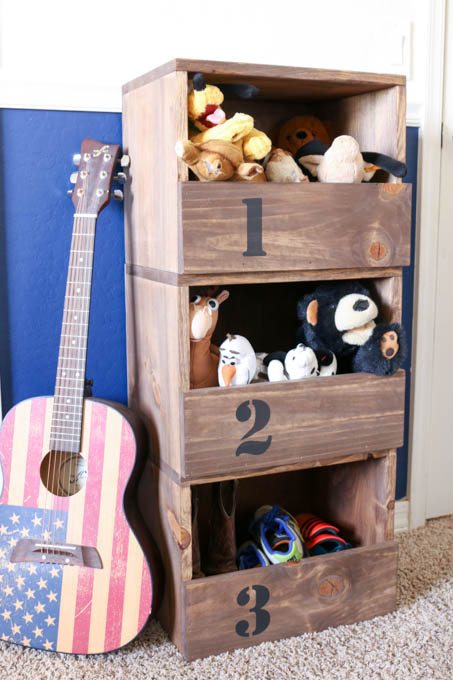
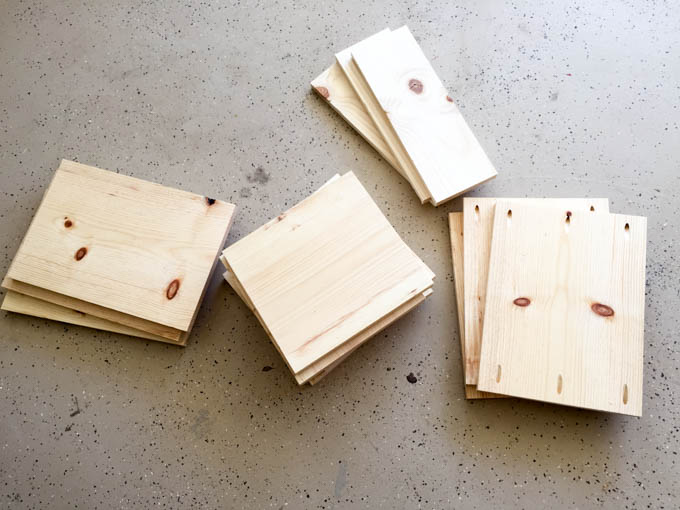
Hey everyone! It’s Katie again from Addicted 2 DIY. Today I’ve got a project to help keep things organized around the house. These stacking storage cubbies are perfect for stashing away those growing stuffed animal collections, shoes, toys, books, etc. They were so simple to build and they are easy to customize to fit your needs. I’ve got the step-by-step tutorial for you below, and you can also stop by my site to download the printable plans.
Materials: (contains affiliate links)
2 – 1″ x 12″ x 8′ pine boards
1 – 1″ x 6″ x 8′ pine board
2′ x 4′ sheet of 1/4″ plywood (I used some that I already had on hand)
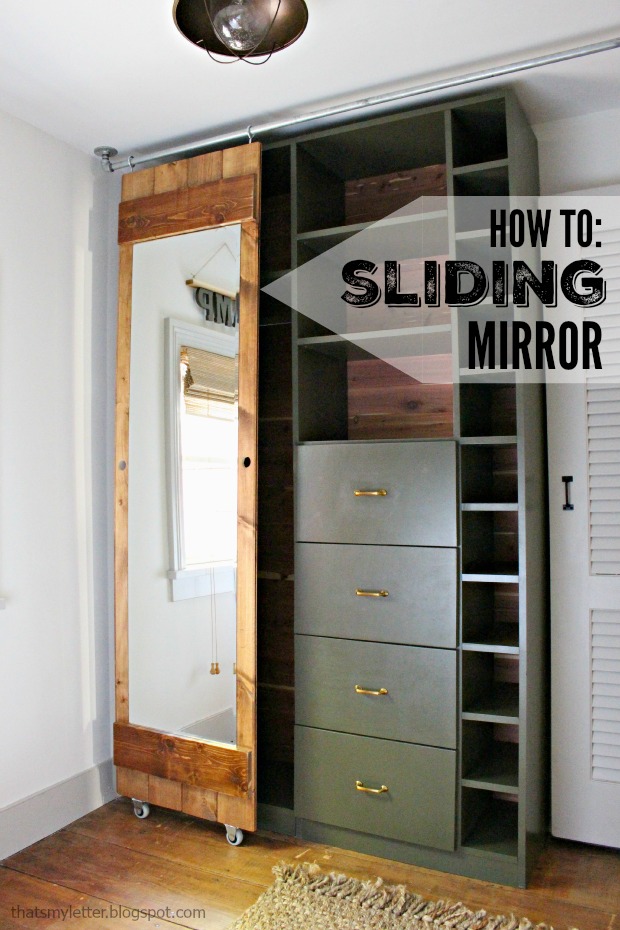
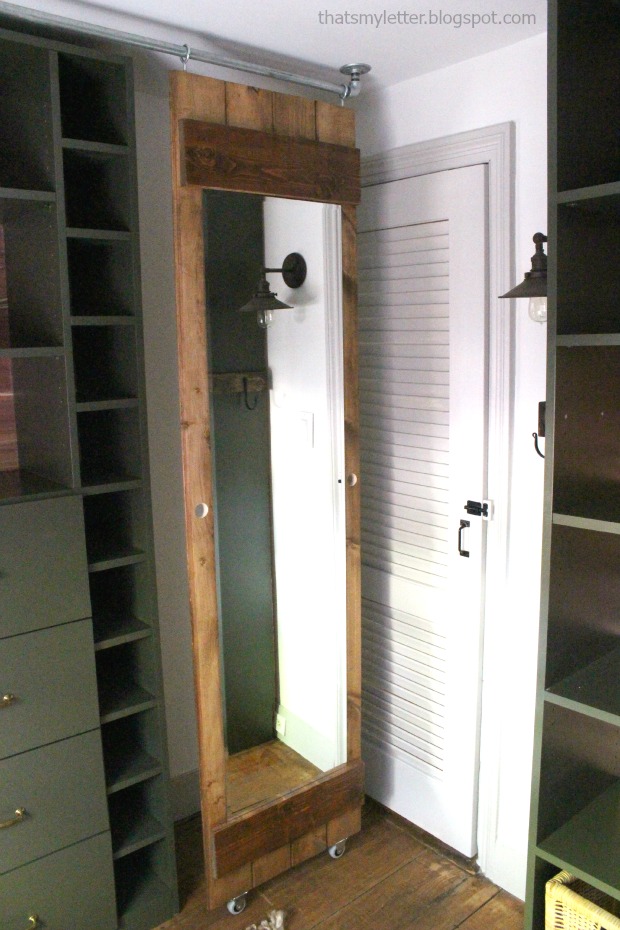
Hello Pretty Handy Readers! Jaime here from That’s My Letter and today I am sharing a sliding mirror project that is the finishing touch on my newly made over walk-in closet. I will show you how to build a sliding mirror door using wood, wheels and pipe fittings.
This sliding mirror is my solution to a small walk-in closet with no wall space and no back of the door option for a mirror. The mirror slides across the room on stationary wheels and a galvanized steel pipe track.
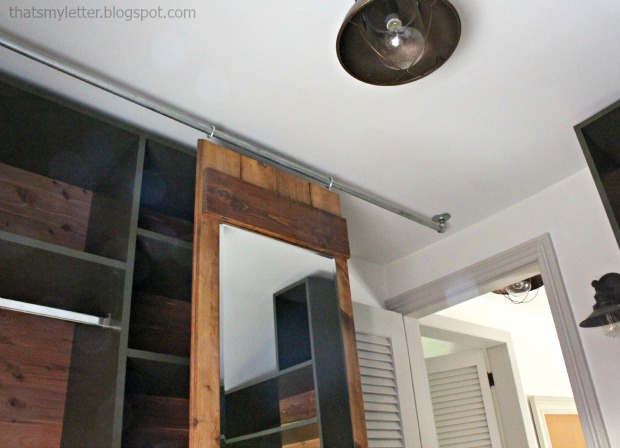
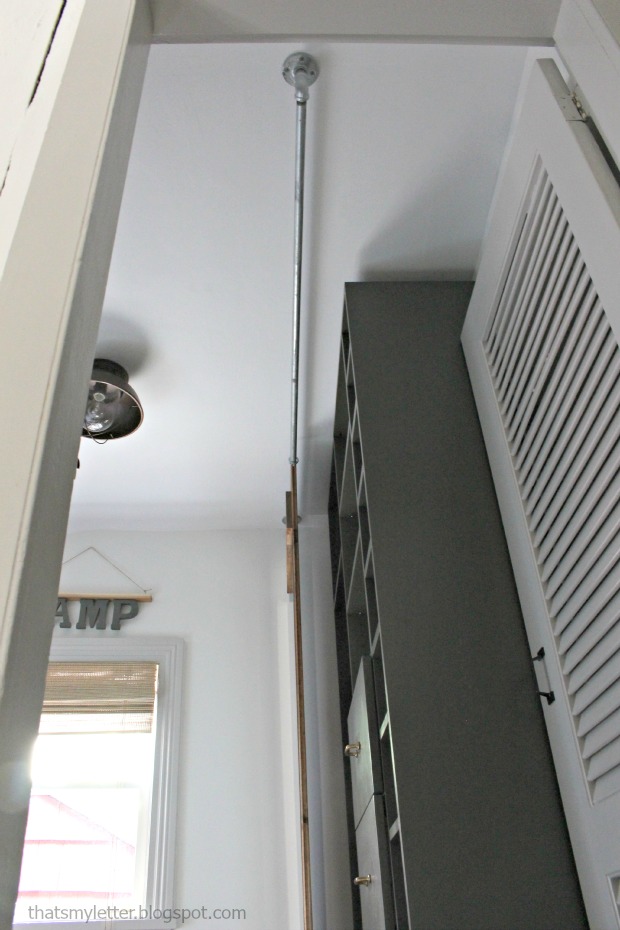
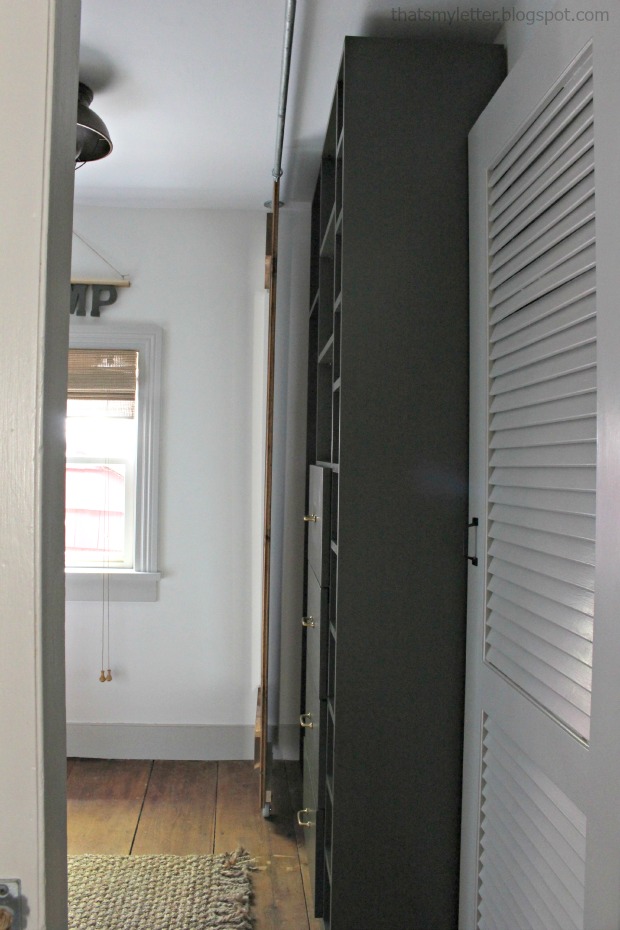
My pipe extends beyond the built-ins (mainly because that’s the pipe I had on hand) but this also allows for full access to the built-in compartments.
In the photo below you can see the pipe extends beyond the built-ins at the ceiling:
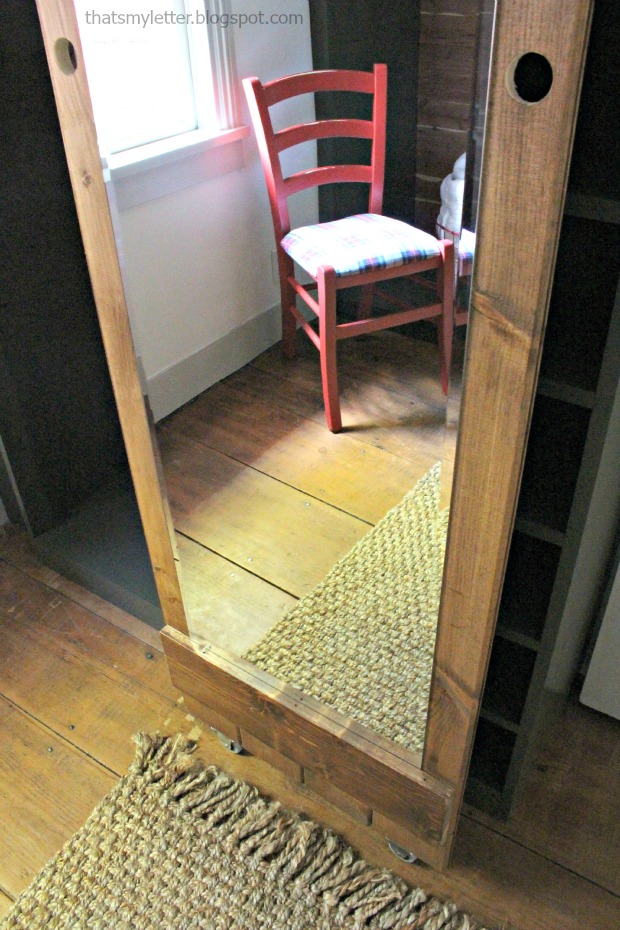
Simple finger pull holes allow you to glide the mirror along the pipe. You could get fancy with hardware here but I took the minimalist approach.
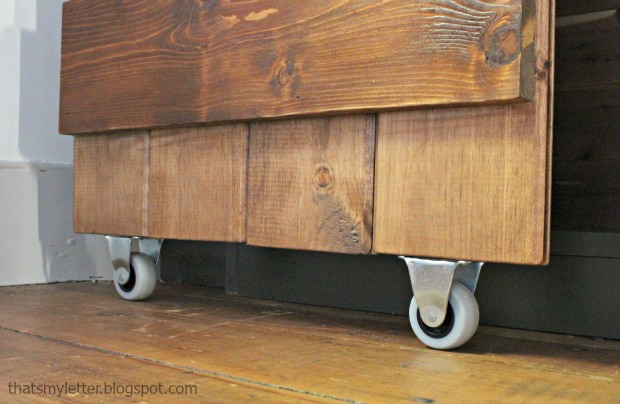
Stationary wheels keep the mirror in place while eliminating the need for any lower track system.
Hello super slim profile! The whole mirror and wood support is only 1 1/2″ thick so the mirror does not protrude out into the room.
Ready to make this clever sliding mirror? Let’s get to it… Read more
https://prettyhandygirl.com/wp-content/uploads/2021/07/PHG-logo-tagline-2020-1030x211-R.jpg00Jaime Costigliohttps://prettyhandygirl.com/wp-content/uploads/2021/07/PHG-logo-tagline-2020-1030x211-R.jpgJaime Costiglio2015-10-21 07:00:382025-07-25 22:00:29How To Build a Sliding Mirror Door
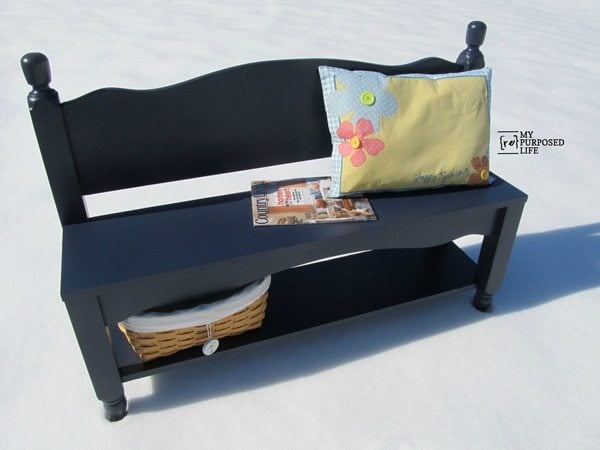
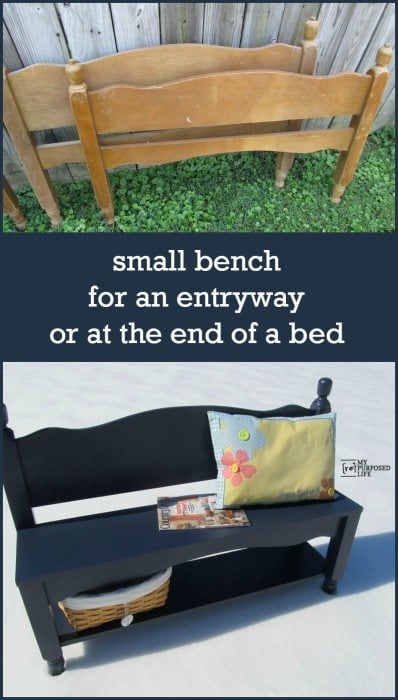
Today’s Rockstar is one of the bloggers that I aspired to be when I started blogging. This gal truly paved the way for DIY Bloggers. Gail is here to show us how to make a headboard bench. Watch closely as she deftly converts an old headboard into a cozy entryway bench.
Gail is the rockstar behind the wildly famous My Repurposed Life! She has the ability to see beyond the ugly junk and trashed items on the curb. She has a way of seeing the beauty in all of it!
I hear the sounds of hammering, Gail is ready to take the stage! Give it up for this rockstar!
Hi there Pretty Handy Girl readers. I am so happy to be here, because I’m a huge fan of Brittany. I’ve followed her blog for a long, long, time.
I’m Gail from My Repurposed Life. If you don’t know me, the blog name sort of gives it away. I mostly blog about repurposing items; saving them from the landfill; and giving them a new purpose in life. Many people who find me through Google, do so by looking for headboard benches. It’s pretty much what I’m known for. Today, I’m going to share one of my all-time favorite headboard benches with you.
A supply and tool list is at the bottom for your reference.
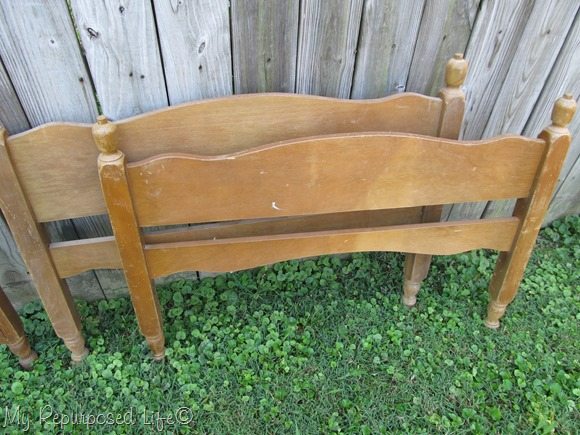
I got two sets of these bunk beds for a steal at a thrift store. They’re not typical of the headboards I normally pick up—I prefer larger headboards.
You can see the piece in the back is slightly larger than the one in the front. That identifies it as the headboard.
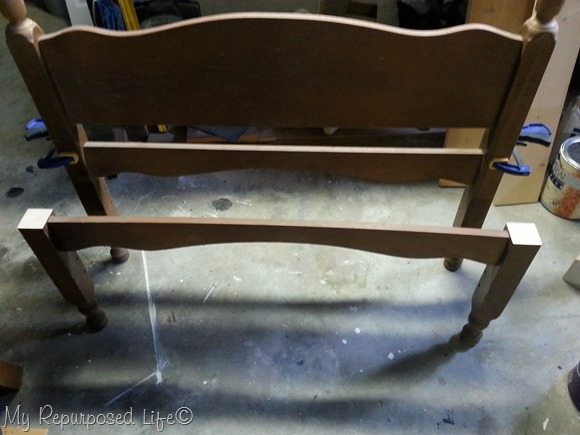
You can see the headboard is in tact, but the foot board was cut on the miter saw right above the brace, leaving the top half of the foot board for another project. At this point you decide how deep you want the seat of your bench to be.
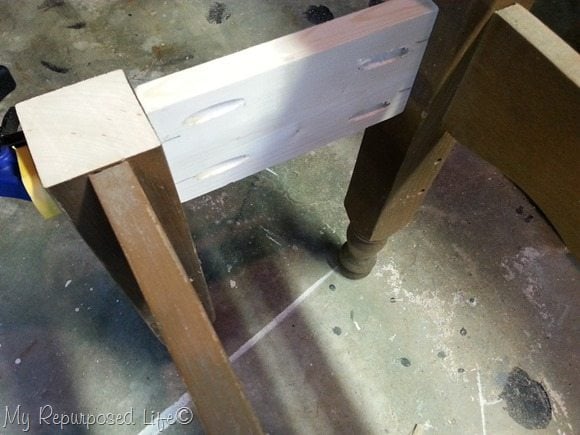
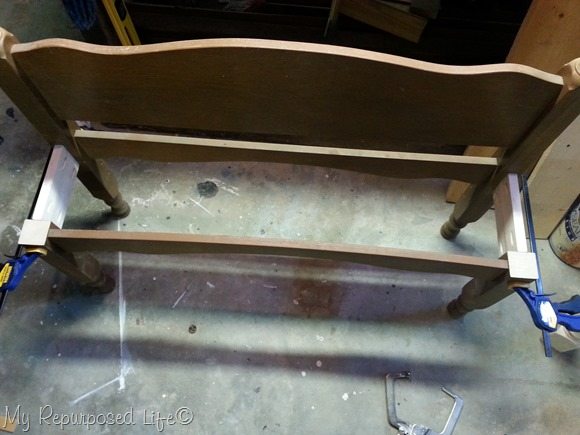
I used scrap 1×4’s for the side that connects the headboard to the foot board. All of my boards are secured using a Kreg Jig and pocket hole screws.
See how easy? the bench is already formed with a few simple steps, you could stop right here and add a seat. However, I knew I wanted to do a little something extra for this petite bench. Read more
https://prettyhandygirl.com/wp-content/uploads/2021/07/PHG-logo-tagline-2020-1030x211-R.jpg00Brittany Baileyhttps://prettyhandygirl.com/wp-content/uploads/2021/07/PHG-logo-tagline-2020-1030x211-R.jpgBrittany Bailey2015-10-19 07:00:002019-08-30 08:00:44How to Make a Headboard Bench
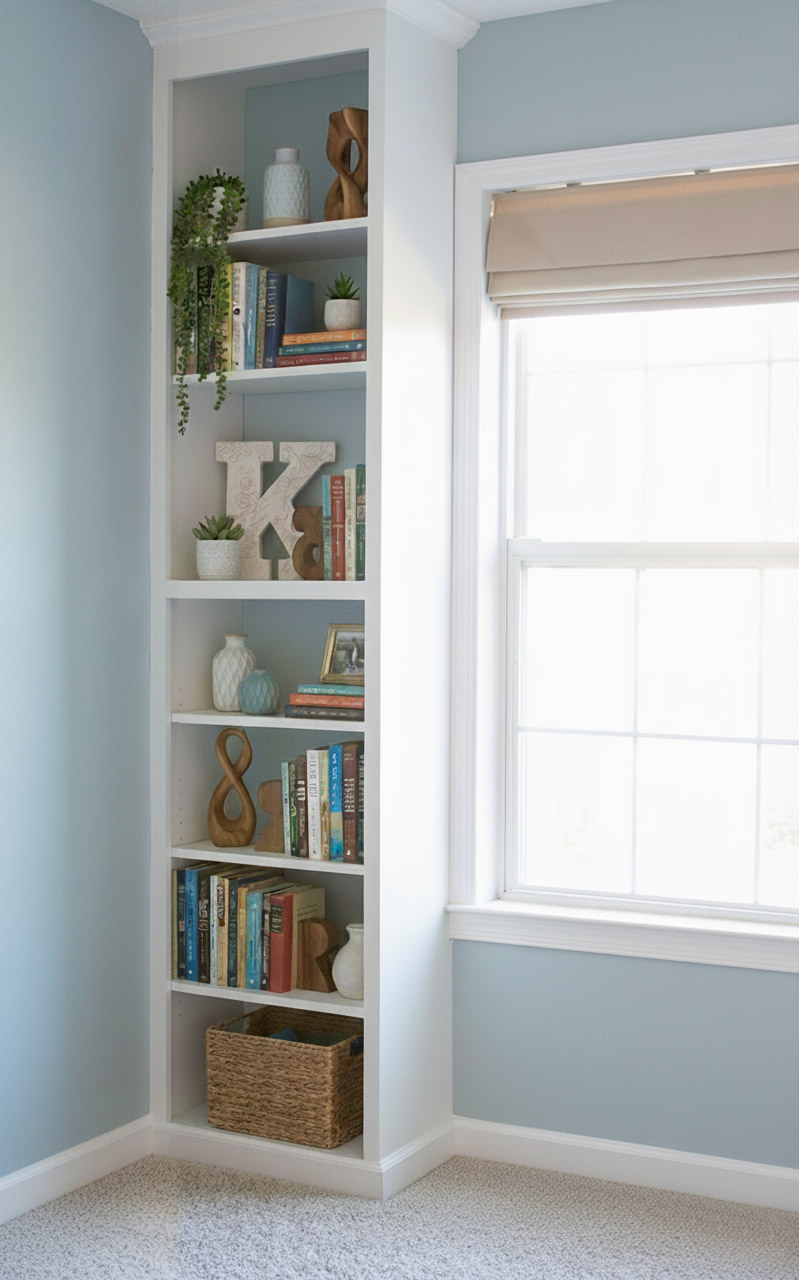
I’m a firm believer that one can never have enough storage within their home. Especially, when you’re talking about a multi-purpose room. A lot of people (myself included) have one room that has to function as many spaces. For us, the guest room has to function as a room to store books, crafts supplies, and plants. Today I’ll show you how you too can build a custom built-in bookshelf. Don’t fret, this is a DIY project anyone with a few tools can accomplish.
First off, let’s take a quick look at the basic structure that will make up the bookcase. (My plans have dimensions, but you should alter the plans to fit within the spatial constraints of your own home.) The basic frame of the bookcase can be built using 1×12’s, along with a small platform that is made using 1×3 boards. I have a large double window in this room so the best place to install the bookcases are on either side of the window (flanking the window).
One of the easiest ways to assemble your bookcase frames is by using pocket holes.
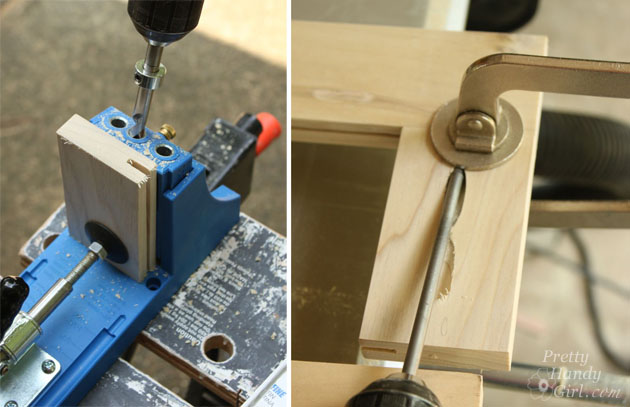
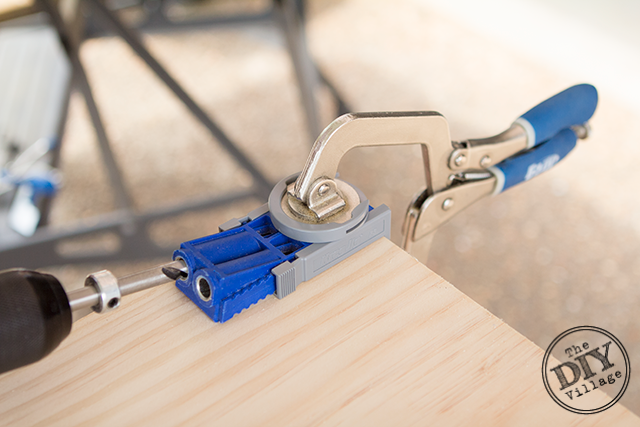
Using a pocket hole jig will make easy work of your assembly. Once all your lumber is cut to length, you’ll need to drill pocket holes at the top and bottom of each side.
Position and secure the jig in place using a clamp, then using the supplied drill bit, go ahead and drill your pocket holes.
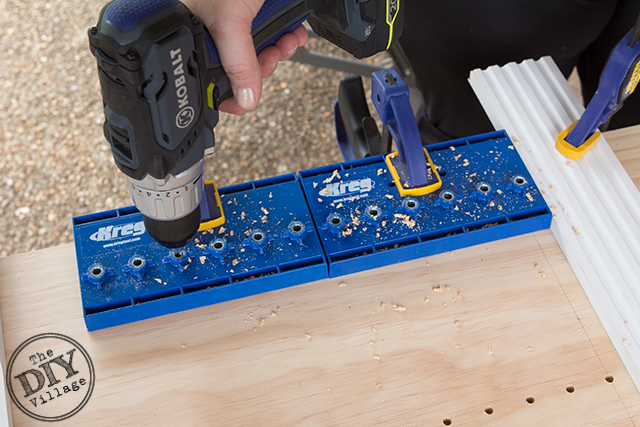
Now decide how many adjustable shelves you want above and below the fixed shelf, and utilizing a shelf pin jig, go ahead and drill the holes for your shelf pins.
Since you’re about ready to install the frame, now would be a good time to prime as much of your bookcase as you can.
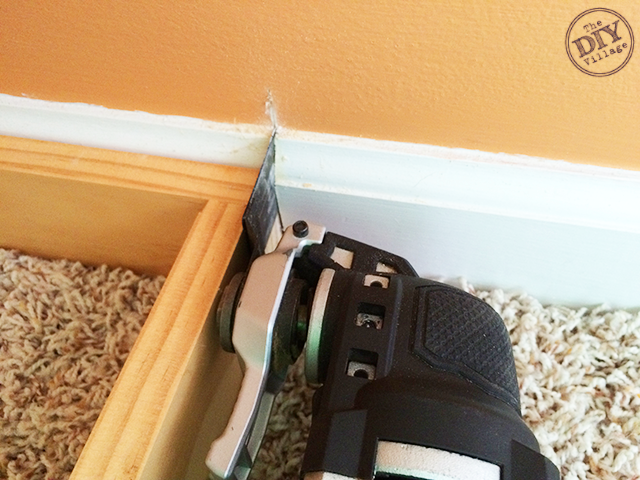
With the basic structure of your bookcase assembled, it’s time to prep the area where you’ll be installing them. You may need to cut out the existing baseboard in order to install the bookcase flush against the wall. If your space requires this kind of prep, consider using an oscillating cutting tool. It will make light of the work and will help with the custom built in look.
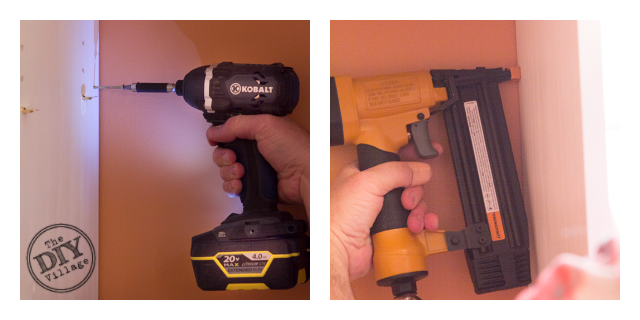
Next, position your platform in place and secure it to the wall, preferably into a stud. Then, place the bookcase frame on the platform and secure it as well. (In my configuration, I was able to secure one side to the wall using screws and had to secure the opposite side to the window casing using nails.)
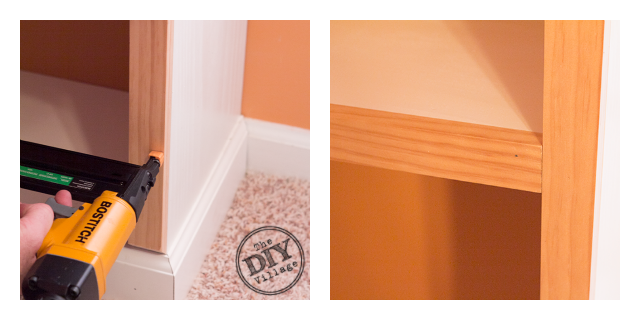
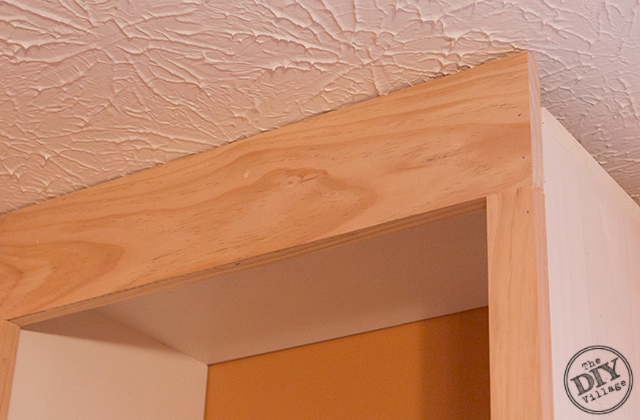
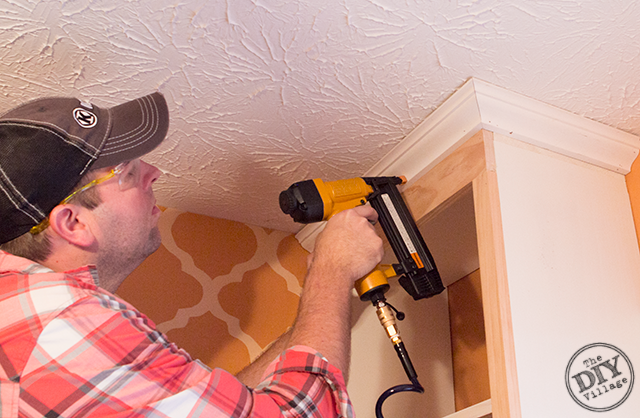
In order to give the bookcase frame a built-in look, you’ll need beef it up a bit by adding 1×2 facing strips, baseboard, and crown molding. At the top of the bookcase, bridge the gap from the top of the bookcase frame and the ceiling with a piece of 1×6 ripped to the appropriate width.
(This will allow for more surface area to nail in your crown molding)
Now would be a great time to add a few coats of paint!
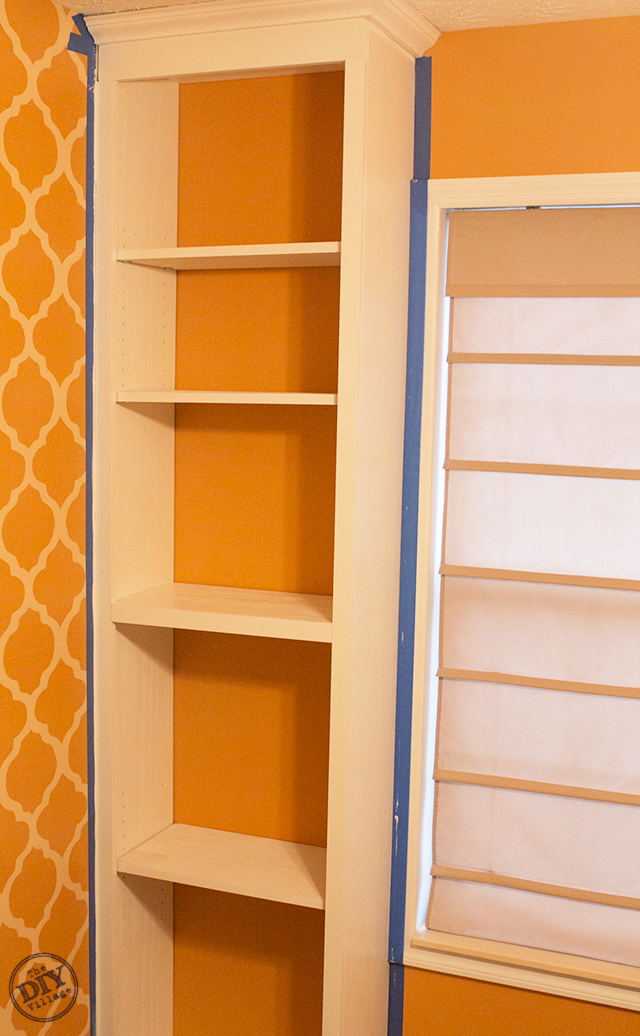
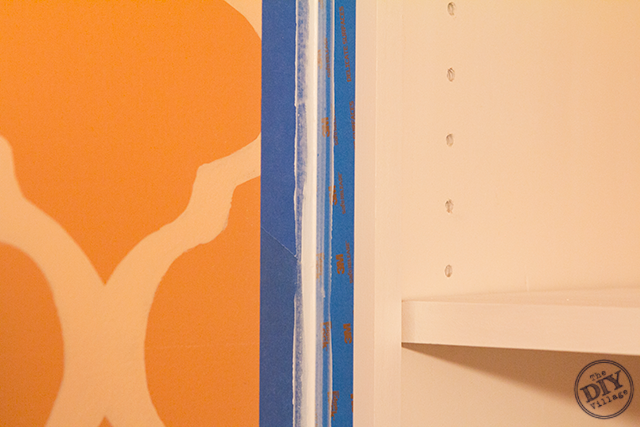
Lastly, you’ll need to caulk any gaps. I find that taping off on both sides of the area you’re caulking will result in a much cleaner caulk line.
With the custom built-in bookcases complete, the only thing left to do is to turn the room back over to the owner and let them fill up those shelves!
In this case I had them filled up in no time flat and was already deciding how many extra shelves I need. Eventually we would like to complete this area by installing a window seat with even more storage!
Built-In Amazing! What a great project for anywhere in your home! I hope you’ll take on this relatively simple DIY project and send me picture!
And let me tell you, besides being a kick ass builder and crafter, she can sign! Whoa, can she sing. But, today we’ll find out if she can sing and build at the same time!
So, put your hands together and let’s hear it for our next Rockstar to take the stage! Take it away Jen.
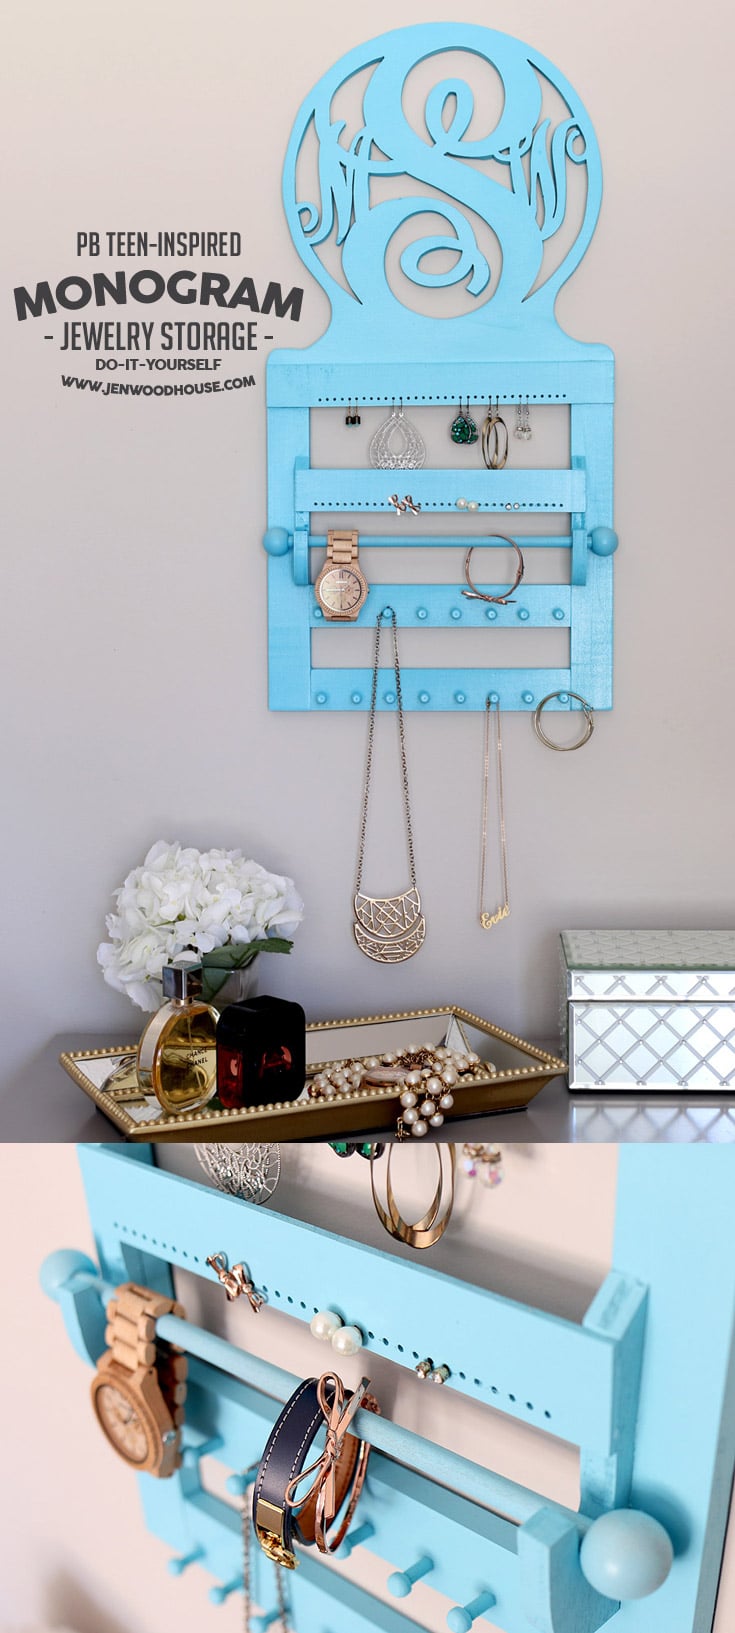
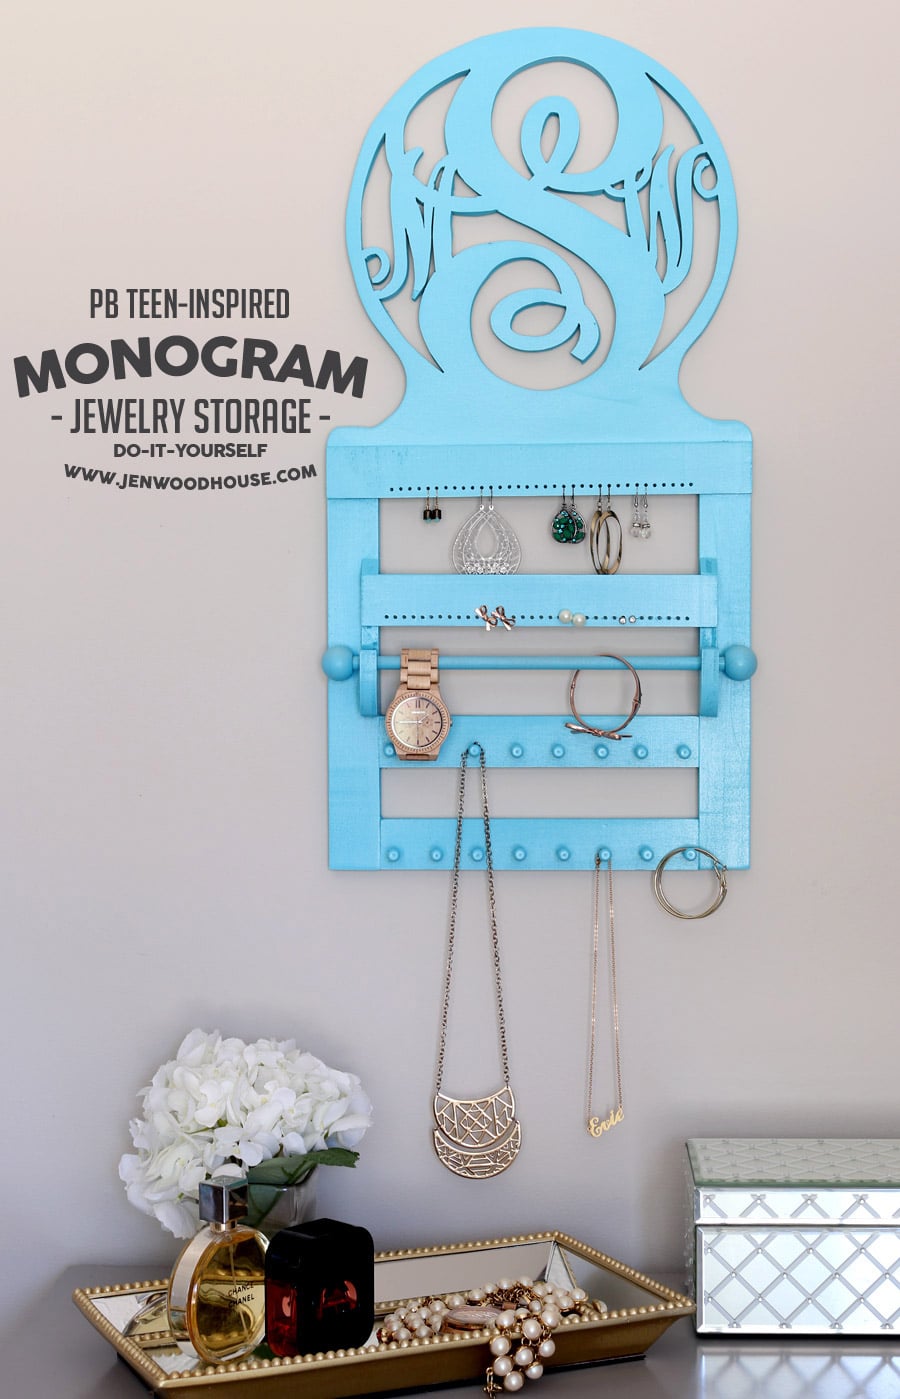
Hi Pretty Handy Friends! Jen Woodhouse from The House of Wood here, thrilled to be hanging out with y’all today, sharing my PB Teen-inspired monogram wall jewelry storage. While flipping through the PB Teen catalog, I spied this pretty jewelry organizer and instantly thought, “I bet I could make that!”
So I did.
The End.
Only kidding. I’ve got you covered with free plans and a tutorial so you can build it yourself!
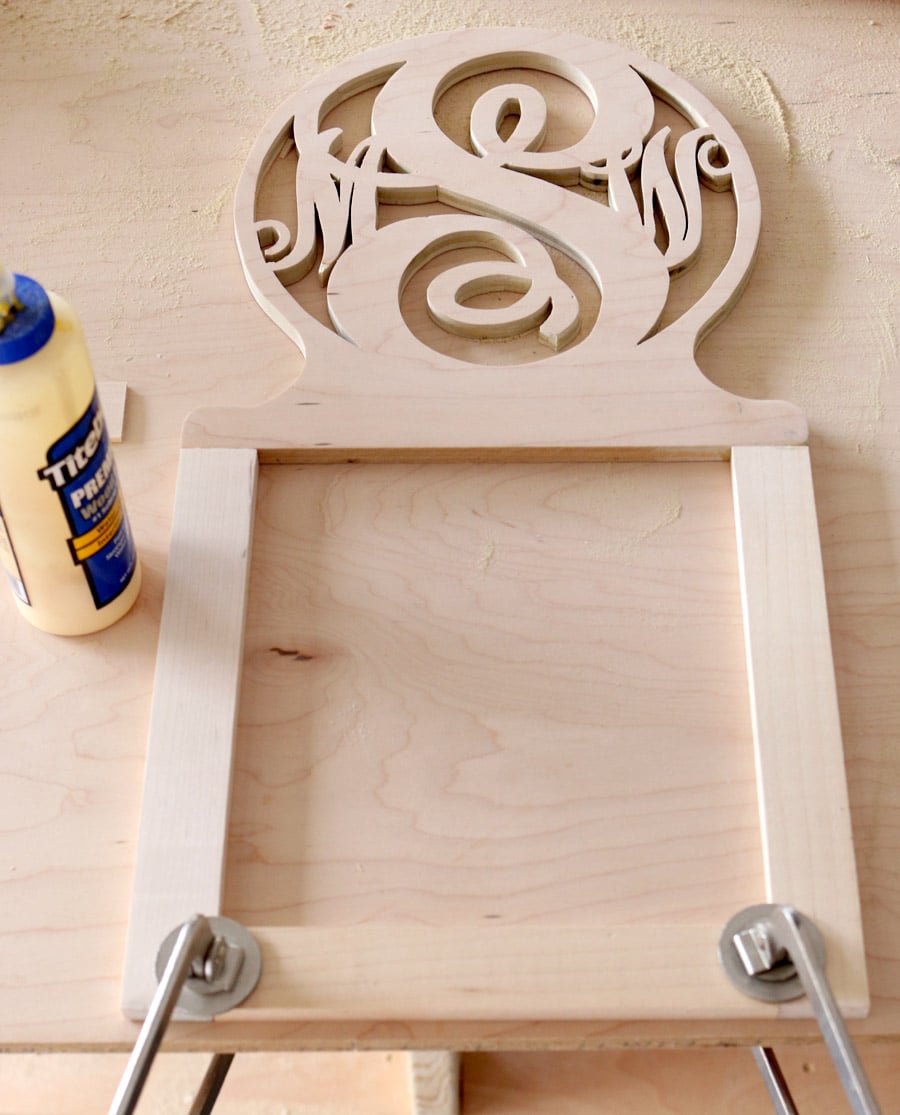
I’ve gotten pretty handy (see what I did there?) at using a jigsaw because I sell these custom wood name signs in my Etsy shop, so I knew cutting out the monogram wouldn’t be too difficult. It was a bit time-consuming, especially because I had to break out the scroll saw for those teeny tiny spaces, where my jigsaw blade wouldn’t fit. As you can see, I am less adept at using a scroll saw.
Then I dug through my scrap wood pile and found a few 1×2 boards, which I planed down to 1/2″ thickness, to match the thickness of the plywood. I used only wood glue to construct this entire thing – no screws or nails! Cut, join, glue, clamp, and dry.
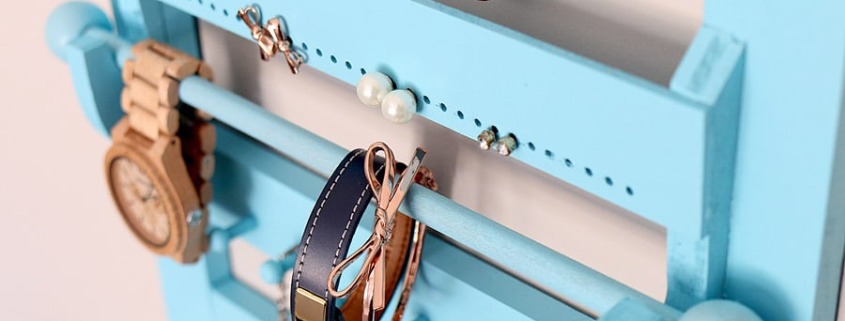
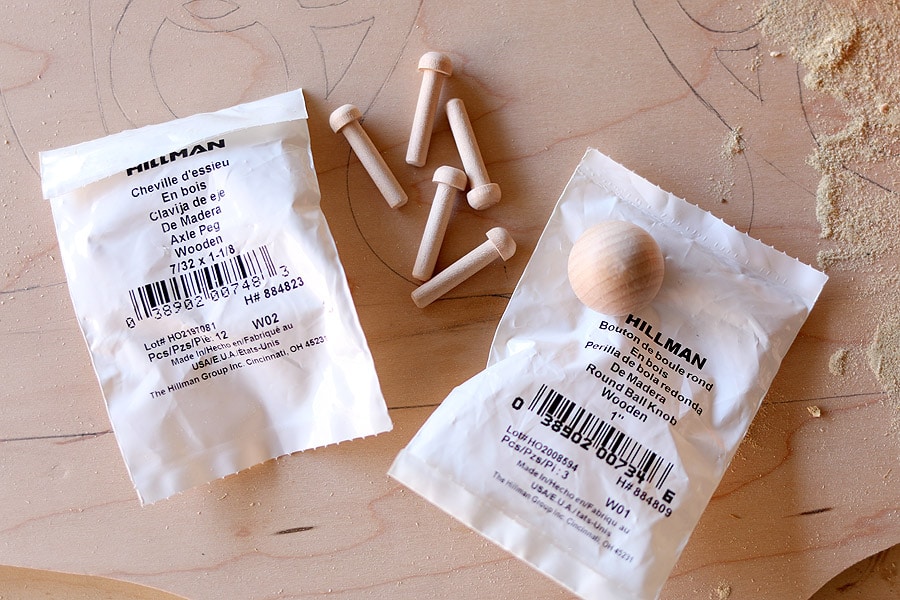
Then I picked up a couple packages of wooden pegs, round wooden balls, and a 3/8″ wooden dowel at the home improvement store. I found it in the hardware section, where all the different types of screws and fasteners are kept in those long metal drawers.
Next, I made a drilling template out of a piece of scrap wood, so that my drill holes would be evenly spaced and perfectly aligned. I used a 3/32″ drill bit for the small earring holes and a 13/64″ drill bit for the wooden pegs then hammered the pegs into place. Read more