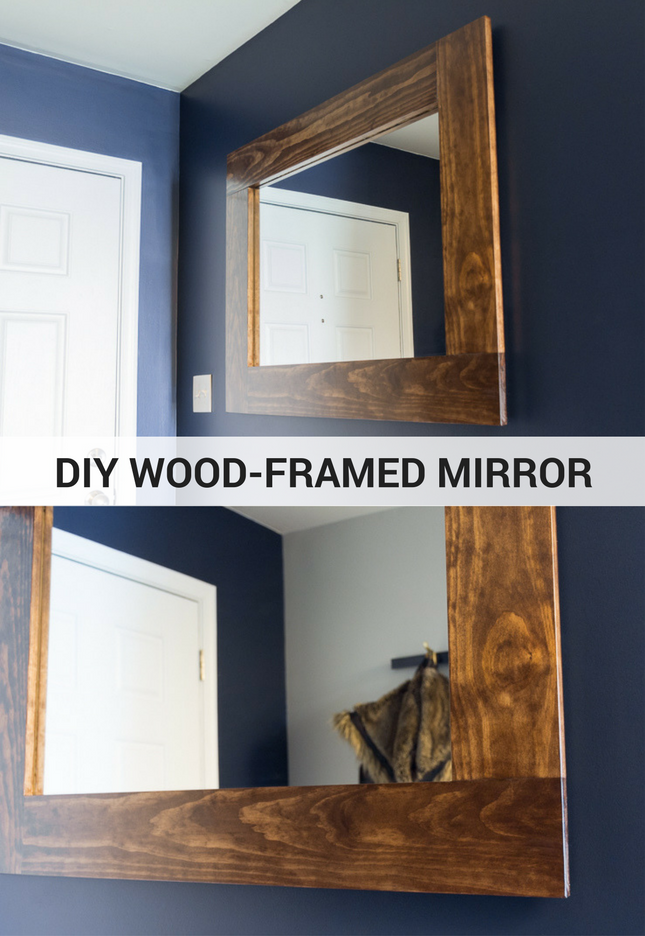
DIY Wood-Framed Mirror Tutorial

DIY Wood-Framed Mirror Tutorial

Hello everyone! I’m Brittany—the creative behind by Brittany Goldwyn, the weirdest cat person you’ll ever meet, and the newest monthly contributor for Pretty Handy Girl! As a long-time Pretty Handy Girl reader myself, I’m so excited for this opportunity to work with Brittany (should I call us Brit 1 and Brit 2?) to share my projects and connect with all of you. I hope we’ll get to know each other more, but in the meantime, here are a few things about me: My dad is a licensed contractor and has taught me most of my building, home improvement, and general DIY skills—you might even occasionally see him pop in to some of my tutorial photos when he’s helping with a project. My husband and I just bought our first home—a lovely townhouse—and we’re hard at work making it our own.  My style tends to be modern. I love decorating with neutrals and plants.

Wood-Framed Mirror Tutorial

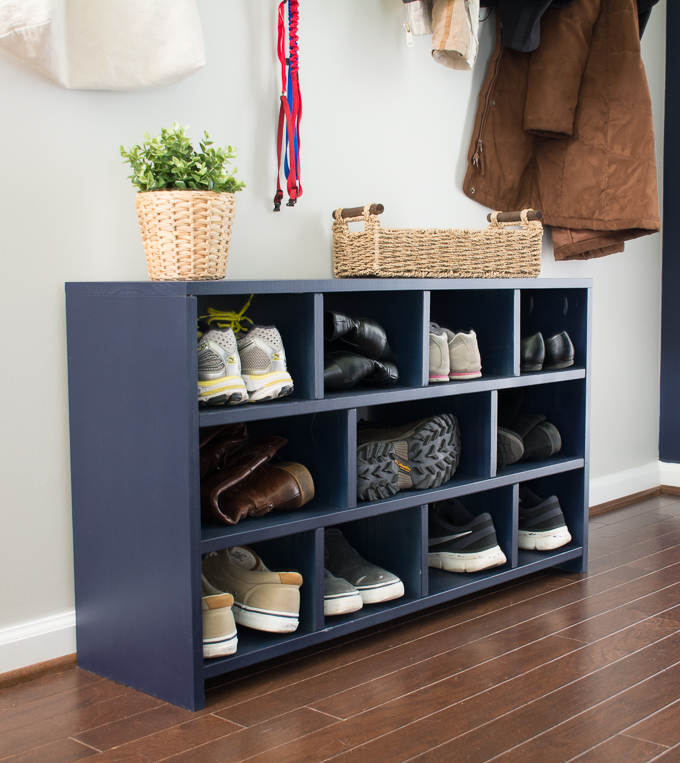
Right now on my blog I am working on a series of entryway makeover posts: first I painted, and then I built a shoe cubby (grab the free build plans here). Today I’m sharing the next step in my entryway makeover: a tutorial for building a wooden mirror frame. This was my first time framing a mirror, so I’ll also be sharing some tips and tricks from along the way. Shall we get started?

Wood-Framed Mirror Tutorial Materials:

(I’ve included affiliate links for your convenience. I earn a small percentage from a purchase using these links. There is no additional cost to you. You can read more about affiliate links here.)
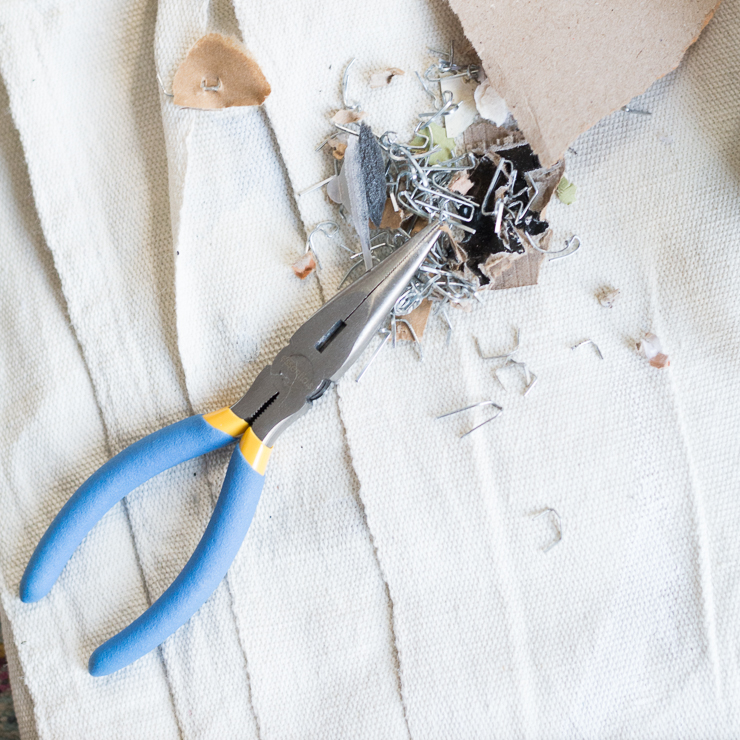
Frugal Tip: Save some cash by replacing the frame on an existing mirror or by picking up a cheap mirror at a thrift shop. Most frames are attached using staples. Simply remove the frame by using pliers to pull out the staples and any other backing that is preventing you from accessing the mirror.

DIY Wood-Framed Mirror Tutorial

Wood-Framed Mirror Tutorial Instructions:

Step 1: Cut pine pieces to fit your mirror. 

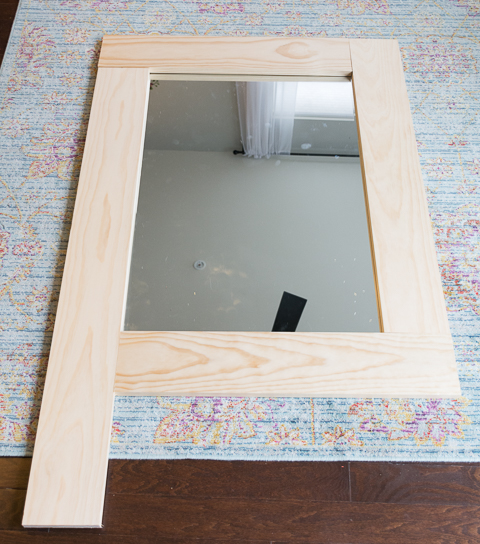
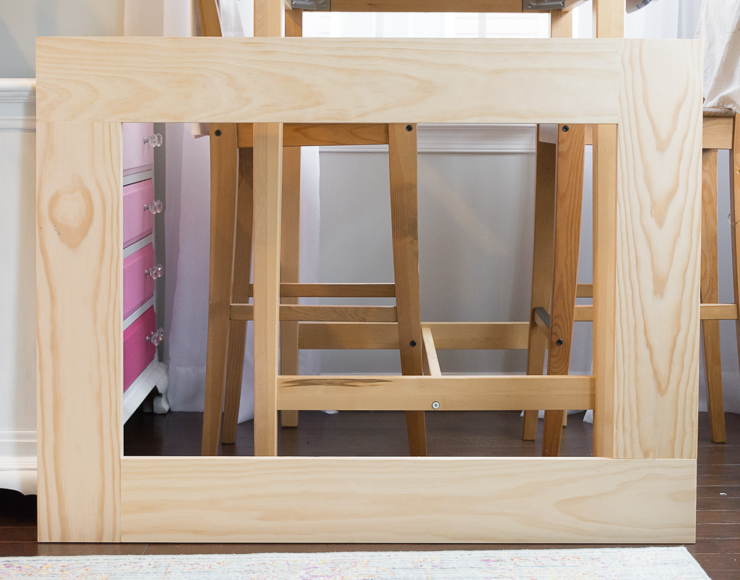
The measurements will depend on your mirror size and how you want to frame it out. You can chose to cut mitered corners if you like. Or straight corners (like I did) for a super modern look.
Lay your 1″ x 6″ pieces onto the mirror. Mark and cut each frame side to fit.

DIY Wood-Framed Mirror Tutorial

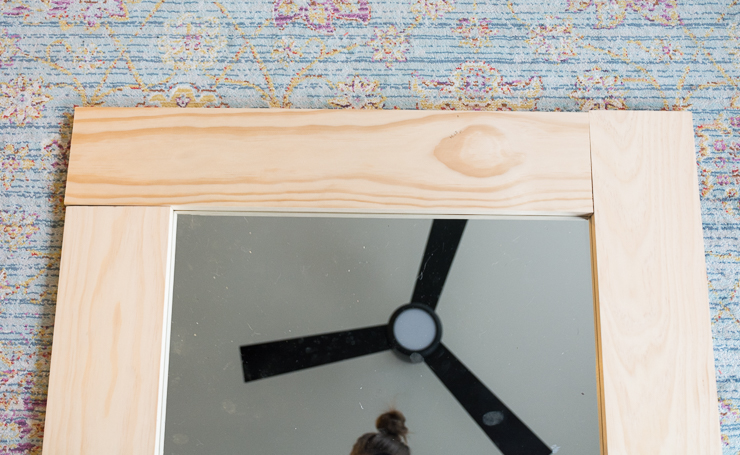
Dry fit the pieces over your mirror.

DIY Wood-Framed Mirror Tutorial

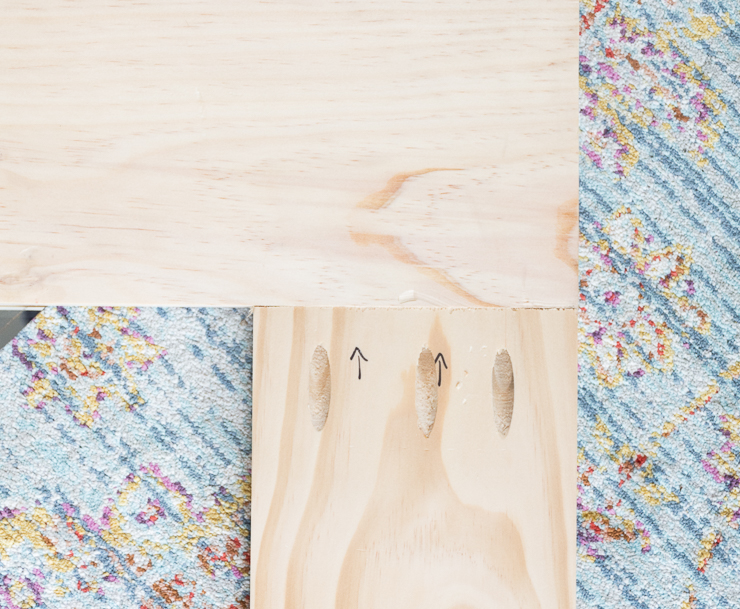
Step 2: Drill pocket holes at one end of each piece.

This is how you’ll join the frame pieces and finish your frame. If you’ve never used a pocket hole jig before, check out Brittany’s tutorial for how to use a Kreg Jig.

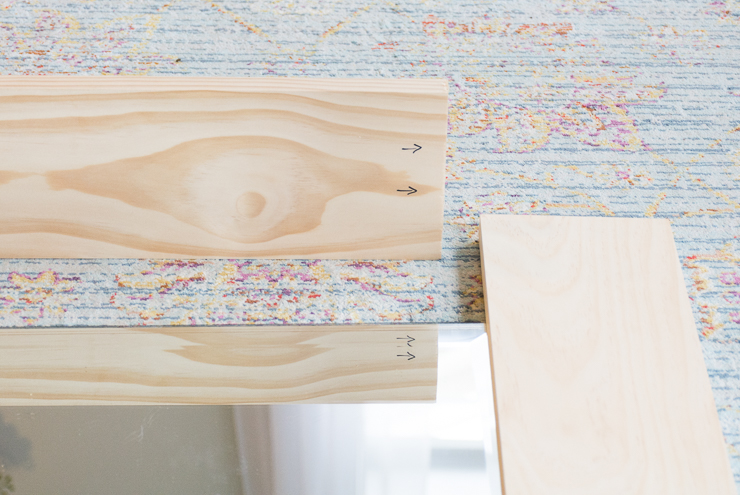
Tip: Use a pencil or pen to mark where the pocket holes will go. This is especially important if some pieces line up better with specific pieces or if you prefer the wood grain on one side of a board. Things can get confusing when you head to your Kreg Jig and all of the pieces suddenly look the same.

DIY Wood-Framed Mirror Tutorial

Step 3: Assemble the frame.

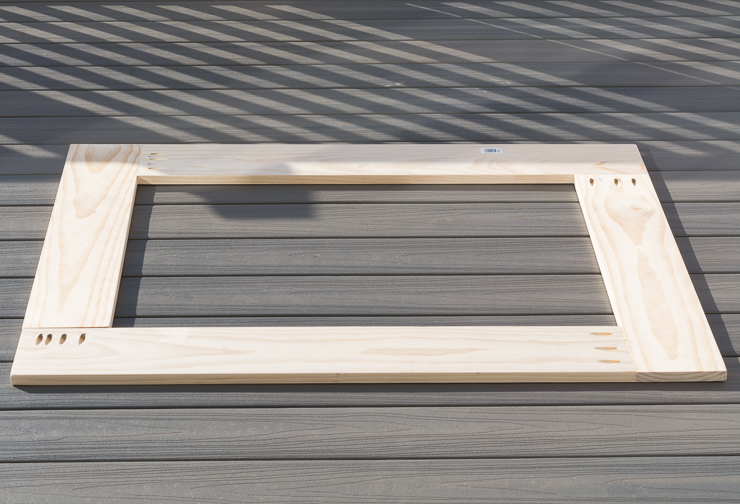
Use 1 ¼” pocket hole screws to join each side of the frame together.

DIY Wood-Framed Mirror Tutorial

Tip: If you don’t have a partner to help you hold your pieces, use clamps to hold the frame pieces on your workbench while you assemble the frame with screws.

Here is the front of the assembled frame:

DIY Wood-Framed Mirror Tutorial

And the back so that you can see how the pocket holes look. The corner with four pocket holes was my mistake, but that corner is super strong now. 😉
DIY Wood-Framed Mirror Tutorial

Step 4: Polish and finish the frame.

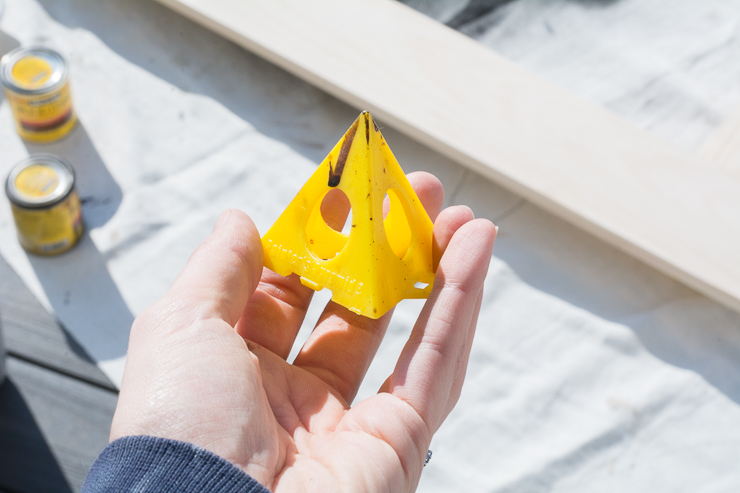
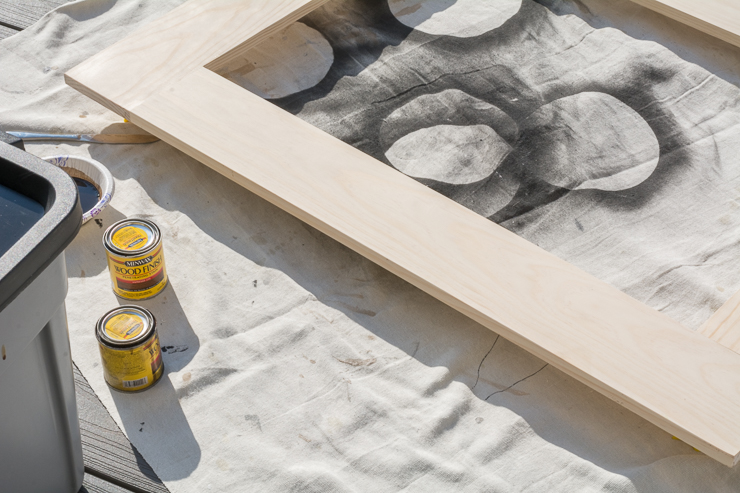
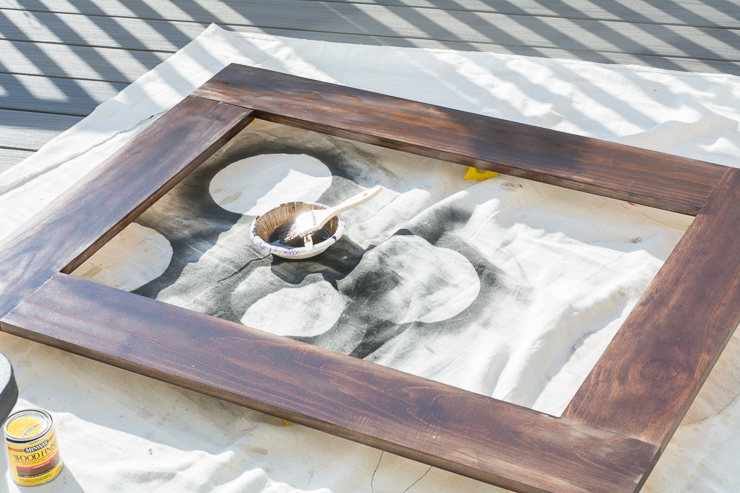
Once assembled, use fine-grit sandpaper to polish the frame, smooth out rough spots, and break down any edges. Before staining, it’s helpful to set your frame on painter’s pyramids to elevate the frame off your surface.

DIY Wood-Framed Mirror Tutorial

DIY Wood-Framed Mirror Tutorial

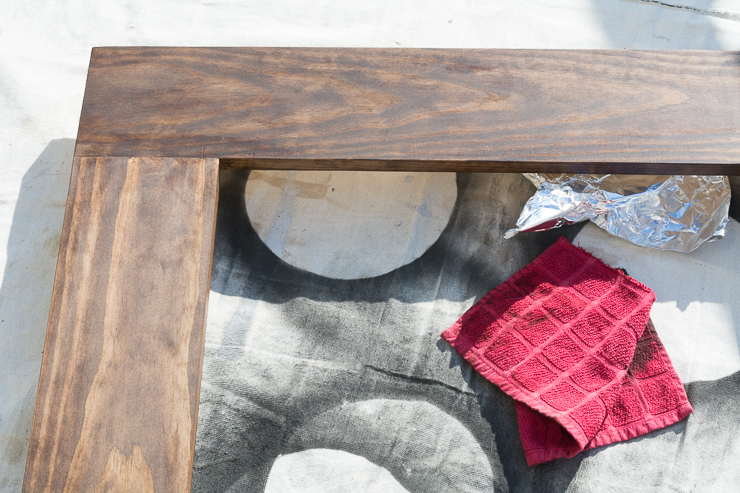
Stain and finish the frame to your liking. (I used Minwax Special Walnut and two coats of semi-gloss polyurethane.)

DIY Wood-Framed Mirror Tutorial

Need some tips on how-to stain and finish wood?  You can check out my tips and tutorial for wood staining here if you’re not familiar with how to finish wood.

DIY Wood-Framed Mirror Tutorial

Step 5: Cut the plywood backing.

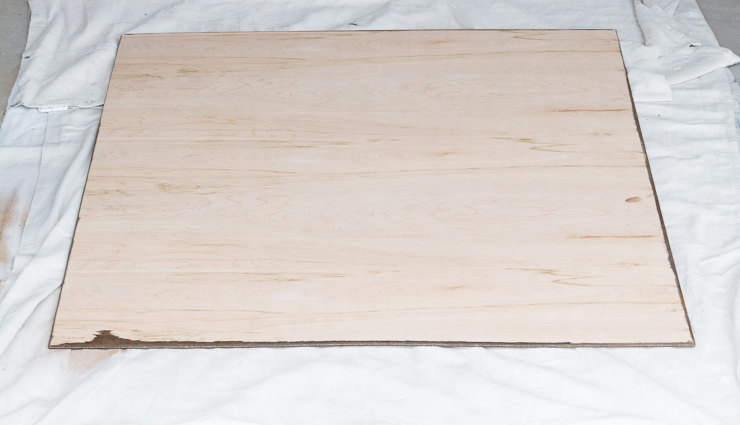
Cut the plywood piece about ½” smaller than the frame on each side. This prevents plywood edge from peeking out from behind your frame, but it will still provide plenty of support. You can also stain the edges of the plywood backing to match your frame.

DIY Wood-Framed Mirror Tutorial

Step 6: Attach the mirror to the backing.

Before adhering your mirror to the plywood backing, dry fit the frame, mirror and backing to ensure everything lines up.

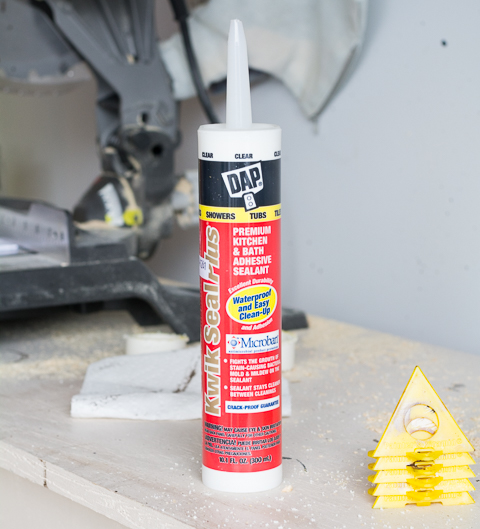
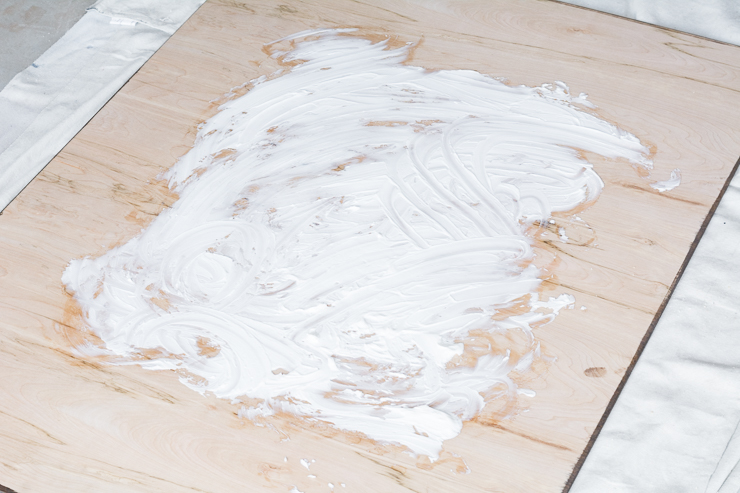
Apply clear silicone adhesive to the center of the plywood backing. (Do not use standard construction adhesive as it will mess with your mirror’s reflective side.)

DIY Wood-Framed Mirror Tutorial

Mine looks quite messy because the tube literally exploded on me, and I ended up mashing the adhesive around like finger paint. Sometimes you just have to go with it, right?

DIY Wood-Framed Mirror Tutorial

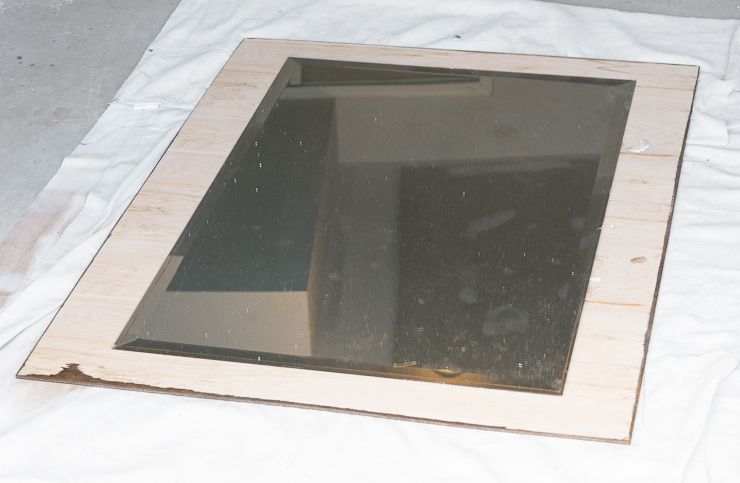
Center the mirror onto the plywood backing.

DIY Wood-Framed Mirror Tutorial

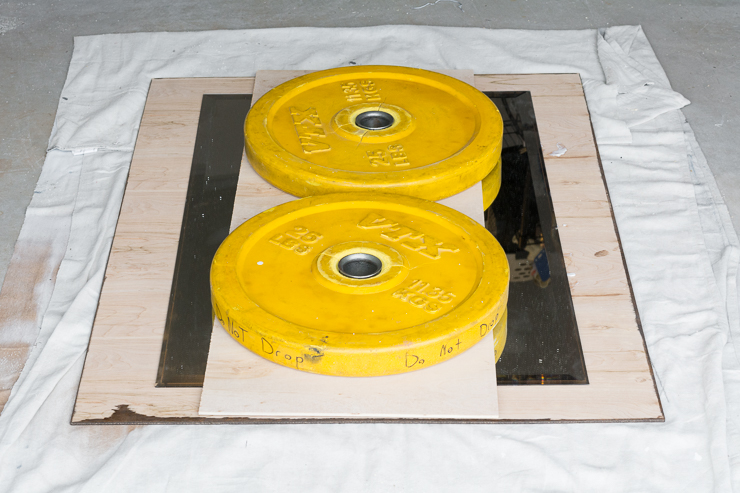
Apply weight evenly to ensure the mirror adheres well. Here’s where my husband’s garage gym actually isn’t a pain in my butt. His weights worked perfectly, and a piece of extra plywood helps to protect the mirror and distribute the weight. Let dry according to the adhesive instructions.

DIY Wood-Framed Mirror Tutorial

Step 7: Attach the frame to the mirror and backing.

Use Heavy Duty Liquid Nails to attach the frame to the backing, and then use a brad nail gun to drive nails around the backing and into the back of the frame.

But wait!

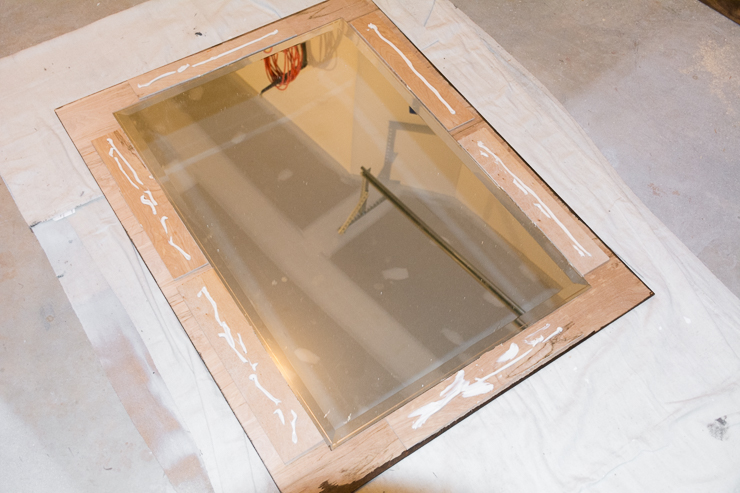
For full disclosure, here’s where I hid a snag, so I didn’t do step 7 as described. I had calculated my frame piece measurements so that the finished frame would cover the beveled edge that ran about 1″ around the mirror. That means that when I set my frame on top of the mirror and backing, there was a small gap between the backing and the frame, which foiled my plans to simply use Liquid Nails and a nail gun to attach the frame to the backing. Ugh! You can avoid this by making sure your frame fits snugly around your mirror and doesn’t sit on top of it. If you do that, just skip to step 8!

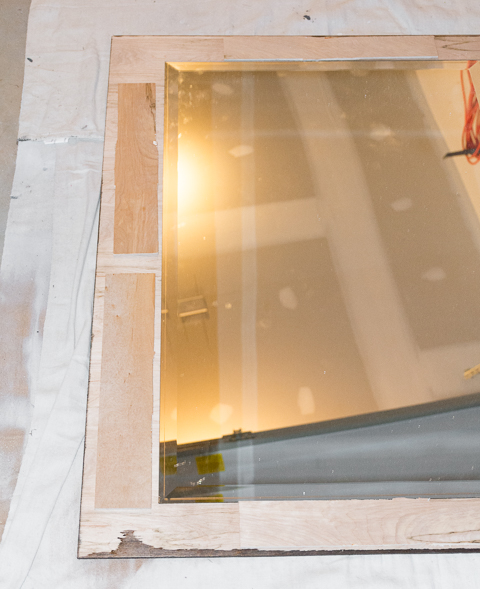
To fill the gap, cut pieces of scrap 1/4″ plywood to act as spacers around the mirror.

DIY Wood-Framed Mirror Tutorial

Then glue the scrap pieces down using Liquid Nails Heavy Duty Construction Adhesive. Add more Liquid Nails on top of the spacers, and carefully place your frame on top of the spacers.

DIY Wood-Framed Mirror Tutorial

After making sure your positioning is correct, use weights to apply pressure all around the frame. (Put scrap wood between the weights and the frame to protect it.)

DIY Wood-Framed Mirror Tutorial

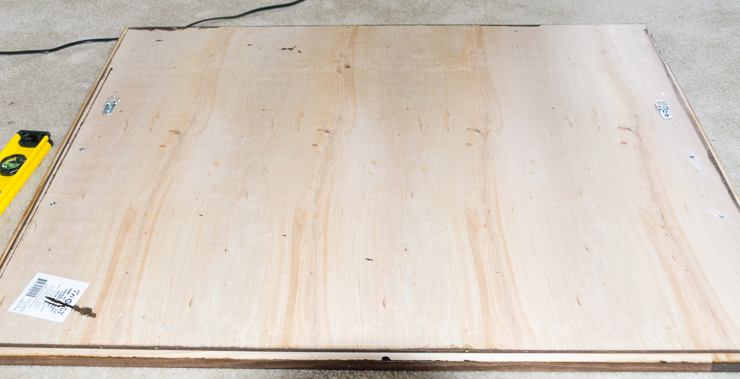
Once the adhesive has cured, flip the entire framed mirror over and drive a few screws through the backing and into those glued scrap plywood pieces.

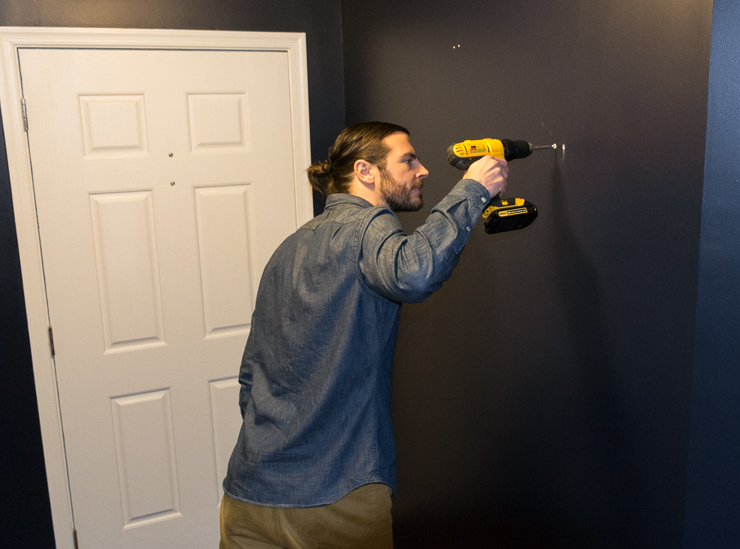
Step 8: Screw your D-rings to the back of the mirror and hang. 

If your mirror is anything like mine, you’ll need to give the frame and mirror a good cleaning after hanging it. It’s been through a lot.

DIY Wood-Framed Mirror Tutorial

Tip: Remember to hang the mirror on screws that are driven into wall studs or use drywall anchors rated for a weight that can handle your mirror.

DIY Wood-Framed Mirror Tutorial

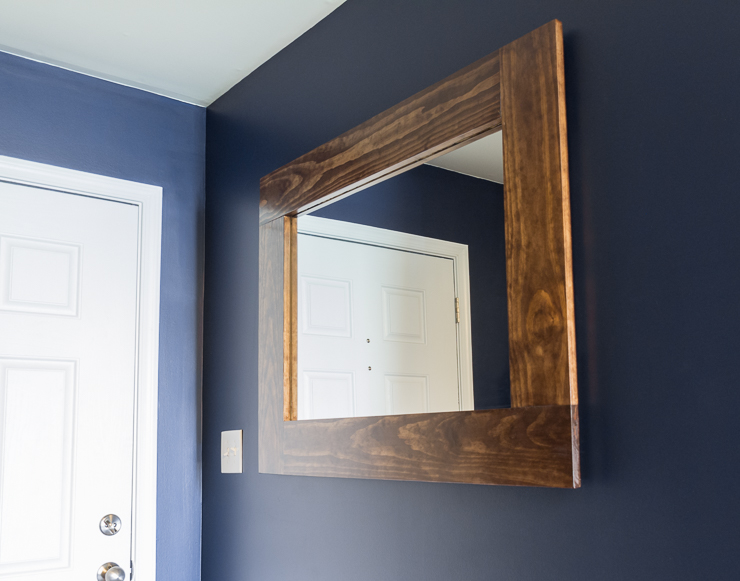
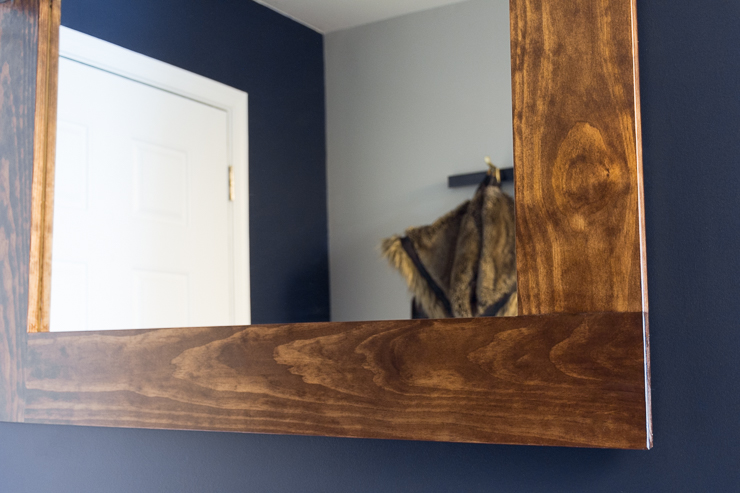
I’m really happy with how it turned out.

DIY Wood-Framed Mirror Tutorial

What do you think? I think it adds some more dimension to a room that was in desperate need of something extra.

DIY Wood-Framed Mirror Tutorial

I’ll see you next month here on Pretty Handy Girl, but in the meantime, I’d love to have you visit my blog by Brittany Goldwyn to my entryway! I’ve painted, shared free build plans for a shoe storage cubby, and revealed the final space.

DIY shoe cubby build plans

Oh, and I’m finishing up a $100 powder room makeover next week, because apparently 2017 is the year I don’t sit still. Until next time!

Wood-Framed Mirror TutorialRead More of Brittany Goldwyn’s Tutorials ~

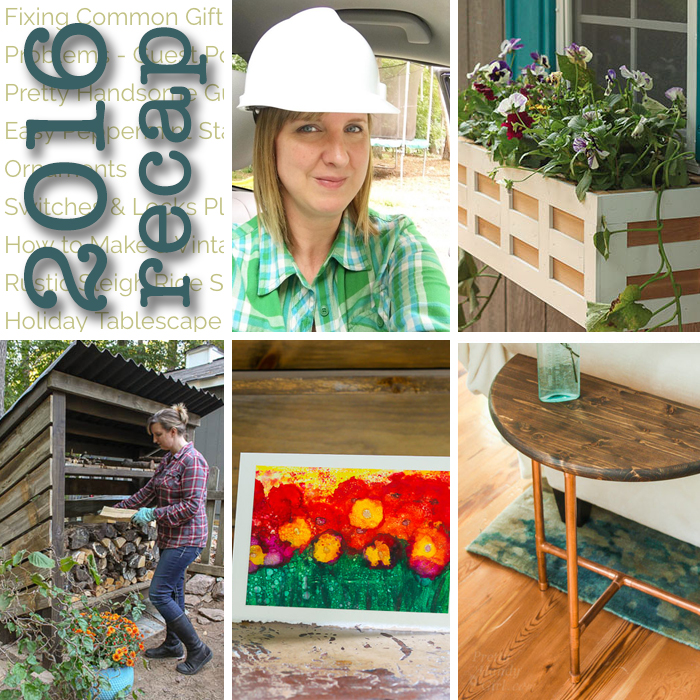
2016 was a full year for me. As a personal recap, I accomplished a lot. In January I passed the North Carolina Residential General Contractor exam to become a licensed general contractor. I’m still in disbelief that this actually happened.

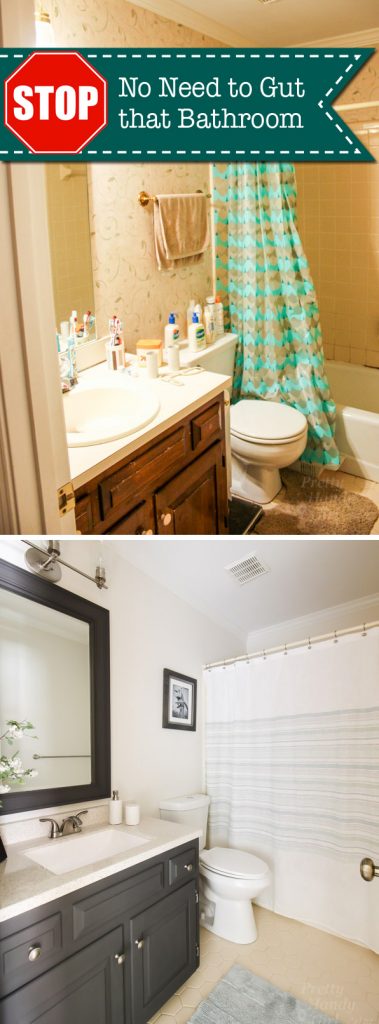
Shortly after passing the exam, a friend hired me to get her home ready to sell. I spent two months acting as a general contractor hiring subs to help fix and spruce up the house. I gave one of her bathrooms the equivalent of a remodel on a shoe string by replacing the light fixture, framing out an old mirror and painting the vanity. Here’s proof that you don’t need to gut a dated bathroom:

STOP! You Don't Have to Gut Your Dated Bathroom | Pretty Handy Girl

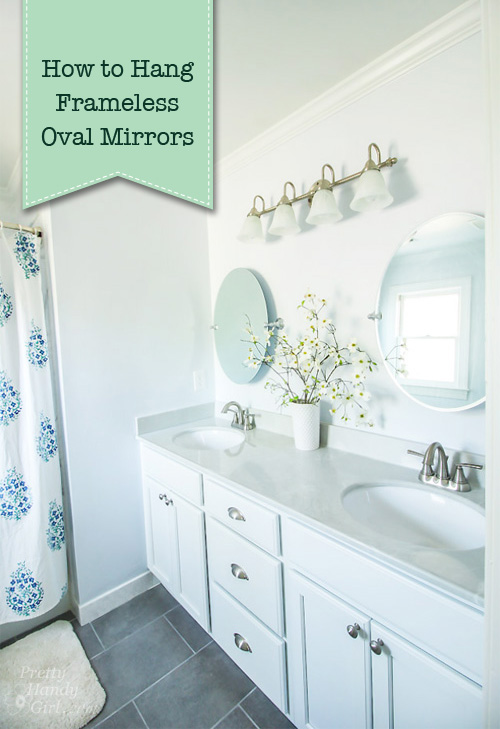
The master bathroom already had a head start with new tile and vanity. But, I finished the transformation by installing new oval frameless mirrors.

How to Hang a Frameless Oval Mirror on the Wall | Pretty Handy Girl

I’m thrilled to report that her home sold in four days for a lot more than their asking price. Woot! This experience helped me realize that although I like fixing up houses and making them beautiful again, I prefer to be the primary decision maker. I’m back to focusing on looking for a house to flip (this was the main reason I pursued my license.)

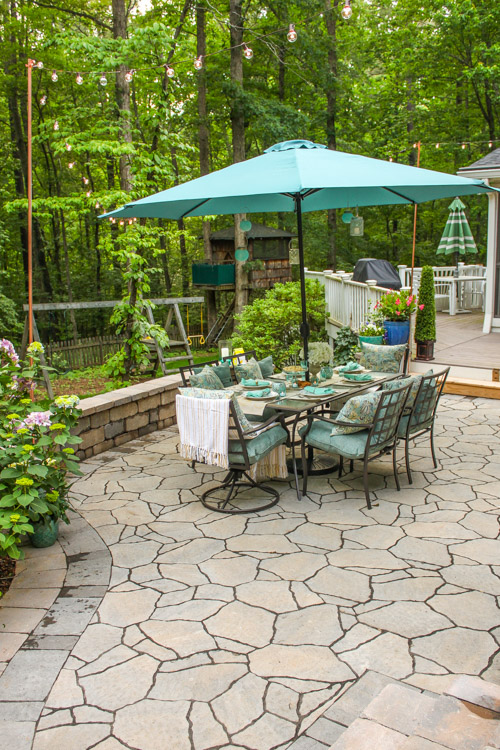
We finished a boat load of projects around the exterior of our home after a major backyard landscaping project.

Outdoor Garden Patio Party Decorating Ideas | Pretty Handy Girl

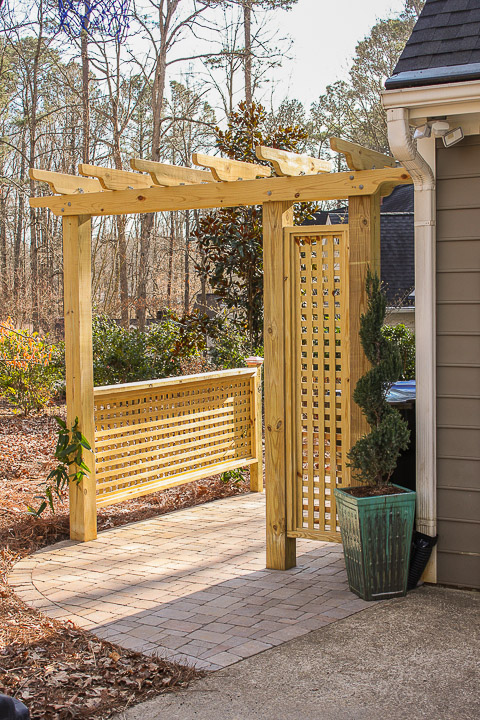
I built a Pergola Trellis Screen to hide our trash cans. Lucky for you, I drew up detailed plans so you could build your own.

Build a Pergola with Trellis to Screen Your Trash Cans | Pretty Handy Girl

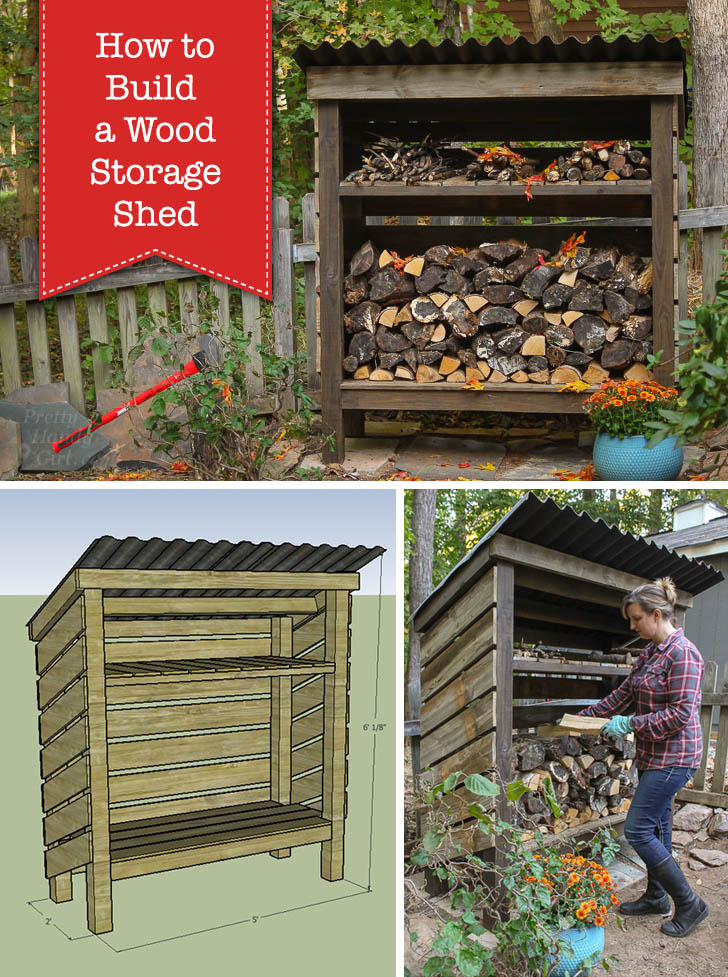
And should you need somewhere to store firewood, I built and created a tutorial for this wood storage shed.

Build a Wood Storage Shed | Pretty Handy Girl

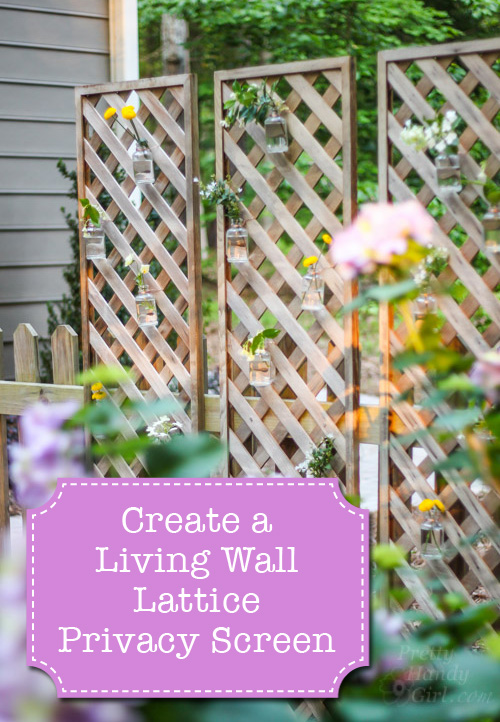
I also found a use for some old lattice panels by creating a living lattice privacy screen. This was such an easy project, I’m kicking myself for not doing it sooner.

Create a Living Wall Lattice Privacy Screen | Pretty Handy Girl

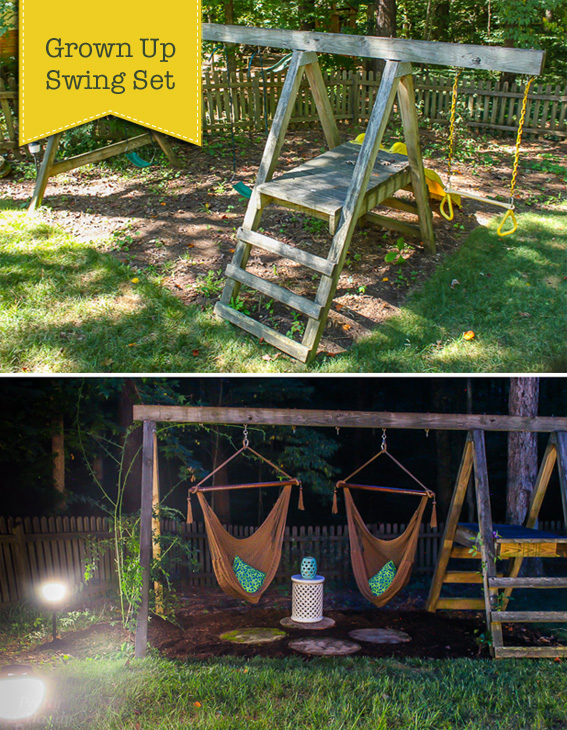
The landscape designer wanted to remove our swing set since the boys had outgrown it, but I couldn’t part with it. You could say the swing set matured with this idea for creating a swing set for grown ups.

Grown Up Swing Set | Pretty Handy Girl

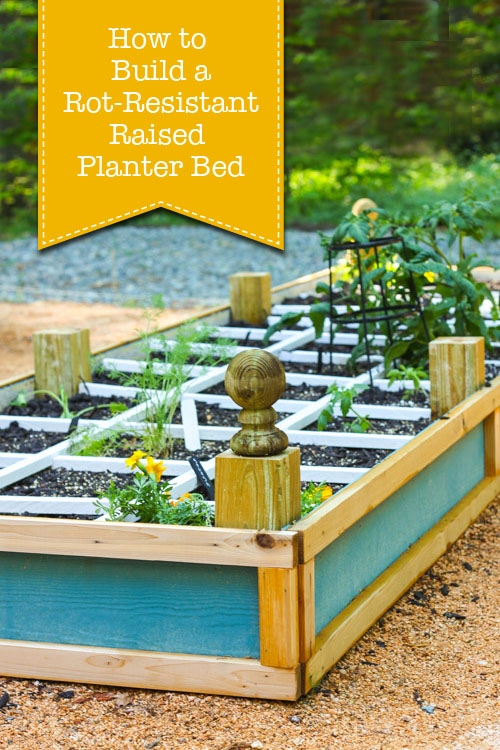
One of the projects I was most excited about was building two rot resistant raised planter beds.

How to Build a Rot-Resistant Raised Planter Bed | Pretty Handy Girl

For years I’ve craved a garden to grow our own vegetables. 2016 was the year it finally happened. We enjoyed baskets full of cucumbers, basil, tomatoes and salad greens. Hopefully we’ll have more vegetables next year.

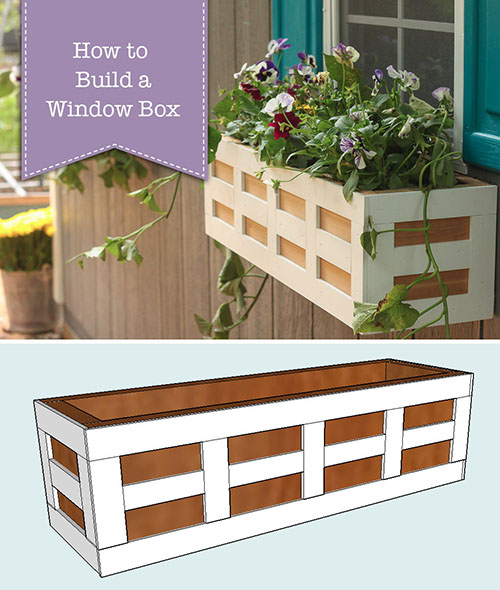
Behind the scenes I built a shed in the heat of the summer. I’ll be sharing the process in 2017. In the meantime, you can see a peek at the shed in this tutorial for how to build lattice window boxes.

How to Build Window Boxes | Pretty Handy Girl

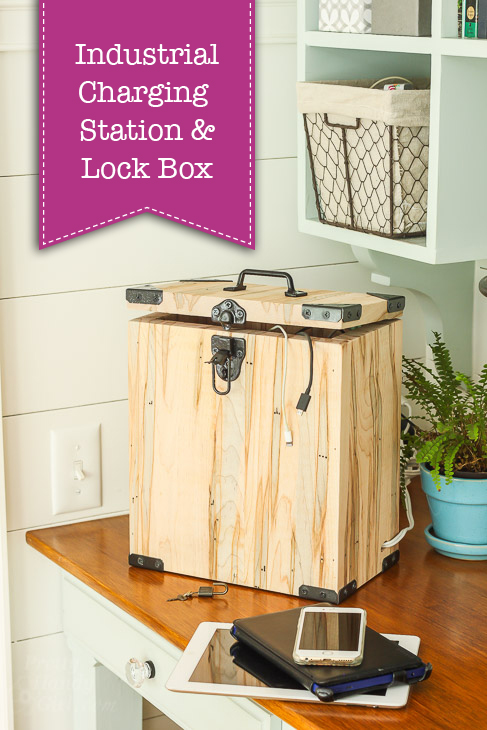
As a mother of two boys, we struggled with the boys doing too much screen time which prompted me to build this industrial style charging station and lock box.

Industrial Charging Station and Lock Box | Pretty Handy Girl

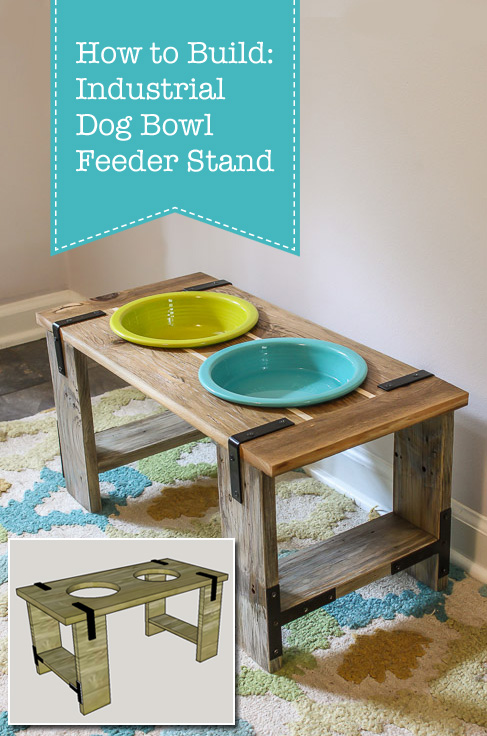
This year our hearts were broken twice. First we had to say goodbye to Buddy aka Handy Dog after he developed a tumor on his heart. Within a few months, we opened our hearts and home to Lena the Lucky Dog but sadly we had to give her back to the rescue when she couldn’t be trained (or medicated) to stop guarding me from everyone in the family. (Good news, she was adopted the next day by a couple without children. They were a much better fit for her personality.) While she was with us, I made an industrial dog bowl feeder that was a better fit for Lena.

How to Build: Industrial Dog Bowl Feeder Stand | Pretty Handy Girl

I never officially shared it on the blog, but in October we adopted Bandit the Rescue Dog. He’s a one year old ball of energy. I never thought we’d have such a young dog, but his antics are filling our home with lots of smiles and laughter. He is truly one happy go lucky pup.

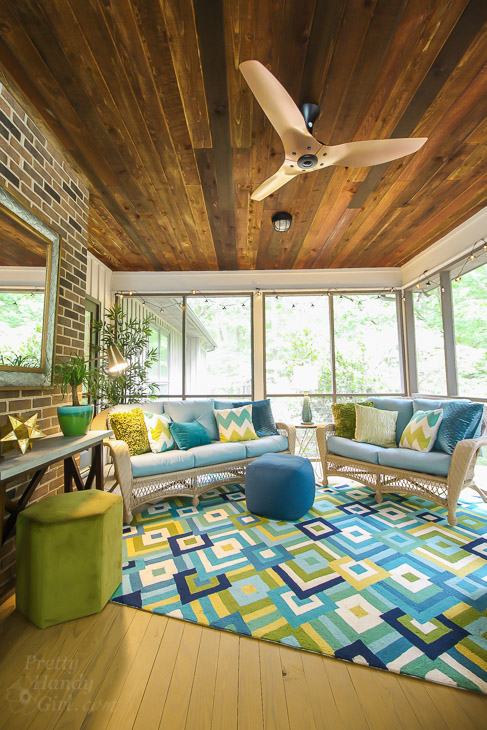
One of the before and after transformations I’m most proud of is the drab to fab screen porch makeover I gave to my stepmom. She loves it and is spending a lot more time writing out there.

Installing the Most Beautiful Ceiling Fan | Haiku Copper Luxe Ceiling Fan | Pretty Handy Girl

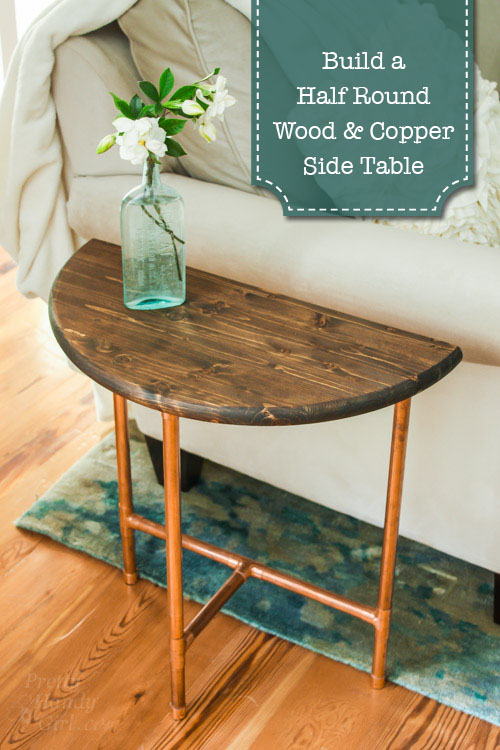
2016 could be called the year of copper on the blog. I had so much fun working with copper pipes. From creating a half round copper pipe side table. . .

Half Round Copper & Wood Side Table | Pretty Handy Girl

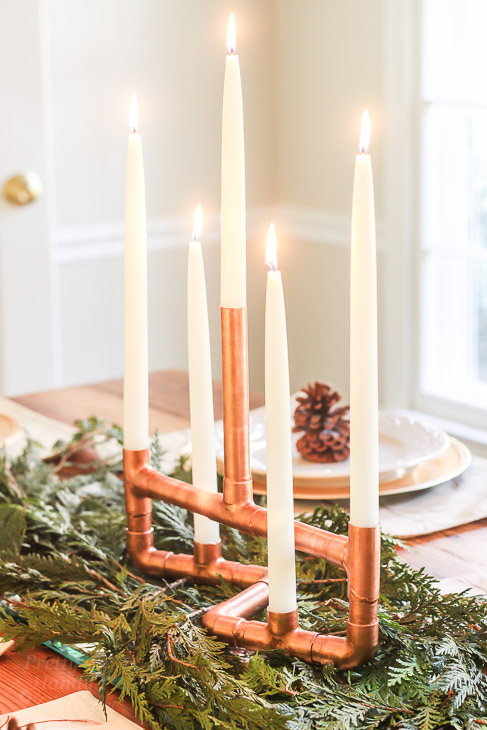
to a copper pipe centerpiece:

DIY Copper Pipe Centerpiece | Pretty Handy Girl

I even discovered a way to turn copper pipe into jewelry!

DIY Copper Ring Jewelry | Pretty Handy Girl

To finish out my 2016 recap, I enjoyed indulging my creative artist side by painting with alcohol inks.

Painting with Alcohol Inks | Pretty Handy Girl

These were so fun to play with and anyone can create stunning art with alcohol inks! Just follow my video tutorial for tips and tricks using alcohol inks.

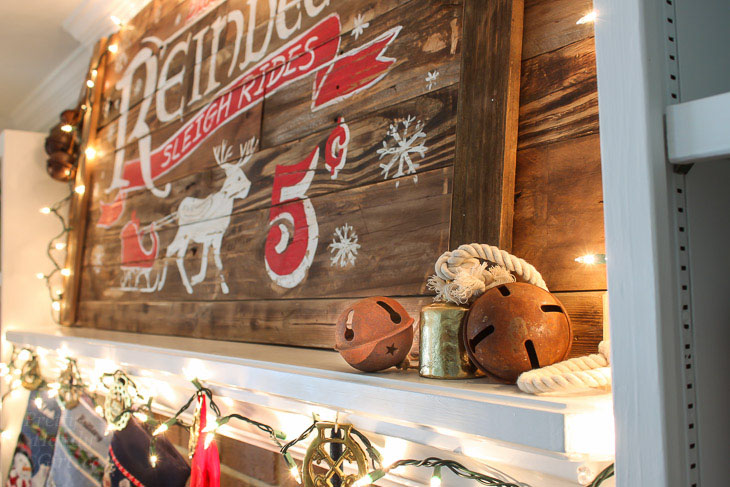
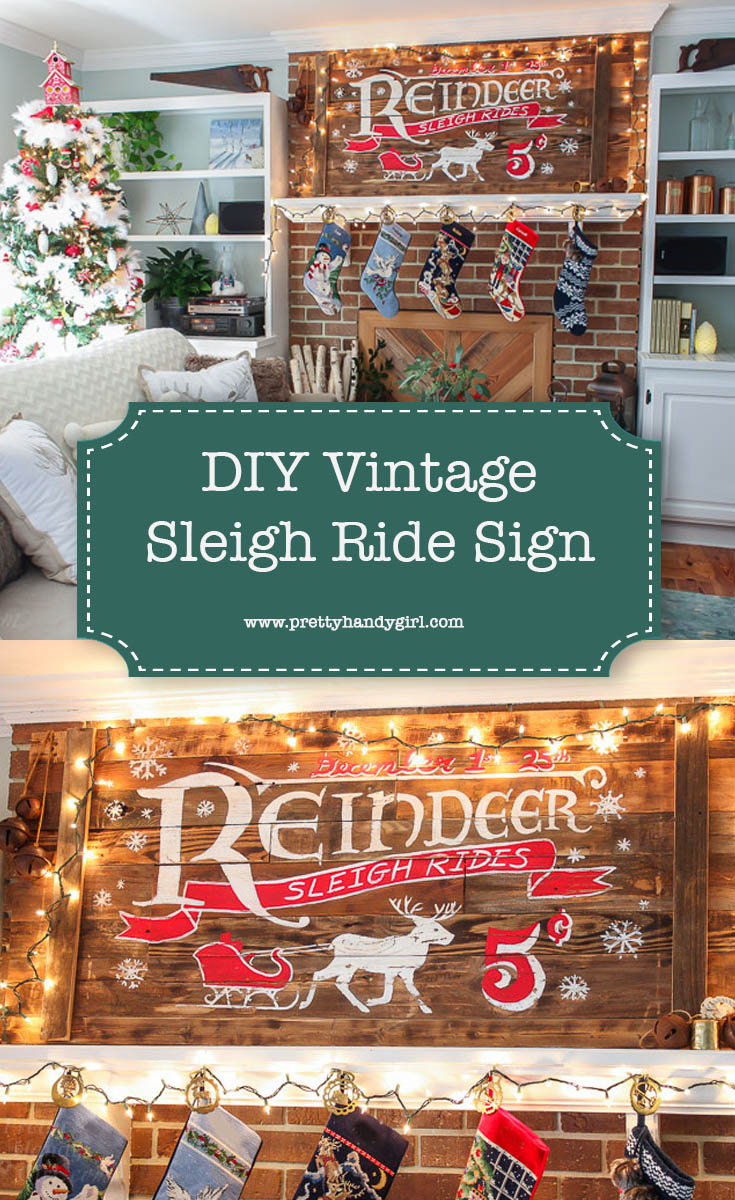
Finally, if you ever wanted to find the perfect vintage sign, now’s your chance to stop looking and learn how to make a vintage rustic sleigh ride sign (or any other sign you desire.)

How to Make a Vintage Rustic Sleigh Ride Sign | Pretty Handy Girl How cool! You can use this technique to make or transfer any sign graphic.

I hope you enjoyed some of my tutorials this year. Did I miss any of your favorites?

I have a lot in store for you in 2017, so stick around!

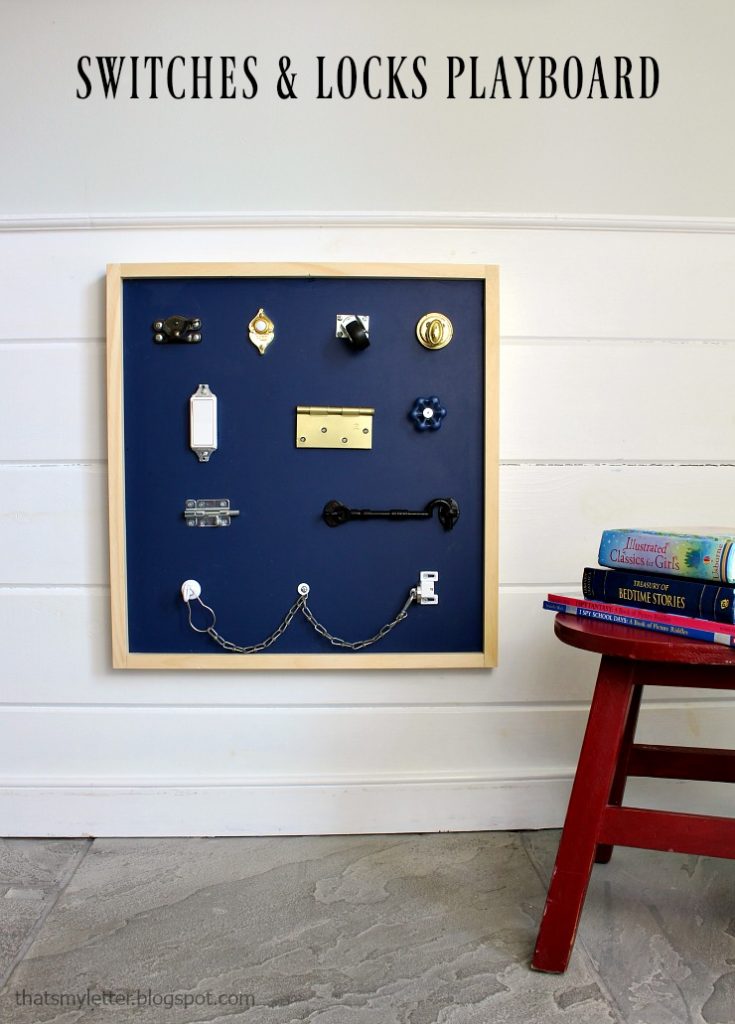
Switches and Locks Playboard | Pretty Handy Girl

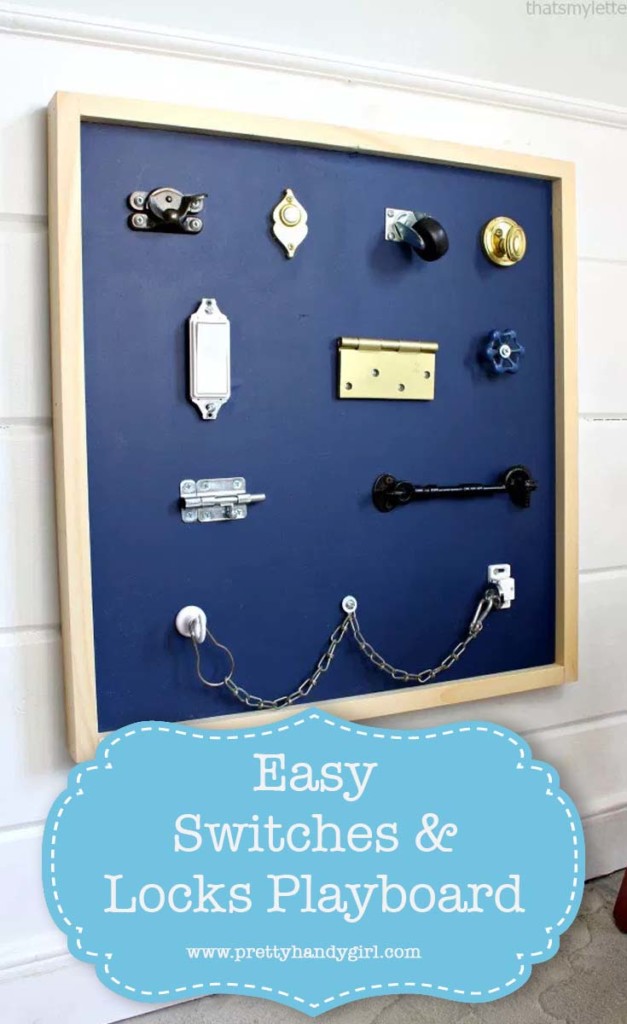
Hello readers, it’s Jaime from That’s My Letter here and we are nearly to the end of 2016!  I have a super easy and fast last minute gift idea for kids – a switches and locks playboard that uses up all those spare hardware bits lying around your workshop!

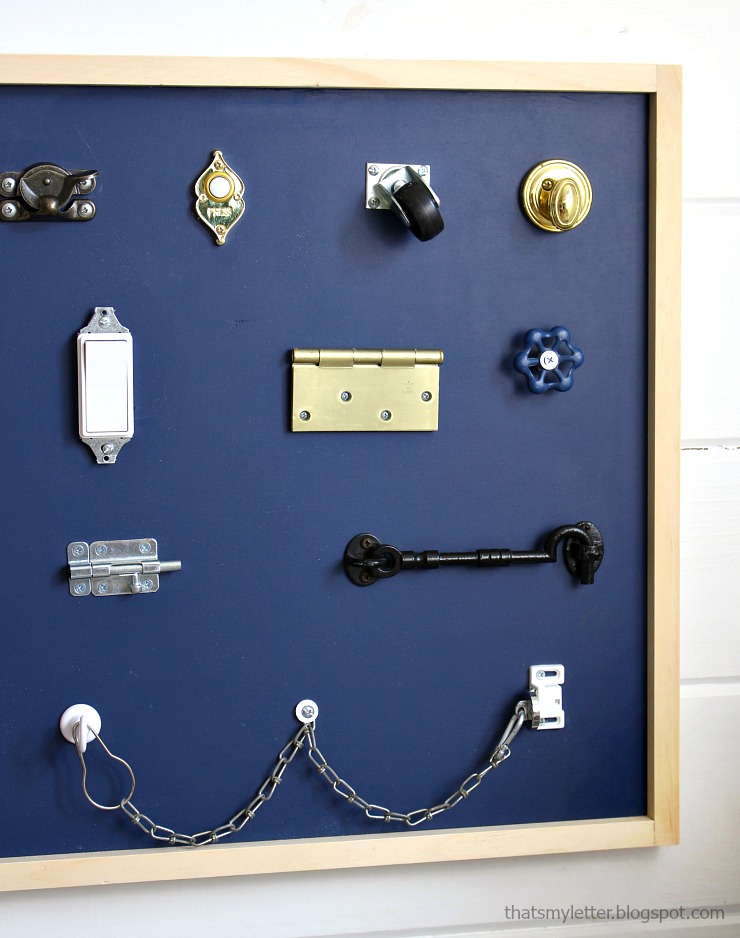
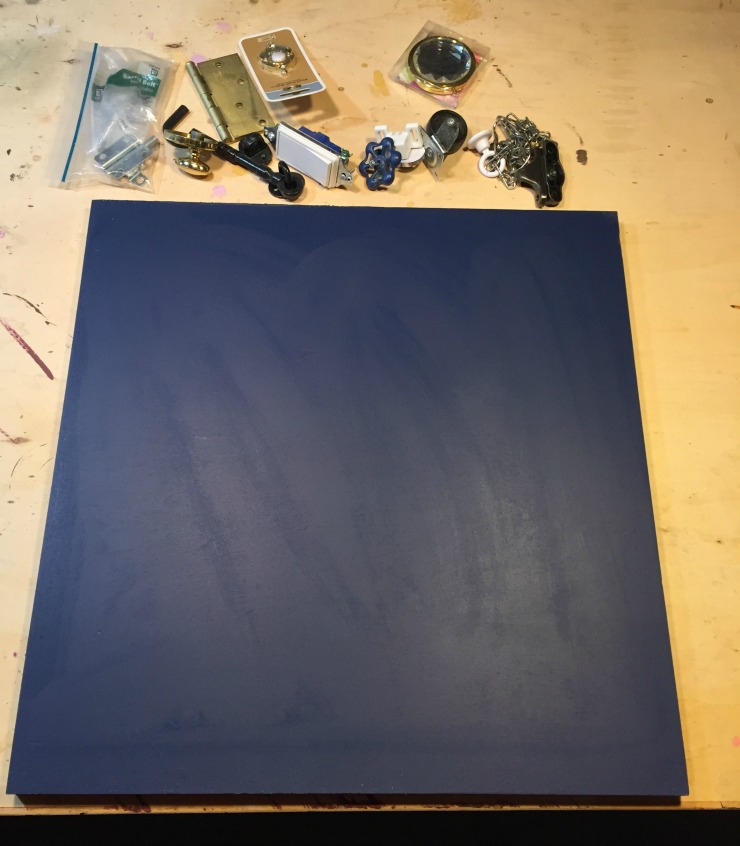
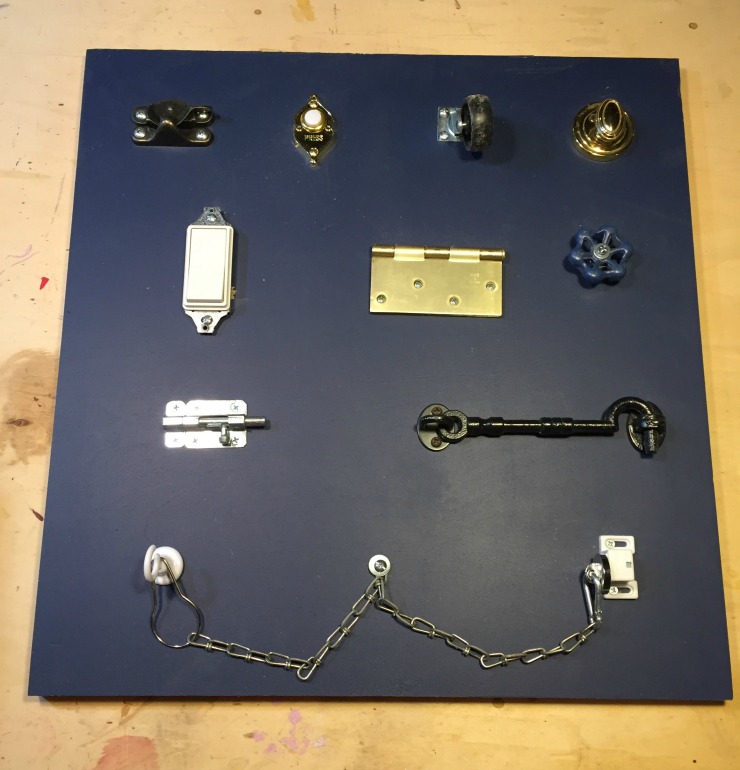
I scoured my workshop pulling together all the spare pieces of hardware I had stashed away to use on this playboard.  Anything that moves, turns, twists, flips, or latches will be great for this project.  I always save random pieces of hardware from renovations or from previous projects and today they are coming in handy.

Switches and Locks Playboard | Pretty Handy Girl

This playboard makes a great gift for toddlers and young kids to keep them busy with all the different hooks and latches.  Just be careful to steer clear of anything that could pinch or snap little fingers.

I added the pine board frame to finish off the plywood and make this board a nice, completed, functional board perfect for my almost 3-year-old nephew.

Switches and Locks Playboard | Pretty Handy Girl

Supplies:

  • 3/4″ plywood scrap piece about 19″ x 19″
  • Paint
  • 1″ x 2″ x 8′ pine board
  • Misc. switches, locks and hardware pieces
  • Nail gun
  • Wood glue
  • 1 ¼” finish nails
  • French cleat

Instructions:

Step 1: Paint the plywood and let dry.  Gather all your miscellaneous switches, knobs, locks, pulls, chains, magnets, etc.

Switches and Locks Playboard | Pretty Handy Girl

Step 2: Attach all the hardware pieces to the plywood.

Switches and Locks Playboard | Pretty Handy Girl

Step 3: Frame out the plywood using 1×2 boards attached with wood glue and 1 1/4″ finish nails.  Add a french cleat to the center top back and hang on the wall:

Switches and Locks Playboard | Pretty Handy Girl

Now you’re ready to add a giant bow and give to that special little someone!  Take a look through your workshop and I guarantee you’ll find a few miscellaneous hardware bits that would be perfect for a switches and locks playboard.  Happy Holidays!

~Read more of Jaime’s tutorials~


Pin for later!


How to Make a Vintage Rustic Sleigh Ride Sign | Pretty Handy Girl How cool! You can use this technique to make or transfer any sign graphic.

How to Make a Vintage Rustic Sleigh Ride Sign | Pretty Handy Girl How cool! You can use this technique to make or transfer any sign graphic.

How to Make a Vintage Rustic Sleigh Ride Sign:

You guys, I’m super excited about this Vintage Rustic Sleigh Ride Sign I made using scraps from my workshop. This sign turned out 200 times better than I imagined in my head. I knew I had to share the tutorial with you so you can make your own vintage signs for any holiday! Let’s get this party started.

Sign:

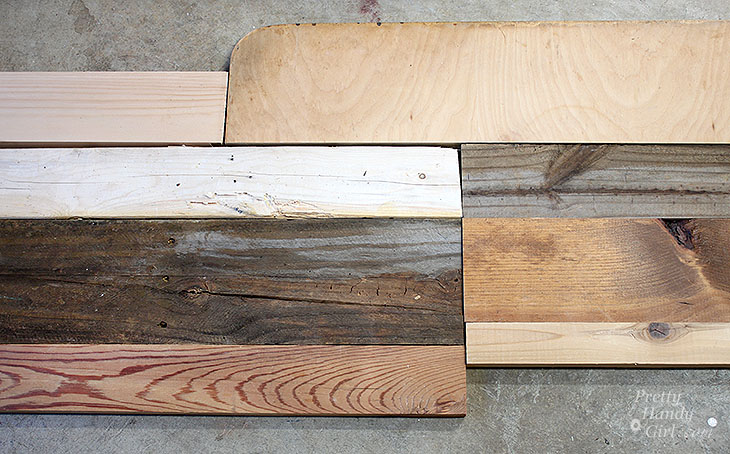
First I suggest measuring the space where you want to hang your sign (it would suck to build it too large or too small.) Begin laying out your scrap wood. It’s best to line up the same width boards along each row. If you need to, you can rip down scraps on a table saw.

scrap-layouts

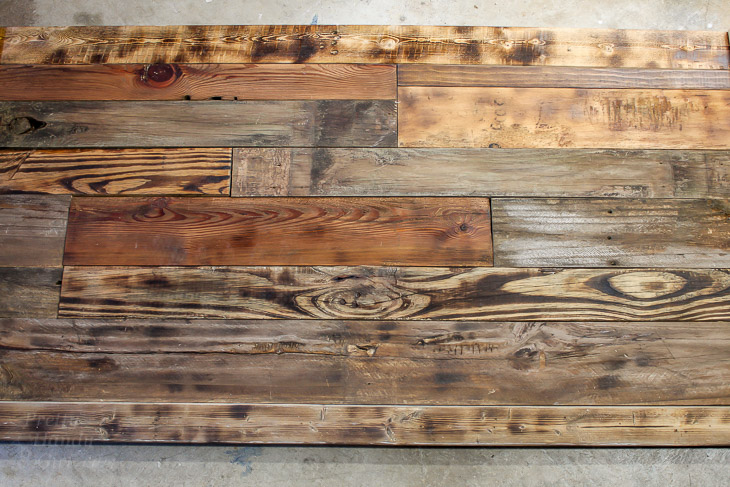
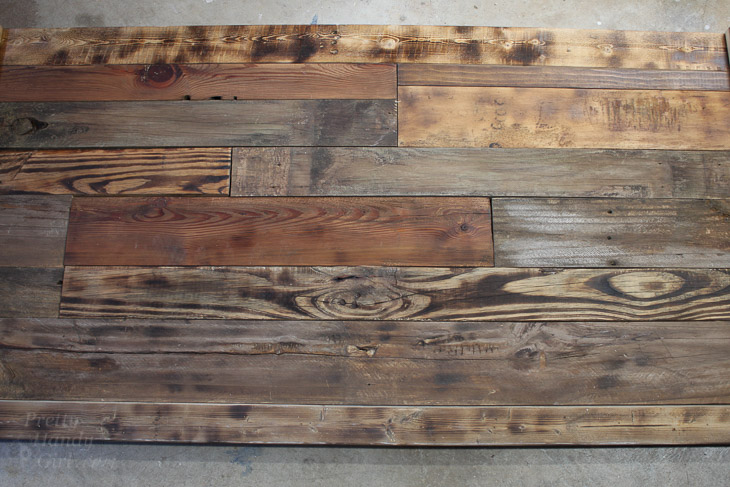
Once you have the scraps laid out, add any stain or paint if you desire. I added a combination of glaze, stain and burned some boards to give them a similar color value but still let them look unique.

scrap-wood-assembled-2

Supports:

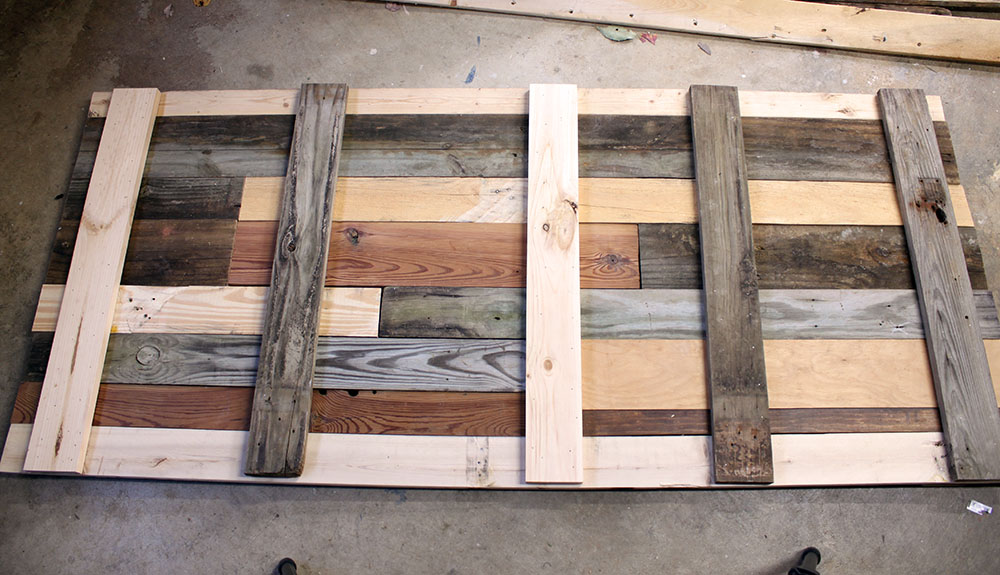
The key to building a sign with lots of scrap wood is to space your supports well. Each board should have two vertical support pieces on the back, unless the board is really short. You might be able to get away with just one support for those shorties.

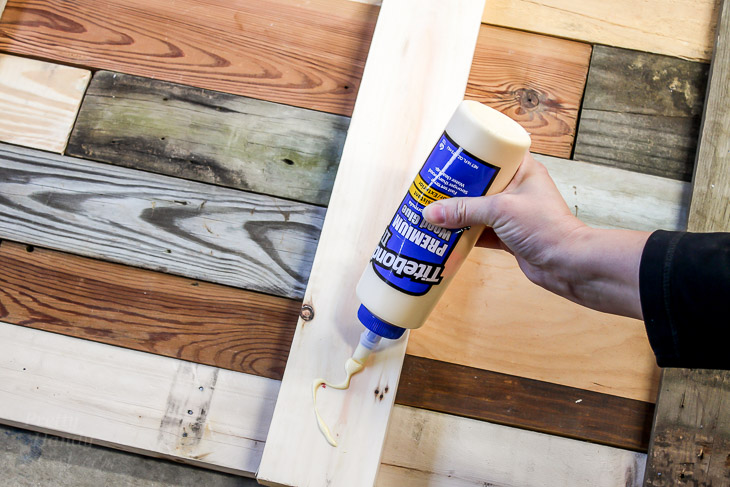
Cut 1″ x 4″ boards to the height of your sign. Flip the scraps over and glue each support board.

add-back-support-boards-wood-glue-4

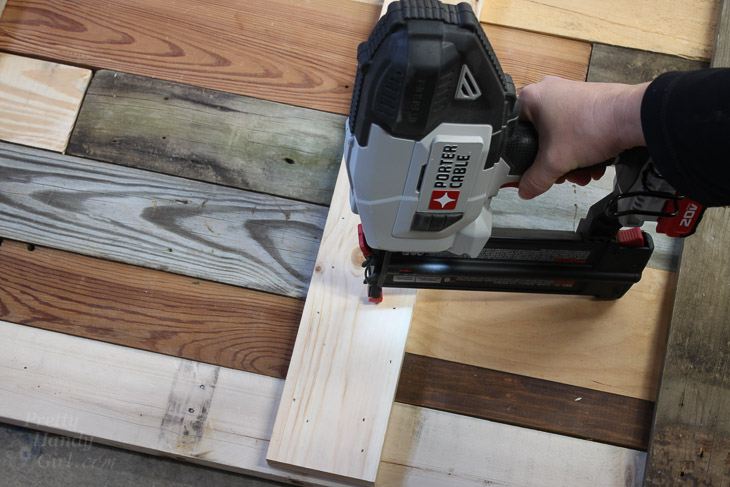
Nail each support board 3-4 times to each scrap.

secure-supports-finish-supports-6

I ended up using 5 supports for my sign.

scrap-wood-sign-support

Allow the glue to dry. Flip your sign over and make sure the scrap boards are well secured.

scrap-woods-layout-2

Transferring the Image:

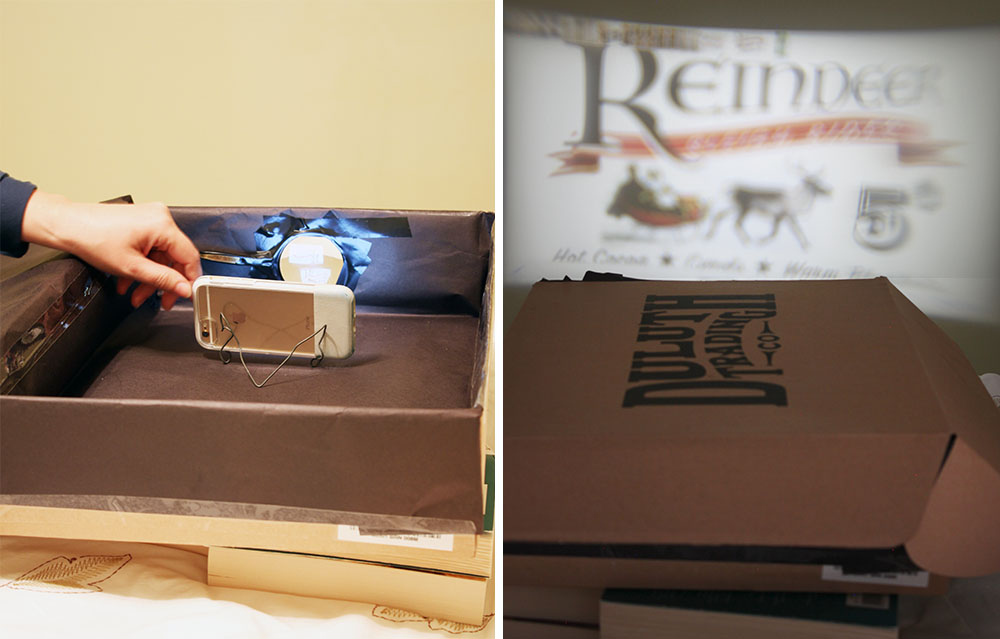
Now it’s time to have some fun. I made a shoebox projector by following the directions in this video:

I created a basic sketch for the sign. (You are welcome to use this image, but please use for personal use only. Do not resell products with this image on it. And please be sure to credit and link back to this post if you use my image and blog about it.)

How to Make a Vintage Rustic Sleigh Ride Sign | Pretty Handy Girl How cool! You can use this technique to make or transfer any sign graphic.

For your convenience, this image has already been flipped and reversed for projecting it in the shoebox projector.How to Make a Vintage Rustic Sleigh Ride Sign | Pretty Handy Girl How cool! You can use this technique to make or transfer any sign graphic.

Send the image to your phone. Insert the phone into the shoebox. (The brightness has to be turned all the way up and you might want to change the display setting to stay lit longer.) Turn the lights out. Move the shoe box back and forth until you have the image sized as large as you want. Then move your phone forward and back to focus.

shoebox-projector

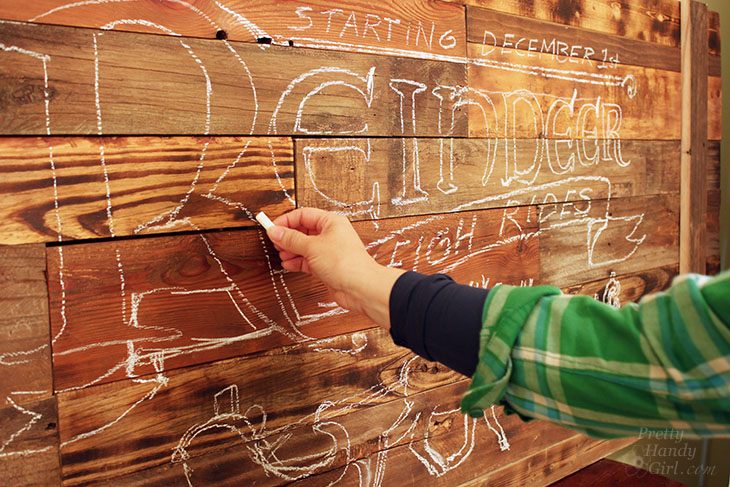
I will say that my image isn’t as clear as I expected, but my magnifying glass is old and scratched up. However, it gave me enough information to trace my image. Use chalk to trace around the design.

chalk-outline-sign-image

Painting Your Sign:

Now you’re ready to paint your sign. It’s not hard at all, think of it like coloring in the lines of a coloring book. Here’s my video tutorial to help you learn all my tips and tricks while painting signs:
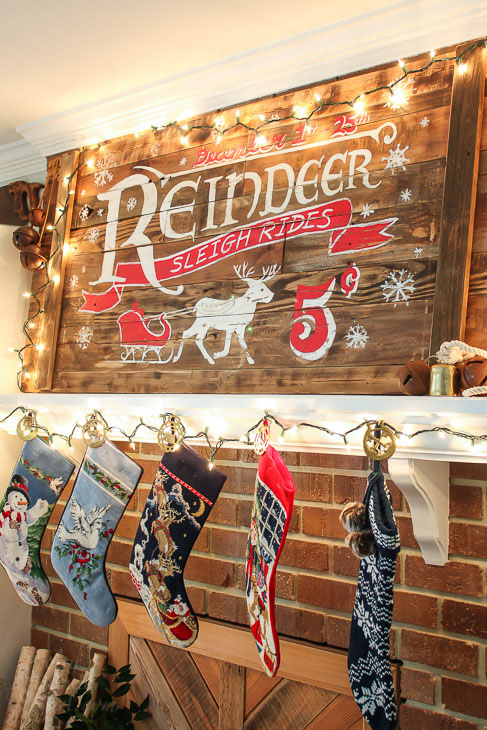
All done? Great! Hang your “new” Vintage Rustic Sleigh Ride Sign with pride.
Holiday Home Tour 2016 | Pretty Handy Girl

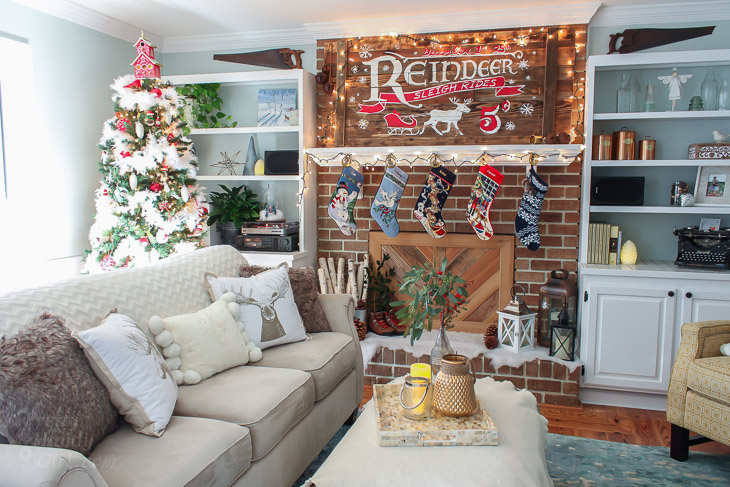
I won’t let on that you just made it. Let’s let everyone think we scored this fun sleigh ride sign at an antique shop. 😉

Holiday Home Tour 2016 | Pretty Handy Girl

Holiday Home Tour 2016 | Pretty Handy Girl

Where are you going to hang your vintage rustic sign? I think I’m going to make another one for our kitchen. Maybe a market sign with a pig silhouette?

Holiday Home Tour 2016 | Pretty Handy Girl

Hope you are enjoying the holidays!

PHGFancySign


Pin for later!

Add vintage charm to your holiday home with this DIY Reindeer Sleigh Sign | Pretty Handy Girl #DIYholiday #holidayhome #holidaysign

This DIY cell phone holder and charging station is a great last minute gift idea.

This DIY cell phone holder and charging station is a great last minute gift idea.

Hello Pretty Handy readers, it’s Jillian here from I Am a Homemaker  and I have a great last minute gift idea for that person on your list that has it all! Does anyone what to know how to build a DIY Cell Phone Holder and Charging Station?

Whether you see it as a blessing or a curse, we are pretty much tethered to our cell phones. They usually end up on our nightstands or kitchen counters at night. I don’t know about you but I use mine as an alarm clock (no worrying about forgetting to turn the clock back or the power going out and missing your wake up time.)  I thought it was time to make a designated spot for my phone that would double as a convenient way to charge it. I came up with this simple DIY cell phone holder and charging station.  Ready to learn how to make one of your own?

These directions will adequately hold an iPhone 6. You may need to adjust things slightly if you have a different phone.

(I’ve included affiliate links for your convenience. I earn a small percentage from a purchase using these links. There is no additional cost to you. You can read more about affiliate links here.)

Materials:

Instructions:

Step 1: Measure and mark a 6″ long and 3/4″ wide guide down the center of your one of your boards. This is the section you will remove from the wood to make a space for your phone.

This DIY cell phone holder and charging station is a great last minute gift idea.

Step 2: Set your router for a 3/4″ depth setting and use the 1/2″ router bit to remove the channel you outlined with your pencil.

This DIY cell phone holder and charging station is a great last minute gift idea.

Step 3: Use the 1/4″ bit for more control to clean up the edges of your channel.  Be sure to have your phone on hand to check the fit.

This DIY cell phone holder and charging station is a great last minute gift idea.

Step 4: Add glue to the top of the second piece of wood. Stack the routered piece on top and clamp them together. Allow to dry according to the wood glue instructions. (You can ignore the hole in my piece, I did things a little backwards but you can save some time by learning from my mistakes.)

This DIY cell phone holder and charging station is a great last minute gift idea.

Step 5: Once the glue has dried, drill a hole through both pieces starting in the center of the channel and coming straight out the bottom. Flip the piece over. Beginning at the hole you drilled and continuing to the back of the piece, use your 1/2″ router bit to cut a groove for the cord to rest in.

This DIY cell phone holder and charging station is a great last minute gift idea.

Step 6: This is totally optional, but you can go back and edge the top of your cell phone holder with a round over bit on your router to make a decorative edge.  It gives the piece a more decorative look.

This DIY cell phone holder and charging station is a great last minute gift idea.

Step 7: Now all you need is the perfect person to gift this to. Or you could always keep it for yourself. 😉

This DIY cell phone holder and charging station is a great last minute gift idea.

The phone can sit vertically or horizontally. When it is placed vertically, the charger will be completely hidden in the hole. When it is horizontal, the cord will need to be pulled up a bit and tucked behind the phone.

This DIY cell phone holder and charging station is a great last minute gift idea.

Want a few more last minute gift ideas? Check out these DIY gift ideas!

Jillian's Signature

-Read more of Jillian’s posts-


Pin for later!

Follow along with this easy tutorial on how to make a simple DIY cell phone holder and charging station. | DIY cell phone charger | Pretty Handy Girl #prettyhandygirl #DIY #chargingstation #cellphonecharger