Painting with Alcohol Inks
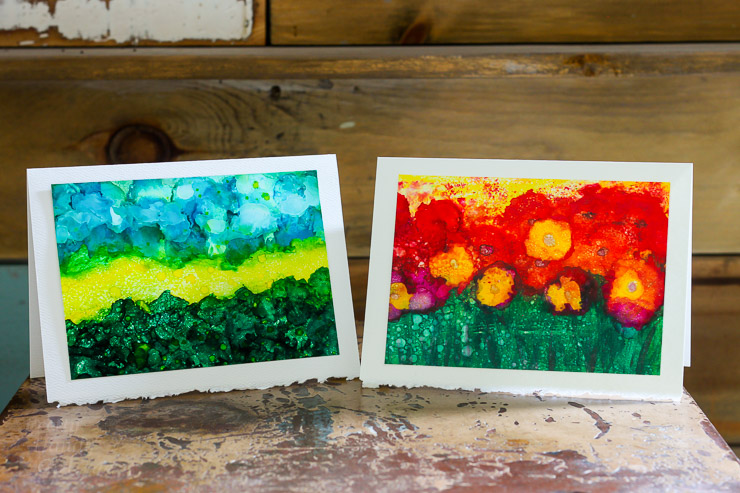
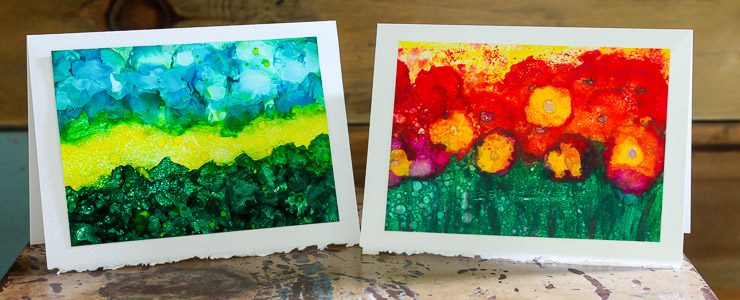
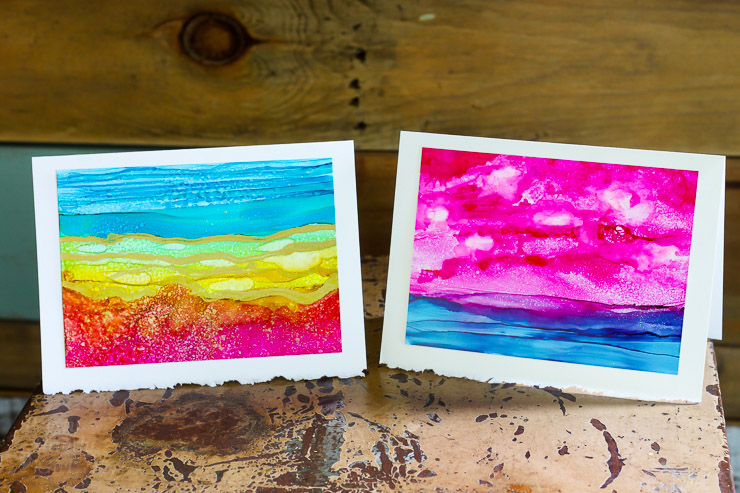
I’ve been indulging in my own art therapy lately. It’s been a stressful month and I’ve found a new outlet for all that tension. Alcohol! Well, alcohol inks to be accurate. These brightly colored inks feed my love of colorful art. And the free flowing drops are hard to control so I just give in to what they want to do. I found if I try to overwork the inks into an image I have in my head it doesn’t come out. In a subtle way working with alcohol inks is like a therapist telling me to go ahead and give a little and let life do with me what it will. Maybe I’m overthinking it, but I do know that I feel a lot better after some fun painting with alcohol inks. And I’m loving these little greeting card size paintings I’m creating lately.
Want to learn how to paint with this brilliantly colored medium? Here are some fun tips and tricks for painting with alcohol inks:
(I’ve included affiliate links for your convenience. I earn a small percentage from a purchase using these links. There is no additional cost to you. You can read more about affiliate links here.)
Painting with Alcohol Inks Materials:
- Alcohol inks (I used this color palette)
- Claro Extender
- Yupo paper
- Apron
- Plastic drop cloth
- Cardboard, chipboard or a cereal box
- Painter’s tape
- 91% isopropyl alcohol
- Misting bottle
- Paint brushes
- Can of compressed air
- Drinking straw
- Nitrite or latex gloves
- Baby wipes
- Empty container with some isopropyl alcohol in the bottom
Optional:
- Hair dryer
- Palette knife
- Q-tips
- Blank greeting cards
- Double stick tape
- Krylon UV Archival Varnish
Painting with Alcohol Inks Instructions:
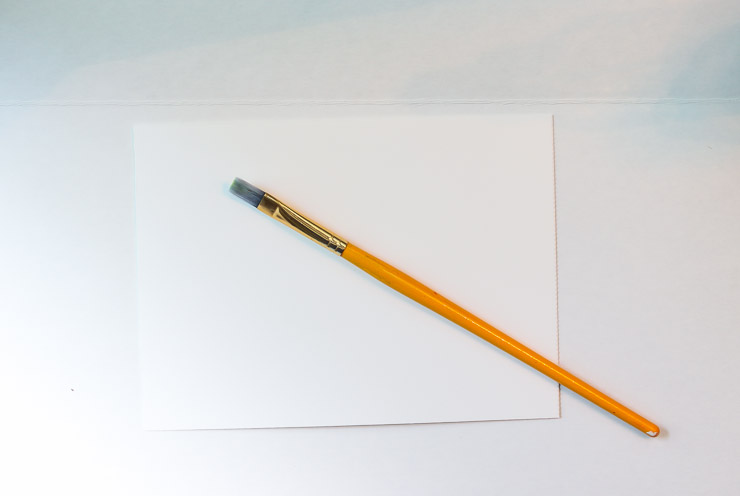
Cover your work area with the plastic drop cloth. Cut 9″ x 12″ Yupo paper into quarters. Use a small piece of painter’s tape to attach the Yupo paper to the center of the chipboard. This will control any mess and allow you to pick up and move the paper as you work without disturbing the ink.
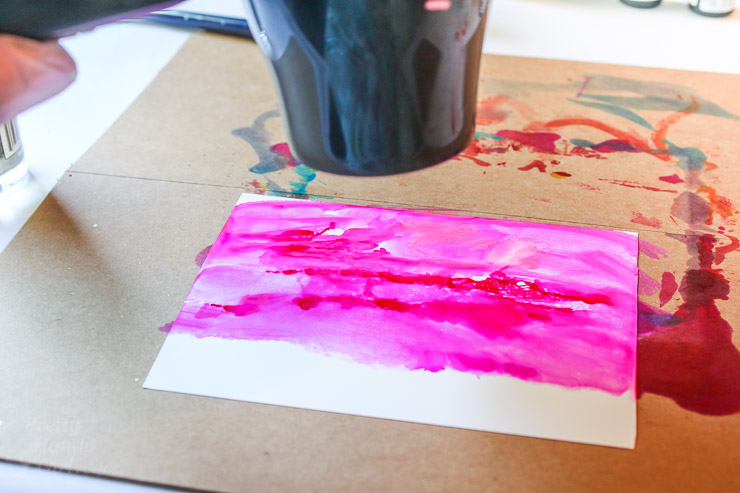
Drip or drizzle a few drops of alcohol ink onto your paper. A little ink goes a long way.
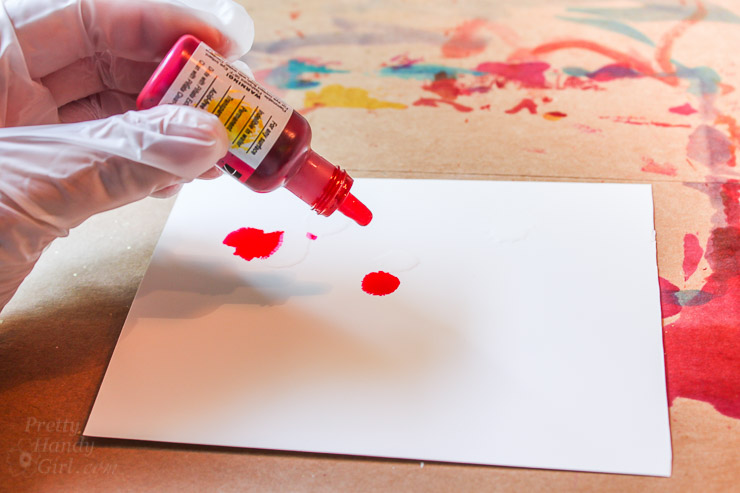
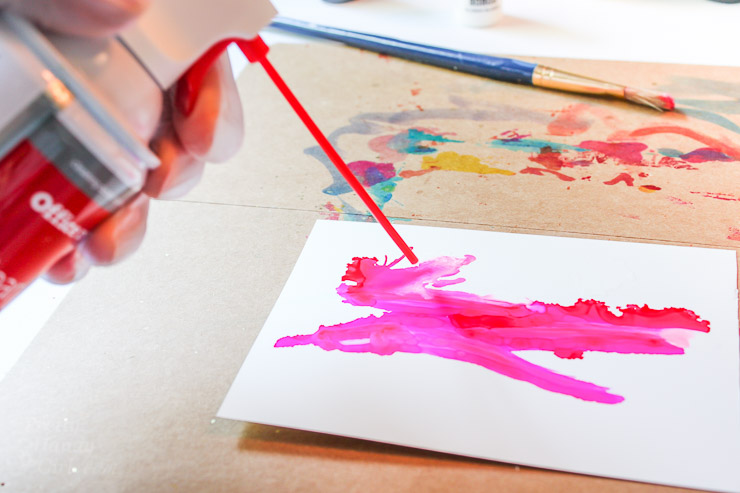
Use compressed air to spread the ink around.
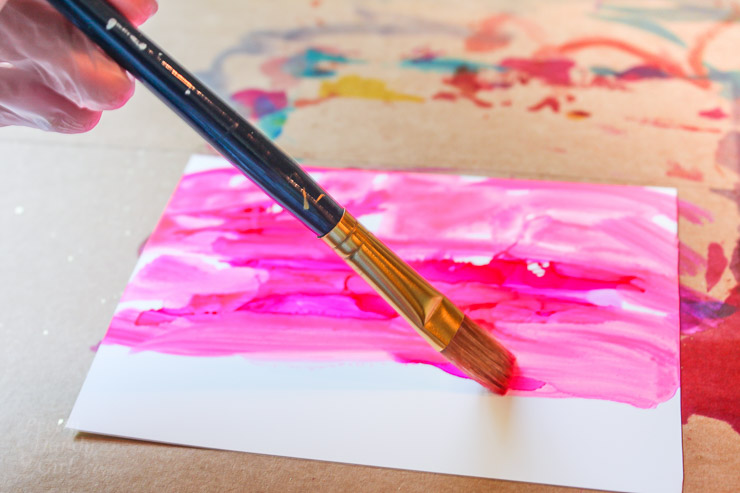
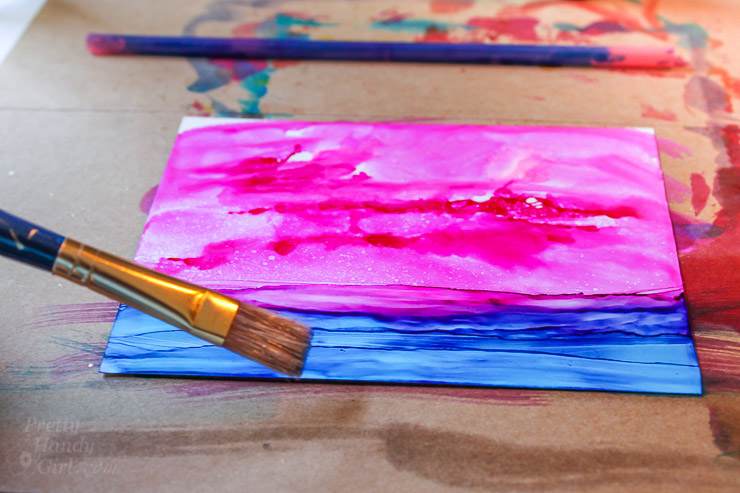
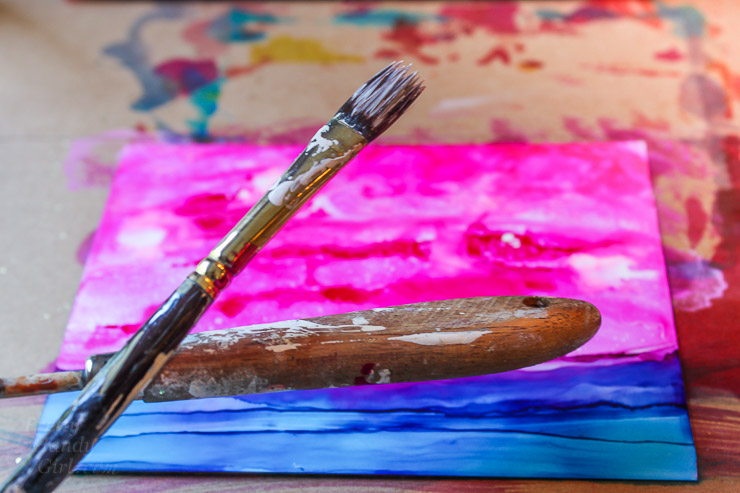
You can also use a paint brush dipped in alcohol to continue to spread and work with the ink.

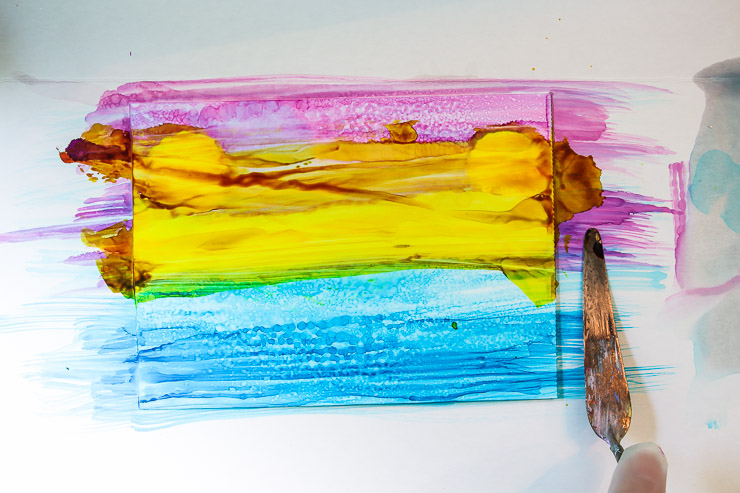
Or try using the palette knife to spread the ink for a different look.
Continue adding more ink and spreading the ink until you like an area.
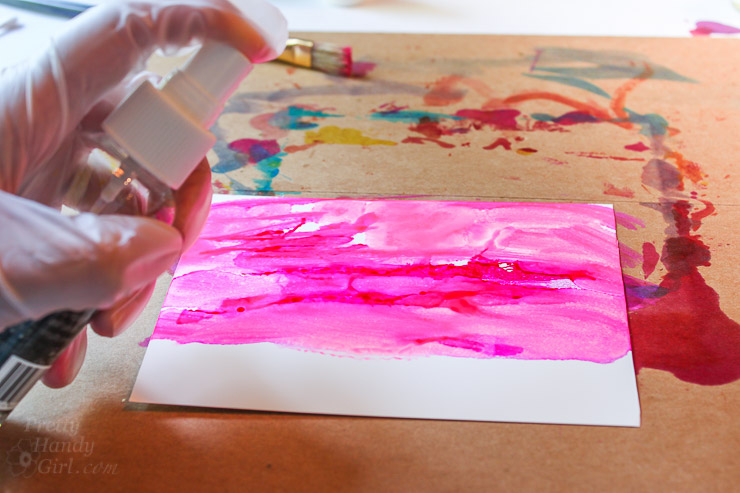
To re-activate dried alcohol ink, spritz it with the misting bottle filled with isopropyl alcohol.
Use a hairdryer to gently move the ink or dry the ink more quickly.
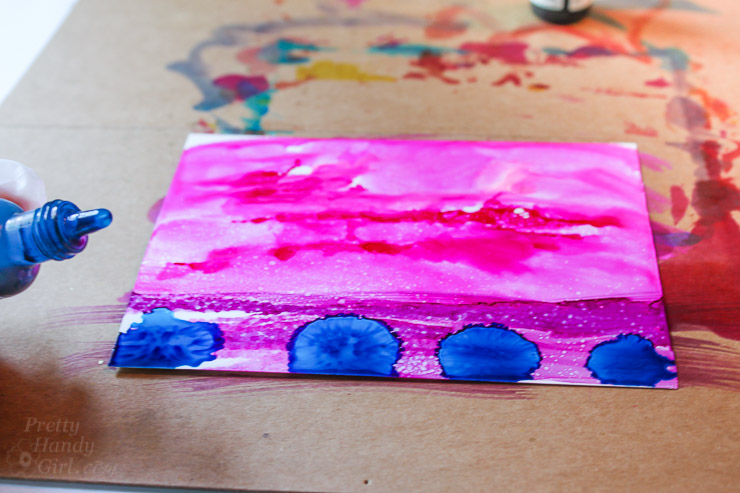
Add a different color ink and continue working your painting.
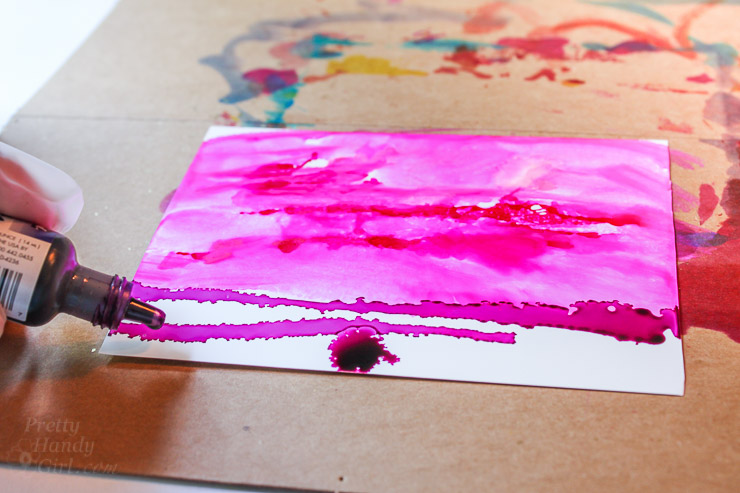

Add more drops and blow or brush the ink into areas you want painted.
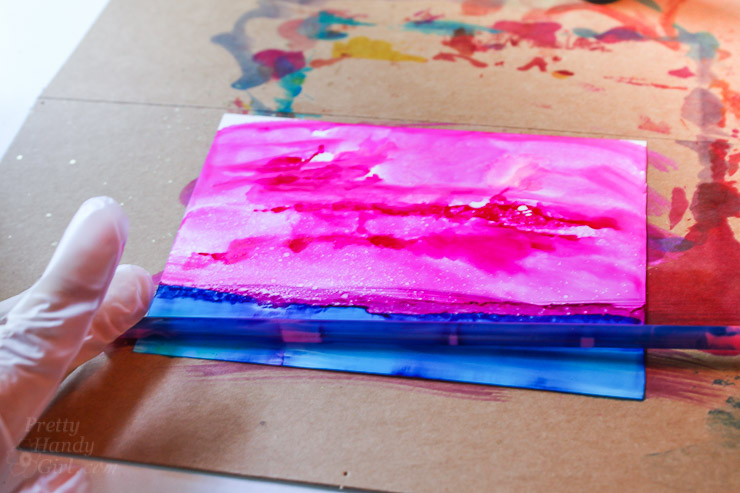
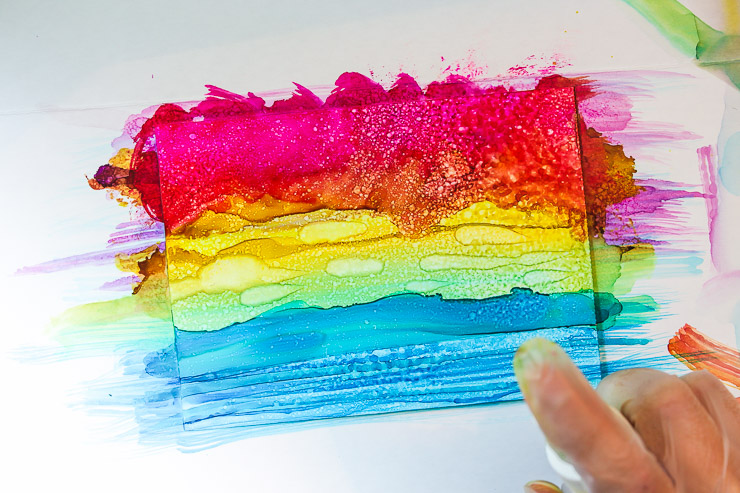
Lay a straw on its side and roll on the paper to create ripples.
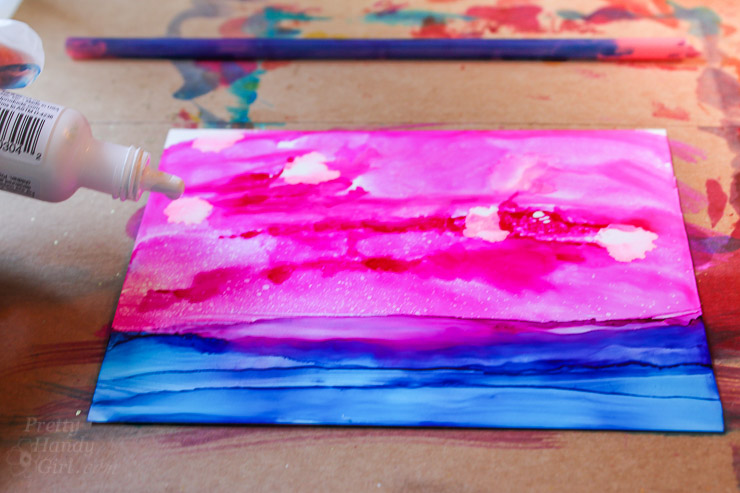
I love adding white to the tops of my painting to mimic cloud formations.
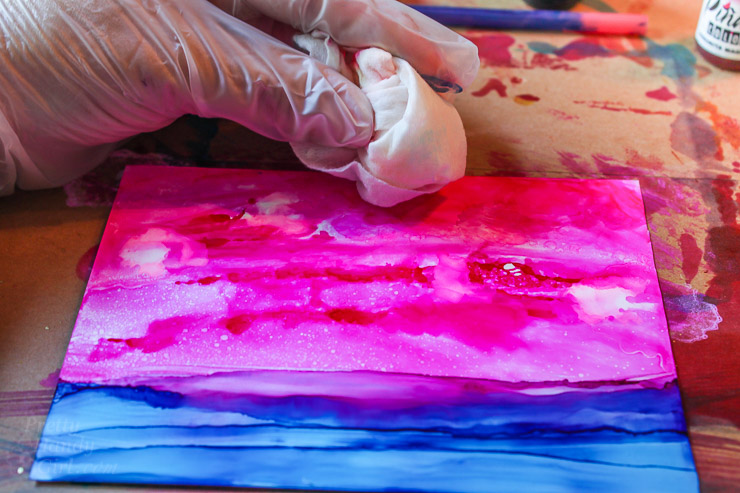
Blot off any excess ink with a damp baby wipe.
To create speckles, I add several drops of ink directly onto a paint brush, then tap the brush onto another brush or a stick. This is the perfect way to create a random pattern reminiscent of stars.
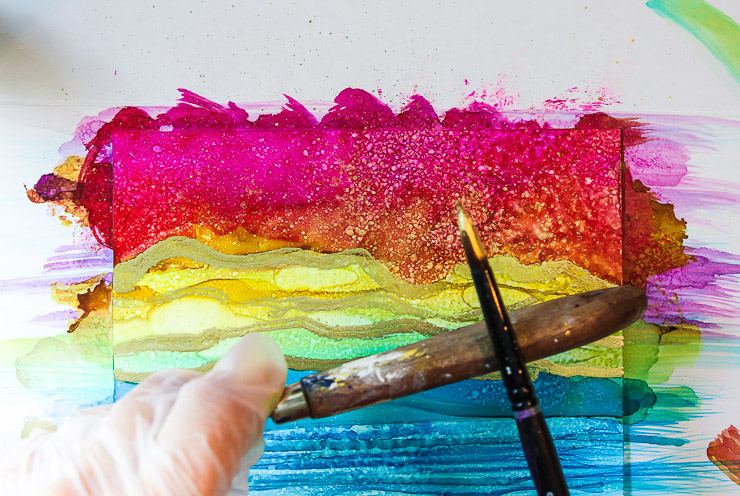
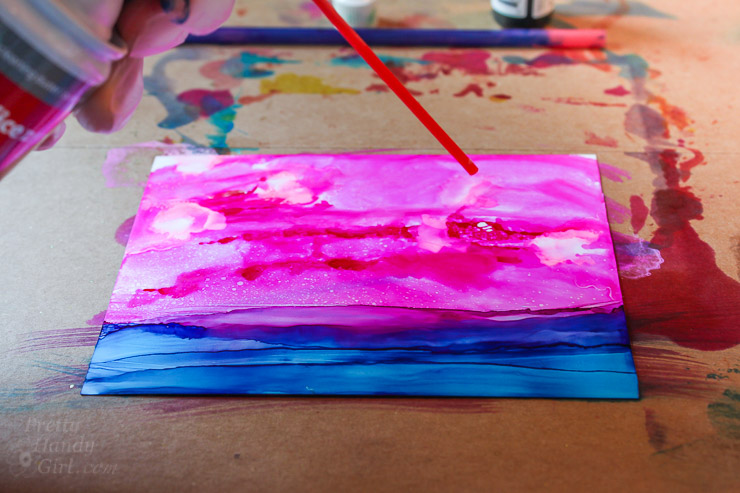
I like to finish my paintings with a very light spritz of alcohol to give it a dappled look.
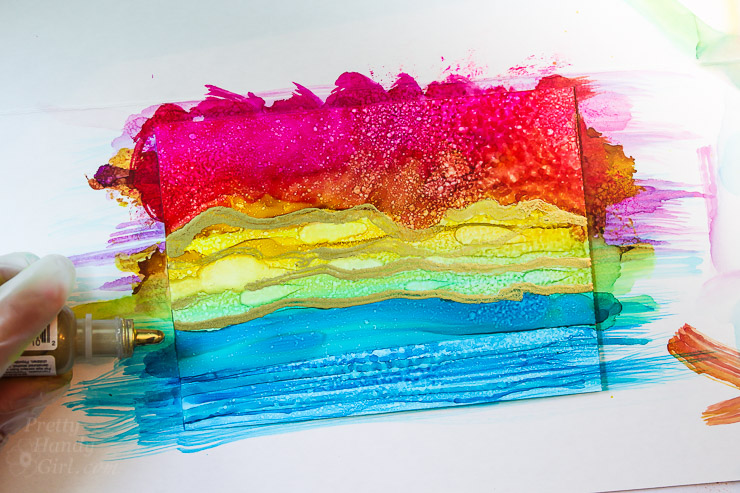
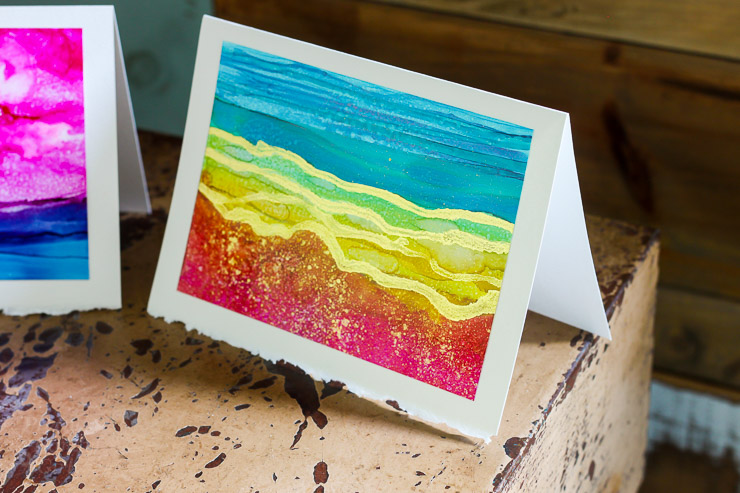
To add some extra elegance, drag metallic gold ink over your painting.
Let your painting dry. Seal the painting by spraying Krylon UV Archival Varnish over the surface (about 12″ away) and let the spray settle onto the painting to avoid disturbing the painting.
Use double stick tape to adhere your mini painting onto a blank greeting card and give it to someone special (or keep them for yourself.)
I love the metallic gold touches on this card.
Watch my video to really see the techniques I use with alcohol ink. I hope you find some time to de-stress by painting with alcohol inks. It’s really an easy art form and no two painting look alike.
I think the key to getting a beautiful painting with the alcohol inks is to limit your colors to 3 or 4 (white and black don’t count.) Also, try to resist perfection. Let the alcohol inks move and don’t try to fight it. Finally, I like to choose complimentary colors and follow this guide to choosing harmonious colors. I’m particularly drawn to the analogous palette.
A big thank you to my mom, who introduced me to alcohol inks. They certainly are addictive and they are pushing this gal to give up her perfectionist ways.
![]()
Brittany. great tutorial. Well thought out , esp with supply list and step by step instructions. And the painting are simply beautiful. Question, where do you get your Yugo paper? And are you still active on You tube. Thank you so much for sharing.
Jerry’s Art-a-rama or Amazon: https://amzn.to/2UcePk9
I’m experimenting with alcohol inks, and this post definitely gave me some ideas on where to go with it.
I came searching for how to use alcohol inks and this is super pretty. Love the vivid shades and final outcome.
Cheers from India!
That was a great tutorials! Thank you for taking the time to share those techniques and instructions. They were exceptionally clear and understandable. I truely appreciate it!
Kindest regards,
Cretia
This looks like so much fun. I am going to have to try these. Thanks for the great idea.
What great little paintings these are! Last summer I tried the Sharpie & alcohol on ceramic tiles and they were a blast. I can’t wait to try some of these. Is heavier paper better to work with? I have some watercolor paper on hand and would like to play around a little to see what I can come up with. What a great video. Thanks so much for sharing.
Aren’t they so fun to do! You can’t really go wrong with alcohol inks. I’ve messed around with them but I need to do many more.
I’m sorry to hear you’ve had a stressful month. I hope things get better for you soon.