From peppermint Oreo bark to salted caramel cookies, these festive sweets are a must-make this holiday season.

Holiday Sweets and Cookie Favorites
The holidays are here, and that means it’s officially dessert season! From peppermint bark to chocolate fudge and classic cookie favorites, there’s no shortage of treats to bake (and share!) this time of year.
In this post, we’re sharing fun and easy holiday desserts that make the perfect treats to share with friends and family.
Whether you’re whipping up something for a holiday party or just love making a sweet treat for special occasions, these easy holiday desserts are always a big hit.
Holiday Sweets You Will Love!
These favorite Christmas desserts and holiday treats, include everything from chocolatey bark to gooey cookies that are perfect for celebrating the season. Find the perfect recipe for your family!
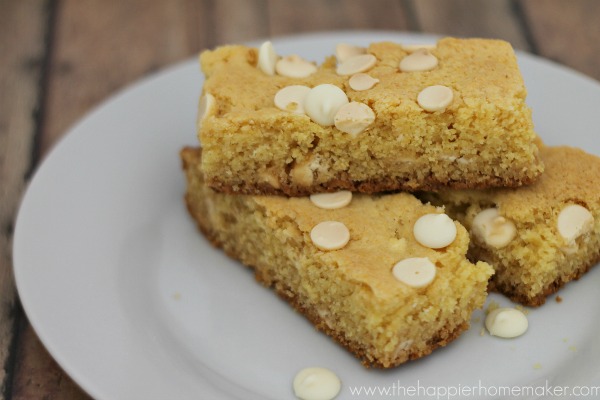
White Chocolate Cookie Bar Recipe
These white chocolate cookie bars were a huge hit with my boys and our neighbors, and I’m so excited to share the recipe with you. They are super easy to make and you can double the batch so you have extra to share.
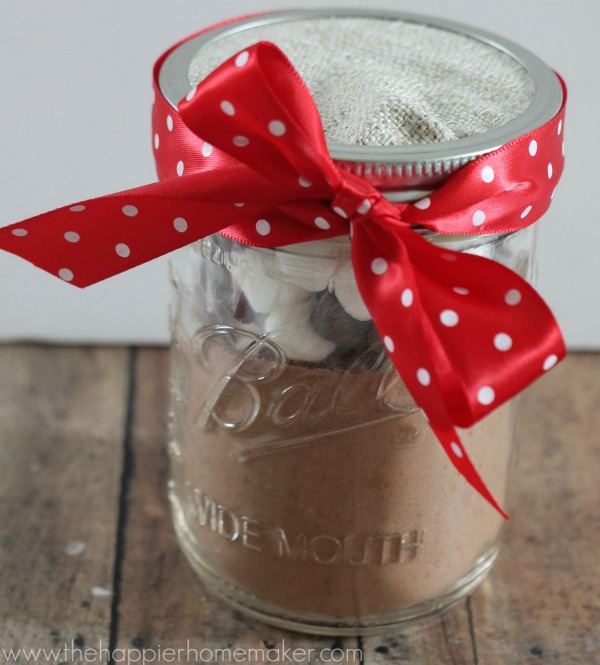
DIY Gift Idea: Hot Cocoa Mix in a Jar
I love making homemade gifts during the holidays. They’re thoughtful, personal, and easy on the budget. One of my go-to quick gifts is a hot chocolate mix in a mason jar. It’s simple to put together and makes the perfect DIY holiday gift for neighbors, teachers, or friends! Create your own Christmas traditions with this food gift. Take it to the next level by making homemade marshmallows and mini candy canes.
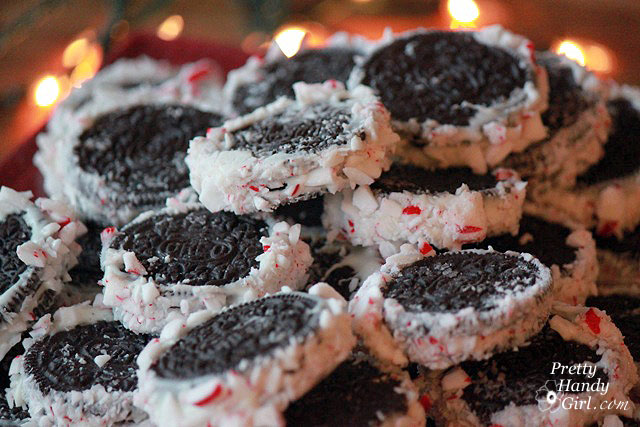
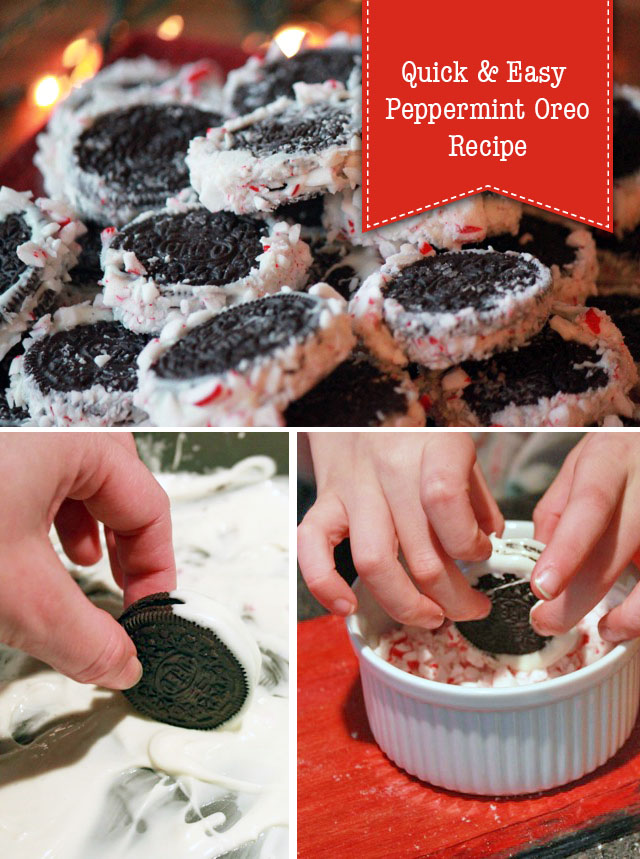
Quick & Easy Peppermint Oreo Recipe
Looking for easy treats to make with the kids? When you’re short on time but still want to give a homemade gift, try this festive dessert. You can't go wrong with Oreos packed with delicious peppermint flavors. Roll each cookie in a crushed candy cane to make these Christmas cookies even more flavorful! These are cookies you want to add to your Christmas Day menu.
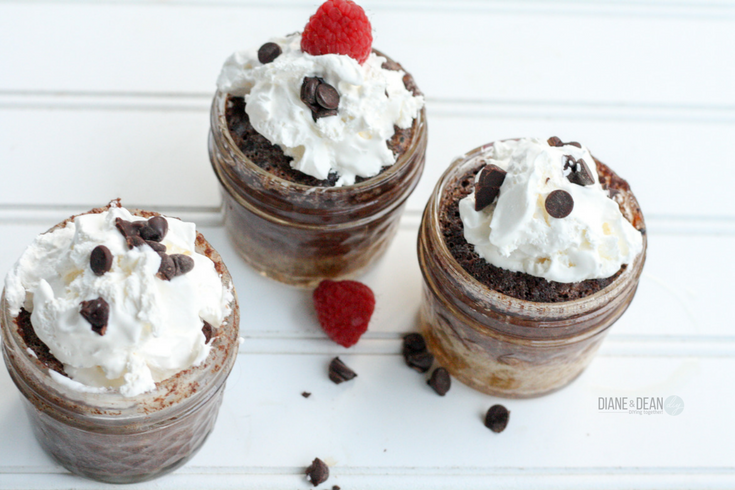
Keto Chocolate Mug Cake
This Keto chocolate mug cake is hands-down one of the best Keto-friendly desserts you’ll ever try! We’ve tested tons of Keto dessert recipes and only share the ones that pass our taste test, so you can save time, money, and carbs! Get the secret ingredient to make your own low carb treat. The best way to serve them is in a mini mason jar.

Holiday Gift Idea: Hot Cocoa on a Stick
I love giving simple and budget-friendly gifts to the teachers and service providers in our life, but I still want them to look special! These hot cocoa on a stick gift mugs are festive, affordable, and make a cozy little treat everyone will enjoy.

Dark Chocolate Peppermint Cookie Bars
You don't have to be a pastry chef to bake these decadent dark chocolate peppermint cookie bars. This recipe is my personal favorite and for good reason! After all, who can resist the classic combo of rich chocolate and cool peppermint, especially during the holiday season?
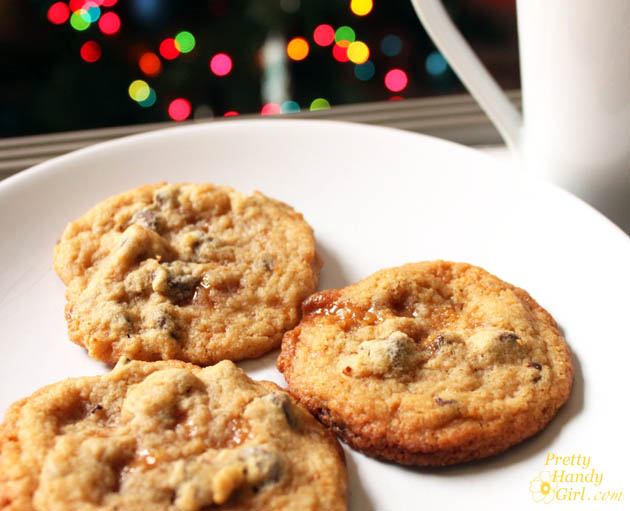
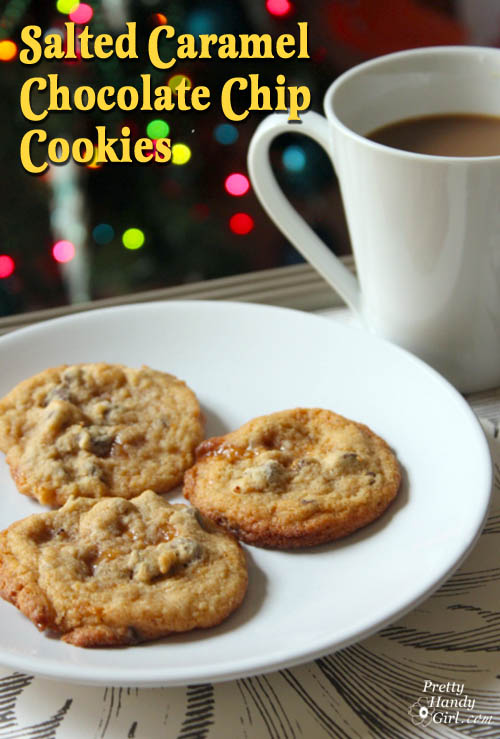
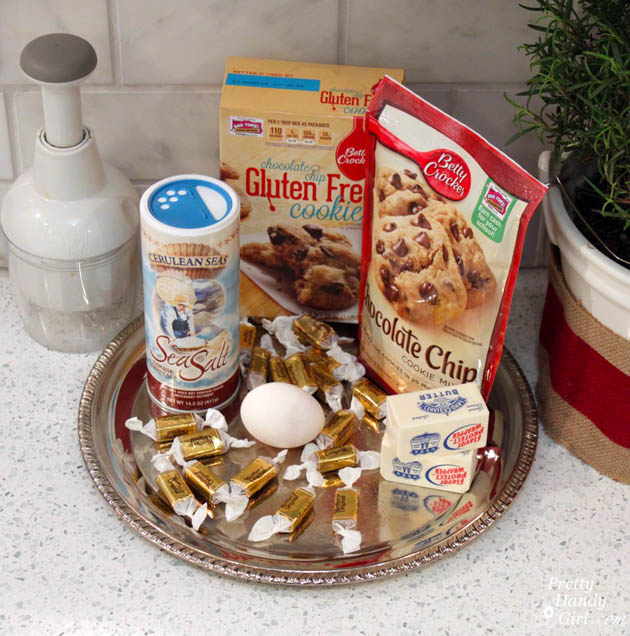
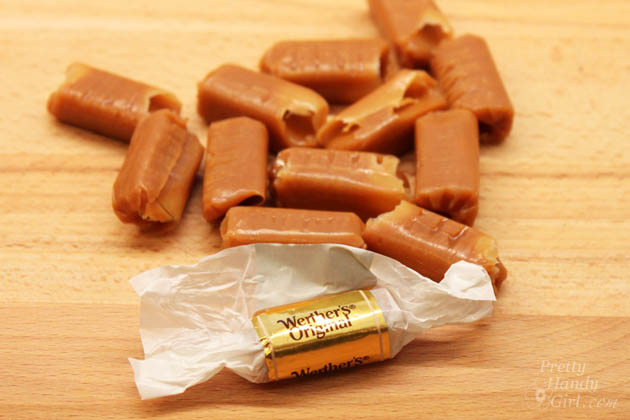
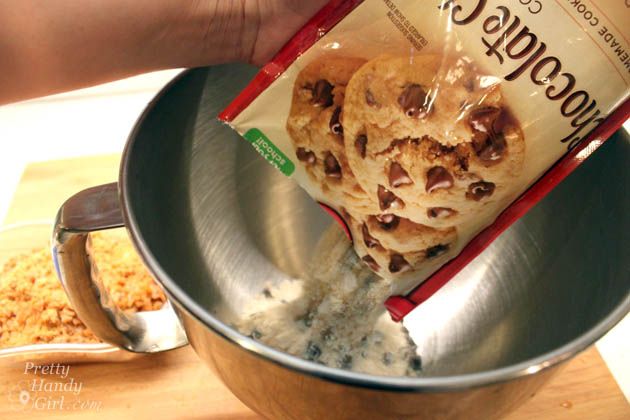
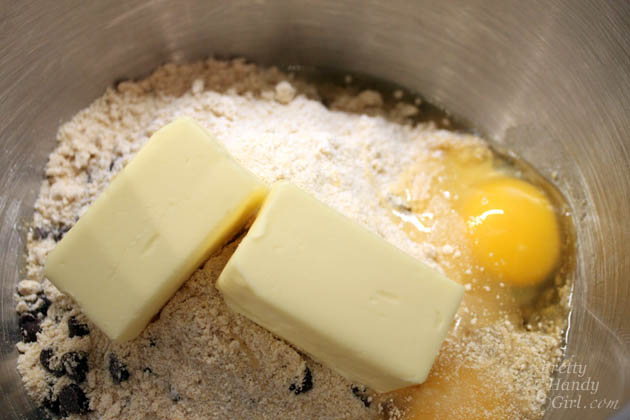
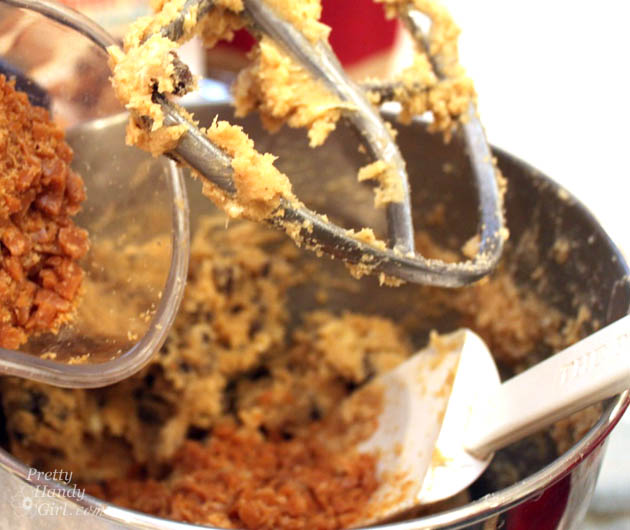
Salted Caramel Cookies with Chocolate Chips
Let's bake some cookies for Santa and maybe a few for friends (and me too!). I don’t bake sweets often, but when I do, I love keeping it simple. That’s how these salted caramel chocolate chip cookies came to be. They are quick, easy, and irresistibly delicious. Serve with a scoop of ice cream for extra indulgence.

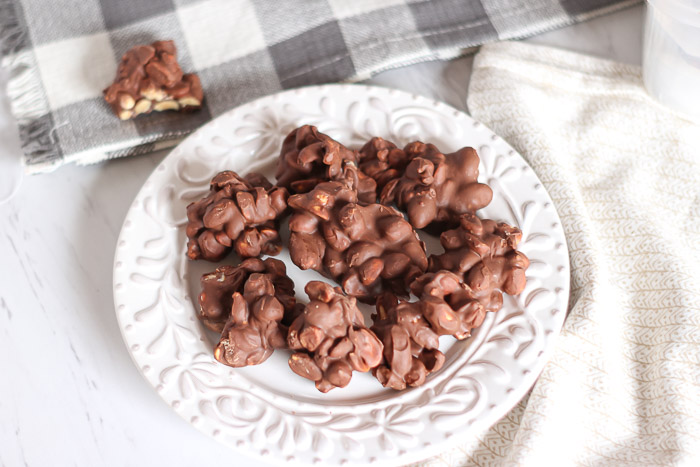
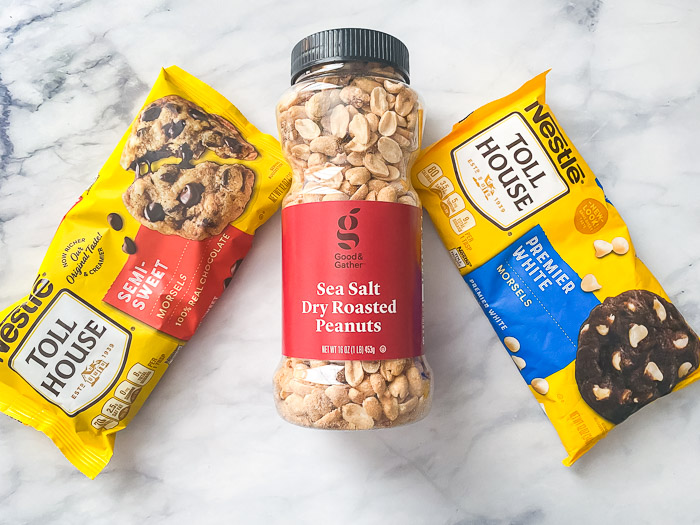
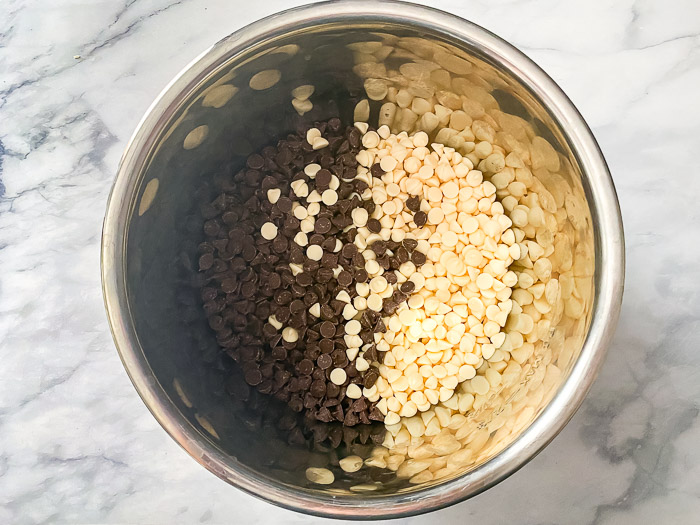
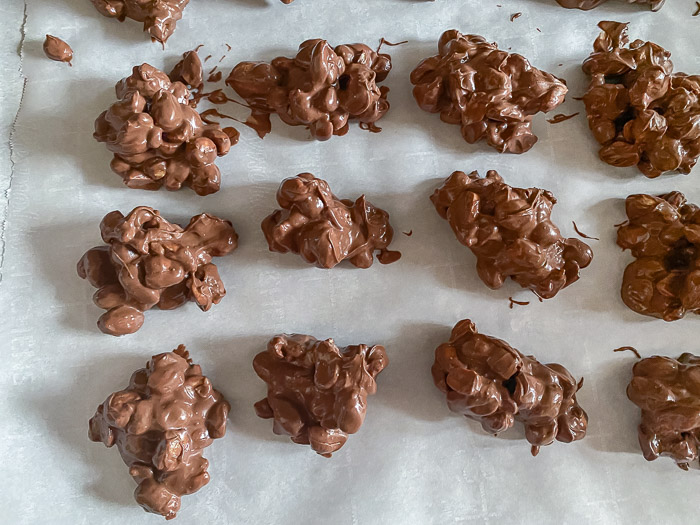
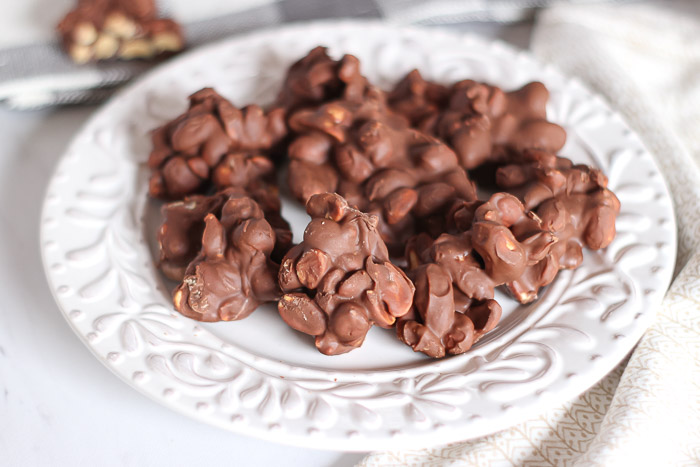
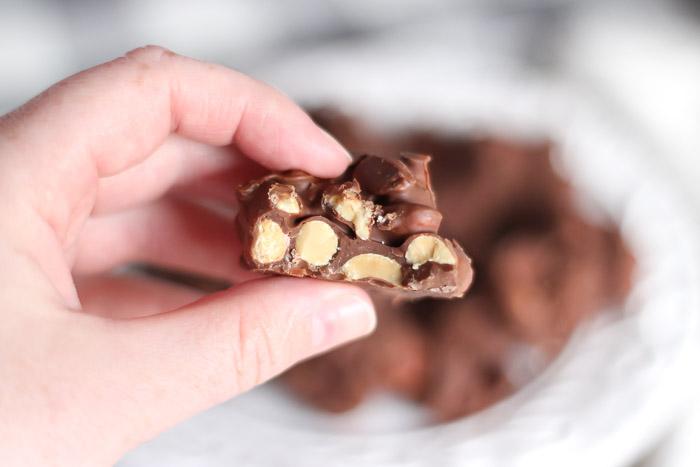
Slow Cooker Chocolate Covered Peanuts
These chocolate-covered peanut clusters are super easy to make. You can use a slow cooker, microwave, or stovetop. For a fun twist, try them with mixed nuts or almonds! Pro tip: Sprinkle a pinch of coarse sea salt on top while the chocolate is setting for an extra flavor boost. They make the most delicious treats to gift or enjoy.
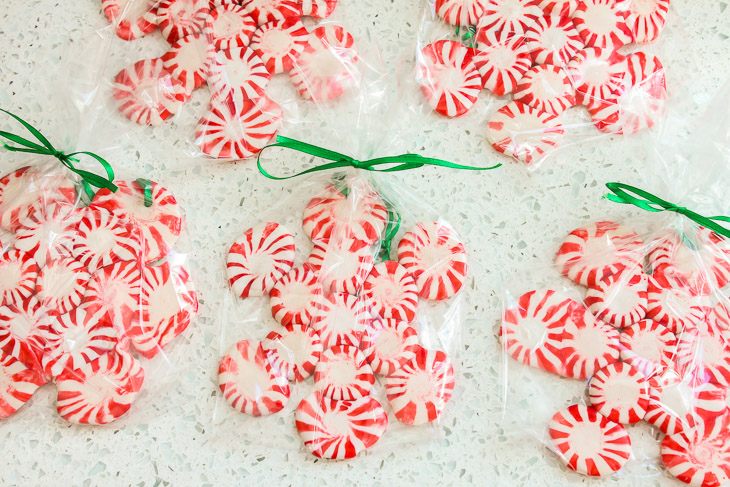
Easy Peppermint Star Ornaments
Get into the holiday spirit with these easy peppermint star ornaments. Watch colorful candies melt and fuse into sparkling snowflake decorations. It's a fun craft for all ages.
PIN FOR LATER

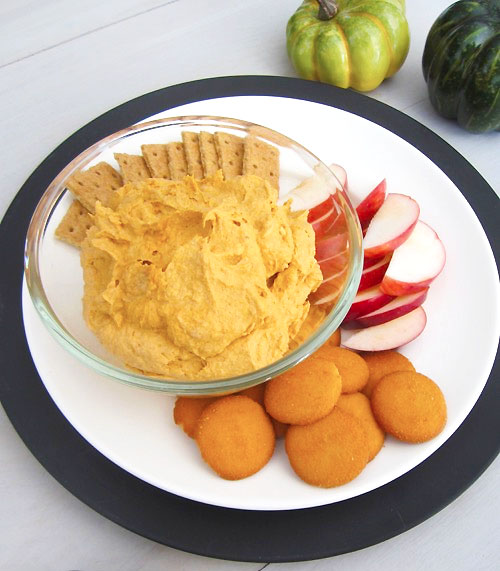
Looking for a quick fall dessert? You’ll love this yummy pumpkin dip!