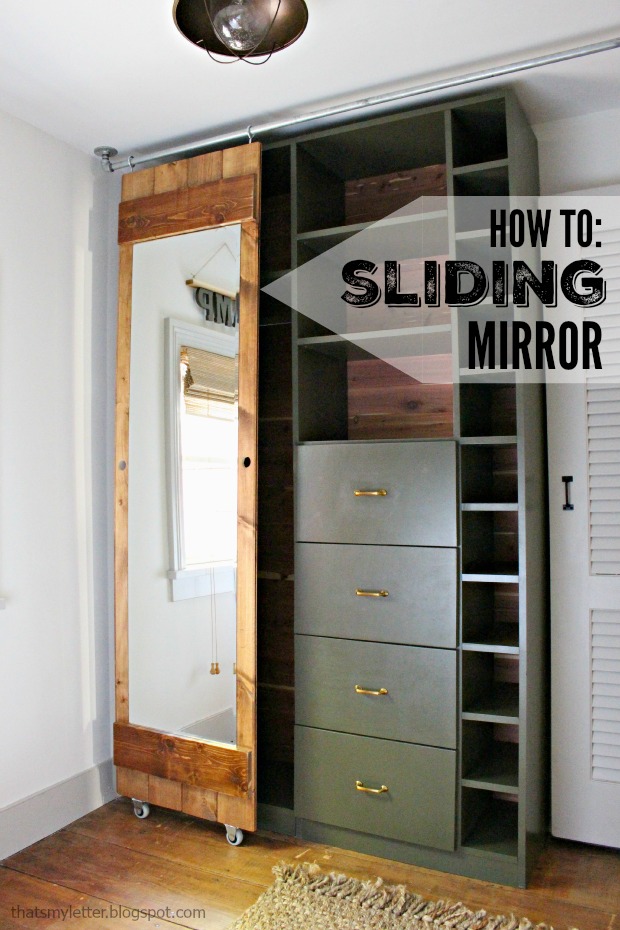
Okay all you woodworkers. You know as well as I do that you have an ever growing scrap wood pile that you don’t want to throw away because you know you’ll use it one day.
Well, today is that day! I challenge you to use some of that scrap wood to make a Scrap Wood Shadow Box Frame like this one.
But, if this isn’t your cup of tea, Sawdust Girl has an entire link up party of scrap wood projects. And you can link up your own scrap wood challenge too!
Okay, so the truth behind this project is that Pretty Handsome Guy has been begging me to frame his U.S. Open flag from Pinehurst almost two years ago. My poor hubby rarely asks for anything, and I figure he waited long enough.
Materials:
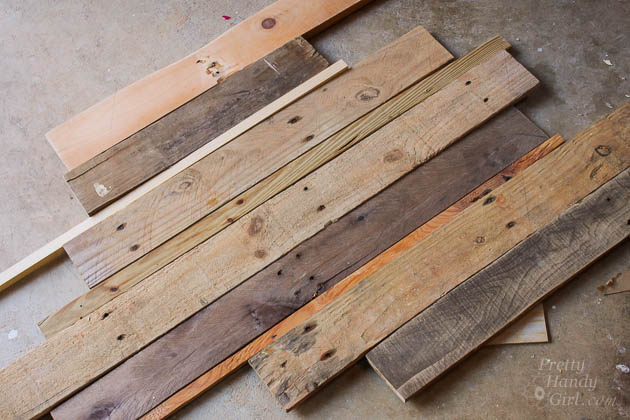
- Scrap wood
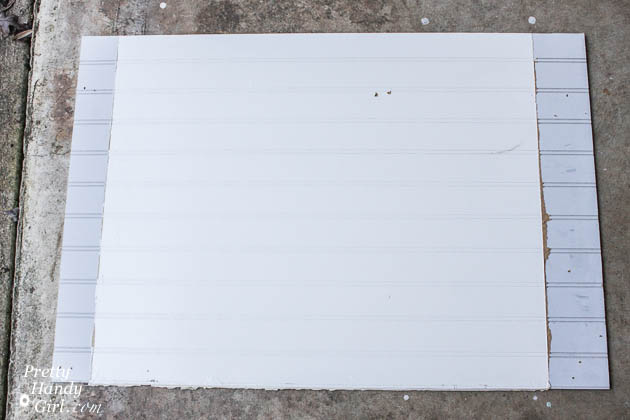
- Backer board (scrap bead board, masonite, thin plywood)
- Construction glue
- Lattice edging
- Wood stain
- Plexi-glass
- D-hooks
- Drill bit
- Drill
- Double stick foam tape
- Brad nails
- Nail gun or hammer
- Machine screws
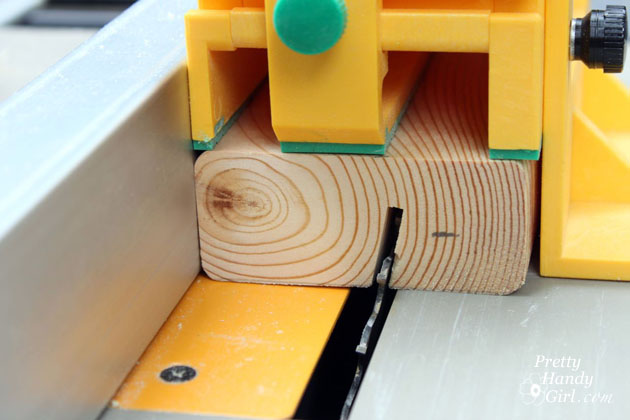
- Saw (miter, jigsaw or Dremel UltraSaw)
Optional: Gorilla Glue
Instructions:
Cut backer board to the size you want for your frame.
Lay out your scrap wood on top of the backer board until it is covered completely.
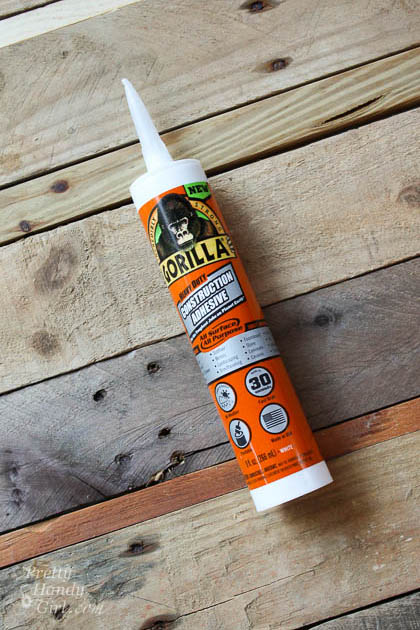
I tried Gorilla Glue Construction Adhesive on this project (Gorilla Glue sent me a tube of glue to try out.) It dried and held all the scrap wood firmly.
Lift up one piece of scrap wood at a time and apply construction glue onto the backer board. Read more