
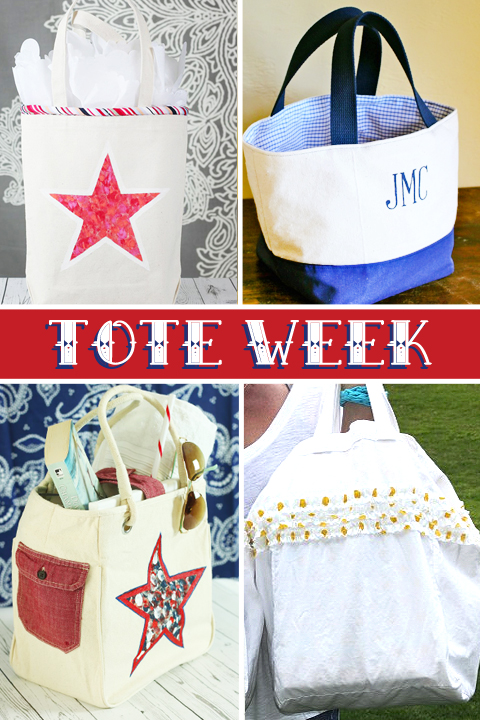
Are you enjoying Tote Week?!
If you’re just joining in here’s the line up:
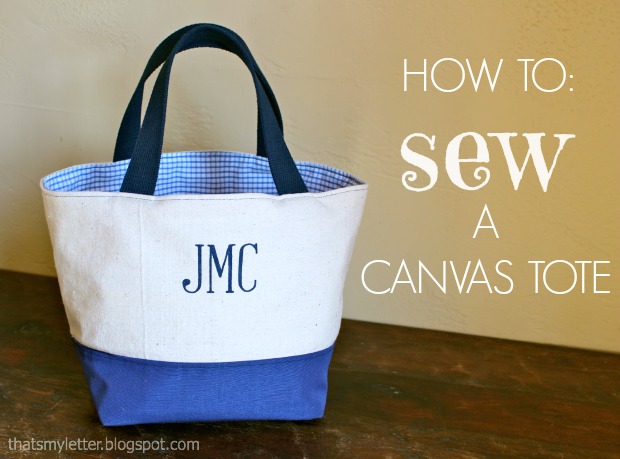
- Monday: How to Sew a Canvas Tote Bag
- Tuesday: Dress Up a Store Bought Tote with Piping
- Wednesday: Reusable Tote Bag Sewing Tutorial
- Thursday: Customizing a Tote Bag with an Old Shirt
- Friday: 21 Ways to Make and Decorate a Tote Bag
Today I have one of my closest friends and blogging buddies here. If you don’t know who I’m talking about, she’s the amazing, the incredible and the always vivacious Sandra from SawdustGirl.com. And she’s going to give you a tutorial for sewing those cute reversible and reusable tote bags!
![]()
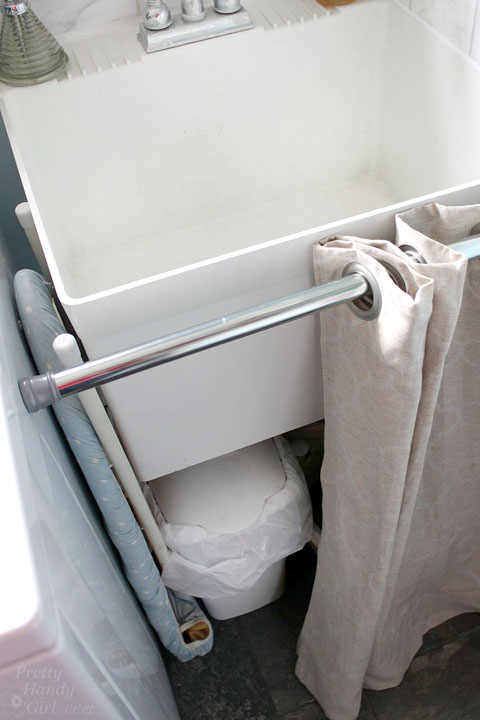
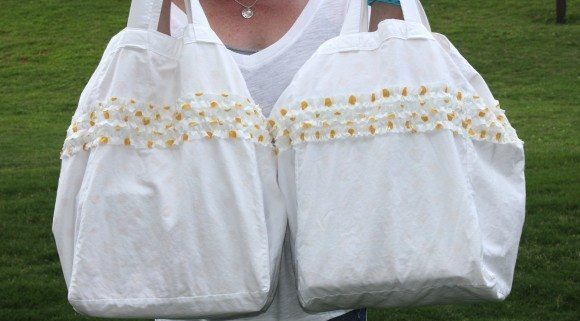
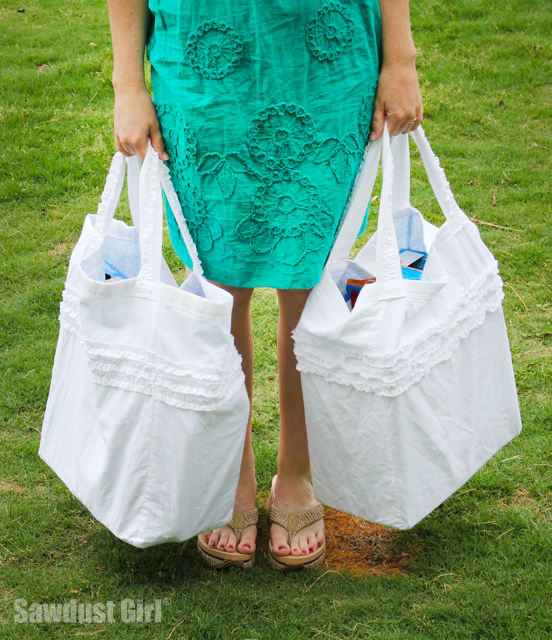
Howdy Handy friends! I’m Sandra of Sawdust Girl – formerly Sawdust and Paper Scraps. I try to reduce, reuse and recycle anyway so this tutorial for reusable, reversible, ruffled totes is fitting. Don’t ya’ think? I like to use my totes as grocery bags and have given a pair of these as gifts along with a few reusable produce bags found at the dollar store.
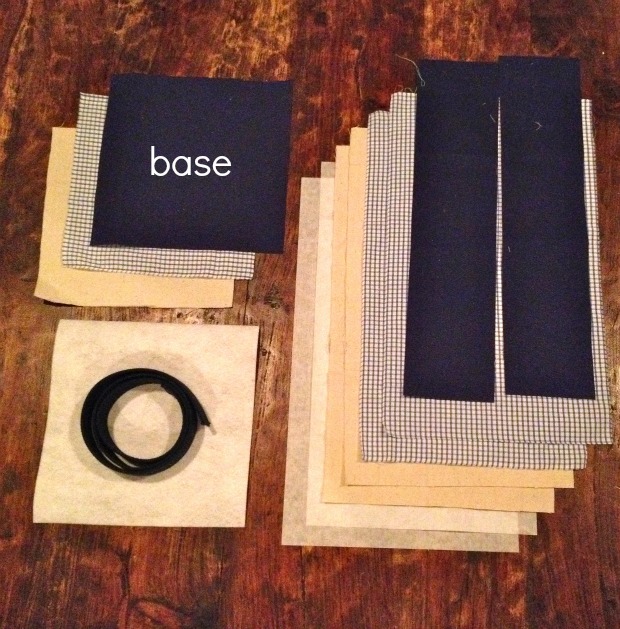
I used an old sheet and a set of pillowcases to make mine but for a gift item, maybe use new fabric. If you look for sheets on clearance you can get a LOT of fabric for just a few dollars.
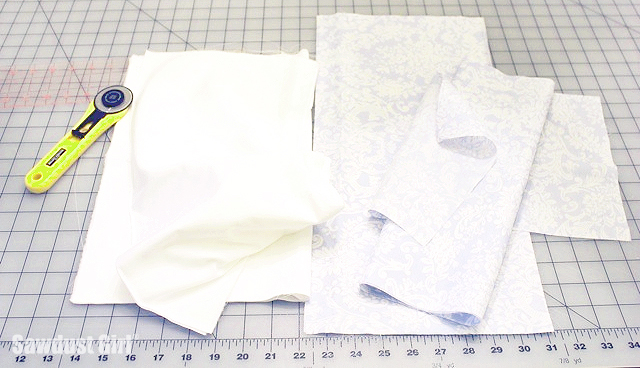
This is a really easy pattern that I made from looking at a canvas tote. (It fits perfectly on a standard pillowcase.)
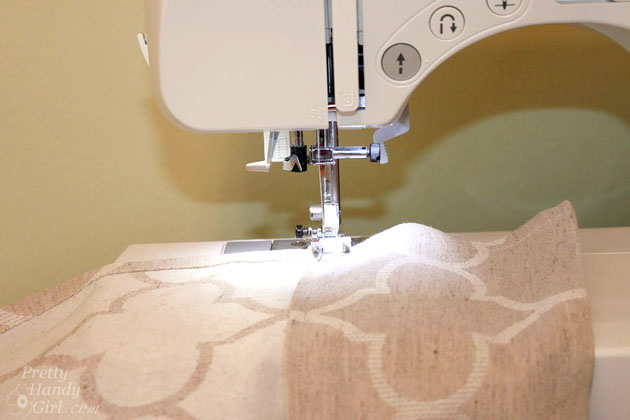
*Seam allowance? I run the fabric along the right side of the foot. I think it’s a waste to take a wide allowance and then trim!
Instructions:
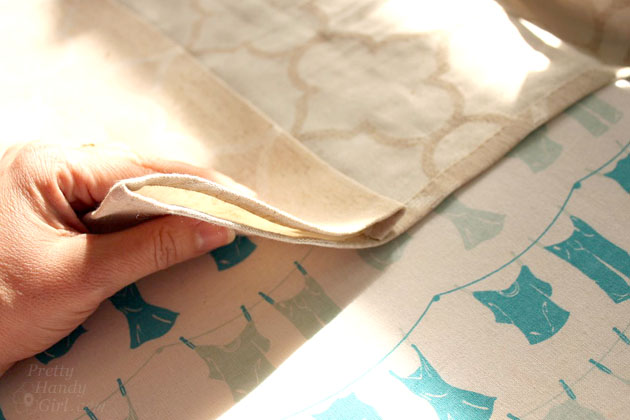
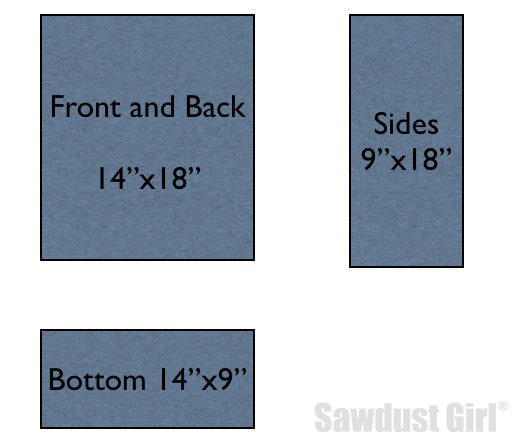
1. Use the same pattern for the bag and the liner. You could use the same fabric for both or mix it up for fun. I like to use 2 different fabrics so I can flip it inside out and have a totally different bag!
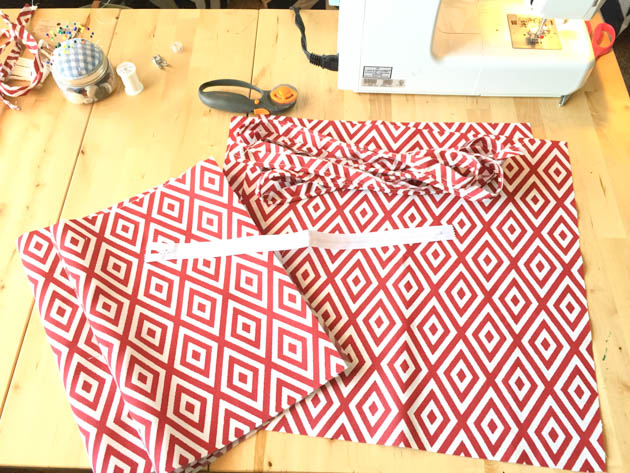
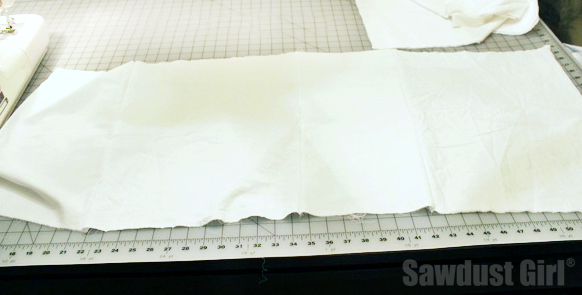
2. Sew all 4 pieces (excluding the bottom) together like this: front/side/back/side making one long piece of fabric.
3. If you are going to add any kind of embellishment, now is the time. I’m adding three rows of ruffles! Read more