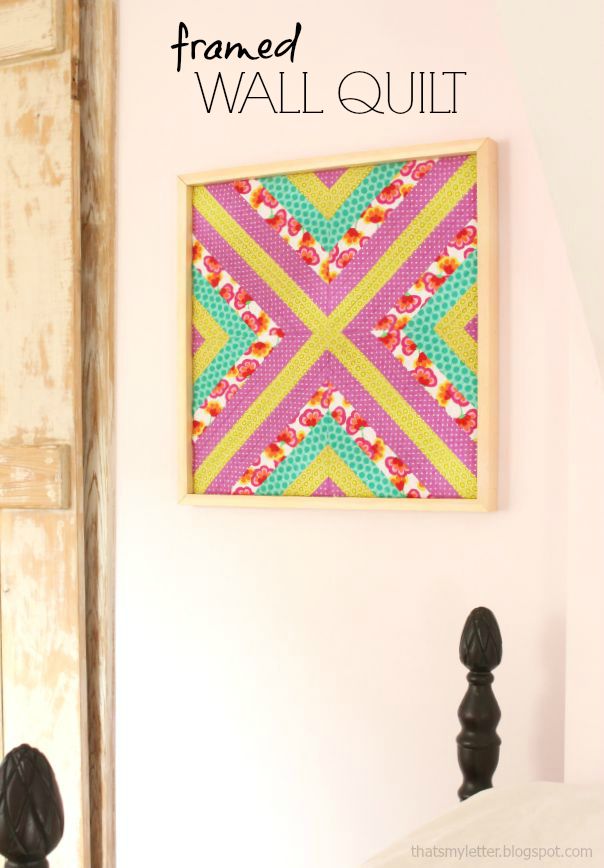
Today on the Rockstar DIY stage is Jaime, with the tutorial to make this drop dead gorgeous Framed Wall Quilt.

If you can sew a straight line I promise you can make this framed wall quilt. You all are familiar with Jaime from That’s My Letter, I’m sure! She’s one of the regular band members here on PrettyHandyGirl.com. I can honestly say that she is one of the most gifted and talented DIY rockstars I know. She can build, she can fix, she can craft and she can sew. She also balances a job blogging and being a mother. Enough said.

With that, I turn the stage over to Jaime and her tutorial for creating a Wall Frame Quilt!

Gather up your favorite fabrics and we will make this statement wall art that would be great hanging nearly anywhere. And, it makes a wonderful gift idea.
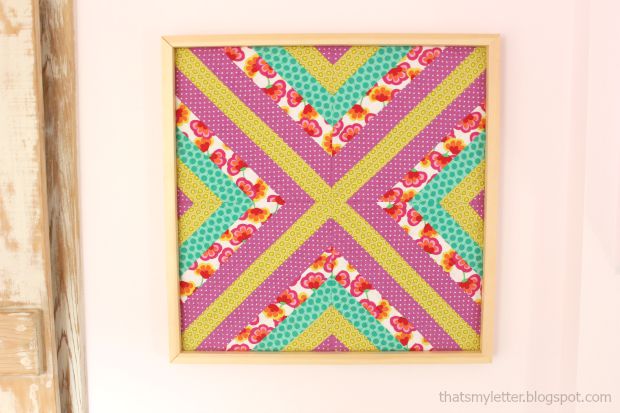
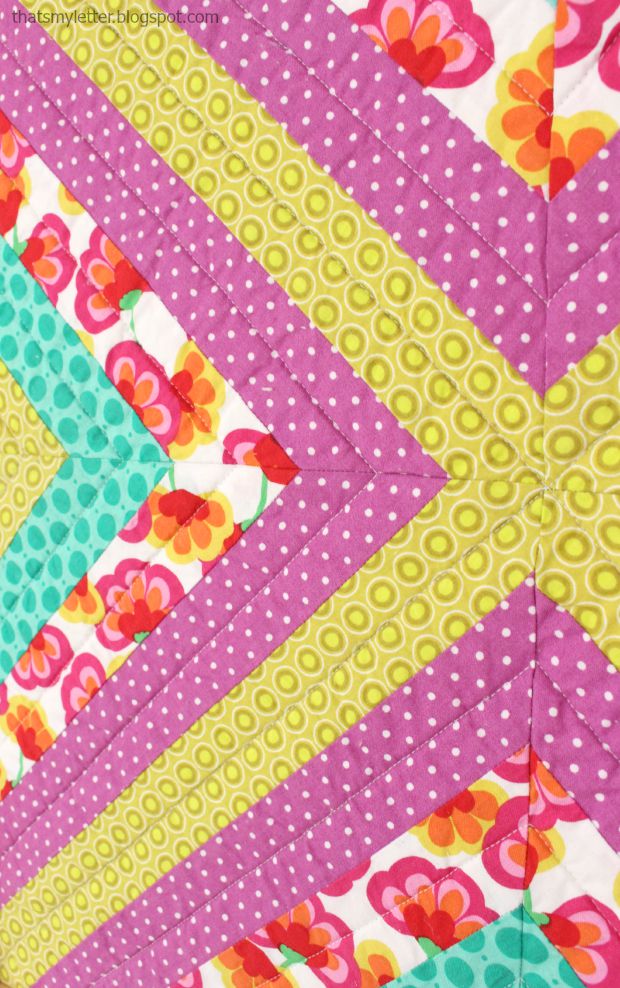
Although the pattern looks to be a little tricky, it’s actually four of the same pieces sewn together in an X format.
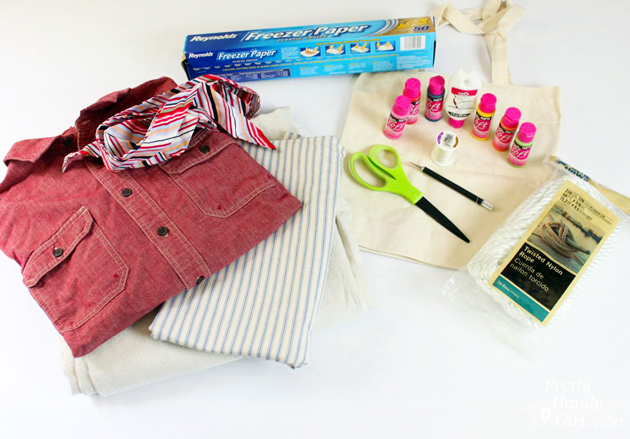
Materials:
- 1/4 yard each of 4 cotton fabrics
- Basic sewing supplies: sewing machine, thread, pins, scissors, pencil, iron & ironing board
- rotary cutter, clear quilting ruler and self-healing mat
- 24″ x 24″ cotton fabric (for backing)
- 24″ x 24″ batting
- safety pins
- 1/2″ plywood @ 21″ x 21″
- 1x2x8 pine board
- staple gun
- wood glue
- miter saw
- nailer & 1 1/4″ brad nails
- clamps
Instructions:
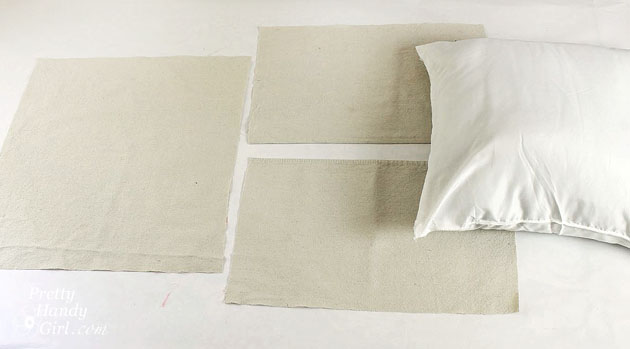
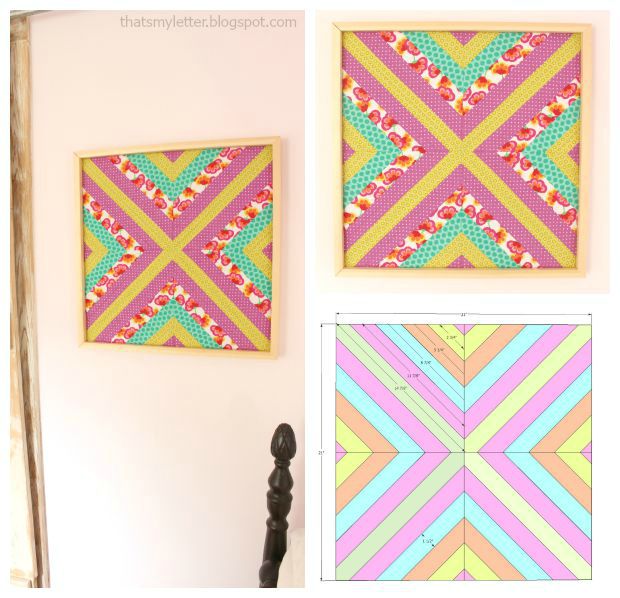
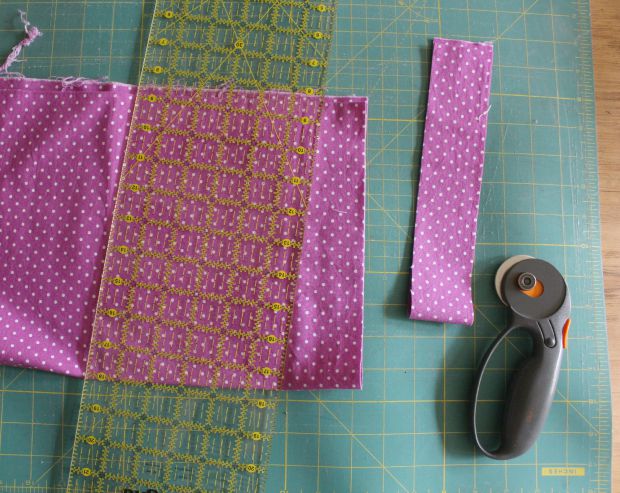
Step 1: Begin cutting the fabric into 2″ wide strips. Looking at the diagram below, you will need multiple lengths of each fabric. I suggest cutting very long 2″ strips which you can cut down later. I like to fold the fabric in quarters then cut off a 2″ wide strip using a rotary cutter and clear quilting ruler.
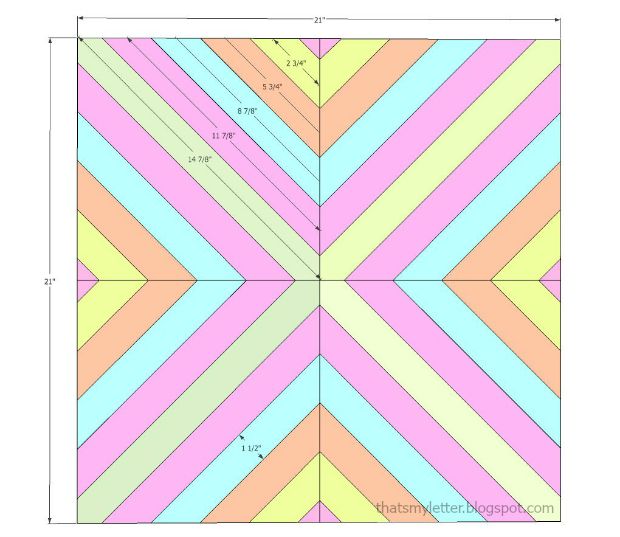
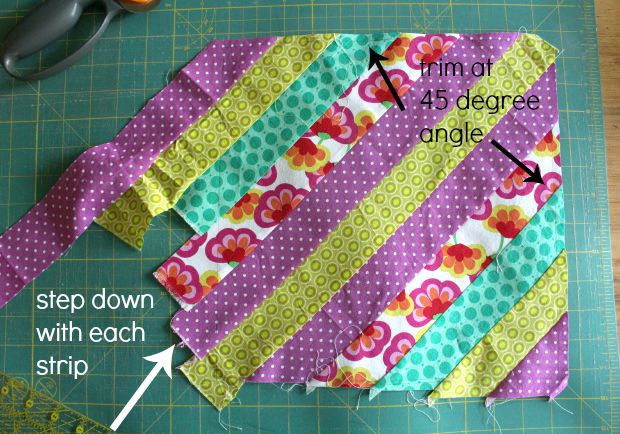
Step 2: Sew strips together using a 1/4″ seam allowance. Determine your pattern, start from the middle longest piece (bright green) then add strips on either side. With each additional strip, line up the strip with a ‘step down’. Press. Eventually you will trim edges with a 45 degree angle which is marked on the quilting ruler.
Step 3: Make 4 identical pieces. Sew the top square to the bottom squares. Press. Then sew the middle seam together to make one piece. Press. Be sure to line up the seams. Read more
 Coffee Lover’s Snowflake Gift Set
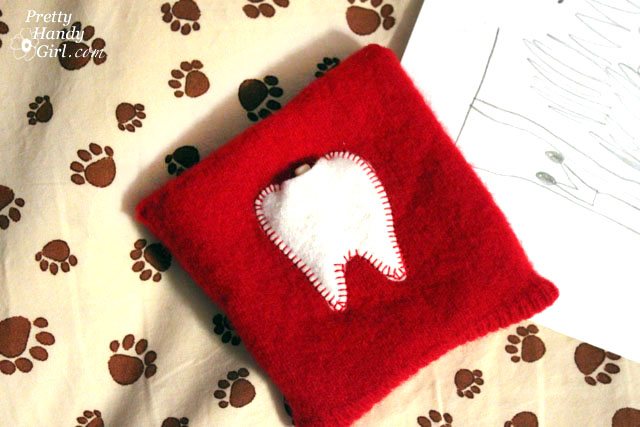 Sew a 10 Minute Tooth Fairy Pouch
 Placemat Turned into a Snowman Flag