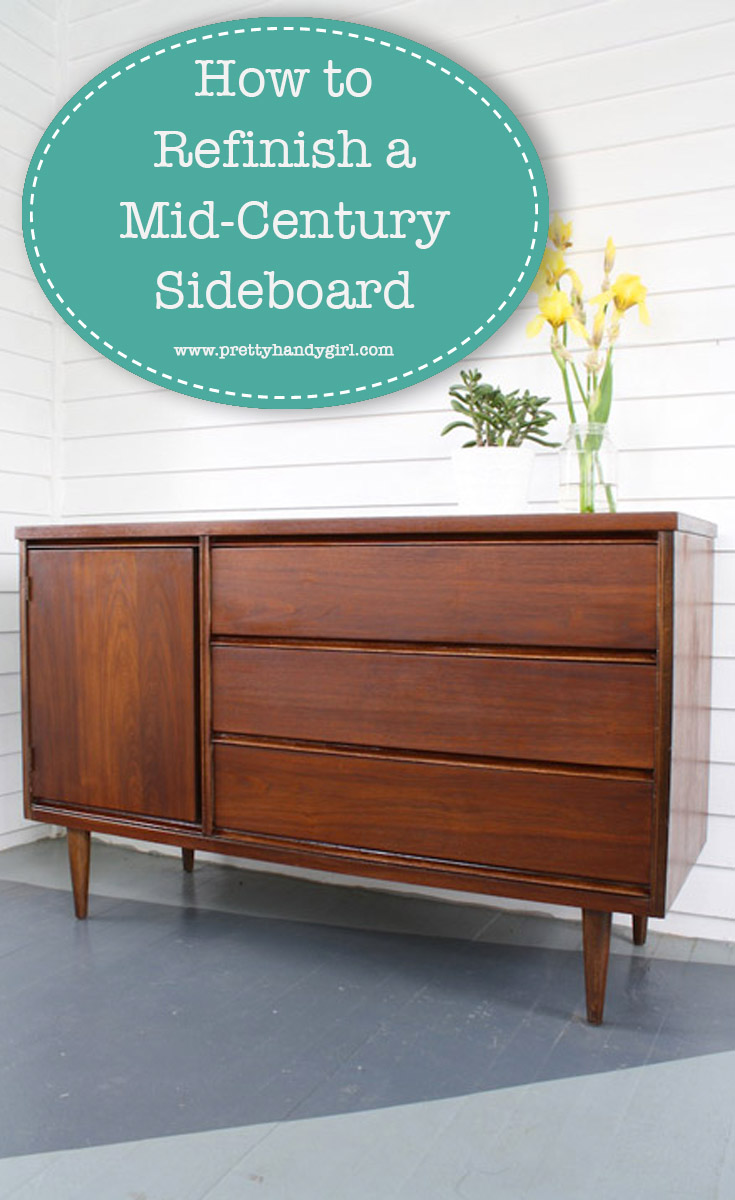
A refinished wooden sideboard left with a natural stain – not painted! Learn how to refinish this sideboard.

Have you ever turned down a piece of furniture that looks ruined? Aha, today’s rocker is Emily and she has the superpower to make furniture look brand new again!  On the Rockstar DIY stage today is a performance you won’t forget. Emily will single-handedly take you through the steps of Refinishing a Mid-Century Sideboard.

Rockstar DIY Series

If you haven’t met Emily yet, she is truly a Rockstar! Emily lives in Rochester, NY and is ALWAYS working on an amazing home improvement project.

Emily-MerryPad

Emily can be found with a hammer, saw or drill in her hands at MerryPad. She has painstakingly renovated two homes. And, as if she wasn’t busy enough with home projects (and taking care of a baby and her step-daughter), she can also be found blogging at DIYNetwork’s Made + Remade. That girl is a machine!

Oh, I hear the sound of a sander, so put your hands together and give it up for Emily!

page_break_2

Hey guys! Super nice to meet you. If we haven’t already met, I figured there’s one thing you should know about me: I really like getting my hands dirty. Building furniture can be fun, and learning how to maintain my home has brought me a lot of pleasure, but if you see me and you notice my hands and arms are coated by stain? Well, you’ll know that I’ve been having a really good time (and I’ve probably run out of mineral spirits, again). Refinishing and restoring furniture–and cabinets, and floors, among other things–is one of my favorite DIY endeavors, always a fun learning experience, and always an opportunity to bring new life into an item that was once beautiful. I’ve had some lucky secondhand finds over the years, from bedside tables to chairs, but one of my favorite transformations was this Bassett Sideboard that I scored from a garage sale for $15.

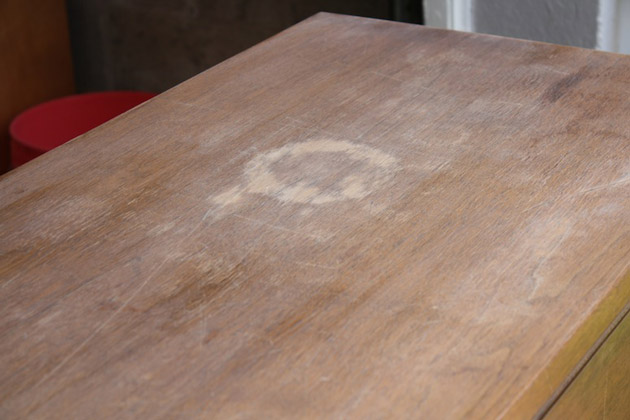
How to refinish a vintage midcentury sideboard with scratches and water damage.

T’was one of my first refinishing projects, swoon.

If you’re tackling your first refinishing project (or just looking for tips), here are the products and tools I used for this makeover:

  • Detail palm sander and normal sandpaper to get into small crevices
  • Rags (general clean up cloths, and old rags or socks for applying the stain)
  • Tack cloths (the tack cloths are wonderful for cleaning all evidence of sanding dust before staining)
  • A paint brush and high-density foam roller (for application of the conditioner and polyurethane topcoat)
  • Pre-stain wood conditioner
  • Oil-based stain (for this piece I chose English Chestnut by Minwax)
  • Gloss polyurethane

An extraordinary amount of sanding went into eliminating the damage that had existed in the top surface. Scratches are relatively easy to cure, but you never know how bad the water damage is until you start sanding deep, as evidenced by this progress photo:

How to refinish furniture with scratches and water damage.

Elbow grease and a few more courses of low-grit sandpaper (80-120) helped to transform the surface of the sideboard into a raw wood state and eliminate the visible water rings. You might find that your water damage runs deeper – every case is different. Read more

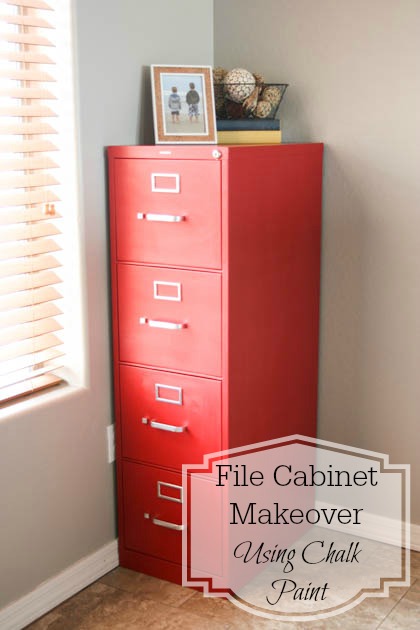
File Cabinet Makeover Using Chalk Paint

Hey there everyone!  I’m working in my craft room to give it a major overhaul and make it a much more functional and creative space.  It also doubles as an office that I share with my husband.  It’s not always the easiest thing to do, partly because of a lack of organization. One of the biggest projects we’re taking on is completely making over the closet.  I’ve already replaced the closet doors with curtains and I love how much easier it has made it to get to things in the closet.

File Cabinet Makeover Using Chalk Paint

edited-8164

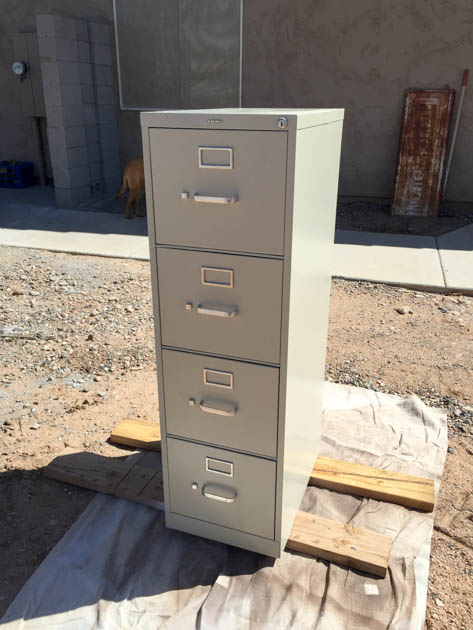
This file cabinet is one of the things that goes in that closet.  When we finish making over the closet, it will be moved to a more prominent location that will be more visible, especially if the curtains are left open.  Because of that, I decided that the boring beige color had to go and I gave it a quick and SUPER cheap makeover!

Here’s what you’ll need to do this project yourself!

File Cabinet Makeover Using Chalk Paint Materials:

File Cabinet Makeover Using Chalk Paint Instructions:

Unless you plan on painting it, you want to remove all of the hardware off of your file cabinet.  I wasn’t quite sure how this would go, but it was extremely easy to remove everything.  Just a couple of bolts and I was pretty much done!

edited-8166

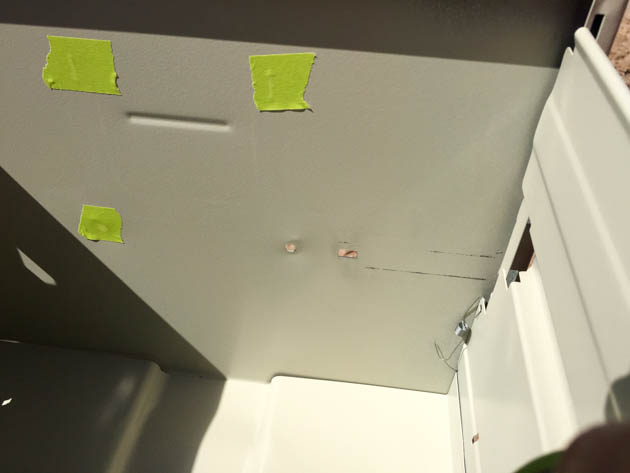
To protect the inside of the cabinet from overspray or paint dripping through, cover all of the holes from the inside using masking or painter’s tape.

edited-8168

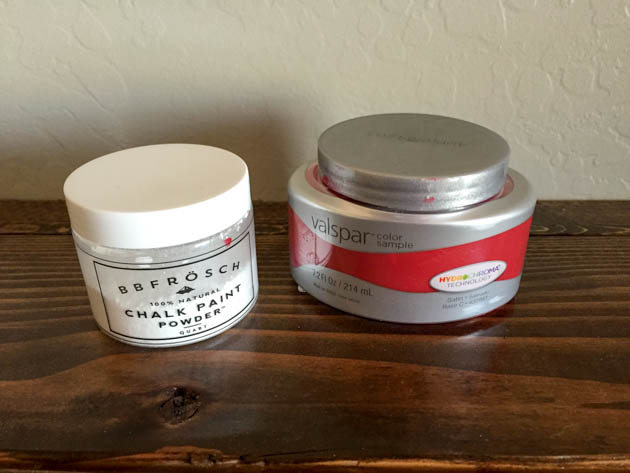
Time to mix your chalk paint.  What I love so much about BB Frösch Chalk Paint Powder is that there’s virtually no waste.  You mix as you go.  I like using the sample-sized paint containers because they’re cheap and if it’s a project where I’m not sure how much paint I’ll need, at least I know I won’t go way over by buying a quart.  The other amazing thing is that there’s virtually no prep work.

Wipe down the file cabinet with a wet cloth and that is it!

edited-8170

If you choose to paint your cabinet using a roller or paint brush, you can get started from this point.  If you plan to use a paint sprayer, you’ll need to prep the paint.  First and foremost, strain your paint!  Lowe’s sells little cone paint strainers (they look like coffee filters) for $.98 a four pack.  Once your paint is strained, you need to thin it with water.  The HomeRight paint sprayer that I use comes with everything you need to do this, plus great instructions. Read more

5 Ways to Find a Wall Stud (without a stud finder) | Pretty Handy Girl

Using a stud finder is the quickest and easiest way to find a stud. But, if you don’t have one or are too lazy to find yours (I’m often guilty of this), you can use one of these ways to find a stud.

5 Ways to Find a Wall Stud (without a stud finder) | Pretty Handy Girl

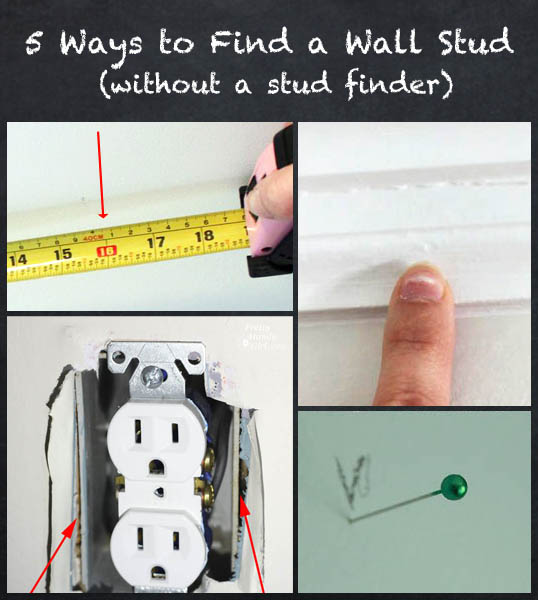
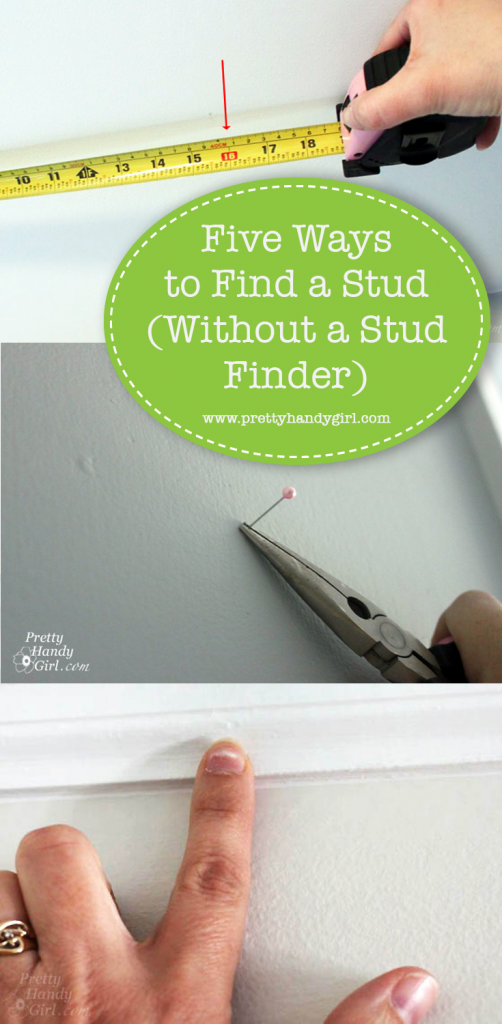
5 Ways to Find a Stud (without a Stud Finder)

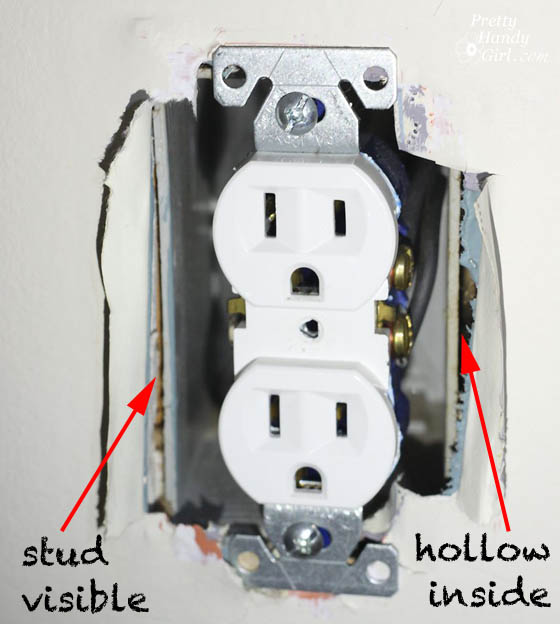
1. Measure from an outlet – remove an outlet cover and inspect the outsides of the box. One side will usually be nailed to a stud.

stud-visible-from-outlet-box

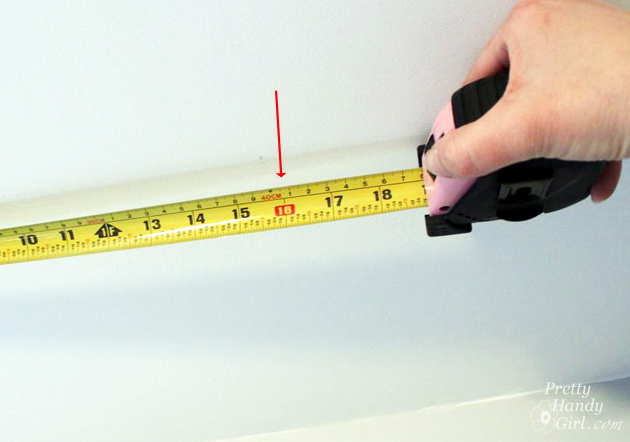
Then measure out to the left or right at 16″ intervals. US building code requires wall studs to be spaced at least 16″ on center (meaning the center of the studs.) This will help you locate studs. However, recognize that in locations near doors/windows or openings there may be a stud at less than a 16″ interval.

5 Ways to Find a Stud

2. Look for popped nails or dimples on the wall – It doesn’t always happen, but in older houses you might see nail pops where the drywall was nailed to a stud. In newer construction this is less likely to happen because screws are used.

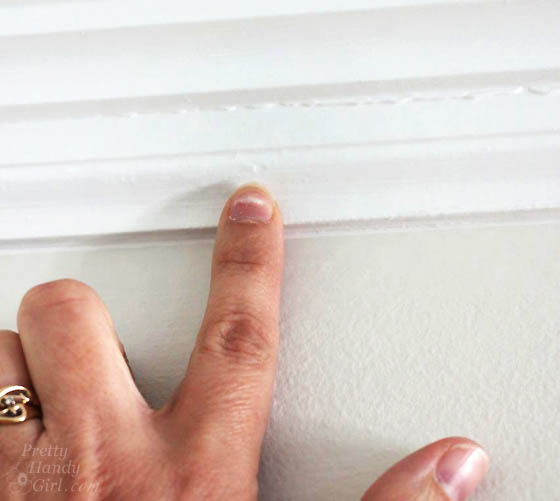
3. Look for nails in your baseboard or crown moulding – inspect your crown or baseboard moulding for nails that might indicate where it was attached to a stud.

locate-nail-in-moulding

4. Knock on the wall – You should use this method in conjunction with the methods described above. Use your knuckle to knock along the wall horizontally. A stud location will have a higher pitched sound and feel hard against your knuckle. Lack of a stud will have a lower pitch and hollow sound.

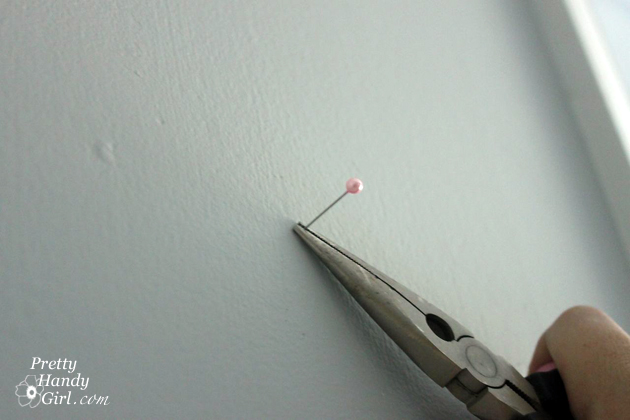
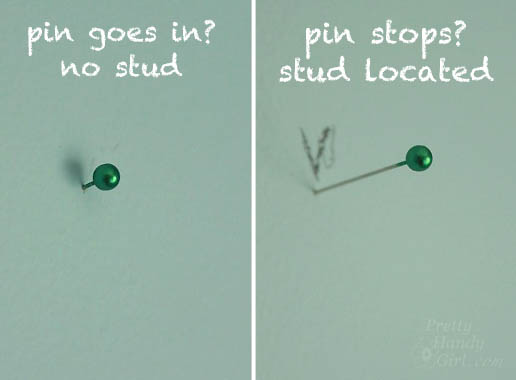
5. Use a small pin – Once you think you’ve located the stud, use a small quilter’s pin to verify that you found the stud.

Wall-mounted IKEA LILLÃ…NGEN Mirrored Cabinet turned Stuffed Animal Storage | Pretty Handy Girl

If the pin sinks in up to the head, there is no stud there. If the pin sinks in about 3/4″ and then stops, you found the stud.

pin-locating-studs

The pin method will save you the hassle of creating a larger hole only to realize that you missed the stud.

Okay, now go find your stud! {snicker, hee hee}

PHGFancySign

Pin for later!

how to find a stud without a stud finder

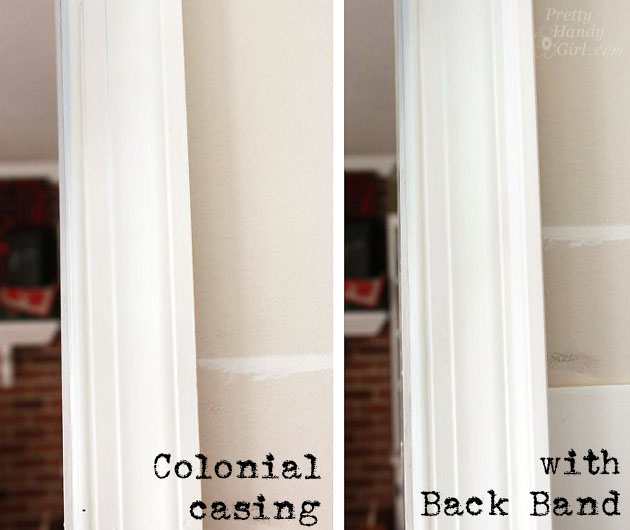
Beef Up Door and Window Casing with Back Band | Pretty Handy Girl

Want an easy way to add more architectural interest to your standard colonial door and window framing? Adding an extra piece of moulding, called back band, can add that extra boost of architectural interest.

Add Architectural Interest to Casing | Pretty Handy Girl

And the good news is that you can do this to your existing trim moulding. No need to remove or start fresh! The only thing you will need is paint on hand to paint the moulding after you BEEF it UP! In essence, We’re gonna PUMP it UP!

Materials:

  • Back band moulding
  • Finish nailer
  • 2″ finish nails
  • Caulk
  • Paint
  • Miter saw or  hand saw with miter box

Instructions:

There’s really not much to this tutorial. Line up the back band against your existing door or window frame. Measure or mark the back band where you need to cut your miter. Read more

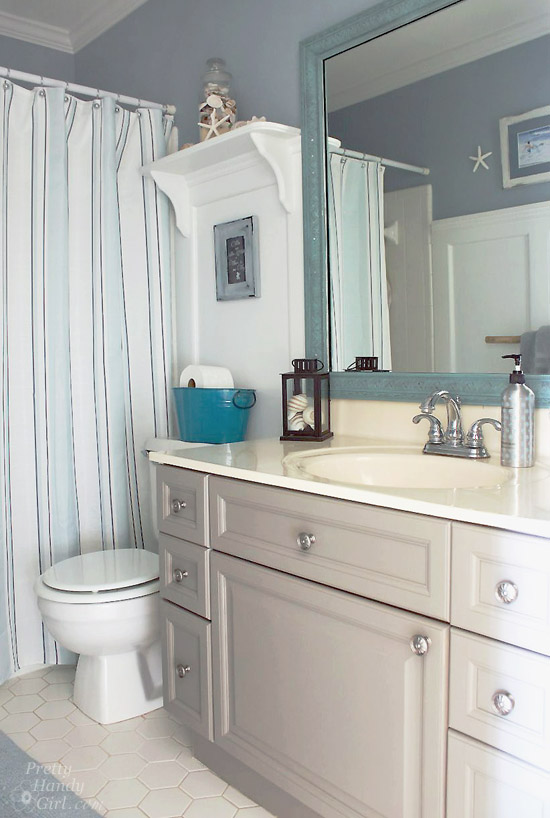
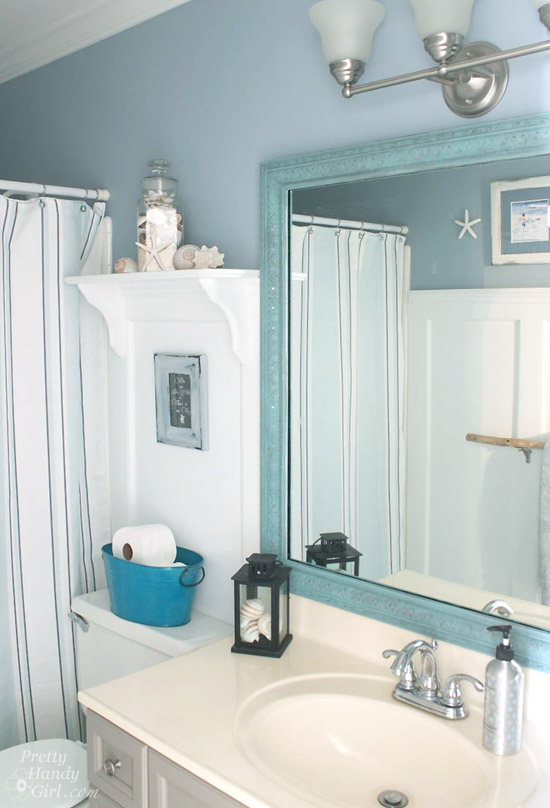
Seaside Theme Bathroom Refresh #LowesCreator | Pretty Handy Girl

Seaside Theme Bathroom Refresh #LowesCreator | Pretty Handy Girl

You know those projects that you complete 80% of the room and think to yourself, “This is good for now. I’ll do the rest in a day or two.” Yup, the boy’s bathroom was one such 80 percenter. I finally took the time to finish the last 20 percent of this bathroom makeover by giving it a refresh with some paint and new knobs.

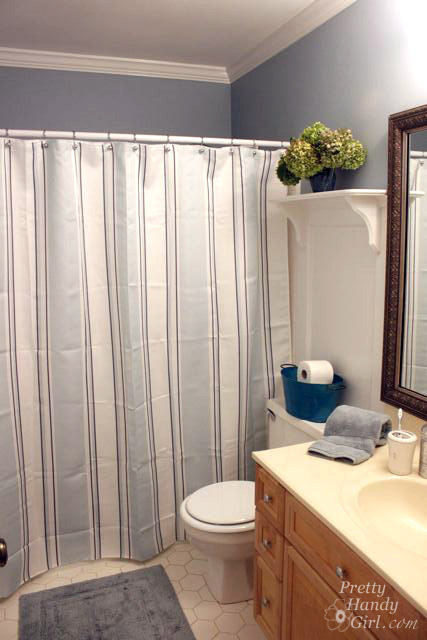
The bathroom used to look like this:

Seaside Theme Bathroom Refresh #LowesCreator | Pretty Handy Girl

But, before that, it looked like this:

I find it comical that I took an underwater themed bathroom and gave it a seaside retreat feel. I guess you could say I pulled this big whopper from within the ocean and laid it out on the beach. LOL.

Let’s break it down now. Here’s how to paint a bathroom vanity so it will withstand the abuse of two young boys: Read more