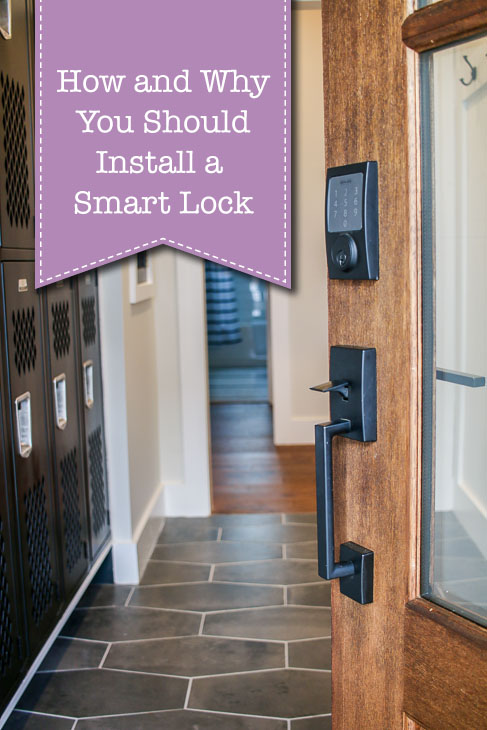
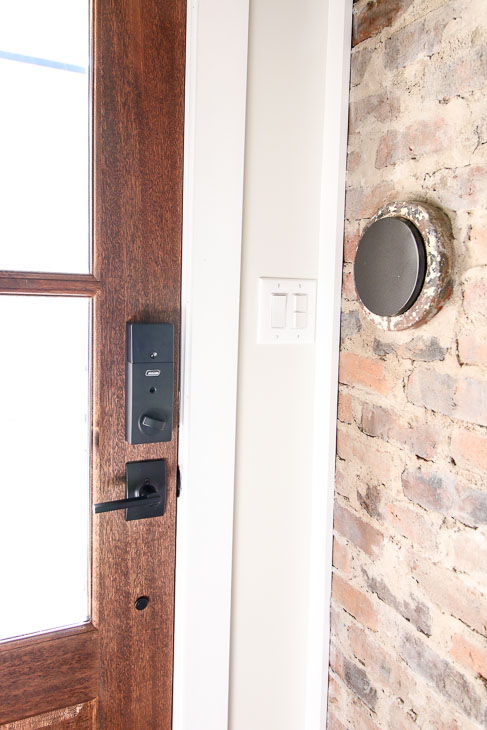
 How and Why You Should Install a Smart Lock on Your Door
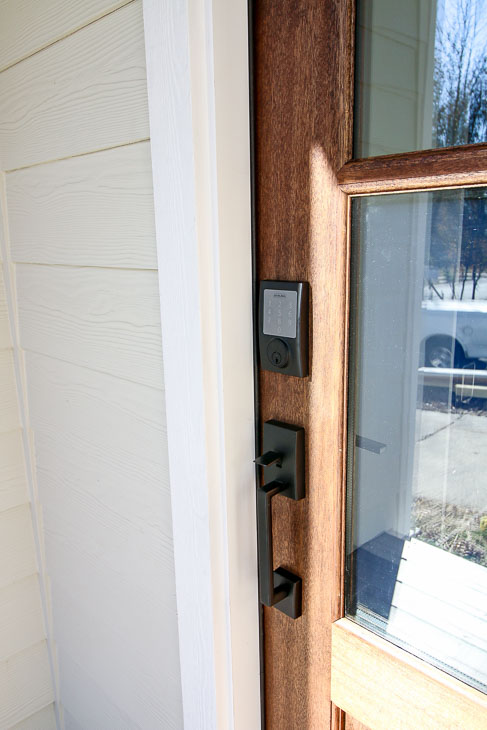
Smart locks have been around for a while, but I’ve been slow to jump on the bandwagon and install a smart lock. I worried they might be tricky to install and had heard stories of the technology being glitchy (although I can’t find a lot of concrete evidence beyond this firmware update glitch that left 500 LockState locks completely useless.) However, after installing a Schlage smart lock on the Saving Etta house, I am a converted technophobe.
If you’ve never installed or used a smart lock before I have some considerations for you when deciding How and Why You Should Install a Smart Lock on Your Door.
Why are Smart Locks are a Good Investment?
If you’ve ever had the unfortunately situation of locking yourself out of your home, with a smart lock this is a thing of the past! You only need to remember your code! Do you hire contractors or cleaning people to work at your house? Now you don’t have to take off work or give them a key if you aren’t home. Set up a temporary code for each person and remove the code when they are done. The same can be done for guests or for an AirBnB property.
Do you have kids old enough to let themselves in after school? Why not give them a code so you don’t have to worry about them losing a key and you can keep track of when they got home.
Finally, if you’ve ever had that nagging feeling that you left the door unlocked, you can rest easy by simply checking or locking the door remotely from your smart phone.
What if I told you a smart lock can also help lower your homeowner’s insurance and could be a selling feature when you sell your home? Is there really any reason you wouldn’t want a smart lock? There may be, so read on.
Some Things to Consider Before Buying a Smart Lock:
- Do the centers of your deadbolt and door knob holes have at least 5 ½” between them? (If not the interior circuit and alarm unit may not fit.)
- Does your deadbolt hole equal 2 1/8″ in diameter?
- Does the deadbolt and door knob hole backsets equal 2 3/8″ or 2 3/4″ from the edge of the door to the center of the holes?
- Is your door thickness 1 3/8 – 1 3/4″ wide?
- Is the latch bore hole in the door frame at least 1/2″ – 7/8″ deep?
If you couldn’t answer yes to all of these questions, a smart lock may not be right for your current door.
If you have a door that requires you to push hard, pull up, or hip check it, you will need to make adjustments to your door before installation. Why? A smart lock is activated by an electronic mechanism. The deadbolt needs to move freely into the frame to work properly.
Do you have a smart phone? If you don’t, you can still use a smart lock, but understand that you can’t take advantage of all the remote features.
Most smart lock run on batteries, but many needs Wifi or Bluetooth to handle features performed on your phone remotely. Obviously these functions may not be available if the power is out in your home. For this reason, it’s always good to carry a back up key on your keychain.
Some experts say smart locks can be hacked, but most standard locks can be picked or opened with brute force. Both have their limitations. I’d recommend doing further research if you are concerned about smart lock security.
Finally, there is the cost to consider. Smart locks aren’t cheap, but as I mentioned above, they can save you money on insurance or give you more money in your pocket when it’s time to sell.
How Hard is it to Install a Smart Lock?
Installing a smart lock to your entry door may seem like a hassle, but it’s actually a fairly simple installation anyone can accomplish.
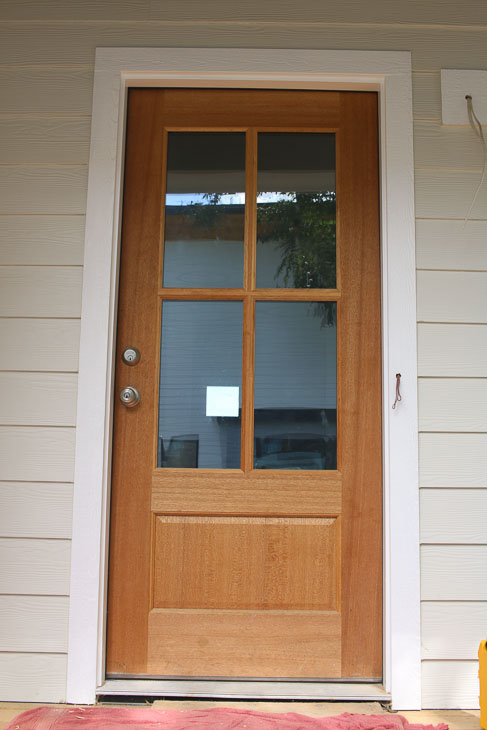
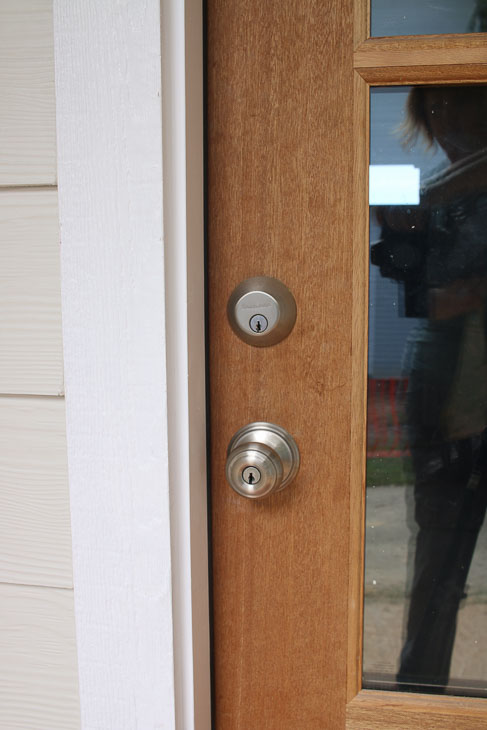
For some reason I thought the install would be more difficult, which is why I installed the ho-hum satin nickel knob and deadbolt on the Saving Etta house door. Sadly, it stayed on the door for months. As the completion date neared, I thought I’d need to clear an hour or so to install the Schlage Smart Sense lock. Boy was I mistaken, it took less than 30 minutes!
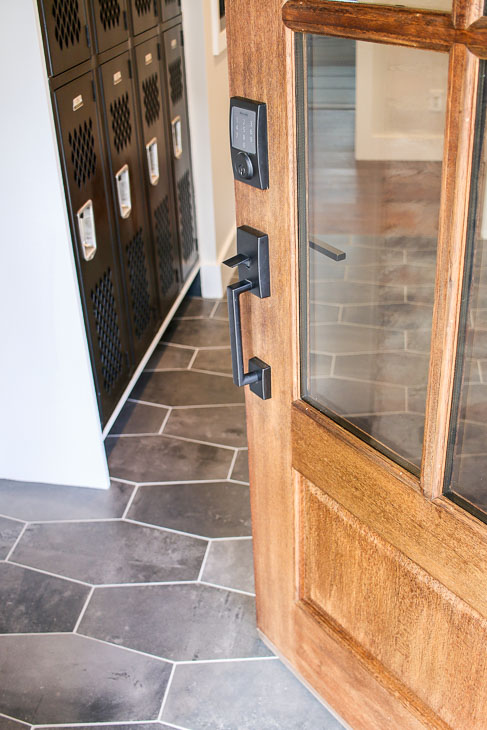
Let’s give your home a smart upgrade by installing a smart lock today. Here’s how to install the Schlage Smart Sense Deadbolt in thirty minutes or less.
(I’ve included affiliate links for your convenience. I earn a small percentage from a purchase using these links. There is no additional cost to you. You can read more about affiliate links here.)
How to Install a Schlage Smart Sense Deadbolt:
Remove the Smart Sense Deadbolt from the box and make sure you have the booklet included. This booklet has the programming codes and must be kept in a safe place. DO NOT THROW IT AWAY!
Materials:
- Schlage Smart Sense Deadbolt
- Screwdrivers (flat and phillips head)
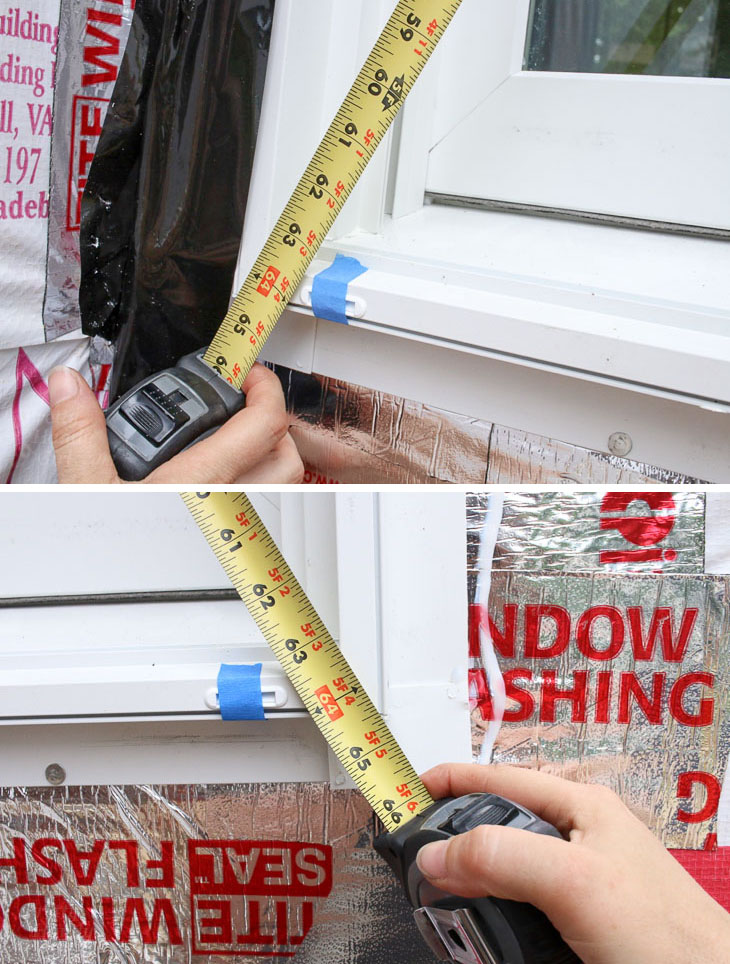
- Tape Measure
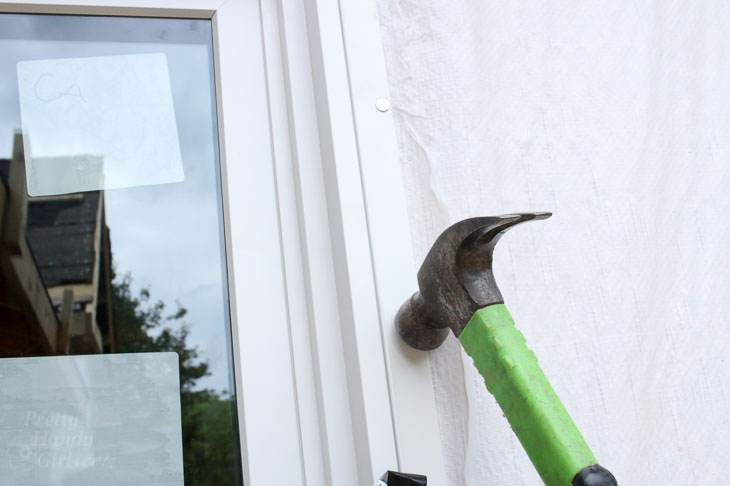
- Hammer & scrap of wood (may not be necessary)
Instructions:
First check to make sure your deadbolt engages freely into the door frame and deadbolt strike plate.
Remove the existing hardware.
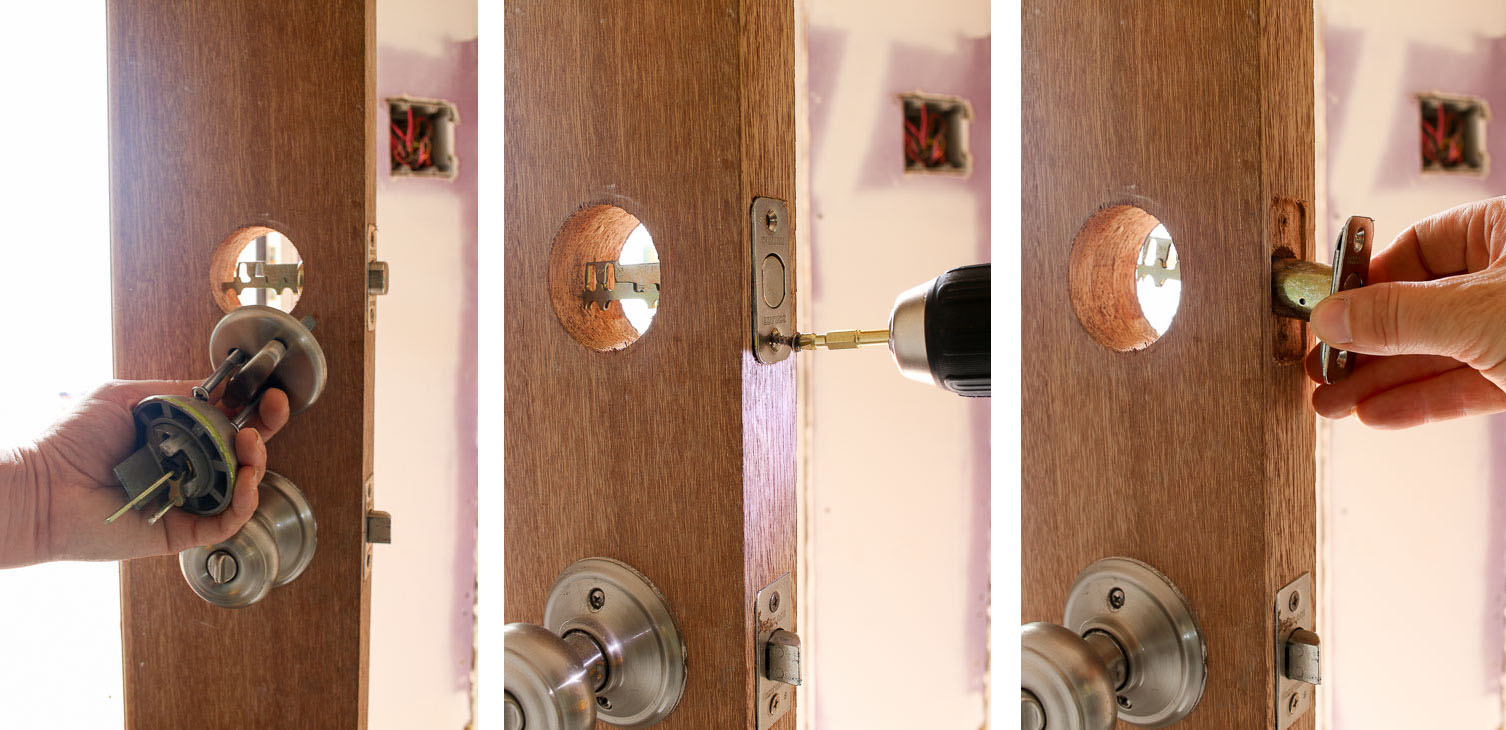
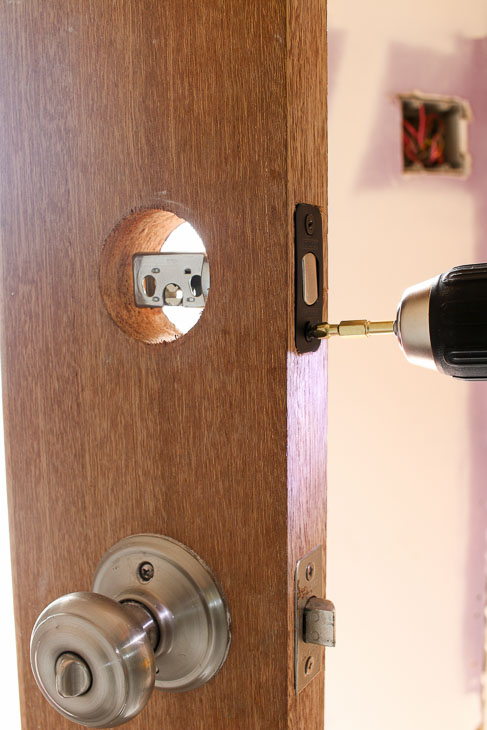
Also remove the existing strike plate from the door frame. Then install the reinforcement plate into the door frame using the longer reinforcement screws. (Pay attention to the wording on the reinforcement plate telling you which way to orient the plate.)
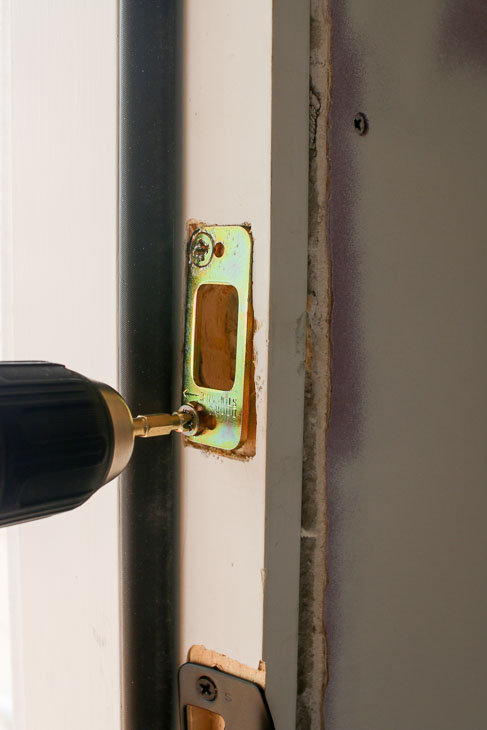
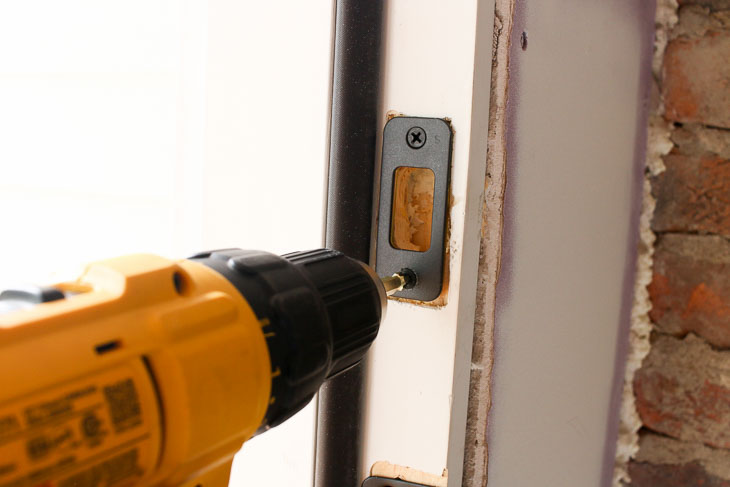
Install the new strike plate on top of the reinforcement plate.
Insert the new bolt into the door (if you have a circular faceplate in the door, you’ll have to swap the rectangular plate with the round one in your kit and use the hammer and block to tap the bolt in.) Secure the bolt to the door.
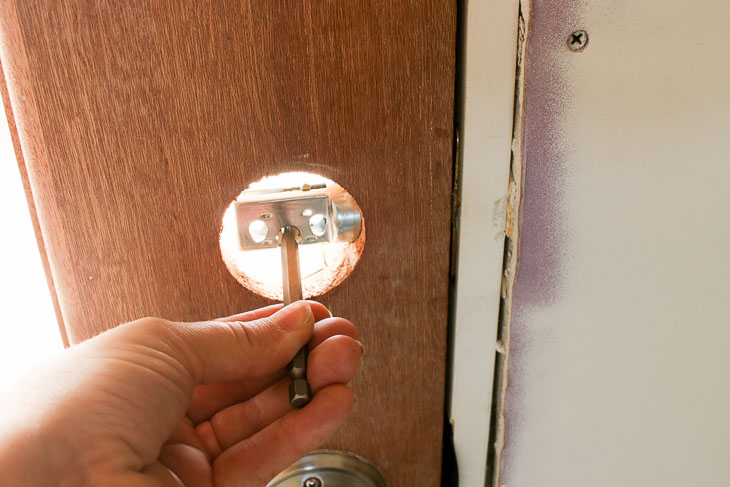
Close the door and use the flat head screwdriver to test the locking mechanism. Does the deadbolt seat properly in the door? If yes, move on. If not, make any adjustments to your door now.
My door needed some adjusting (a shim behind one of the hinges to square up the door) before the deadbolt could open and close freely.
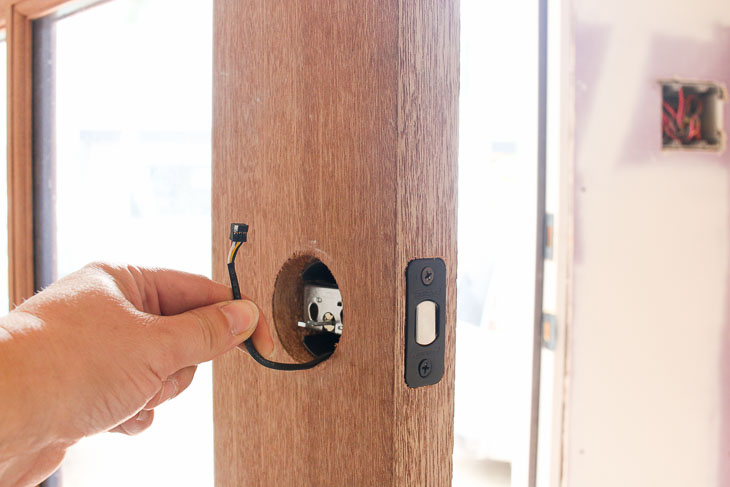
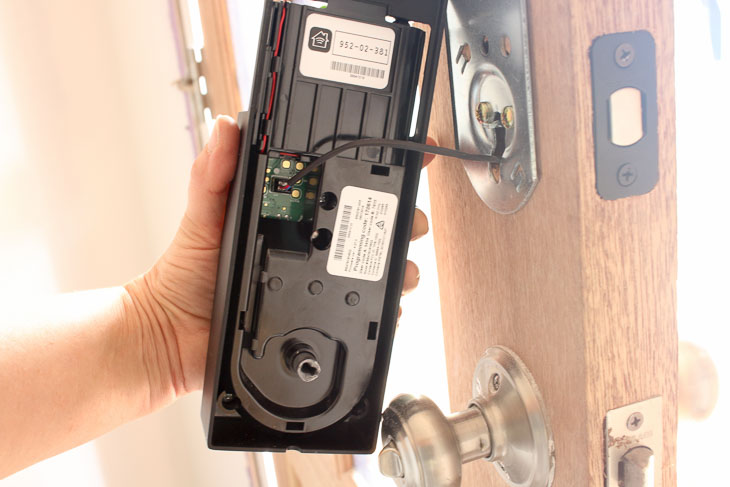
Now that the bolt seats properly, add the keypad to the outside of your door (be sure to feed the cable through the door and under the bolt as you seat the keypad.)
The cable should be positioned under bolt and exit on the interior side the door.
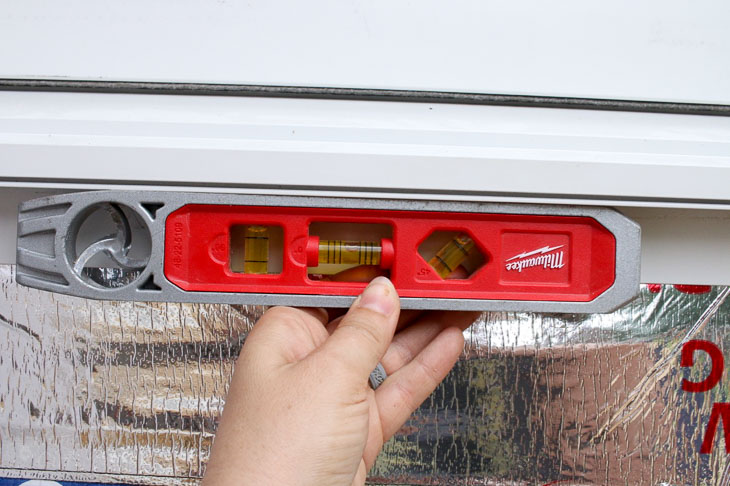
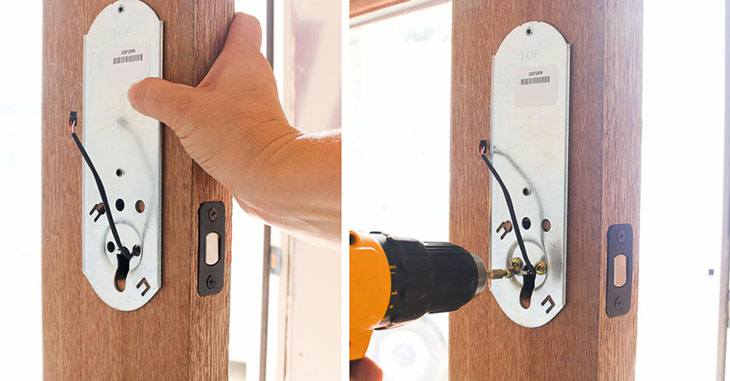
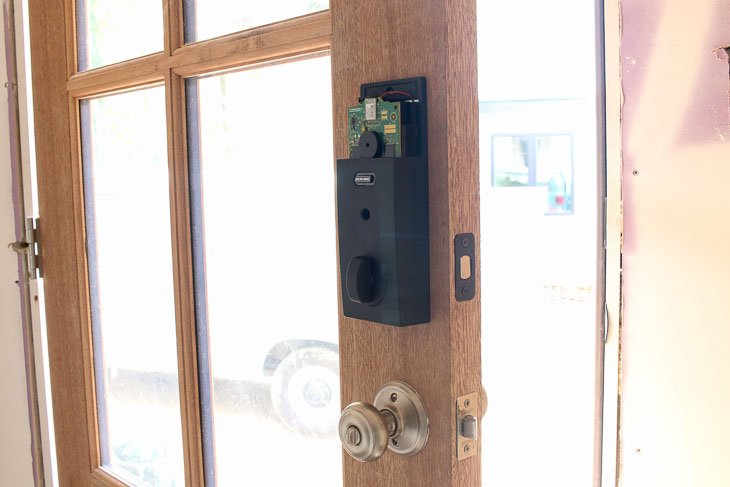
Add the support mount to the interior of the door using the mounting screws provided. The support mount is stamped with the words TOP and AGAINST DOOR. Be sure to orient the support accordingly. Make sure the support mount and keypad are straight and plumb before tightening the screws.
Remove the top cover on the alarm unit.
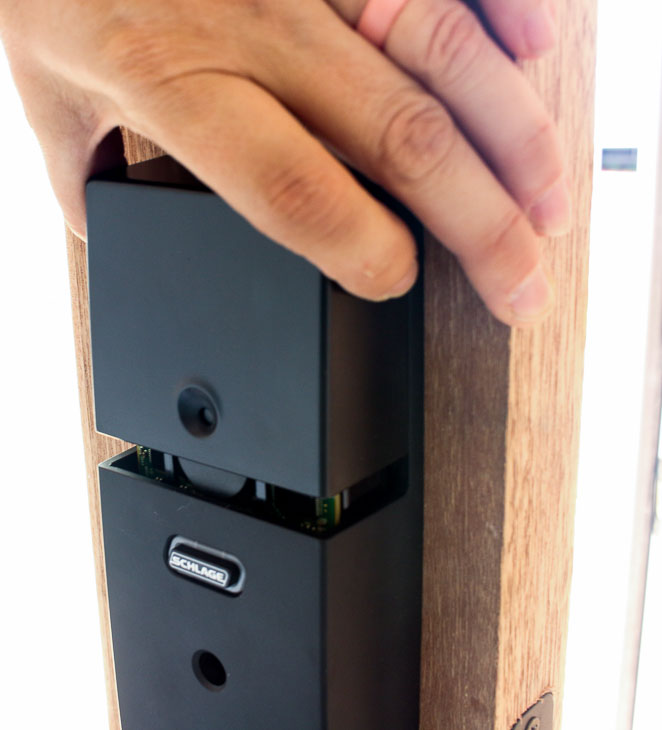
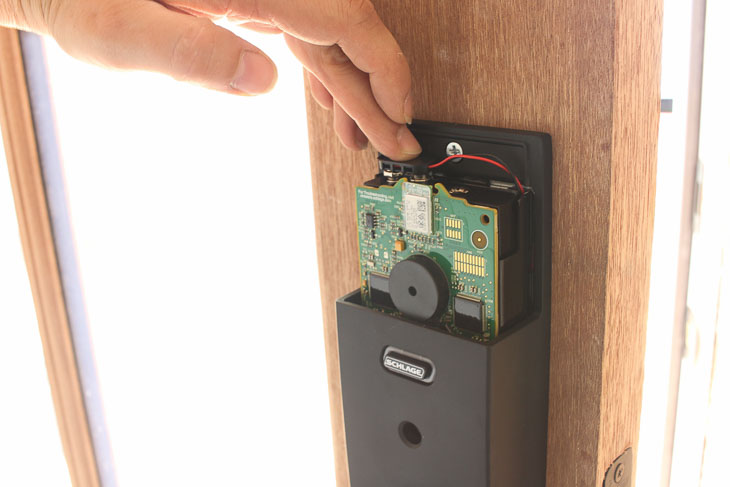
Attach the cable to the back of the interior alarm unit.
Carefully attach the alarm unit to the support plate. You may have to turn the knob to line up the slot in the back of the alarm unit with the tab in the bolt.
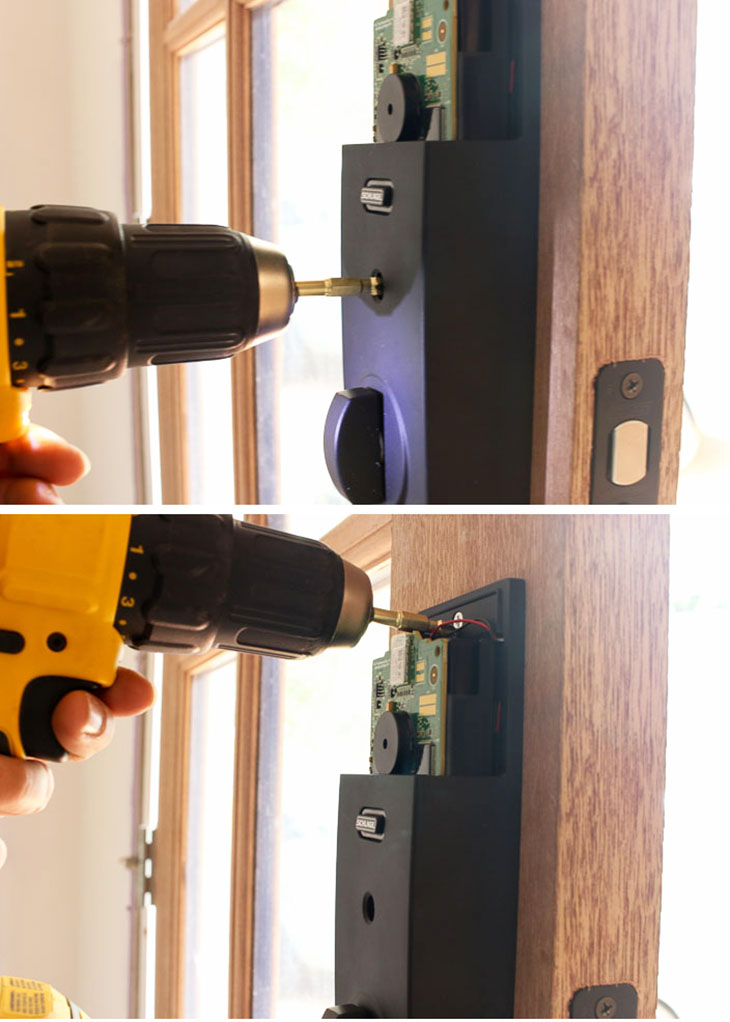
Secure to the mounting plate with a screw in the middle of the until and a second screw above the circuit board. (Please note: Schlage recommends using a hand held screwdriver instead of a drill. I’m a rebel, what can I say?)
Remove the battery tray inside the alarm and insert four AA batteries.
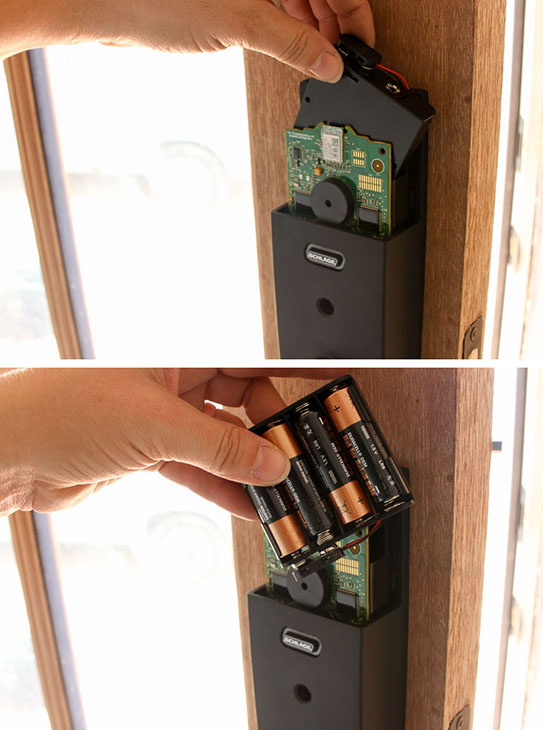
Replace the battery tray with the batteries facing the door. Re-attach the battery connector.
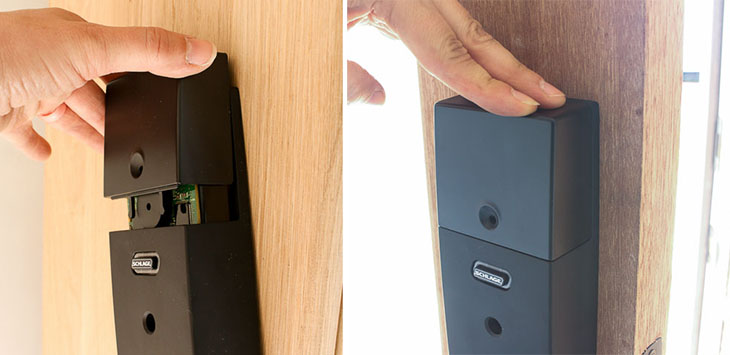
Make sure not to turn the deadbolt knob until you set up the keypad. Replace the cover.
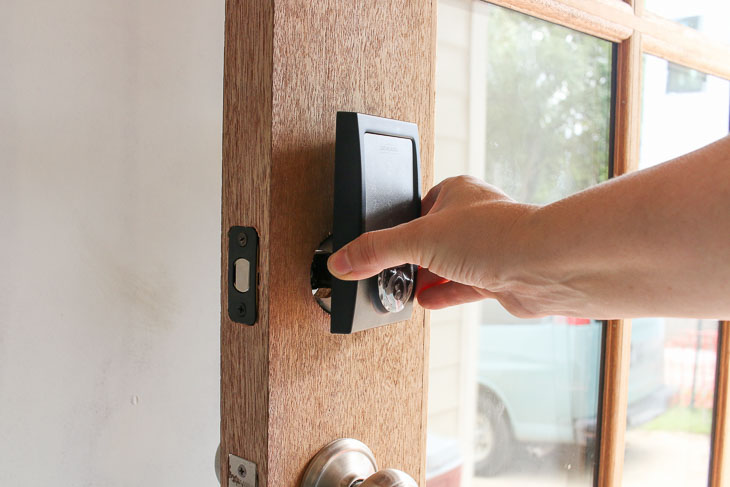
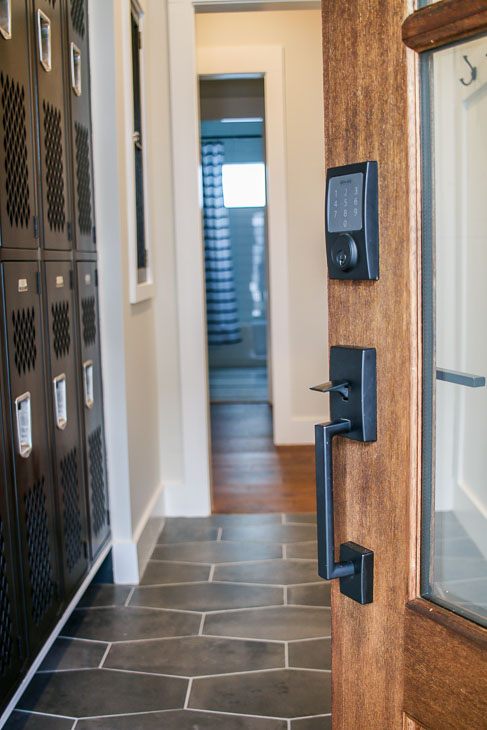
Now it’s time to test your keypad. Grab the brochure and locate the default codes on the sticker. Press the Schlage logo. The keypad should light up.
![]()
Enter the default code and the deadbolt should go through a set up routine. Let it finish, then close the door from inside the house and test the lock using the thumb turn. The bolt should still be able to open and close freely. (If not, make any adjustments to your lock or door as necessary.)
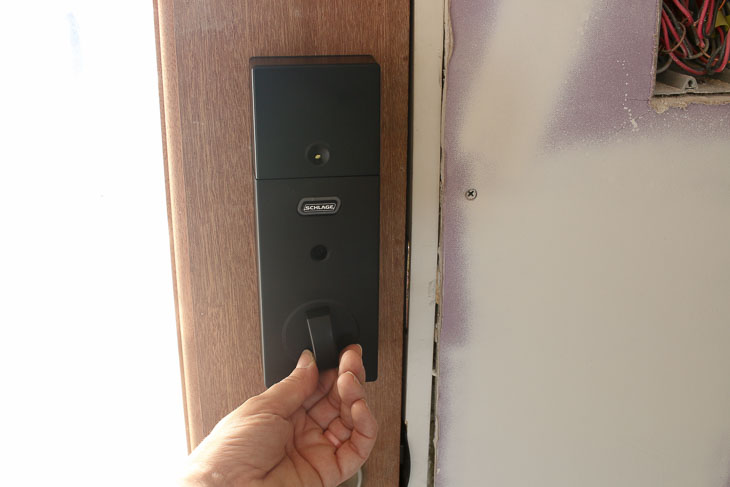
Now you can test the keypad entry. Take a key with you as you step outside. Close the door and press the Schlage logo. The door should lock.
Press the Schlage logo again (the door should stay locked.) Now enter one of the default codes and the green check mark should illuminate and unlock the door.
Your new Schlage Smart Sense deadbolt lock is now set up.
To manage your new smart lock, download the Schlage Smart Sense app on your smart phone and follow the instructions. You can also set up new codes, or lock and unlock it remotely.
Schlage has an installation video if you have any questions about this installation. Watch it below:
The Schlage Smart Sense Deadbolt was fantastic to have on the Saving Etta house. I was able to program temporary codes for the subcontractors and deactivate them after they finished their work.
I will definitely be looking into adding one of the Schlage Smart Sense Deadbolts to my own home. Especially because my boys are always misplacing their keys. 😉

Disclosure: As a sponsor of the Saving Etta project, Schlage sent me the Smart Sense Lock for the house. I was not told what to write, all opinions are my own.
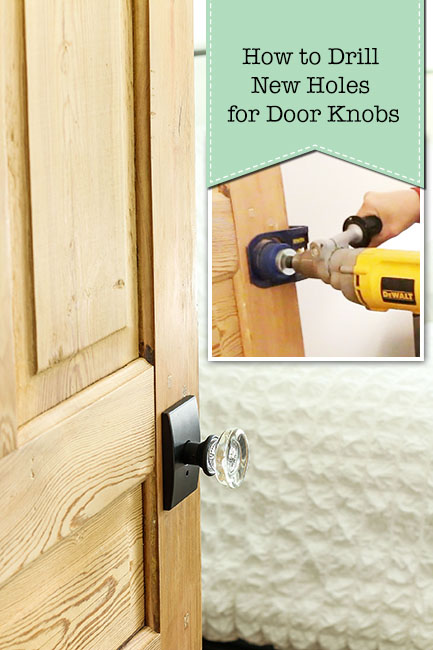
Pin this image to help others learn more about smart locks!
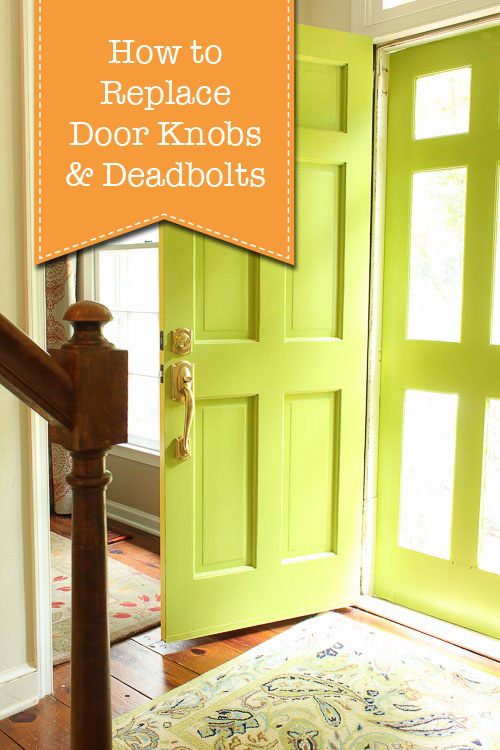
Want to learn how to drill new door knobs holes?
Or maybe you want to learn how to replace the other door knobs in your home:
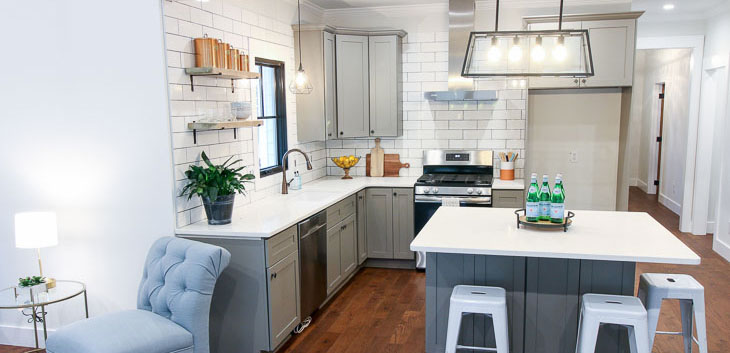
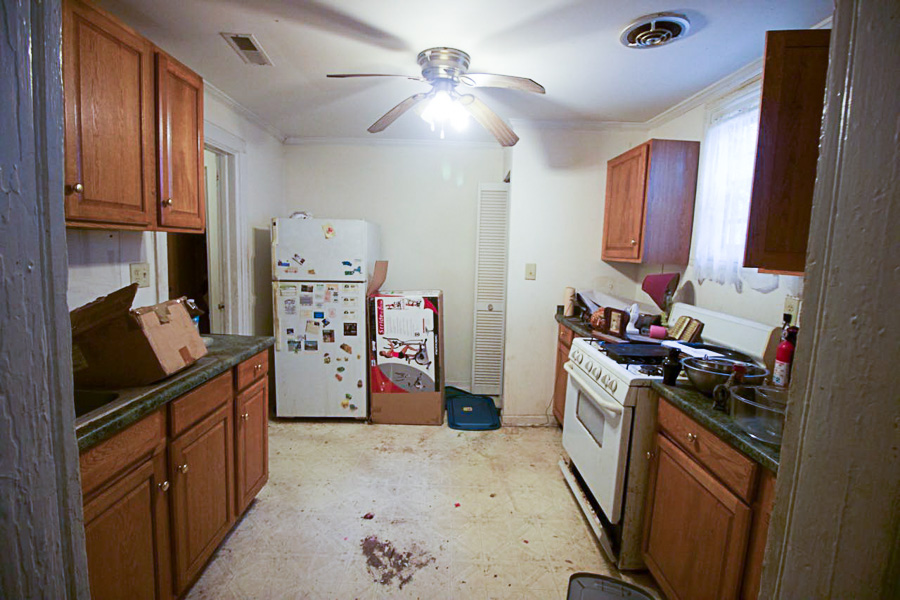
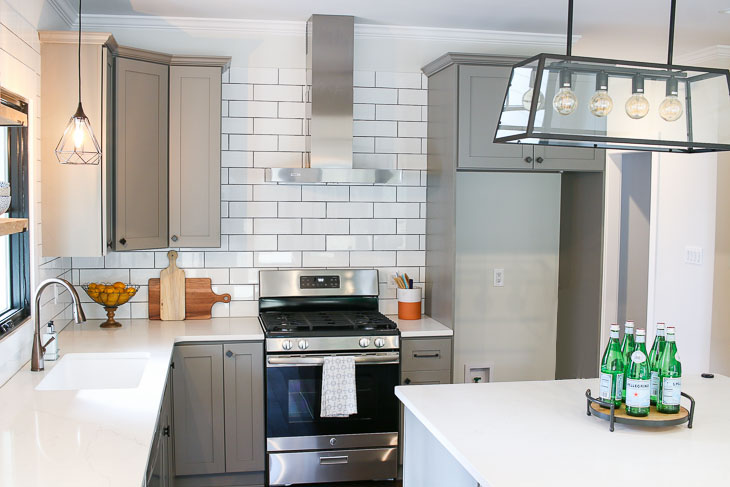
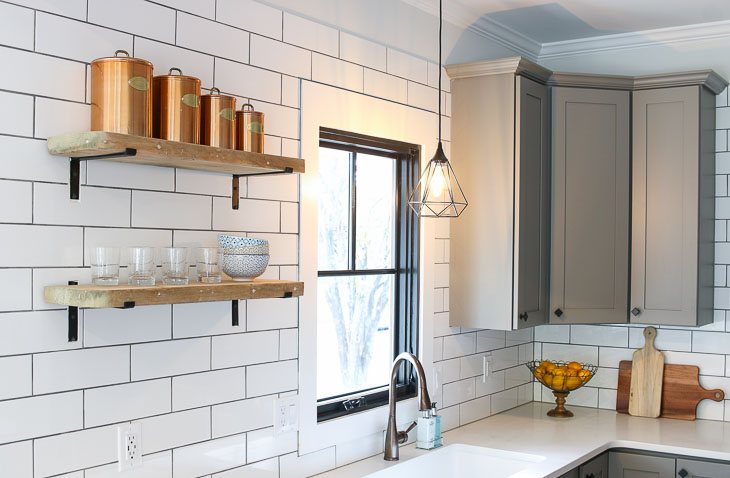
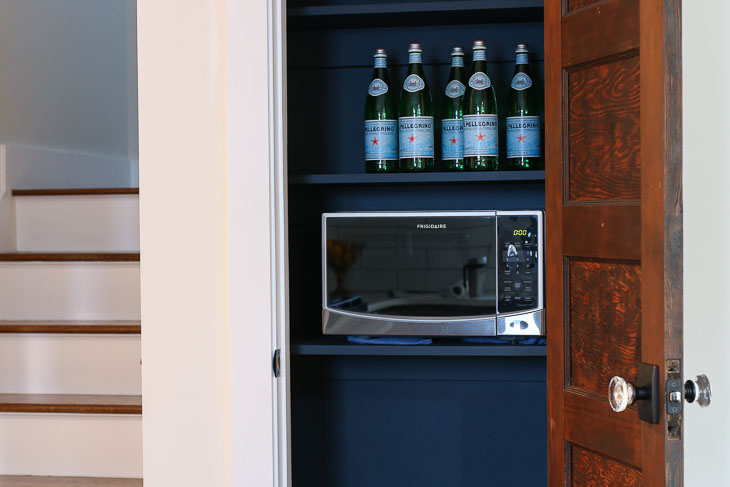
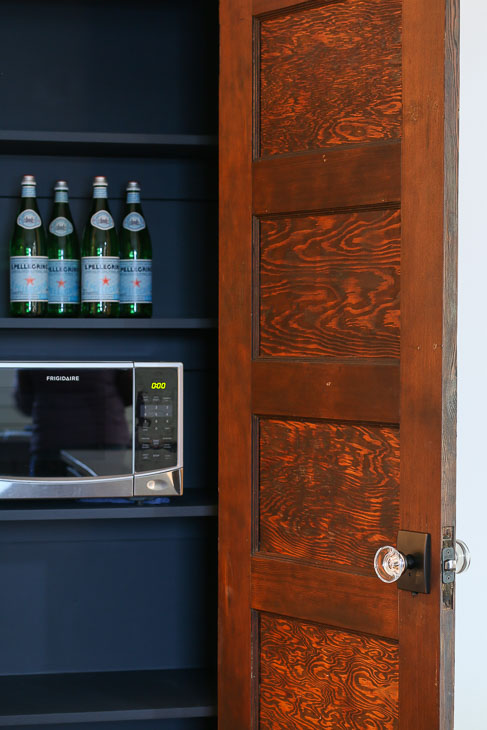
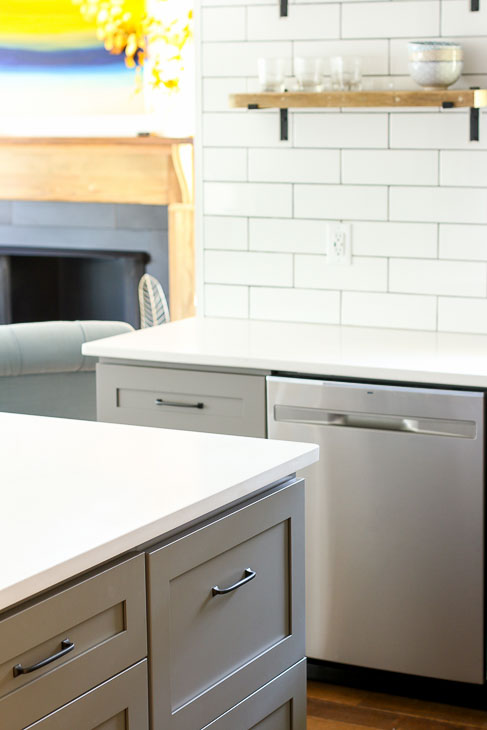
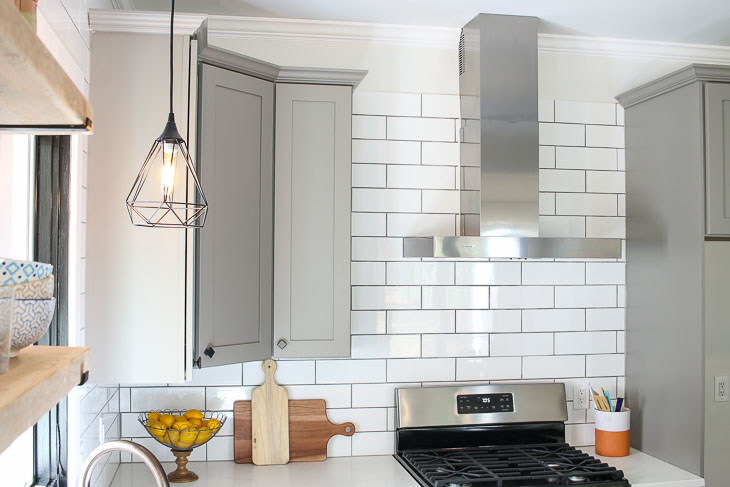
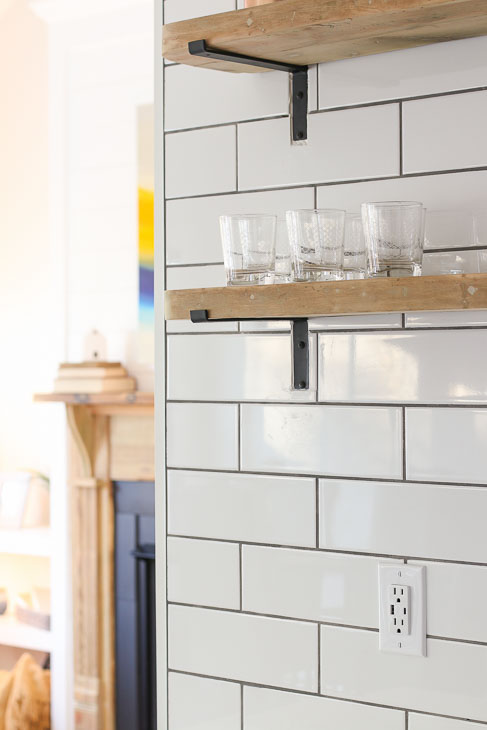
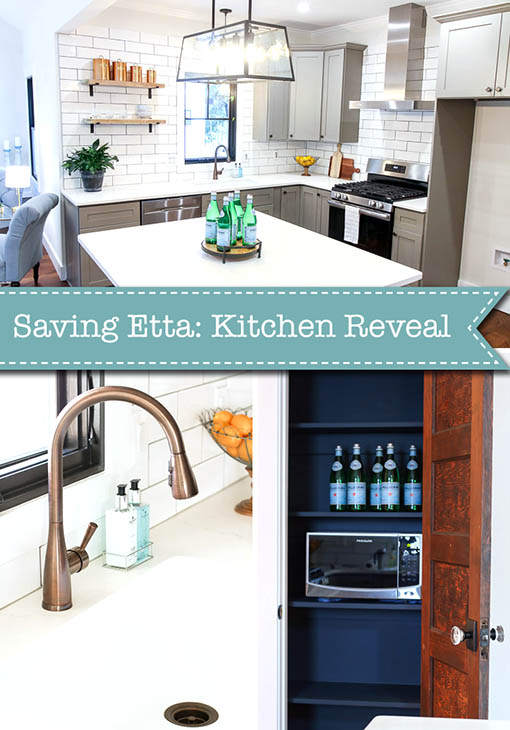 Saving Etta: The Long Awaited Kitchen Reveal
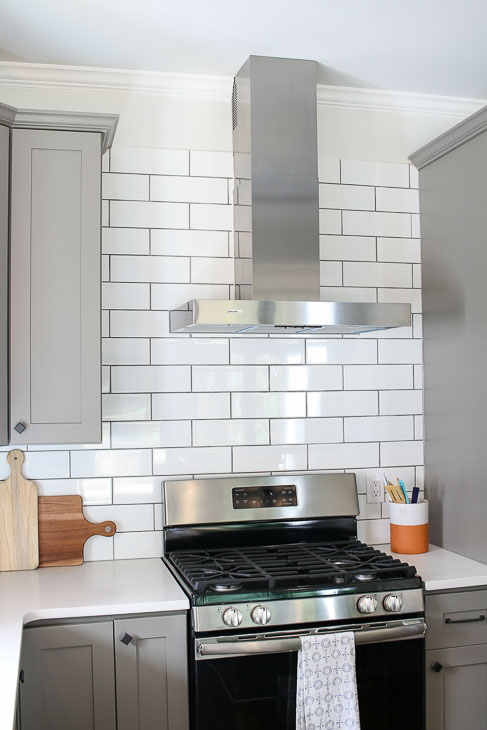


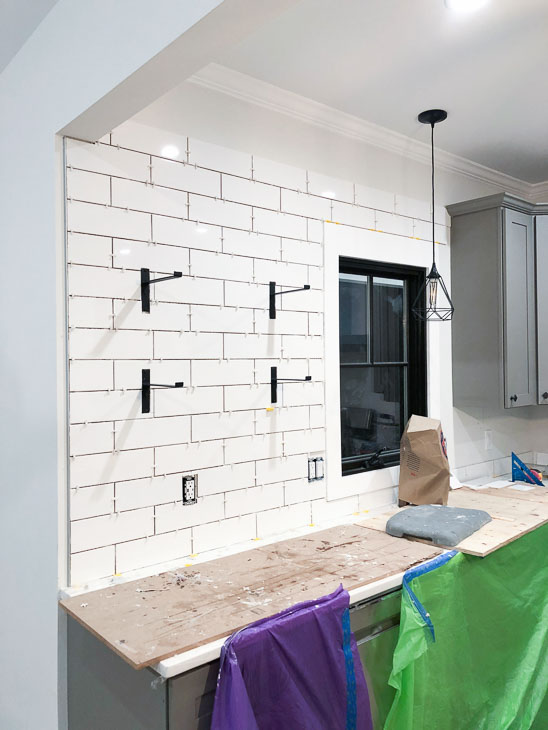
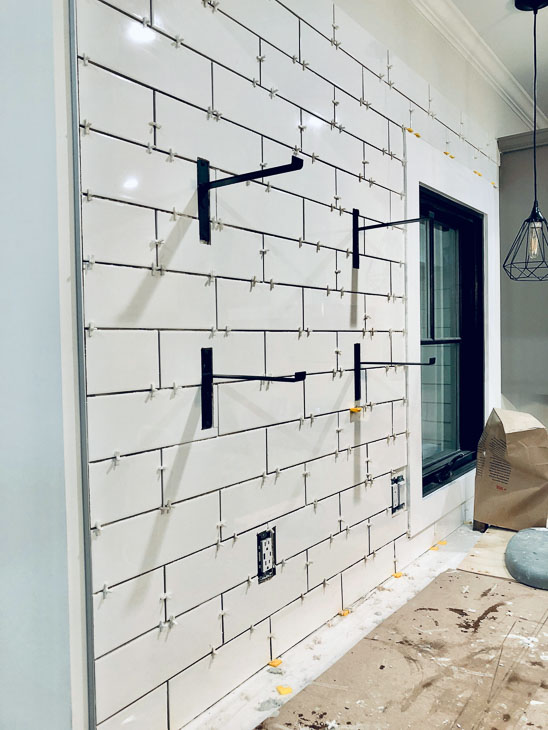
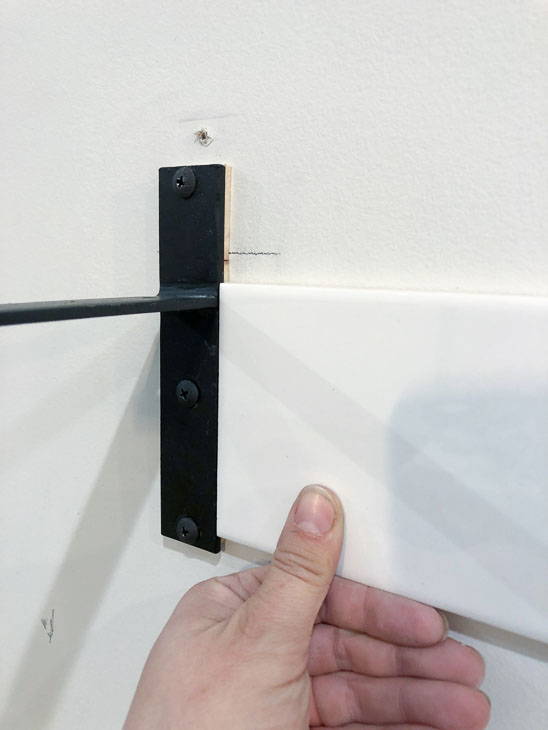
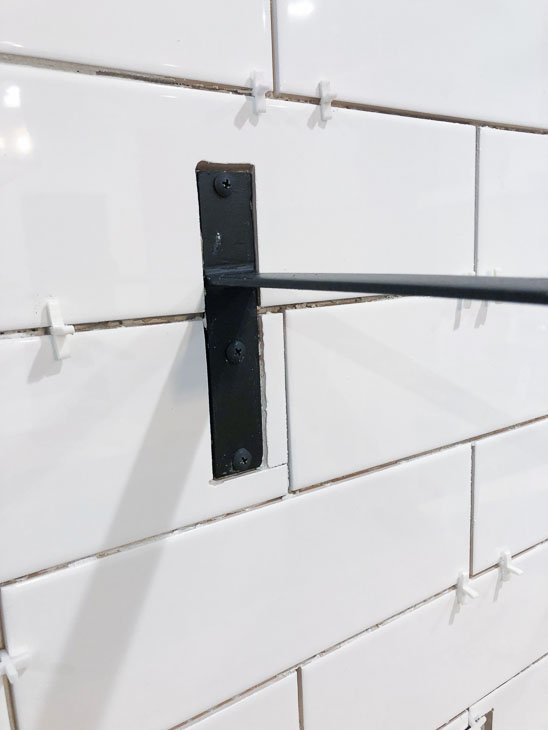
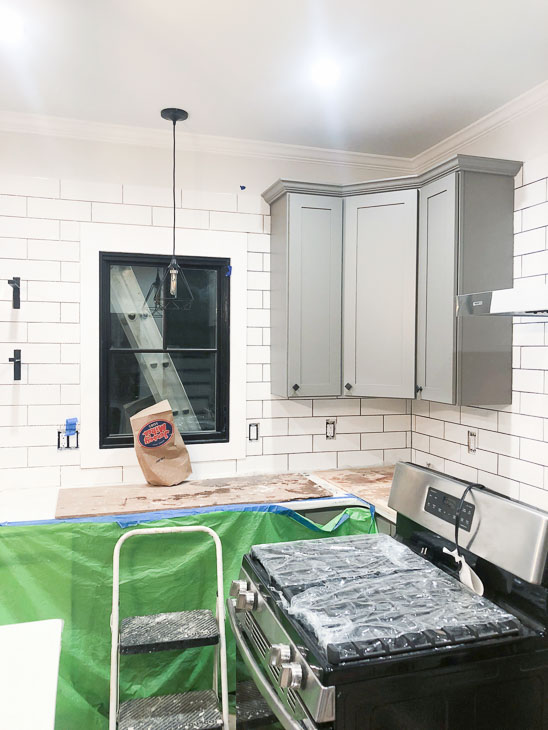
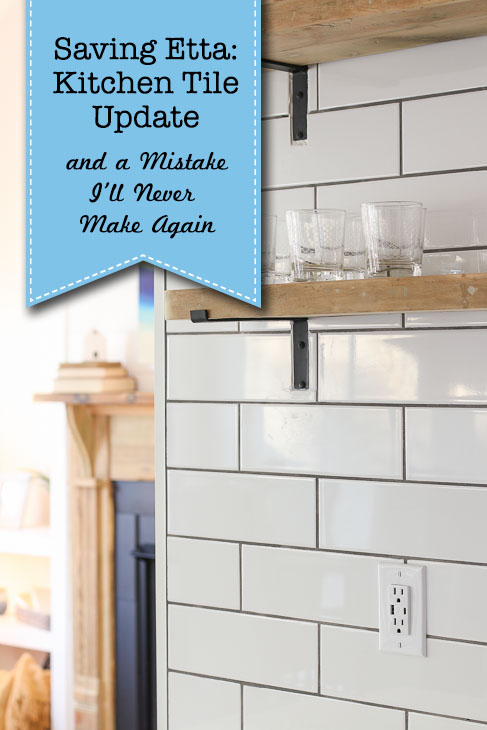 Saving Etta: Installing the Tile Backsplash & a Mistake I’ll Never Make Again
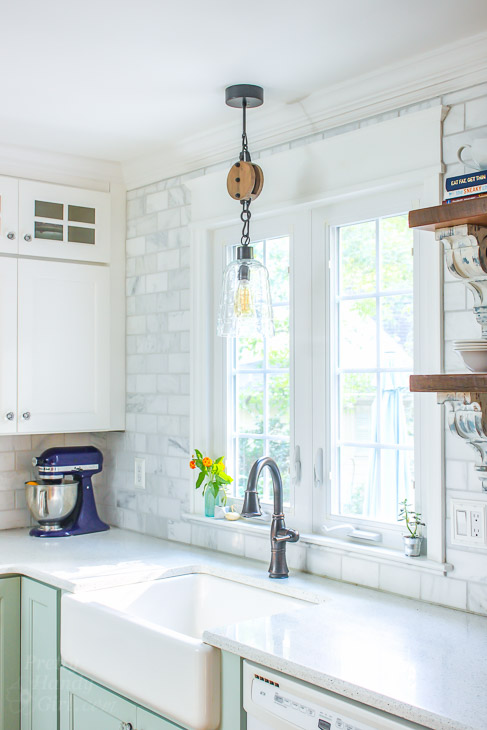
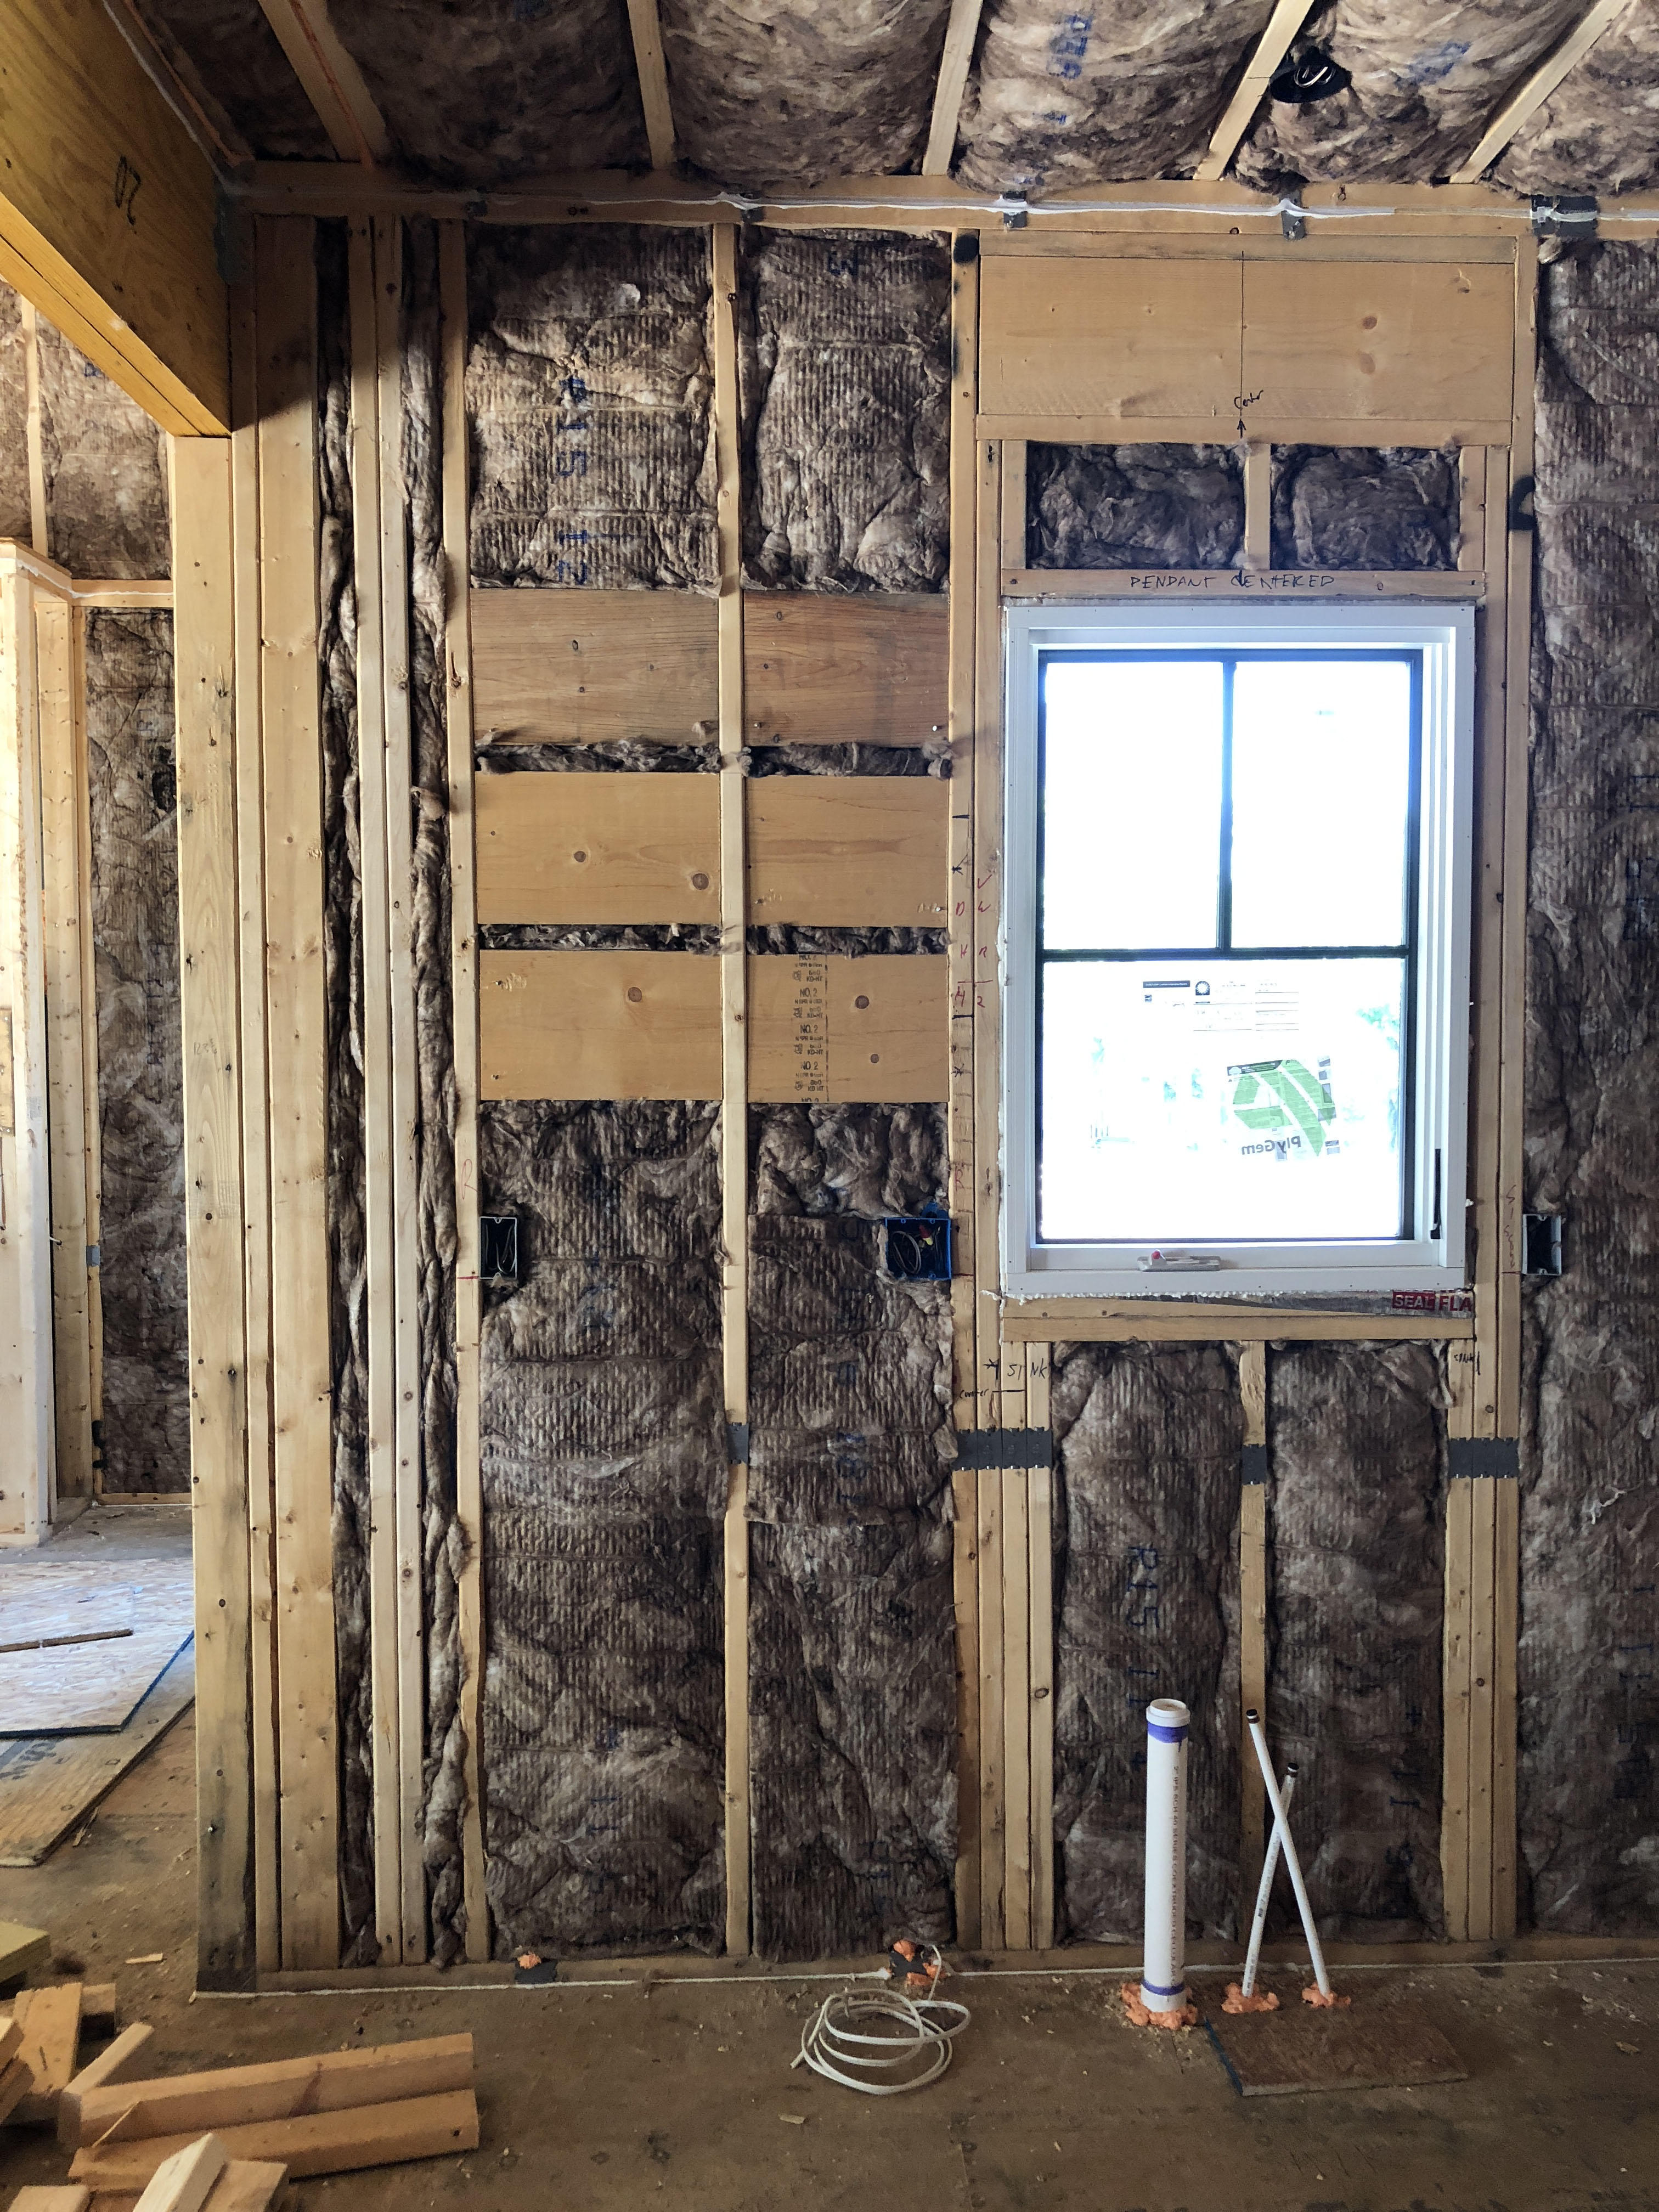


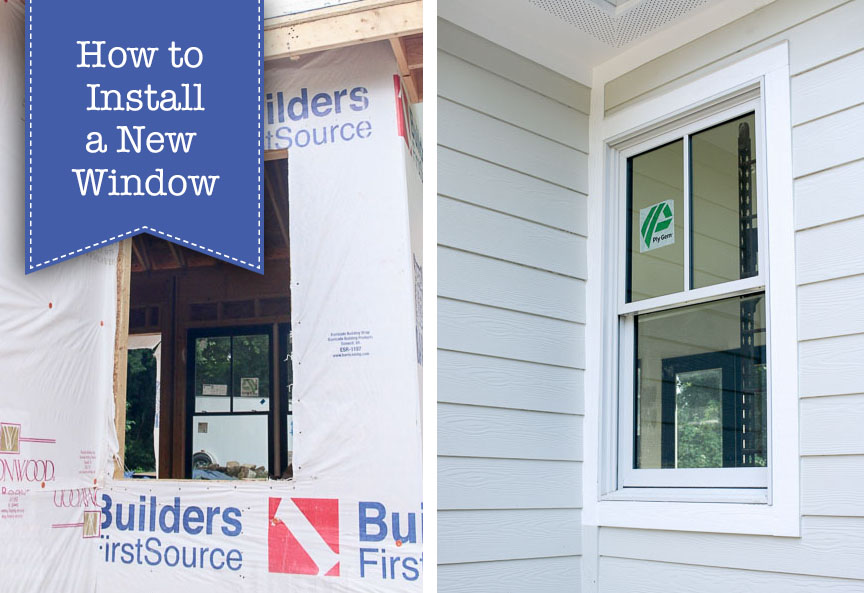

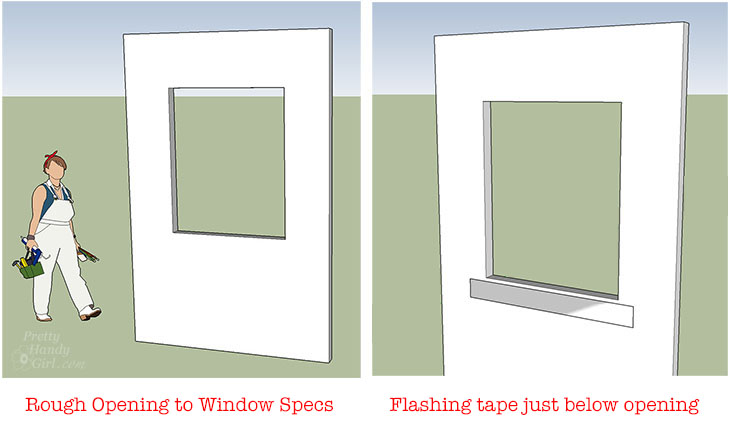
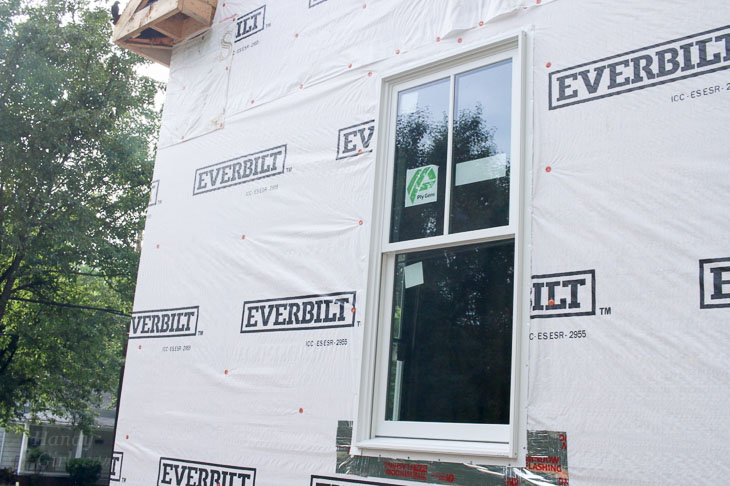
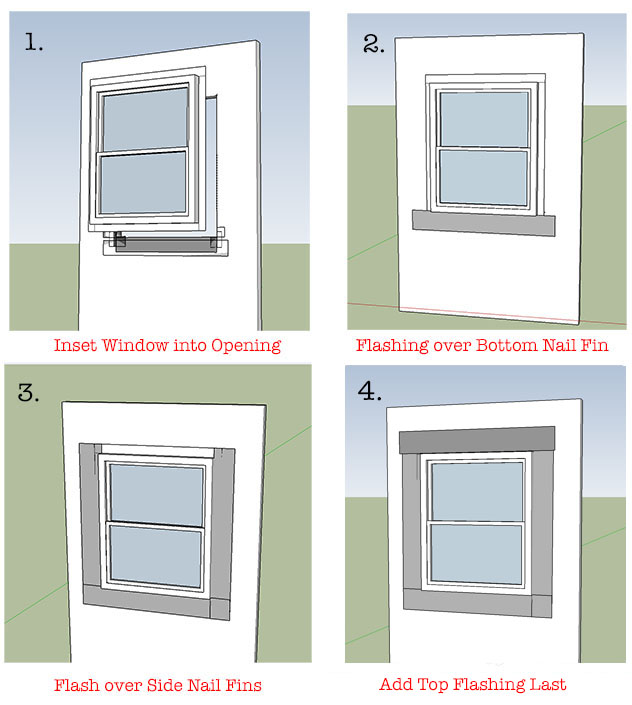
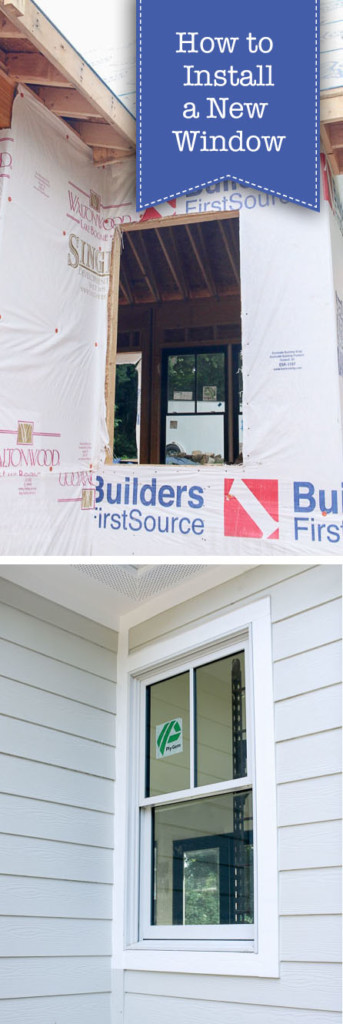
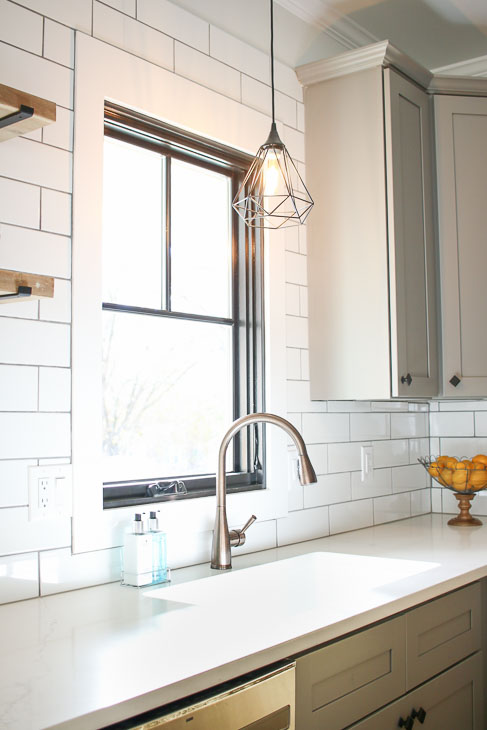
 Time to install the window! Run a generous bead of silicone along the inside of the nail fin frame. Be sure to add additional silicone at the diagonal corner seams of the nail fin.