Take a tour of this Topsail Beach Condo with a top to bottom makeover including new flooring, paint, and bathroom fixtures.
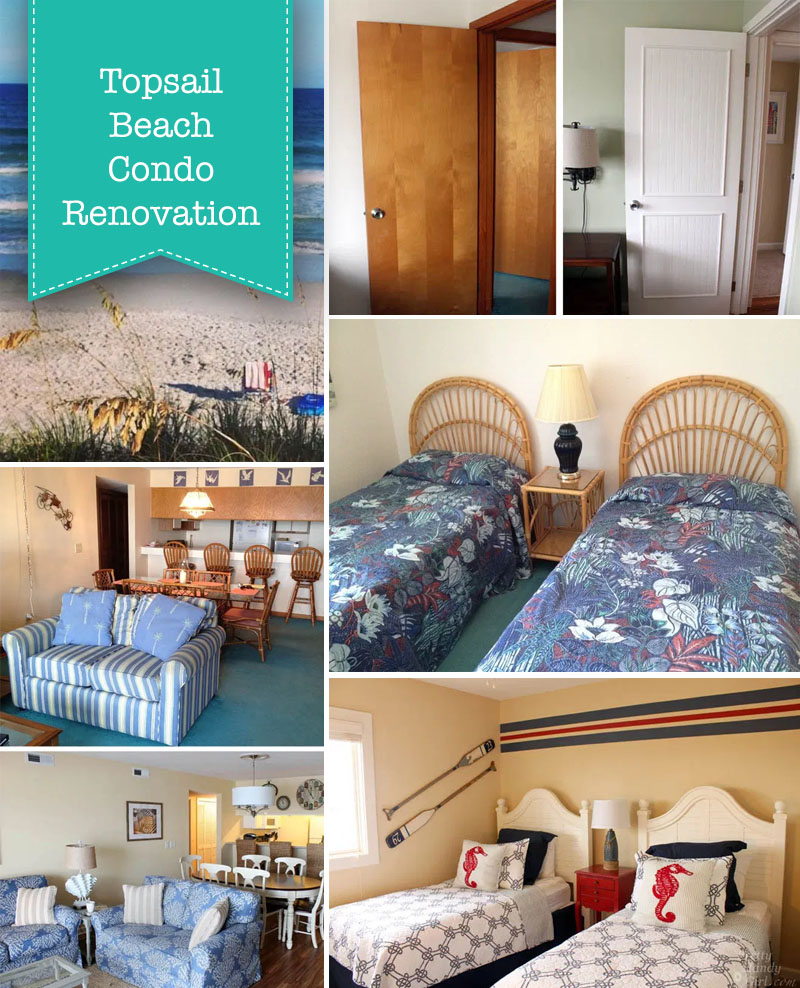 Topsail Beach Condo Renovation
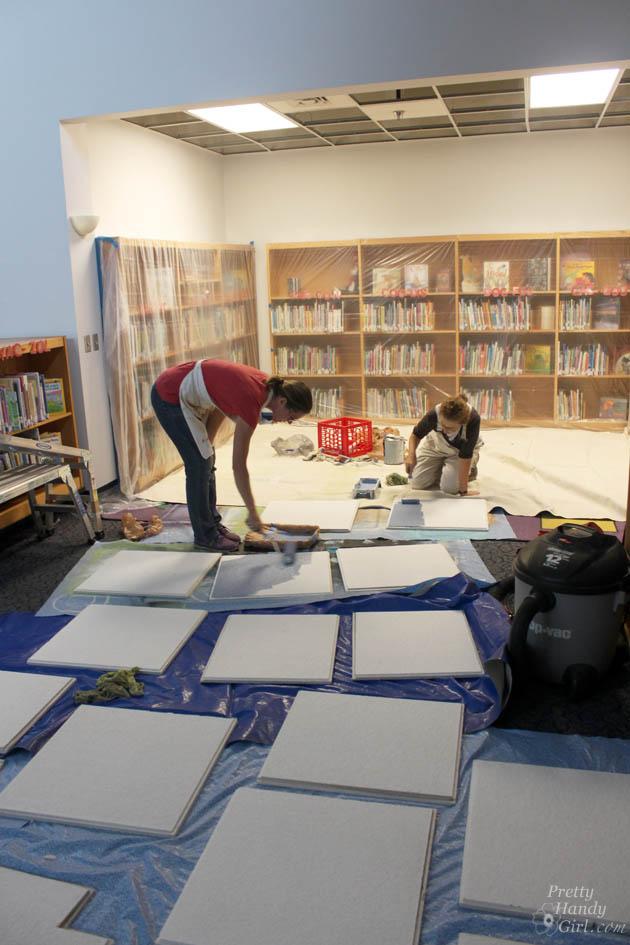
My stepmom, Diane Chamberlain (the famous author), purchased a fixer-upper beach condo in Topsail Beach a few years ago. She hired my sister, Caitlin, to work her interior designer magic on the place. My sister then convinced me to come put in some manual labor. We had a blast renovating this Topsail Beach Condo together and hopefully get the chance to work together again (especially because she lives on the West Coast and we’re on the East.

(Please excuse our sweaty appearance. This was midway through one hot and sweaty day.)
After a few days of sweaty labor, (and some additional work done by her contractor), the beach condo is ready to be enjoyed. Luckily, my stepmom gave us permission to stay in the condo anytime it isn’t rented! That’s a deal I definitely couldn’t turn down!
Without further adieu, I’m giving you an all-access view of the renovation with before and after images.
Welcome to 118!
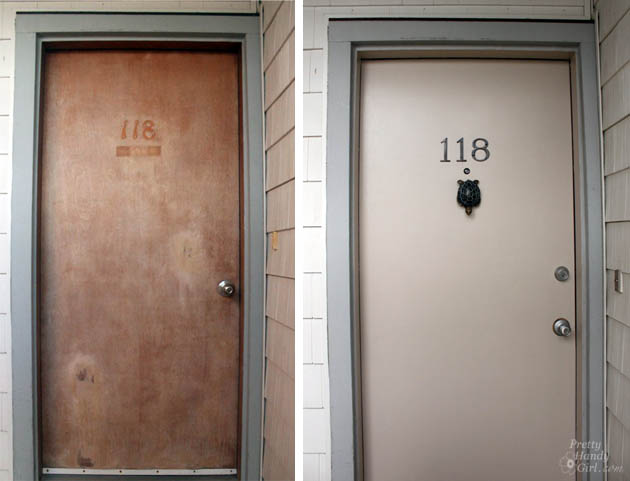
The Door:
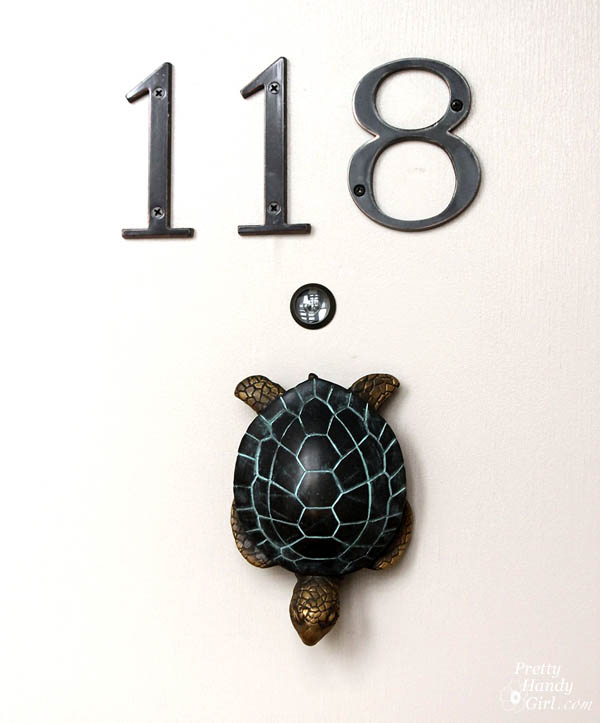
The old door was dried out and had some chipping in the veneer. To save it, I sanded the door down, fixed some of the chipping veneer, painted it, added new numbers, and a door knocker. Now it’s a welcoming door more fitting with the beautiful renovated rooms inside.
My sister and Diane picked out the knocker. Sea turtles are strongly linked with Topsail because of the sea turtle rehab and rescue facility on the island.
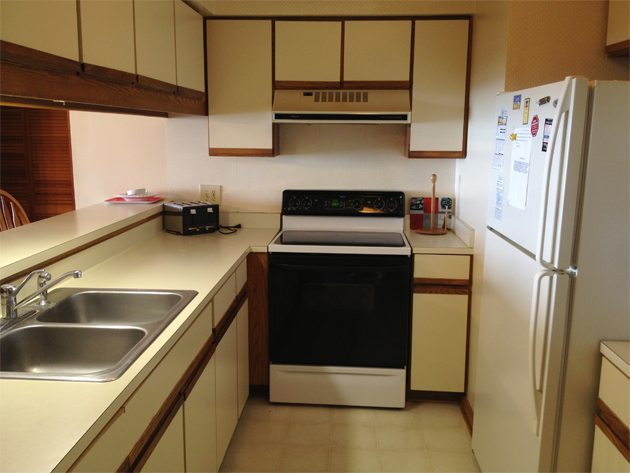
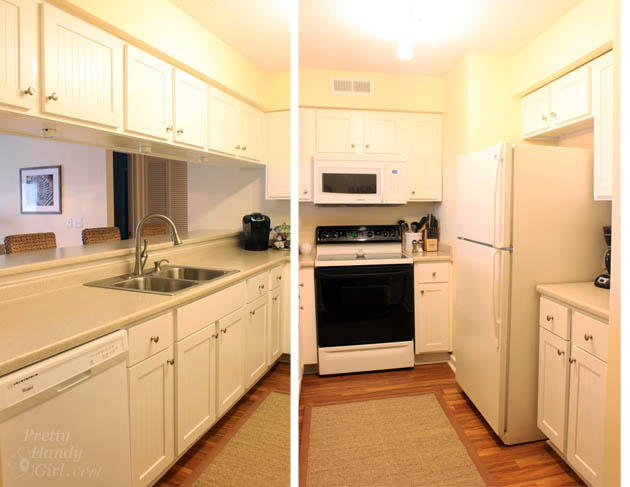
The Kitchen:
When you enter the condo, the kitchen is on your right. The old kitchen had dated Formica doors and countertops. None of the cabinet doors were hung straight. And the sink was barely deep enough to wash pans in.
The cabinet boxes were primed and painted by the contractor and new doors were installed. The appliances are the same, but they look so much better with updated cabinetry around them.
A new sink, faucet, and countertops were installed. To free up space on the counters, a microwave was hung over the stove.
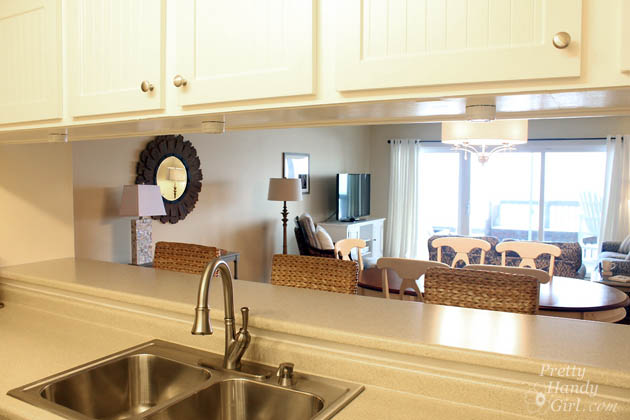
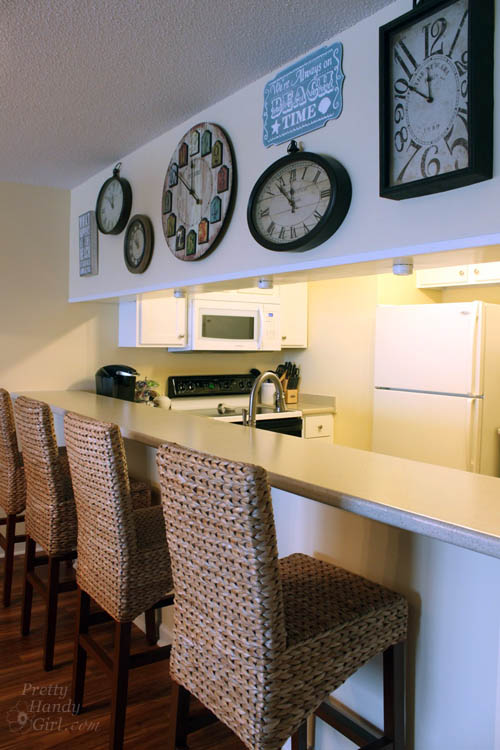
The kitchen opens up to a bar and the dining area. Before, the wall was broken up by the back of the cabinets. And a 3″ molding strip blocked the view from the sink.
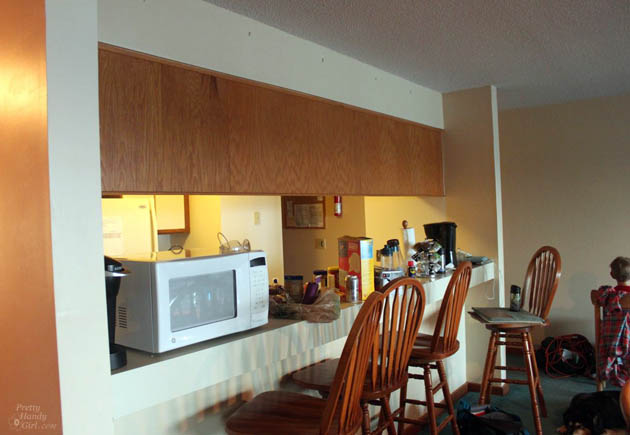
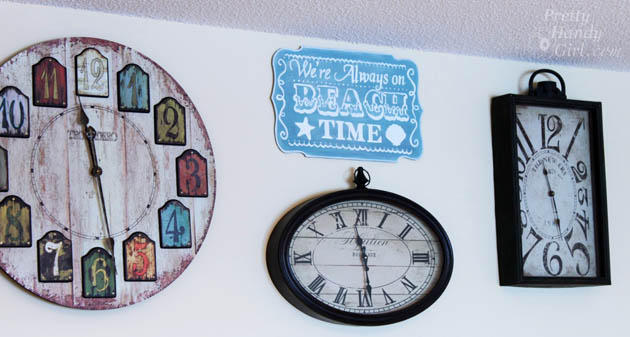
The bottom three inches of trim were cut off below the cabinets. Sheetrock was installed to cover up the oak and tie it into the rest of the walls in the condo. Caitlin created the clock collage and purchased new bar stools.
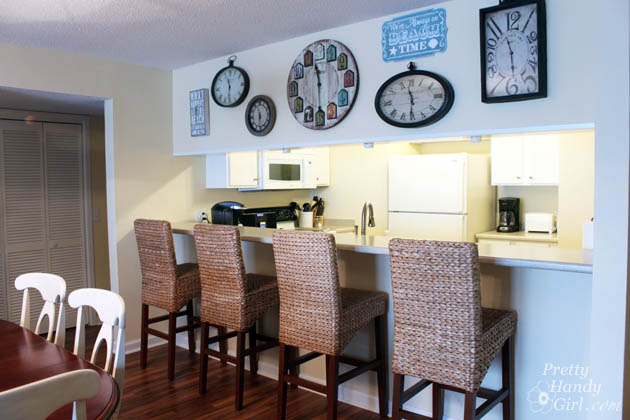
To add more lighting, puck lights were wired and installed beneath the overhead cabinets.
I painted the “We’re Always on Beach Time” sign for her collage.
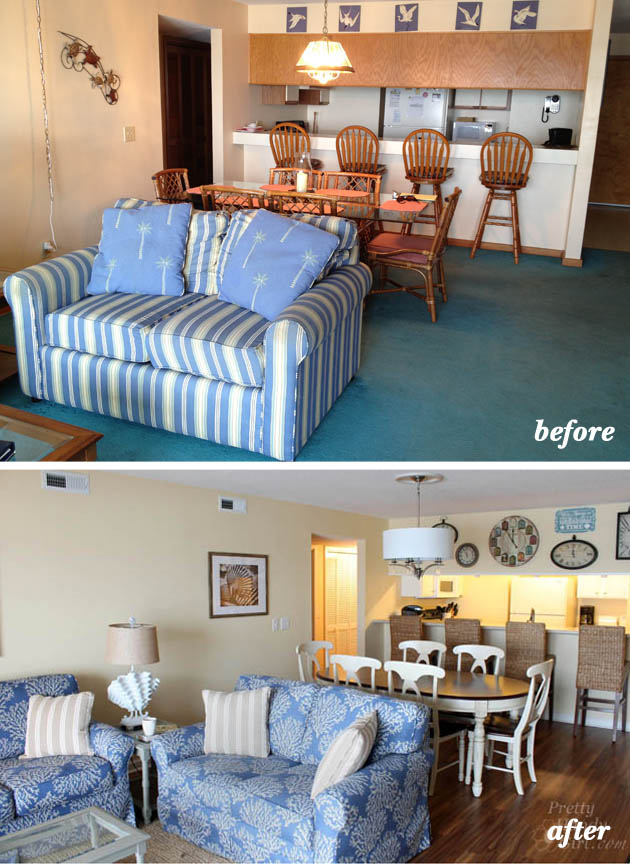
Dining & Living Areas:
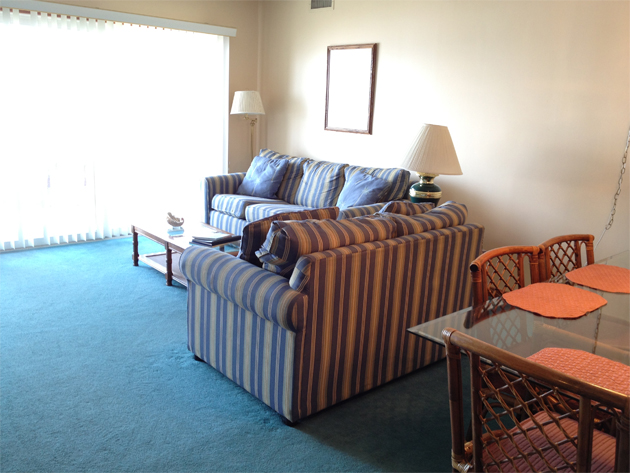
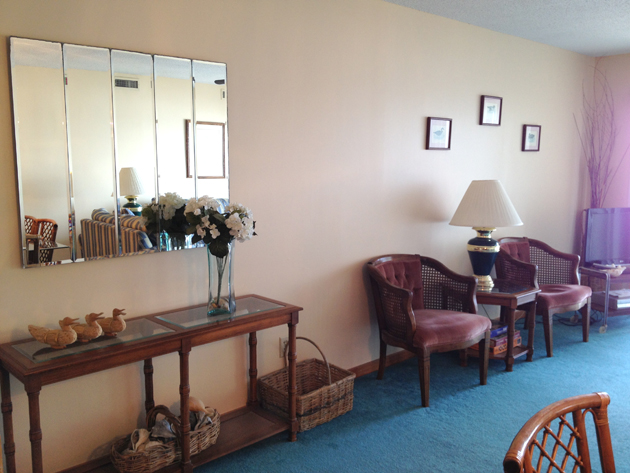
Behind the bar is the dining area. The dated mauve chairs, ugly light fixture, and teal carpet had to go! Just getting rid of the carpet alone was a big change in this condo.

The after is simple but elegant. An oval dining table allows for better flow around the table. And the new light fixture is perfect for the elevated decor.
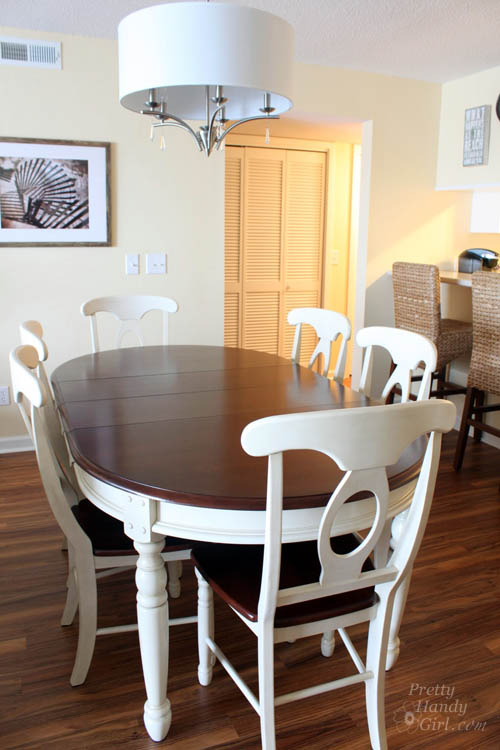
Can I point out those floors?! They are vinyl planks that look like wood. Update: I can’t recommend this flooring as the planks started separating within a year. We’re not sure exactly what caused the warping, but unfortunately Diane had to have them replaced. Currently, the condo has waterproof laminate that we love, but only time will tell if it wears well.
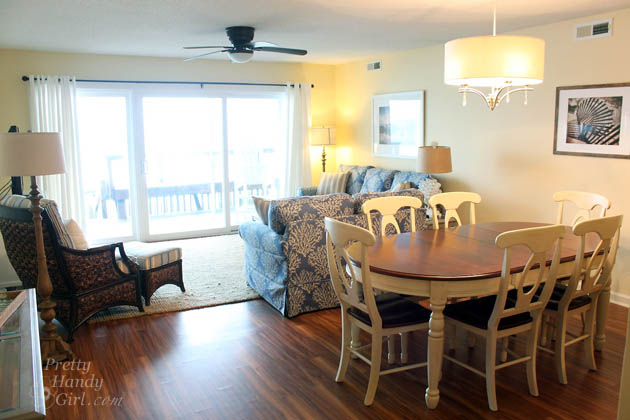
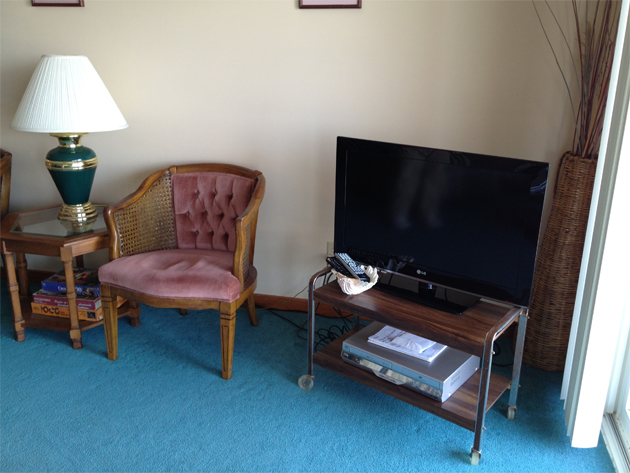
The living room was frump-alicious with lumpy sofas and more dated decor.
My sister picked out a beautiful blue and tan coral patterned sofa and loveseat. A coordinating chair and ottoman rounds out the grouping.
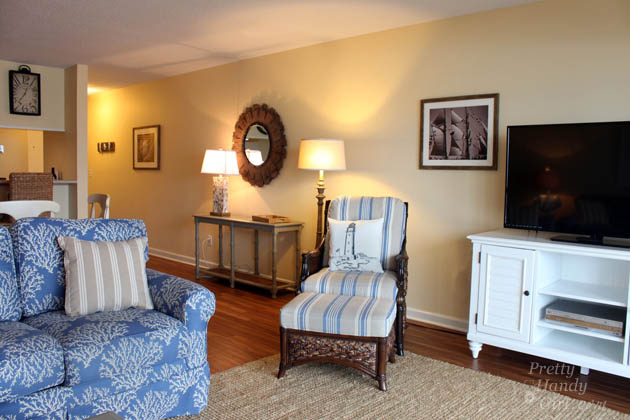
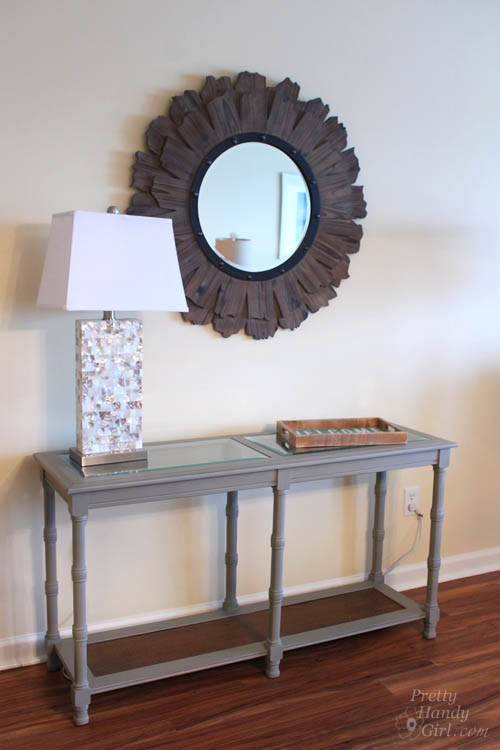
The coffee table, side tables, and console table were painted to give them a fresh new look.
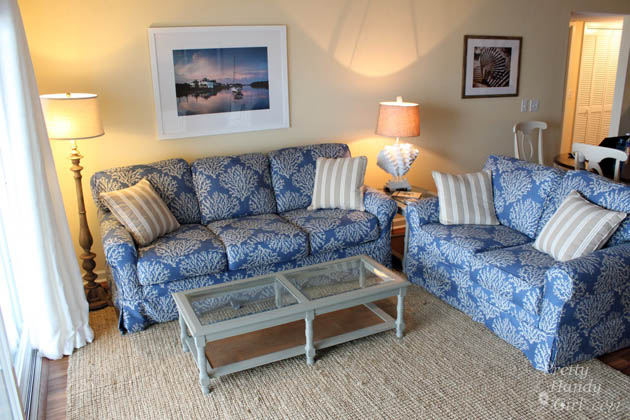
The oyster shell lamp also got a new coat of paint and a new lampshade. My stepmom wanted to get rid of it, but I’m so glad we kept it. Now we laugh about the lamp everytime we see it, because she likes it.
All the furniture got two coats of Annie Sloan French Linen paint. The console table looks brand new and blends well with the new furniture. Hooray for reusing old!
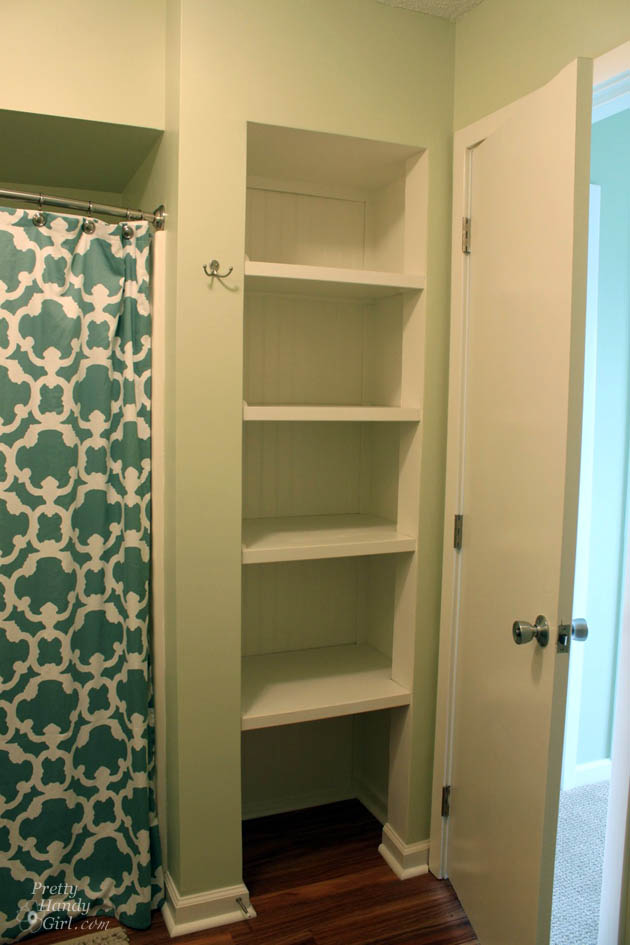
Bathrooms:
Unfortunately, some things needed to be retired. Like the dated bathroom fixtures.

It is hard to believe this is the same bathroom! New everything. Well, almost everything, we did save the medicine cabinet and had the contractor gave it a fresh coat of white paint.
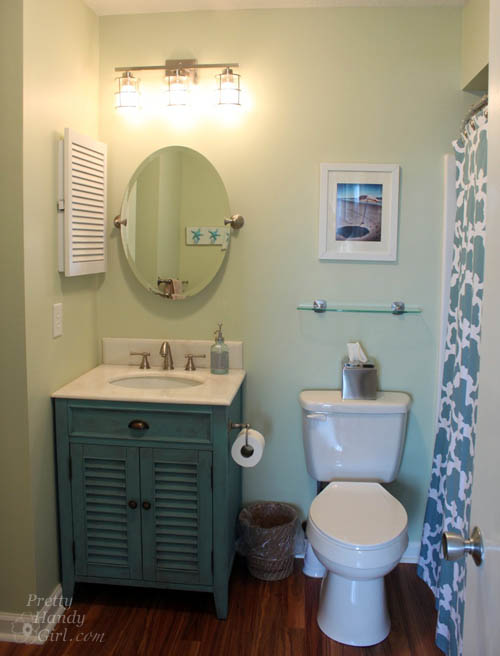
The bifold door was discarded and new built-in shelving increased the storage potential for this small shared bathroom.
Speaking of dated bathrooms, this was the master bathroom. UGLY!
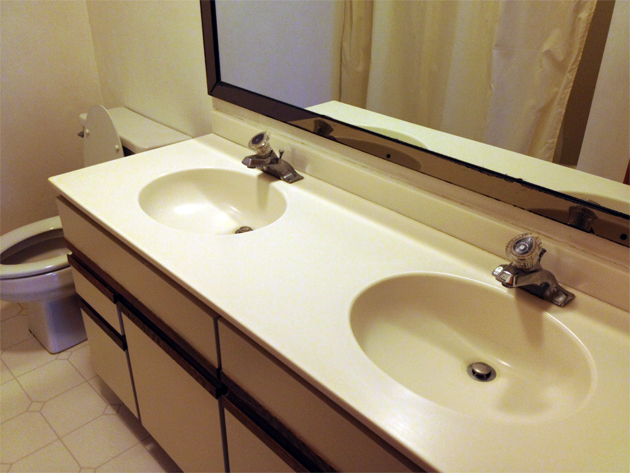
Caitlin’s vision for this bathroom was incredible! I wouldn’t believe it was the same room if I hadn’t witnessed the transformation. New vanity, mirror, lighting, toilet, and a fresh coat of paint.
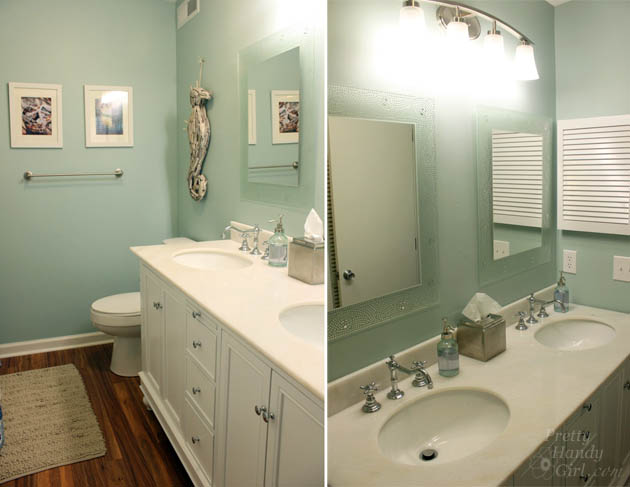
The condo is filled with photographs by John Pagliuca, Diane’s spouse. They are all photos taken from Topsail.

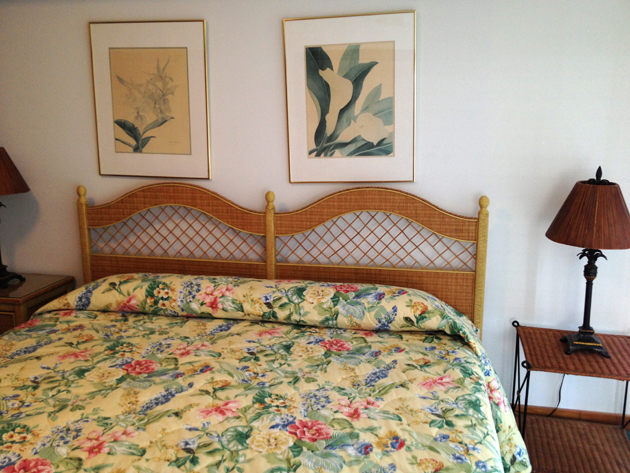
Bedrooms:
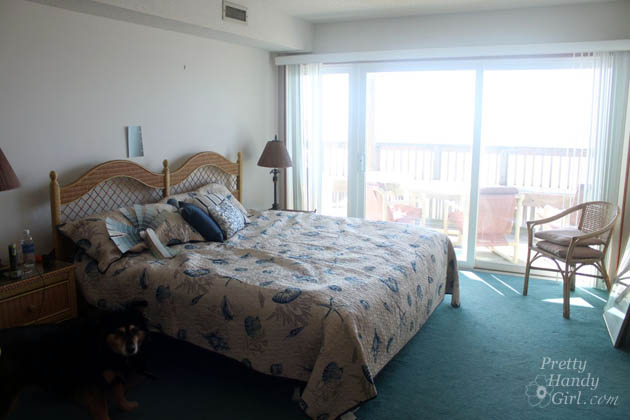
The master bathroom is accessible only from the master bedroom. The dated art, furniture, and floral bedspread had to go!
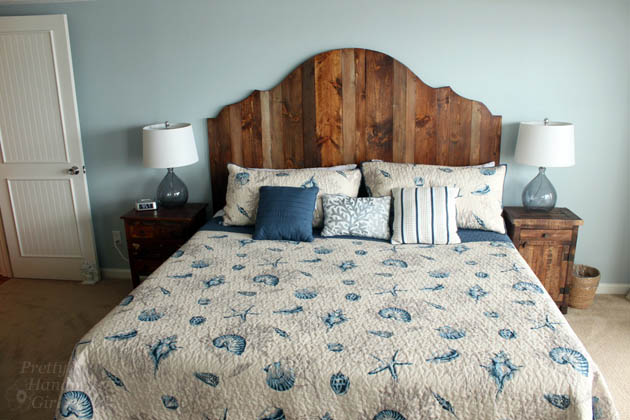
Now, the transformed bedroom is truly fit for a king! New carpeting, furniture, paint and bedding makes a huge difference. You can read the tutorial for how I created that rustic wooden plank headboard.
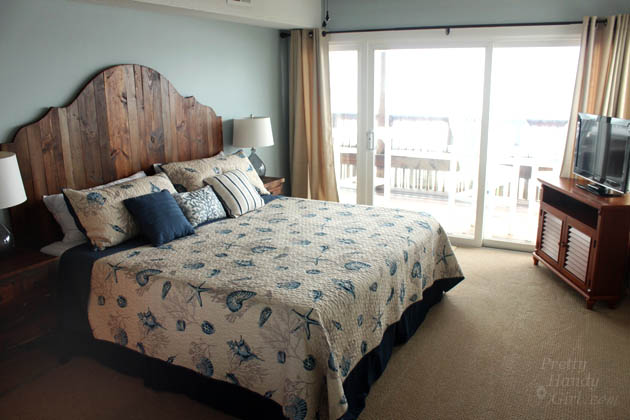
The views from the master bedroom are stunning! The sun comes in the sliding door at day break and you can see the ocean from bed!

Down the hall is a bedroom for the kids. The before isn’t too bad.
Okay, so it was bad, especially because the after is amazing!
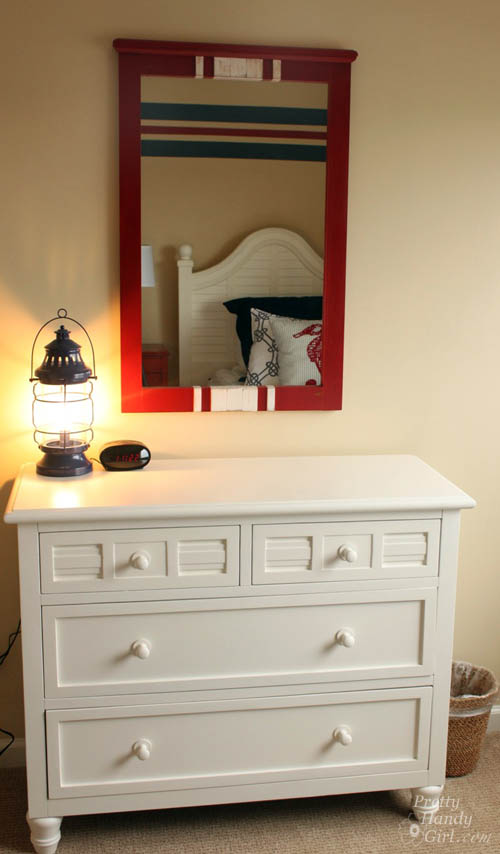
The mirror was a $15 score at a thrift shop. I transformed it with Miss Mustard Seed Tricycle paint and some wooden scraps.

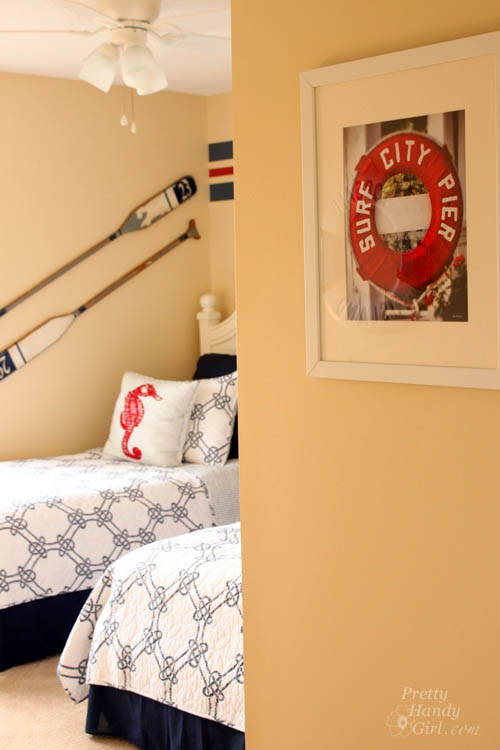
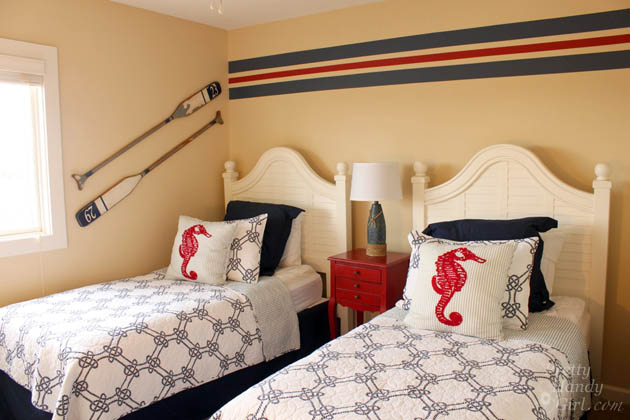
New furniture, lamps, carpet, paint and bedding transforms this room into a nautical retreat. The vintage oars aren’t really vintage. I made them myself. You can read the tutorial to create your own vintage painted oars.
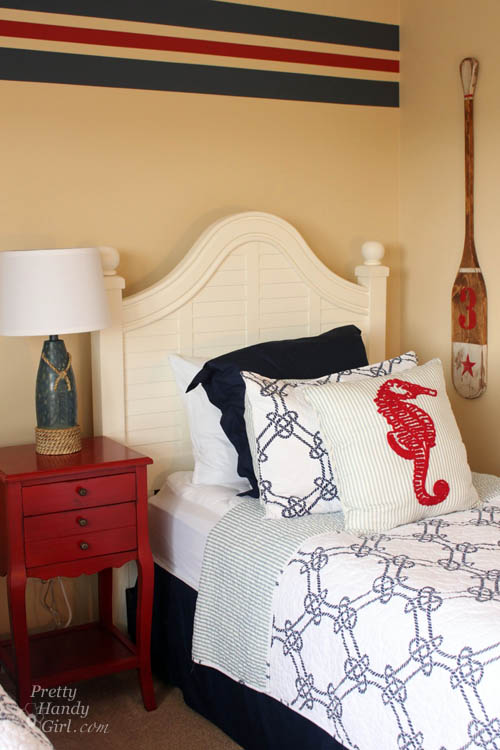
Caitlin and her friend Michelle painted the stripes on the wall. What a fun way to add some more color to this kids’ room.
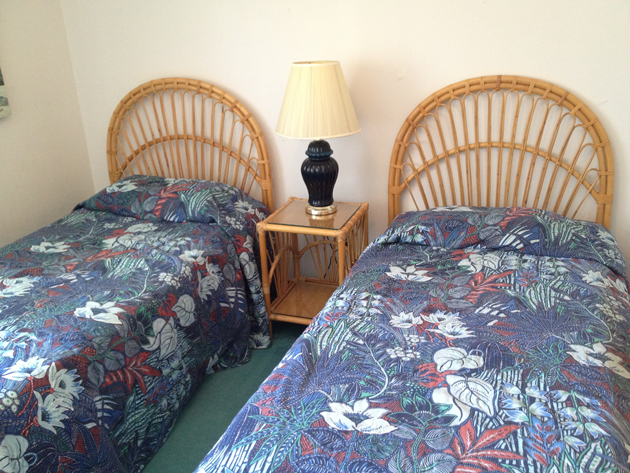
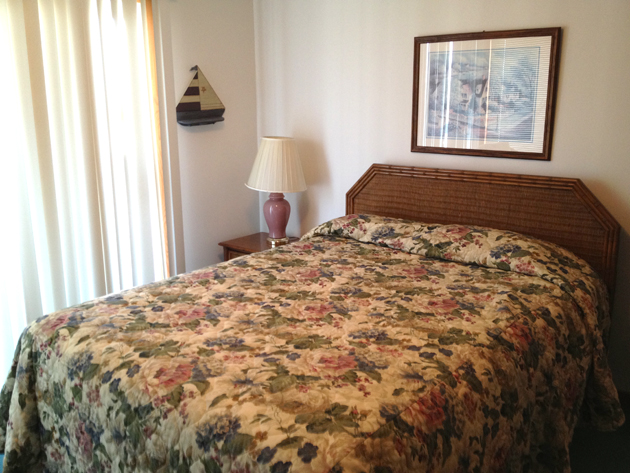
One bedroom left! This is the queen bedroom. But, I’m not sure what Queen would appreciate this eclectic floral explosion.
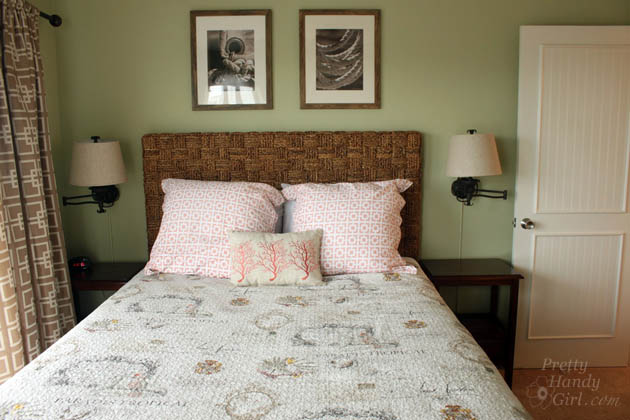
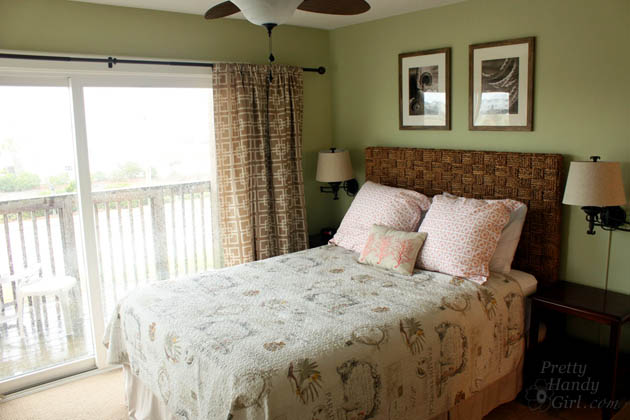
My sister picked out a beautiful color scheme in this room. Restful green walls, khaki linens, and accent pillows of beautiful coral pink.
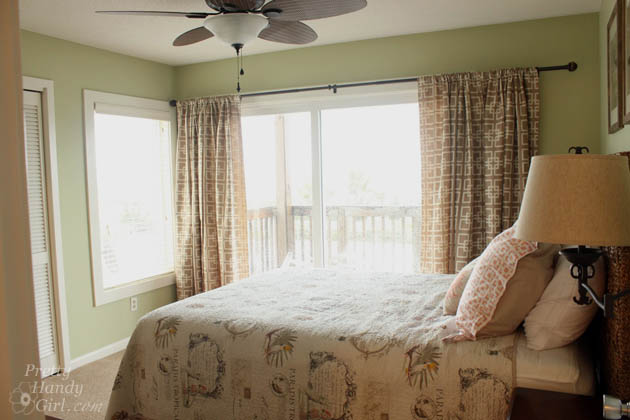
The queen bedroom overlooks the sound. The views from this condo are gorgeous from every window!
My other sister, Alana, is the photographer of the art over the bed. Yes, I know, we are a talented family.
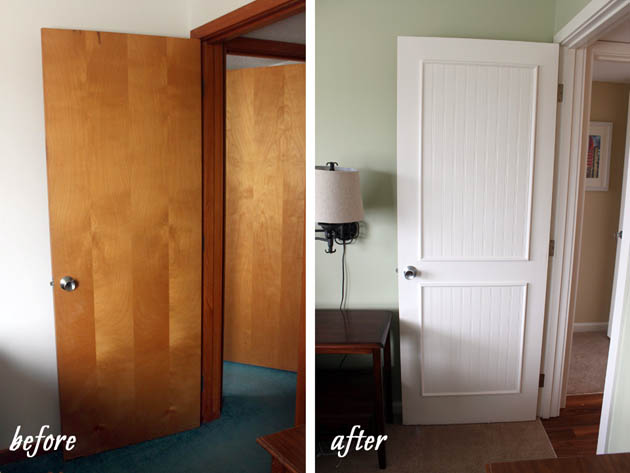
Interior Flat Door Makeover:
I added beadboard and molding to all the hollow core doors to give them a more attractive look. Here’s the easy tutorial for adding molding to a flat panel door.
My sister, Caitlin, did an amazing job! For more before and after transformations, be sure to check out her facebook page. Also, if you live in the San Jose area, she can help you with your next design project.
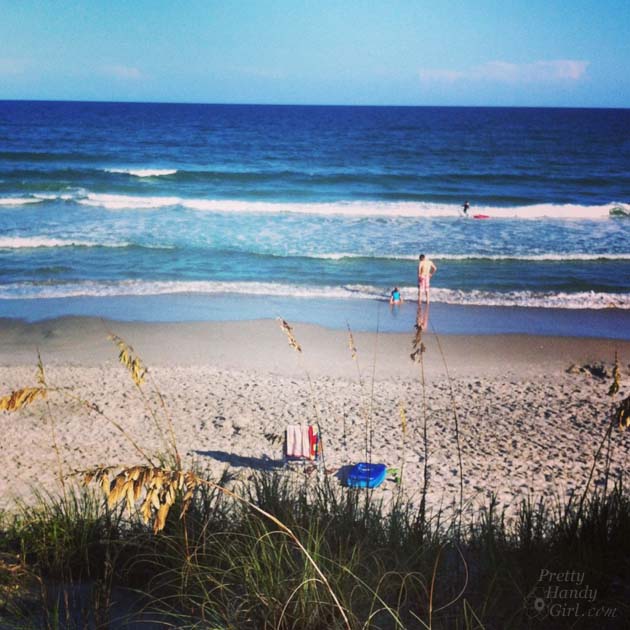
I can’t leave you without a quick view of the ocean from the condo deck.

Wouldn’t you love to vacation at this beautiful beach front condo with your family?
Unfortunately, this Topsail Beach condo isn’t available to rent, but you can rent Diane’s 2 bedroom condo in the same complex. Both are on the water and both have been renovated.
When you book a rental in one of her condos, you’ll have to read one of her novels, (they are perfect beach reads!) If you haven’t read her books yet, they are phenomenal!
I hope you enjoyed this Topsail Beach Condo Renovation tour. It was so much fun taking this space from dated to dreamy!

Source list:
(I’ve included affiliate links for your convenience. I earn a small percentage from a purchase using these links. There is no additional cost to you. You can read more about affiliate links here.)
- King bedding
- Queen bedding no longer available.
- Twin room bedding
- Wood Plank Vinyl Flooring: Mannington Adura Luxury Plank – Burma Teak (color)
Paint Colors (all are Benjamin Moore)
- Living Room, Front Halls, Kitchen, Halls = 924 San Mateo Beaches (Eggshell)
- Master Bedroom = 1633 Brittany Blue (Eggshell)
- Master Bathroom = 688 Seacliff Heights (Satin)
- Queen Bedroom (the one off the hall bath) = HC-116 Guilford Green (Eggshell)
- Hall Bath = 478 Sweet Caroline (Eggshell)
- Twin = 957 Papaya (Eggshell)
- Stripes in Twin Room on Headboard Wall Only: 1323 & HC-156 (Satin) **just need a small amount of paint for the stripes
- All Interior Doors, Doors, Basemolding = Swiss Coffee (Semi-Gloss)
- Kitchen Cabinets= Swiss Coffee (Semi-Gloss)