Last month I received a little care package from Shur-line. I opened the kit and assessed the products with speculation. As you probably remember, I don’t generally like new painting gadgets. I have my tried and true painting tools that I use and I rarely find new ones that I like better. As I was getting ready to re-paint the living room, I grabbed for the Shur-line Pro Paint Edger. Having been a fan of our old Shur-line edger, I really didn’t think that they could have improved much on the design.
Well, I was wrong, and this is my new favorite paint edger.
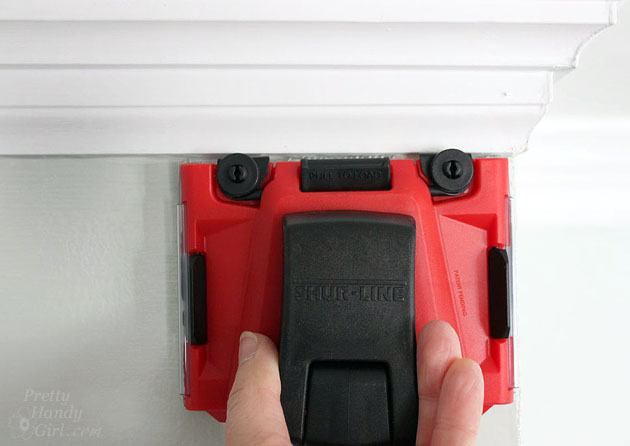
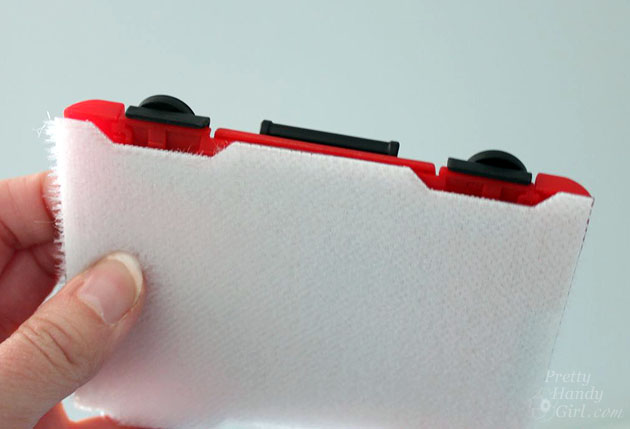
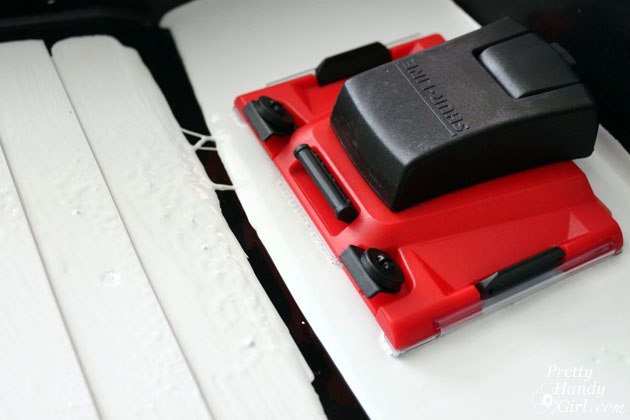
The biggest change they made was to add flip up edge guards. Why would you want this?
It protects the wheels and the edge guard from getting paint on it when you reload the paint! Brilliant.
In the past, I had to be careful not to dip the wheels in the paint when re-loading. And, I inevitably had to wipe off the wheels with a damp rag when I did. Now, they flip up and out of the way when you raise the little handle between the roller wheels. After the paint is loaded, flip the handle down and the wheels and edge guards are ready to edge. Read more
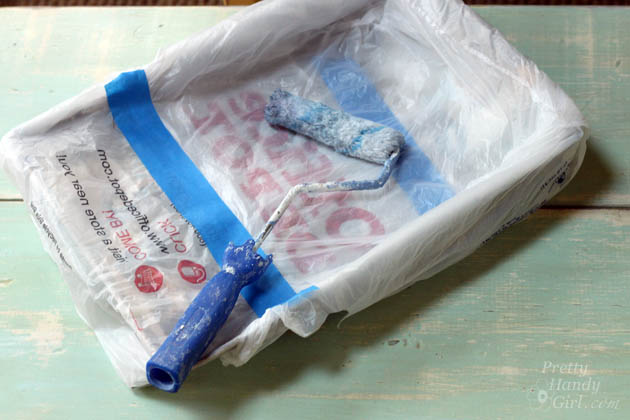
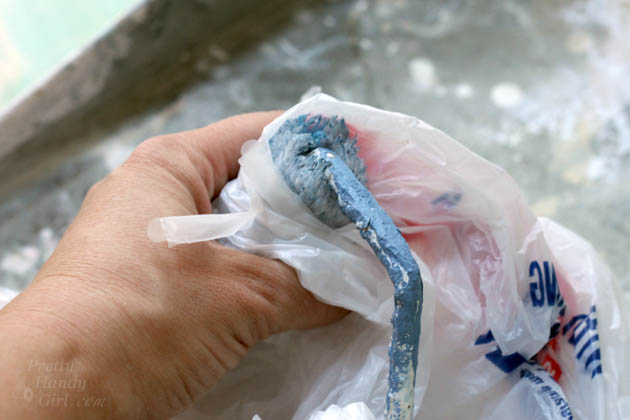
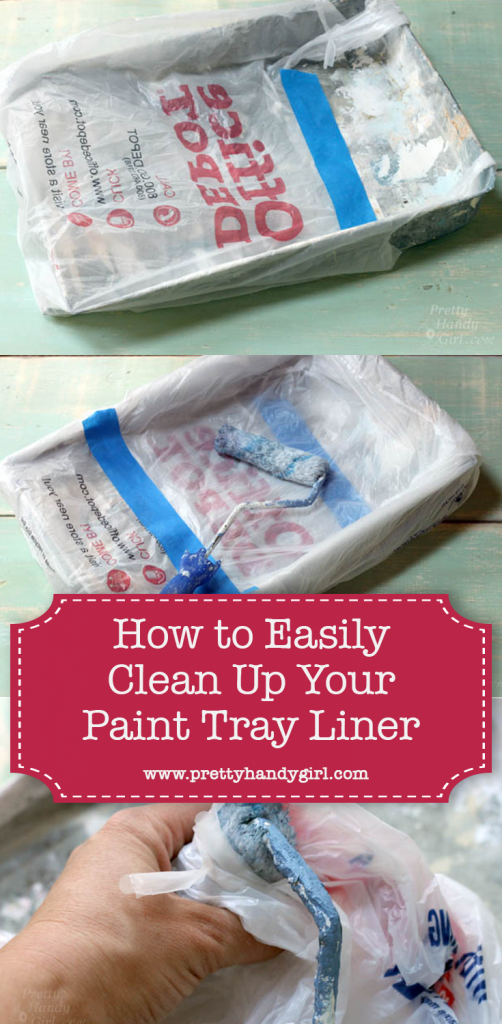
I love to paint rooms! It’s one of those meditative tasks that leaves you with instant gratification when you are done. But, I don’t like the clean up afterwards. Several years ago I came up with an Easy Clean Up Paint Tray Liner that costs next to nothing!
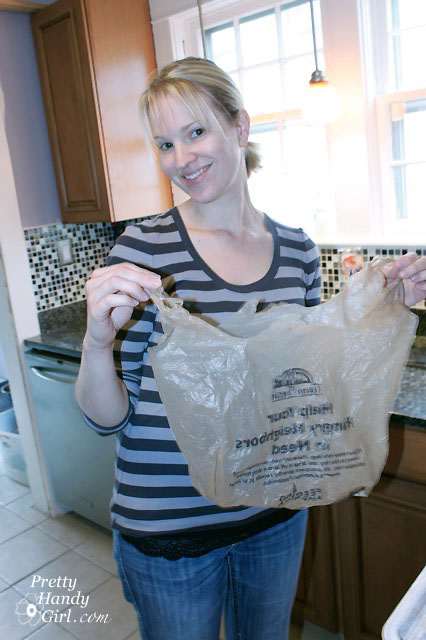
All you need are two plastic grocery bags and two strips of painter’s tape.
Day 11: Easy Clean Up Paint Tray Liner
Make sure your grocery bags are clean and don’t have any holes in them. Turn the bags inside out if there is printing on them. (Sometimes the ink is water soluble and can mix with the paint.) Observe as my sister gives her best Vanna White impression and shows you how to invert that bag:
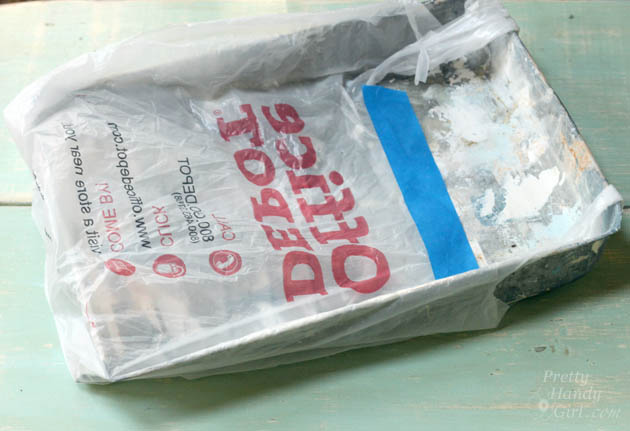
Slip the first bag on from the top of the tray and tape it at the bottom.
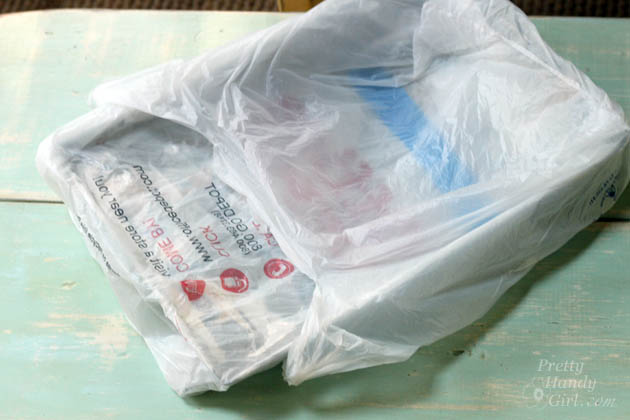
Slip the second bag over the bottom this time:
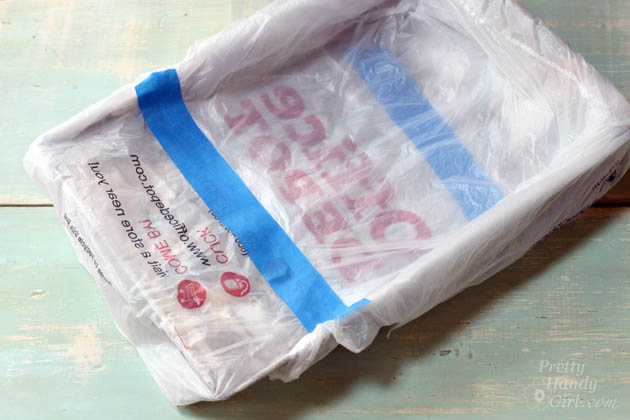
Tape the opening of the bag across the entire paint tray width.
You’re ready to rock and roll, errr roll and paint!
When you are done, carefully remove the plastic bags and throw them away. If you are pitching your roller, you can grab the roller through the bags and pitch it too.
No need to clean the tray (unless some paint seeped inside.) Unfortunately, you’ll probably still need to wash your paint brushes. But, if you clean your paint brushes correctly, they should last you a decade or more!
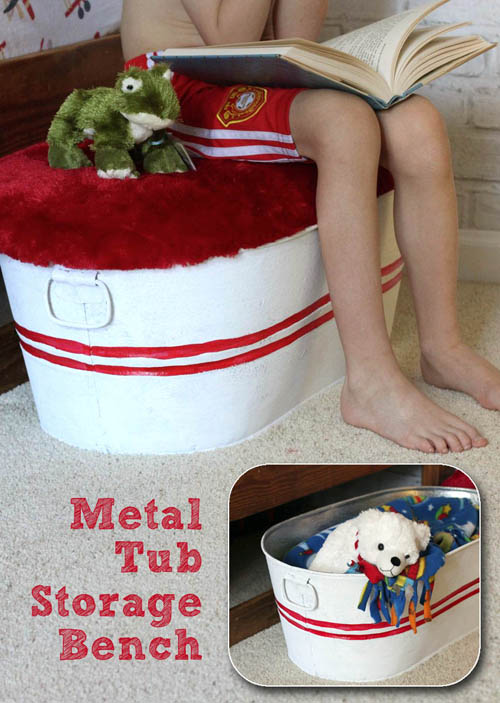
Every month Lowe’s challenges me to create another unique project to share with you. This month’s challenge was creative storage ideas. Have kids? This is a unique storage solution using a galvanized tub and a furry upholstered lid. It’s the perfect place to store and corral all that kid clutter in your child’s bedroom. The storage tub doubles as a bench and a step stool. Don’t be deterred if you don’t have children, the storage bench could be used for magazine storage and much more!
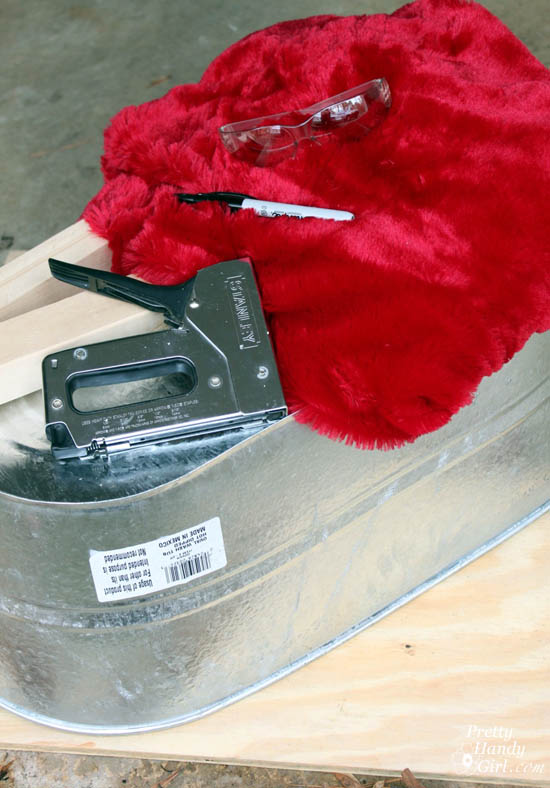
Grab these materials and tools and follow along with me (and my 13 year old assistant.)
Creating the Galvanized Storage Bench and Lid
(I’ve included affiliate links for your convenience. I earn a small percentage from a purchase using these links. There is no additional cost to you. You can read more about affiliate links here.)
https://prettyhandygirl.com/wp-content/uploads/2014/05/toy-blanket-in-tub.jpg377558Brittany Baileyhttps://prettyhandygirl.com/wp-content/uploads/2021/07/PHG-logo-tagline-2020-1030x211-R.jpgBrittany Bailey2014-01-06 07:00:002017-08-29 21:57:48Galvanized Tub Storage Bench with Furry Upholstered Lid {Lowe’s Creator Idea}
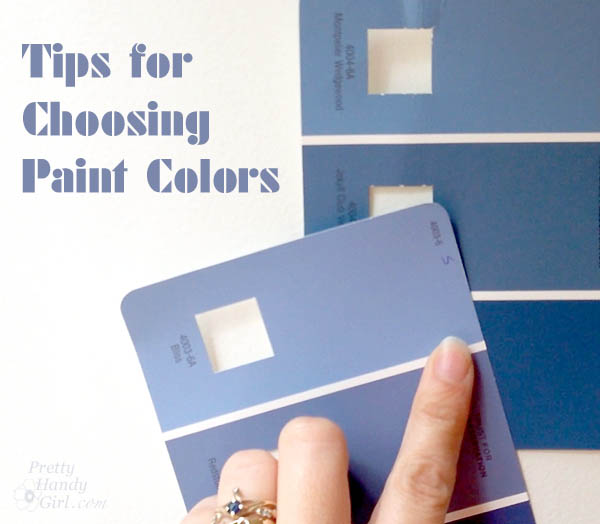
Choosing paint colors can be a daunting task. Looking at small paint chips at your local Lowe’s Home Improvement store can be a bit overwhelming. Especially because there are so many colors to choose from! (That can be a good thing too ;-).)
Luckily I have two tips to help you choose the paint color that’s right for you:
1. Use Valspar paint. Finding a paint color you love is easier with Valspar. If you don’t love the first color you choose, you can have another on them. It’s as easy as, love your color, or change your color. That’s the Valspar Love Your Color Guarantee. And it certainly helps alleviate the stress of choosing the right paint color for your room.
2. Create larger paint chips. Looking at tiny paint chips won’t help you conceptualize that color over the entire wall. Making large paint swatches using foam board and sample paints is easy and can save you time when choosing the ideal paint color. I put together this short video to show you how we selected the final color for the school library.
I knew if I could create big paint chips and let the librarian live with the large chips for a few days, she’d be better prepared to make a final decision. As you saw, she was much more comfortable choosing this way.
The winning color was Montpelier Wedgewood by Valspar. And, luckily after we began painting, we all fell in love with the color she chose.
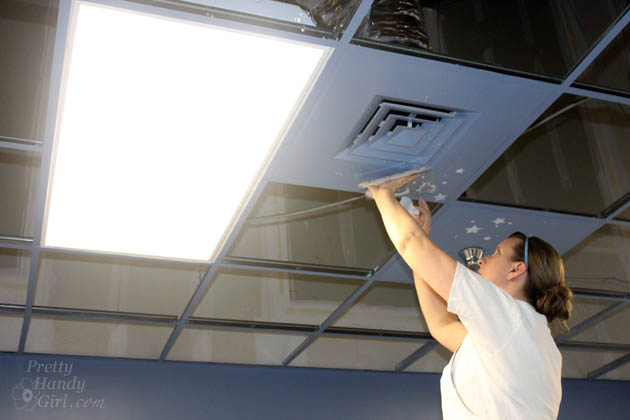
Here’s how we tackled painting the school library (acoustic ceiling tiles and all!):
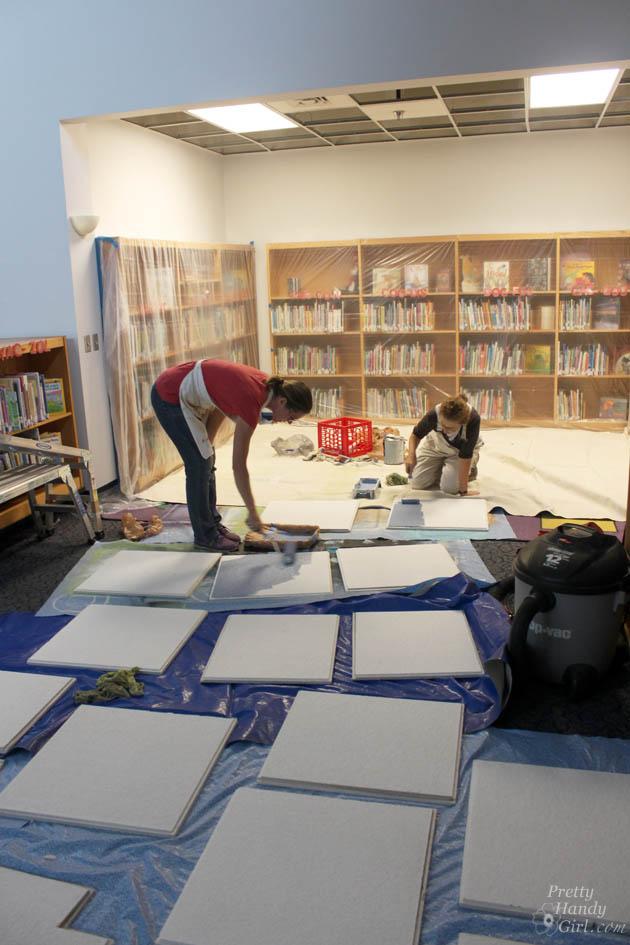
Before removing the ceiling tiles, we created a map of the tiles on a sheet of paper and numbered each square. Then we marked the number on the back of each tile as we took them down (team work really helped with this task.) Why the map and numbering? It made it easier when it came time to re-install them (especially if some were cut to fit.)
After removing the ceiling tiles, they were all wiped down with a wet rag. Then we used a medium nap roller to paint all the tiles. A paint brush was used to paint the sides as well. Then they were left to dry.
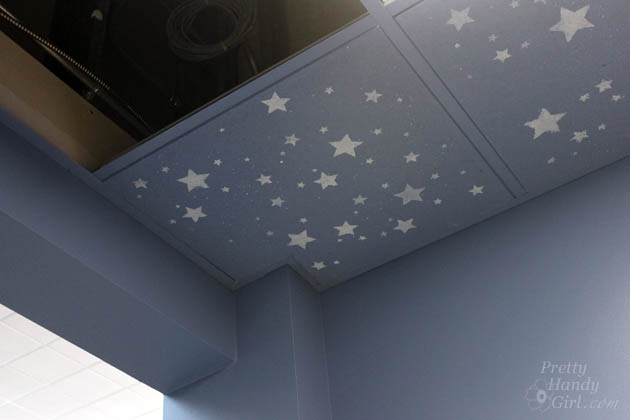
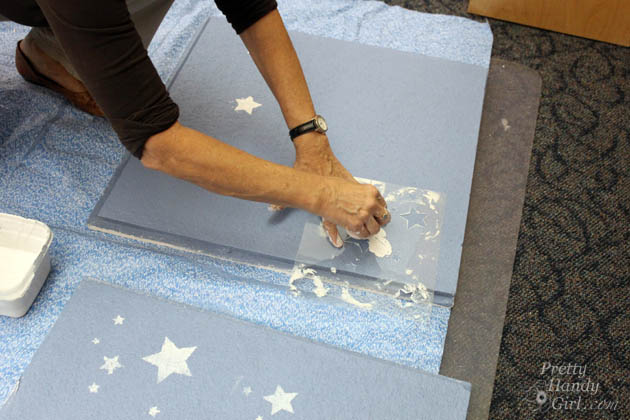
Meanwhile, I mixed a sample of white paint (mixed with some shimmering craft paint) to stencil the stars. I created a star stencil using my Silhouette cutter and a sheet of acetate, but you can also cut one by hand with an x-acto knife.
Luckily we had loads of volunteers to help stencil oodles of stars. Parents and children alike all chipped in to help.
By the end, I was seeing stars. LOL.
The ceiling tile grid had to be painted with a paint brush. This is where I was really glad that we bought the Valspar Paint & Primer in one paint. It definitely saved this project from being a literal pain in the neck.
The two tiles we couldn’t remove were painted and stenciled in place.
After the paint was completely dry, we returned them to their appropriate location. Thank goodness for the map!
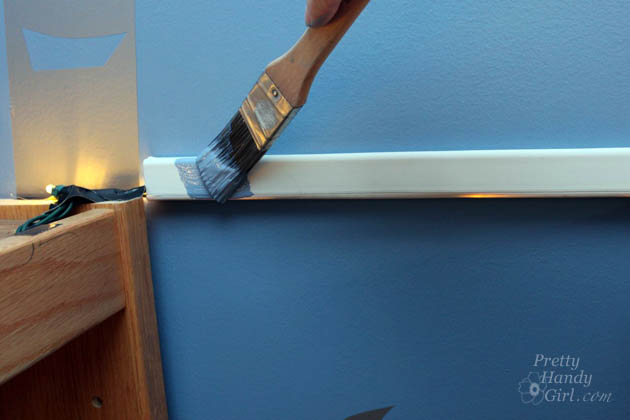
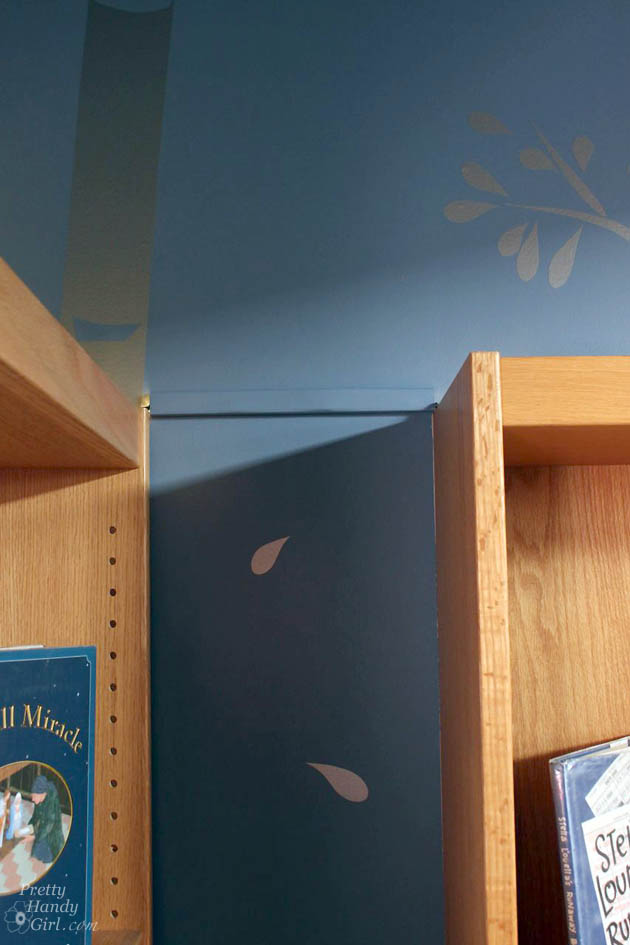
I put a fun surprise on top of all the bookcases, but I wanted to hide the cords. It was as simple as purchasing some adhesive cord covers at Lowe’s and painting them the same color as the wall.
See, much less noticeable now! Oooooo, sneak peek!
Next week I’ll show you how we added the final surprise elements to the library. In the meantime, is there a room you’ve been putting off painting? What do you think about choosing paint colors now that you know these tips. Ready to choose your color?
Disclosure: This is a sponsored post for Valspar Paint. I was compensated for my time writing this post. Valspar was also kind enough to donate the paint for the school library project. All ideas and words are my own.
(I’ve included affiliate links for your convenience. I earn a small percentage from a purchase using these links. There is no additional cost to you. You can read more about affiliate links here.)
https://prettyhandygirl.com/wp-content/uploads/2013/12/install-ceiling-panels.jpg420630Brittany Baileyhttps://prettyhandygirl.com/wp-content/uploads/2021/07/PHG-logo-tagline-2020-1030x211-R.jpgBrittany Bailey2013-12-10 07:00:002021-08-09 19:37:10Tips for Choosing Paint Colors in the School Library
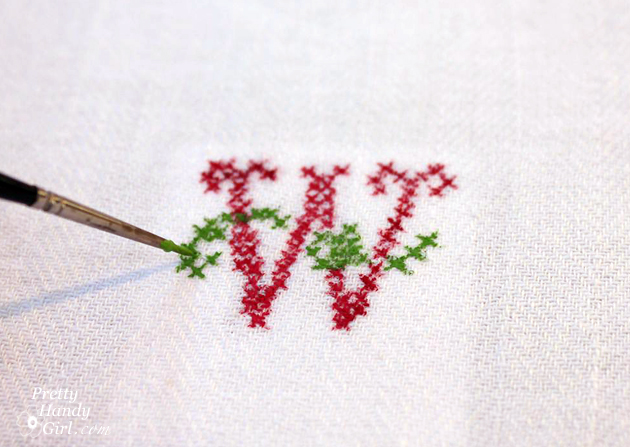
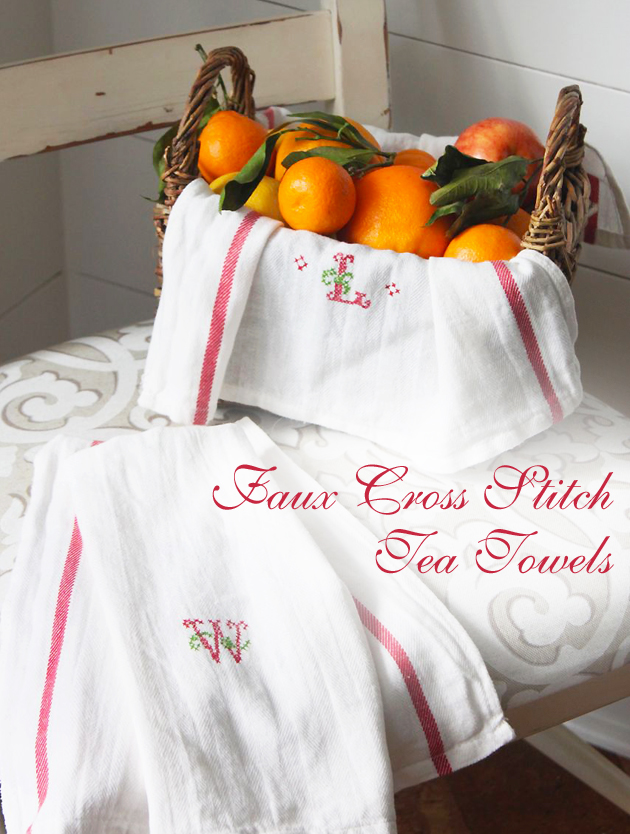
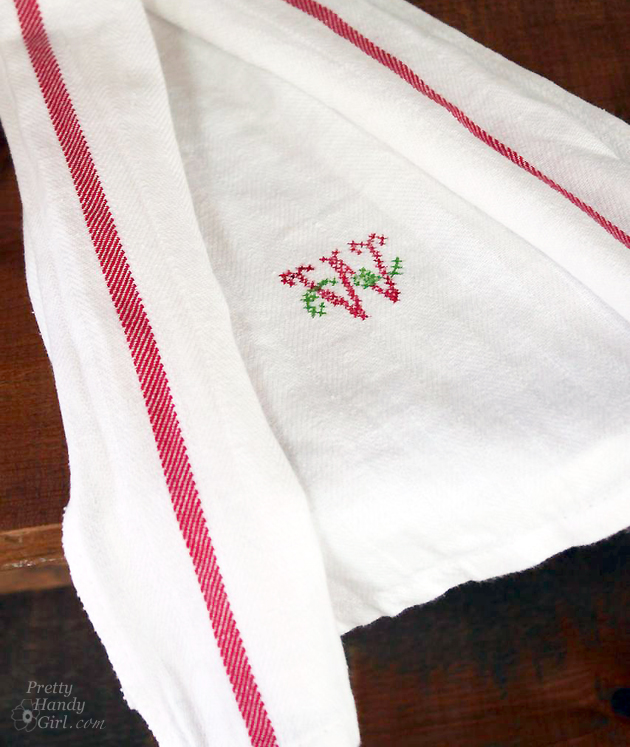
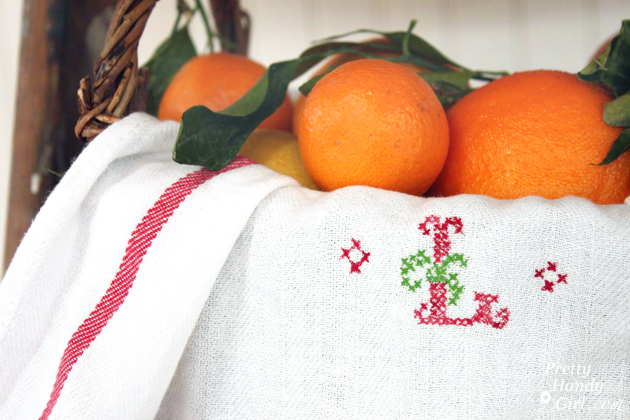
How about a cheap and easy DIY gift idea today? Faux Cross Stitch Tea Towels are sure to please anyone and they cost less than a dollar! I bought several of the red striped Tekla tea towels at Ikea that cost .79 a piece!
I came up with the idea after seeing Miss Mustard Seed’s cafe curtains. But, decided to create monogrammed tea towels to give as gifts.