DIY Christmas Journal

Need an easy DIY gift idea that any kid will love? Jaime from That’s My Letter here to share DIY Christmas journals made from inexpensive kids composition books.
There’s still time to make this Christmas journal gift for all those kids on your list who love to write and draw, it makes a great small gift or a nice add on to a larger gift.
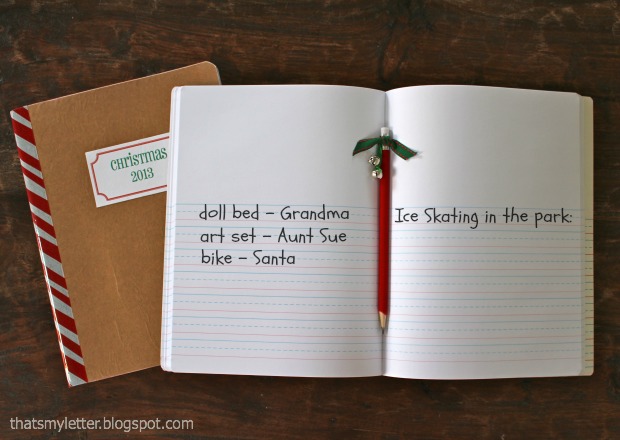
Take a peek inside and you’ll see the kids composition books are printed with lines just their size and bonus! a place to draw pictures above the writing:
Kids can use the journal to keep track of gifts received for thank you cards, adventures and travels during the school break, all the exciting events surrounding the holiday and on and on.
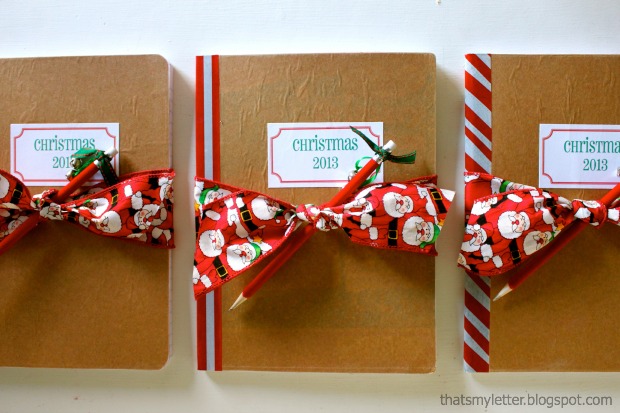
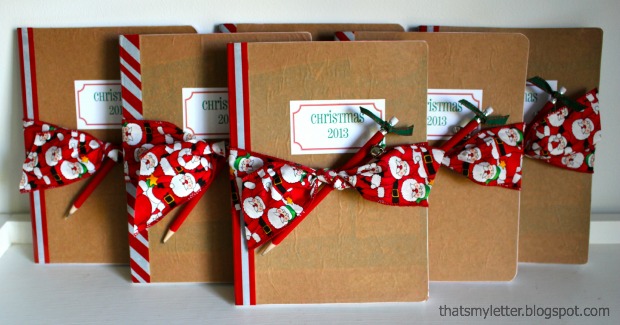
Wrap your journal with a fun holiday pencil and printed ribbon:
Supplies required:
- kids primary composition books (purchase at Staples)
- sandpaper
- damp paper towel
- brown kraft paper
- mod podge
- paint brush
- red & white striped packing tape
- scissors
- ‘Christmas 2013’ label (free download here)
- paper trimmer
- pencils
- thin green ribbon
- small craft bells
- 3/8″ grosgrain ribbon
- fray chek
Instructions:
Step 1: Give the exterior cover (front and back) a quick sanding to rough up the ‘shiny’ surface – this will help the kraft paper adhere better.
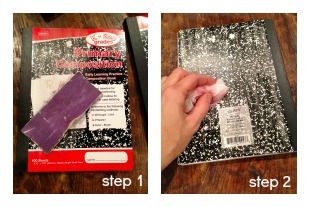
Step 2: Wipe the exterior with a damp cloth to remove the sanding dust.
Step 3: Cut a piece of kraft paper to fit the exterior cover with excess on three sides. Apply a liberal amount of mod podge to the exterior cover.

Step 4: Place the kraft paper on top of the mod podged cover, line up the edge of the kraft paper with the black binding. Smooth the surface with your fingers to remove as many wrinkles as possible.
* Let dry completely.*
Step 5: Rub the sandpaper along the edges of the book to remove the excess kraft paper. The sandpaper will give you a clean edge.

Step 6: Rip off a piece of packing tape slightly longer than the book, apply over black binding on front side.
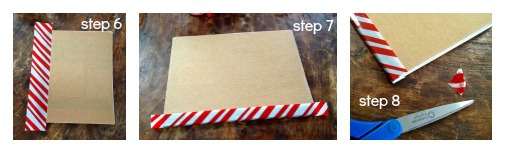
Step 7: Flip book over and wrap tape around to back side.
Step 8: Trim excess tape from short ends.
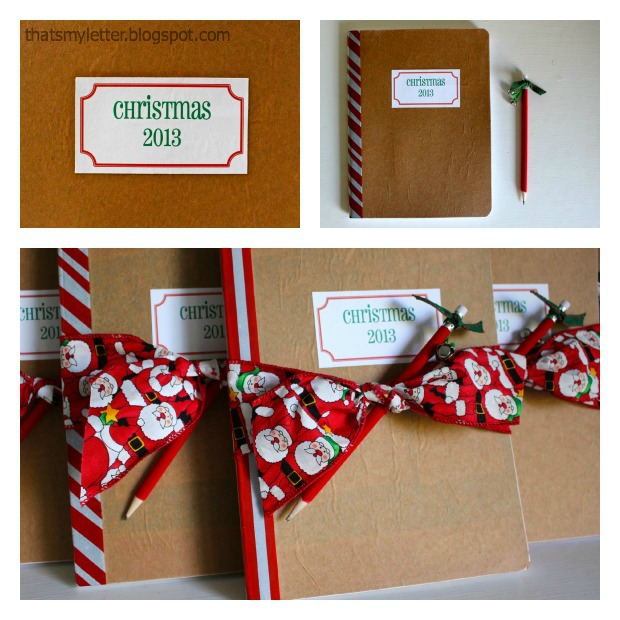
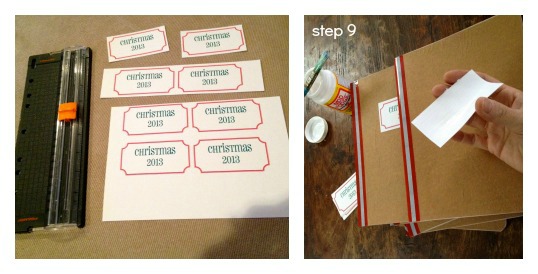
Step 9: Print labels (free download here) and cut to size. Apply mod podge to back of label and adhere to center front of book.
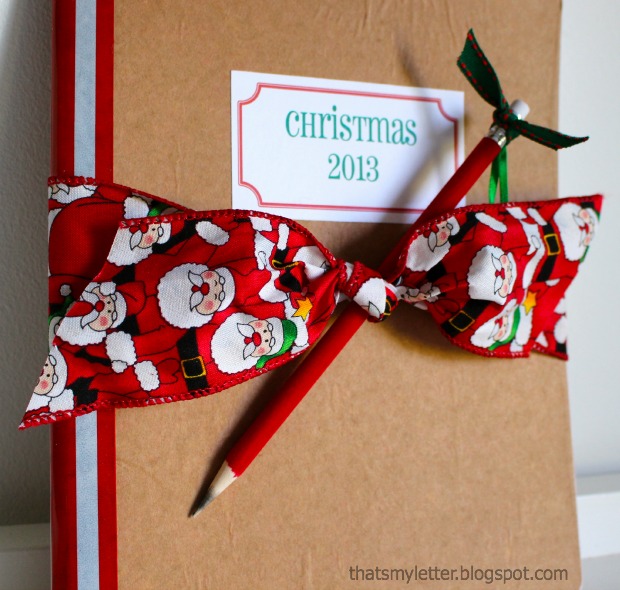
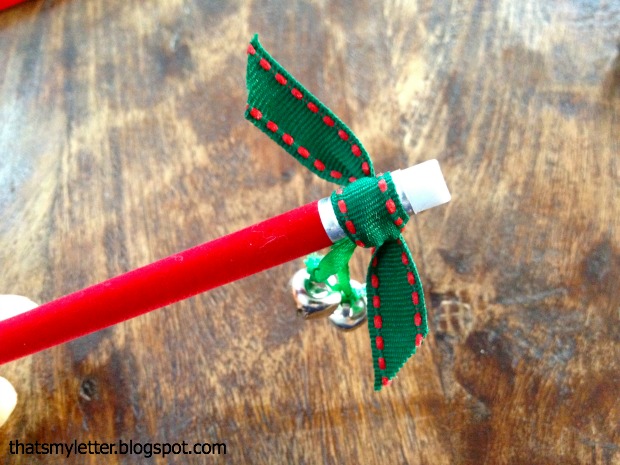
Step 10: To make pencils, use thin green ribbon, slide through hanging loop in bell and double knot. Then wrap around metal portion of eraser end and tie a knot.

Step 11: Use the grosgrain ribbon on top of the thin green ribbon knots, double knot the grosgrain and apply fray chek to cut ends.
See below how the grosgrain ribbon hides the knots underneath and provides a clean finished look:
Use a wide printed holiday ribbon to wrap the pencil and book together for an easy, simple but completely USEFUL holiday gift.
Hope you enjoy this tutorial and a Happy Holidays!


This is perfect! I could see this being a great gift for bloggers to jot down ideas for blogs. I am sure you know, you must strike when the idea hits you, or it might be gone. Plus you can make lists, to gather your supplies, even though those extra trips to the store, can lead to awesome finds. Or while you are reading a great blog , an idea hits you, by the time you finish reading it that idea is Gone!!!! Thank you for inspiring me. I have to go make a list now. KMK
I was going to say the same thing, I would like that for myself! What a great creative inexpensive gift! Thank you!
That is so cute. I love it, even for me.