paper bag ornament

Looking for a fast and easy ornament or gift tag?  I’m Jaime from That’s My Letter here to share a diy ornament you can make from a readily available paper bag.  This project will have you looking at grocery and retail paper bags in a whole new light.

The graphics on retail paper bags make great ornaments and gift tags.  Look for fun and festive holiday graphics on paper bags everywhere you go then you can repurpose those paper bags into ornaments.

paper bag ornament 1

Supplies:

paper bag ornament supplies

  • paper bags (brown bags work best)
  • 1/4″ plywood cut to size to fit your graphics
  • mod podge
  • paint brush
  • scissors
  • hot glue gun & glue sticks
  • sandpaper

Instructions:

paper bag ornament step 1

Step 1: Carefully cut out graphics from the paper bag and pry off handle pieces.  You will also need small 1/2″ x 1″ pieces of paper bag to cover the cut ends of the handle hanger.

paper bag ornament step 2

Step 2: Apply a generous layer of mod podge to plywood.

paper bag ornament step 3

Step 3: Apply paper bag piece to wet mod podge.  Be sure to center paper onto wood then press smooth with fingers and press excess paper over edges down slightly.  Let dry and preferably stack heavy books on top to ensure good seal.

paper bag ornaments step 4

Step 4: Once completely dry use sandpaper to remove excess paper hanging over edge.  At the same time this will smooth the rough plywood edge too.

paper bag ornaments step 5

Step 5: Cut handle to desired length.  Secure to back of plywood using hot glue then cover cut end with small piece of paper bag just to keep things neat.  Repeat for other end of handle.

paper bag ornaments back

paper bag ornament 2

Repurpose paper bags into beautiful handmade ornaments or attach them to gifts as a gift tag.  This is a great craft to do with the kids. Have a holly jolly holiday!

Jaime signature


Pin for later!

DIY Paper Bag Ornament | Pretty Handy Girl

3D Tree Gift Wrap

Last night I invited two of my girl friends to wrap our Christmas presents together. We decided it was waaaaayyyyy more fun to wrap together than by ourselves Christmas Eve. We chatted and talked for hours! Before we knew it the clock had struck midnight and the cell phones began to ring as husbands wondered “What the heck are you doing?! Why does it take so long to wrap presents?”

Here are just a few of the reasons why it takes a little longer:

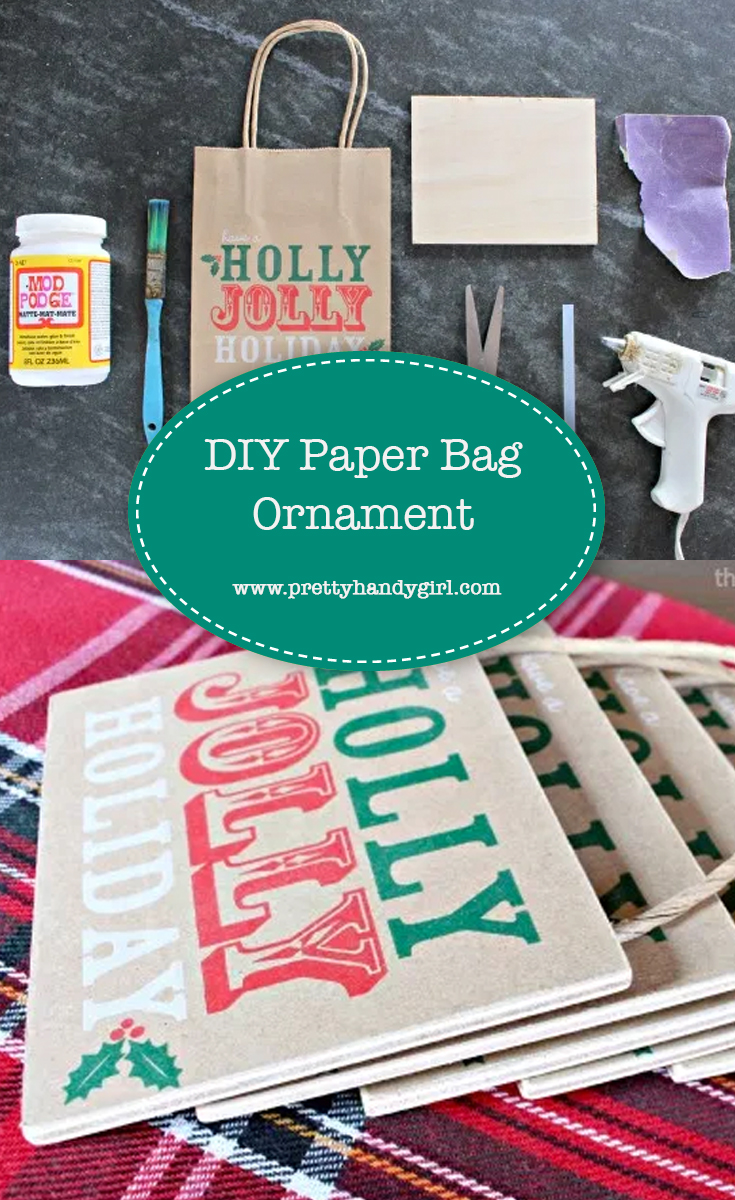
Making a gift look extra special for the recipient takes time and care. Pretty Handsome Guy would poo poo our efforts, but so be it. We had fun and that is all that matters!

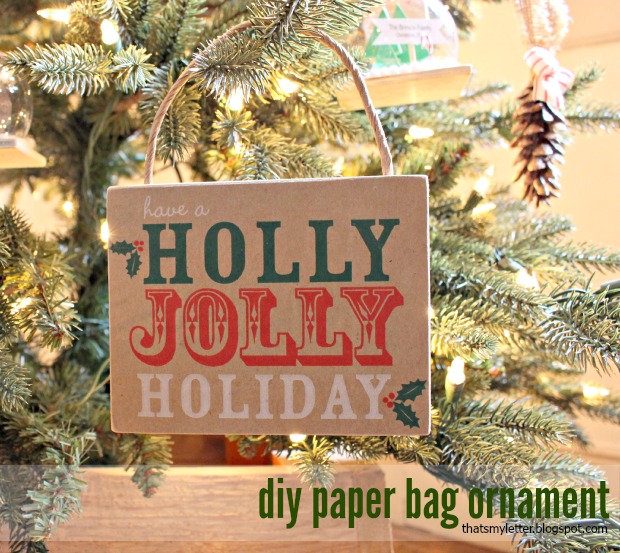
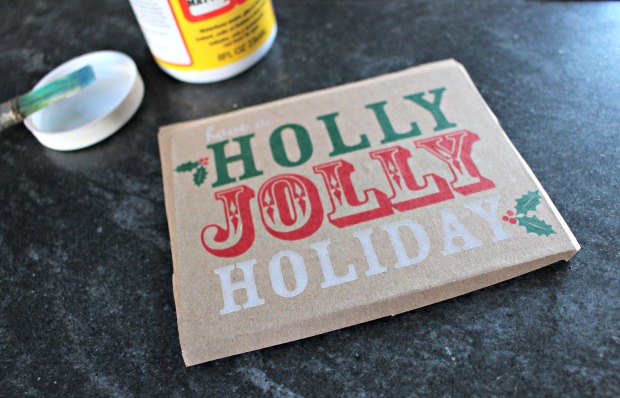
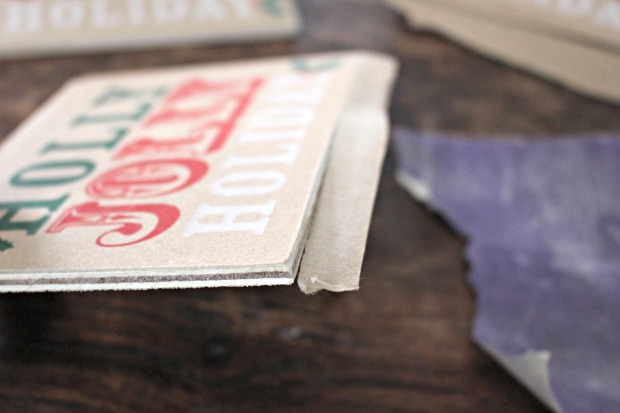
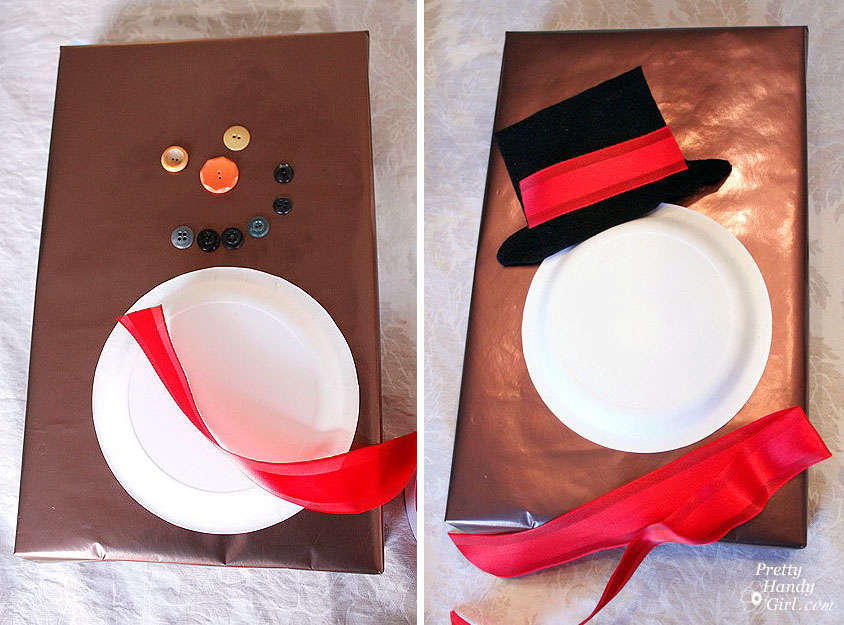
Using Martha Stewart craft paint and holiday stencils on plain brown craft paper.

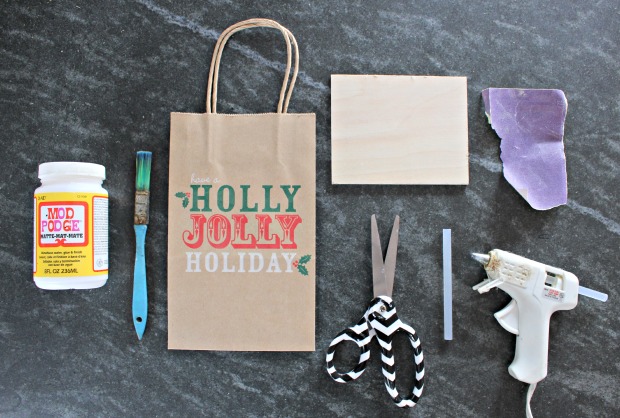
I set out some supplies, some water — and most importantly — Renee brought some Trader Joe’s Holiday Joe Joe’s! Mmmmm!

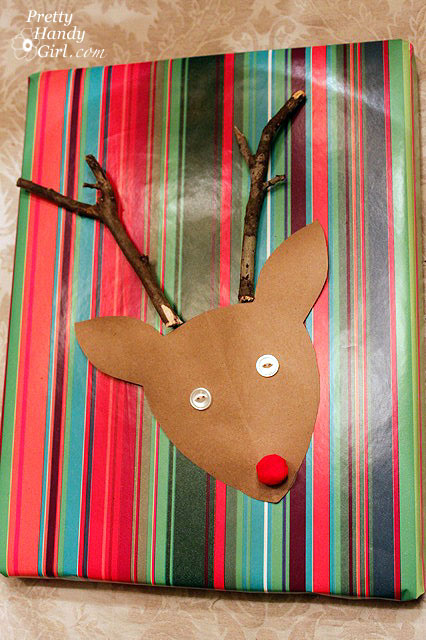
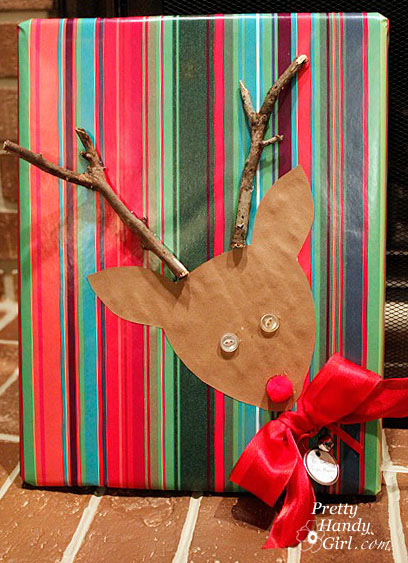
We had fun wrapping and crafting and creating!

I encourage you to invite a friend or two over to wrap with you this year. Enjoy some “down time” with some special friends. Or just pull up a chair in my dining room as I create a few more creative gift wrappings!


Materials:

  • Wrapping Paper
  • Wire Ribbon
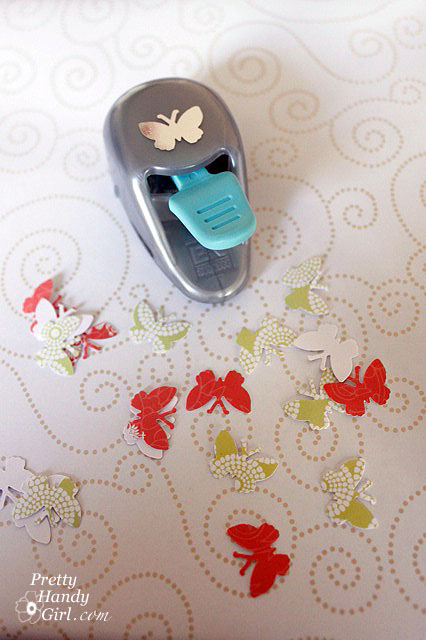
  • Butterfly hole puncher (or other hole punch shape)
  • Colored scrapbook paper or other colored paper
  • Snowflake embellishment sticker
  • Elmer’s glue

Start by using the butterfly hole puncher and punch out oodles of little butterflies.

Crease and fold the butterflies in half to give them some dimension. It is okay to leave a few butterflies flat.


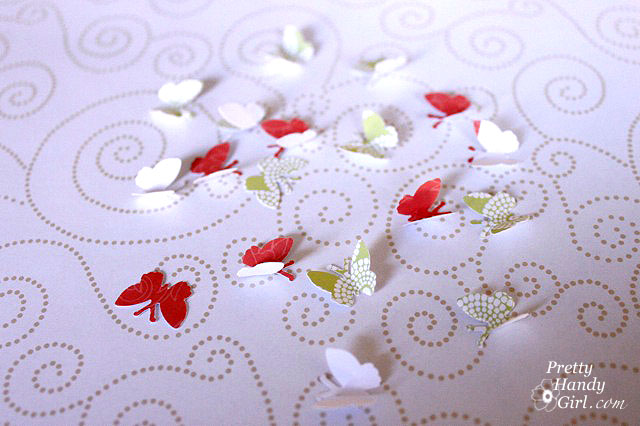
Gift wrap your present as you normally would. And add your ribbon and bow on diagonal corners.

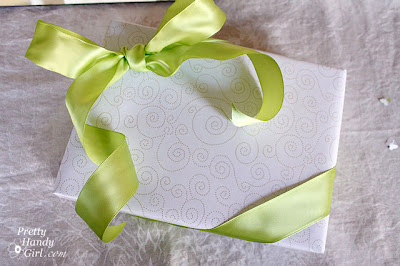
Use Elmer’s glue to place random dots onto your package.

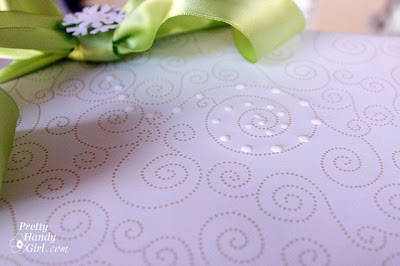
Lay your butterflies on top of the glue. Keep adding butterflies until your cluster is done.


Add a snowflake embellishment and one butterfly on the bow.

Think how adorable snowflakes or stars would look on dark blue wrapping paper!

“These are a few of my favorite things (butterflies in December!)”


Materials:

  • Wrapping paper
  • Curly ribbon
  • 1 – 12″ x 12″ scrapbook paper
  • Shiny embellishment dots or stickers
  • Elmer’s glue
  • Optional: Green construction paper or scrapbook paper for fringe grass at the bottom


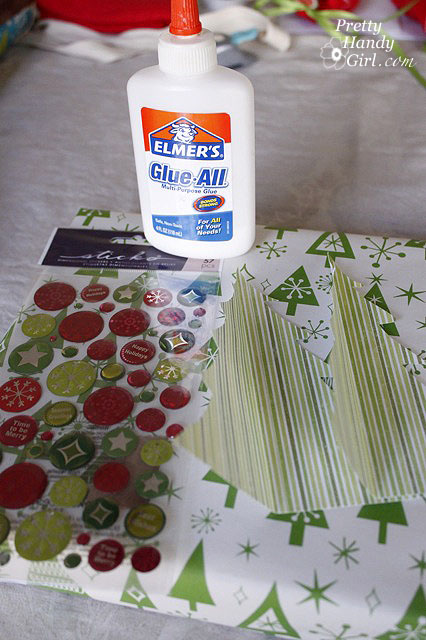
Wrap your gift in wrapping paper.


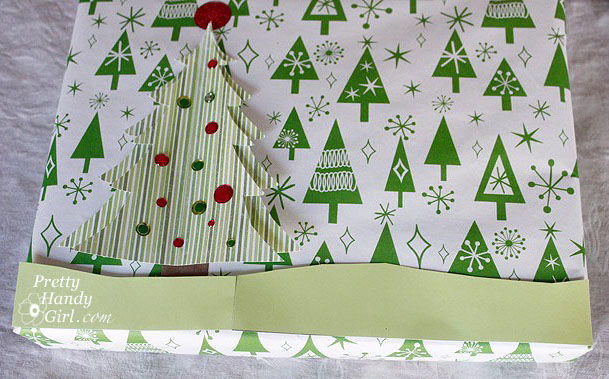
Cut a small square out of craft paper for the trunk. Fold your scrapbook paper into quarters…


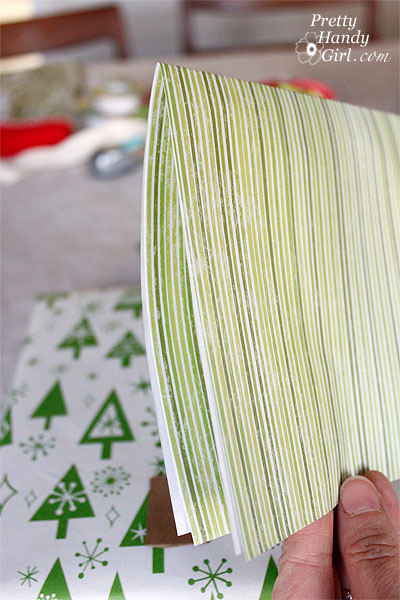
…and cut along the fold(s) using the template below.
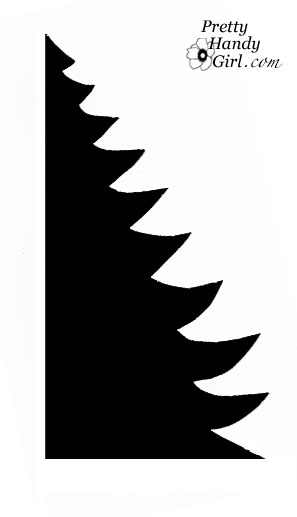
When you are done you should have two identical trees.

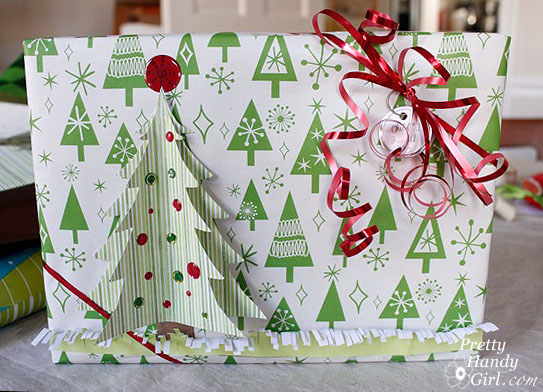
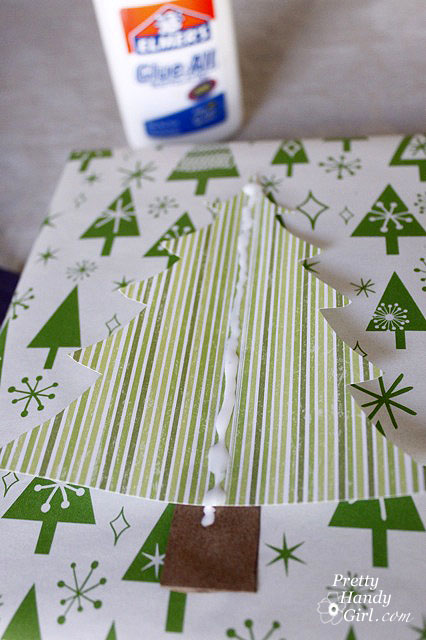
Glue the tree trunk down using Elmer’s glue. Run a bead along the spine of the tree and glue the first tree down on top of the trunk. Run a second bead of glue along the spine of the first tree and lay the second tree on top but slightly lower than the first.

Fold the left and right sides of the tree up to give them some dimension.

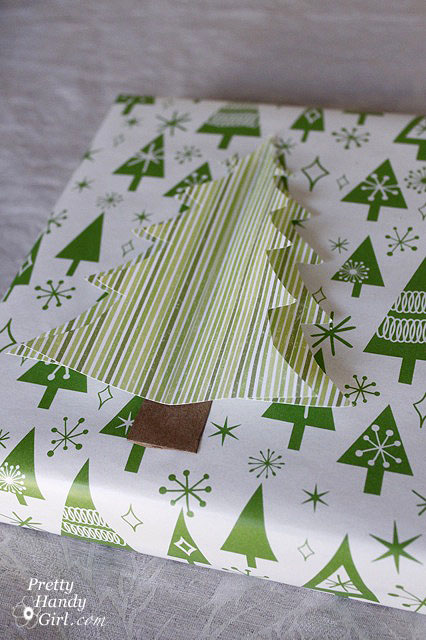
Add some embellishments or stickers to decorate your tree.

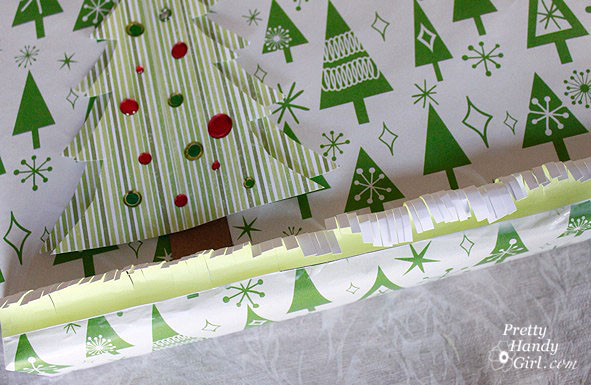
Optional: Adding Fringe Grass

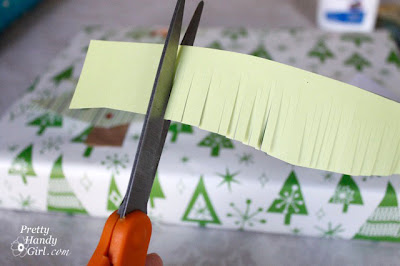
Cut out a strip of green construction paper or scrapbook paper for your grass line. Tape two pieces together if you need to make it longer.

Cut fringes into the top edge of the green strip.

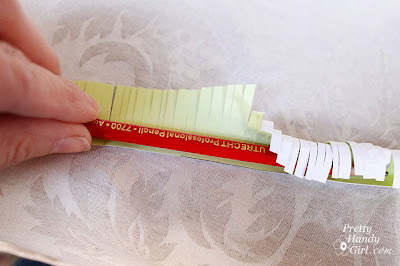
Using a pencil, roll the fringes over the pencil. I found this worked best on my thigh.

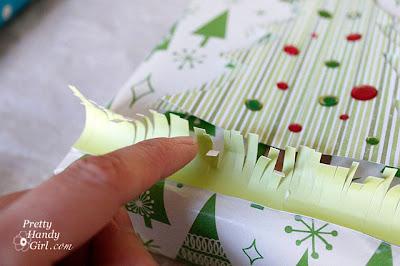
Glue your strip of fringed grass onto the package using Elmer’s glue.

Use your finger to push some fringes up and others down until you like the look.

Finish off your package by tying some curly ribbon onto it.

“Oh Christmas Tree, Oh Christmas Tree”

Please join me tomorrow for some more creative gift wrapping ideas!

Rudolph Gift Wrap

Are you ready to have some fun today?! Making recognizable holiday characters is sure to be enjoyable. It brought me back to some preschool craft projects we used to do in school.

Materials:

  • Black felt or black construction paper
  • Cake size paper plate
  • Buttons (2 eyes, 1 nose, 5-6 mouth)
  • Red Ribbon
  • Snowflake stickers, snowflake paper punch, and/or other embellishments
  • Wrapping paper in a plain color
  • Elmer’s glue
  • Hot Glue Gun

Preheat your hot glue gun. Wrap your present with the plain wrapping paper.

Cut out a hat shape using the black felt or construction paper. Feel free to use this template or make your own.

Cut a piece of red ribbon for the brim of your snowman’s hat. Then gather your snowman pieces and lay them on the package.

Use the hot glue gun to glue the cake plate upside down to the package. Glue the ribbon onto the hat. Attach the hat on the package letting the brim overlap the cake plate.
Cut another piece of ribbon (12″ or more) for the snowman’s scarf and fold it in half. From the fold, pinch and fold about 2 inches back on itself. This will be the snowman’s scarf knot. Play with the scarf and “knot” until you like how it looks, then use the hot glue to affix it to the gift box.
Use hot glue to adhere the buttons to the cake plate in the shape of a face.


Embellish your package with snowflake stickers and/or paper snowflake hole punches. Glue the hole punches with a small dot of Elmer’s glue.

Well look at that! You just brought Frosty the Snowman to life!


Materials:

  • 2 twigs
  • Brown craft paper or paper bag
  • Wrapping paper (preferably a plain color)
  • 2 buttons for eyes
  • 1 Red pom pom
  • Red Ribbon
  • Snowflake stickers or hole punches
  • Jingle bell
  • Elmer’s glue
  • Hot glue gun

Preheat your hot glue gun. Wrap your present with the wrapping paper.


Cut out a reindeer head from the craft paper or a paper bag. Feel free to use this template or make your own.

Lay out the head, sticks, buttons and pom pom nose on the package .

Coat the back of the reindeer head with Elmer’s glue and attach it to the gift. Run a thick line of hot glue onto the back of the twigs and attach them over the reindeer head. Attach the eyes and nose with hot glue.


Tie a bow with the red ribbon. Attach a gift tag and jingle bell to the bow and then hot glue it to the package.

Add paper punch snowflakes using Elmer’s glue and/or snowflake stickers.


I think Rudolph is pretty cute, don’t you?

Stick around, I’ll have some more creative gift wrappings for you tomorrow!

Pin for later!

Here is the decoupage tutorial I promised you from the Diva of a Dresser makeover.

Materials:
Wrapping Paper, Decorative Paper or Wall Paper
Fresh Sharp Exacto blade
Mod Podge
Spray Adhesive (optional)
Paint Brush

I started by unrolling a section of wrapping paper large enough to fit in the side pane. Using my fingernail (hmmm, maybe that is why I can never grow my nails longer), I scored the edges of the wrapping paper along the edges of the panel.

Next I used a fresh exacto blade and carefully cut along the score lines in the wrapping paper (while still holding it against the dresser.) Set the paper panel aside.

Using my paint brush, I worked quickly to put a coating of mod podge inside the panel on the dresser, while being careful to cover every square inch.

Center the wrapping paper on top of your modge podged dresser panel and smooth the paper with your hands, working from the inside center of the panel out. Getting the wrapping paper lined up in the panel was probably the trickiest part of the process.

Then I followed up with a top coating of Modge Podge to seal the paper. I knew the paper was going to wrinkle, and I convinced myself that I was okay with it (being a perfectionist is tough sometimes.)

However, if you want to avoid the wrinkling, I tested the same wrapping paper on a wooden “W” and used spray mount adhesive on the back of the paper instead of Mod Podge.

After top coating the “W” with mod podge there were still a few wrinkles but not as bad as the dresser. (See, I couldn’t squash my perfectionist ways. I had to solve that minor imperfection.)

This concludes my decoupage tutorial, but if you are curious about the lengths I took to give my decoupaged panel some age, keep reading.

I didn’t like the stark black and white paper on my dresser. In the middle of drinking my instant coffee I had a lightbulb moment!

I decided to rub the instant coffee bag all over the panel. It worked, and gave the panel a nice warm “instant” age.

Later that day, I added my beachy blue glaze (all the while not being able to figure out why I kept smelling coffee. Duh!)

I played with adding the glaze and wiping some off until I achieved a hazy blue look with the wrapping paper design peeking through.

If you missed it or wanted to read more about this Diva of a Dresser makeover, click here.