12 DIY Home Storage Tutorials | Pretty Handy Girl

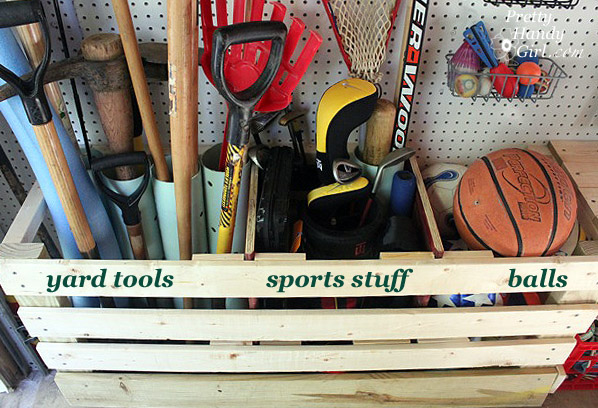
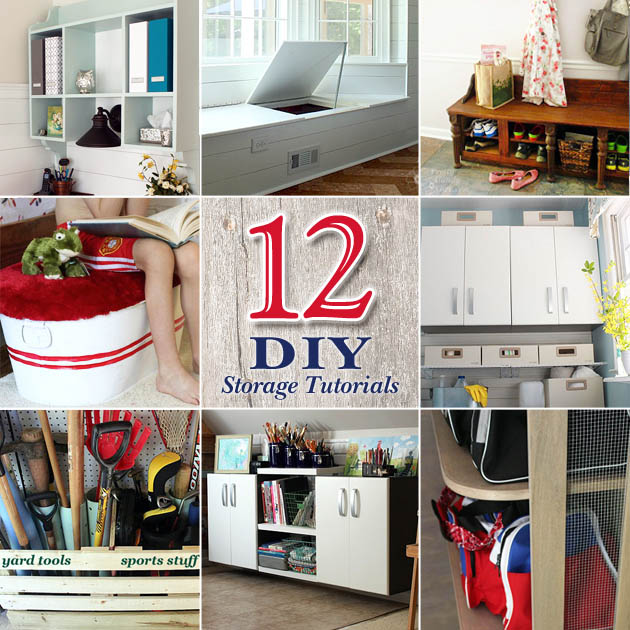
It’s January and you know what that means! Time to clean and purge the house of all the excess stuff. Last year I was too busy with projects to purge, so this year I’m taking advantage of some warmer days to clean out our home. I hope you’ll excuse me while I’m in clutter busting HELL mode. In the meantime you might enjoy these 12 DIY Storage Projects to help you organize your home (and hide clutter.)

mudroom_shoe_storage_bench
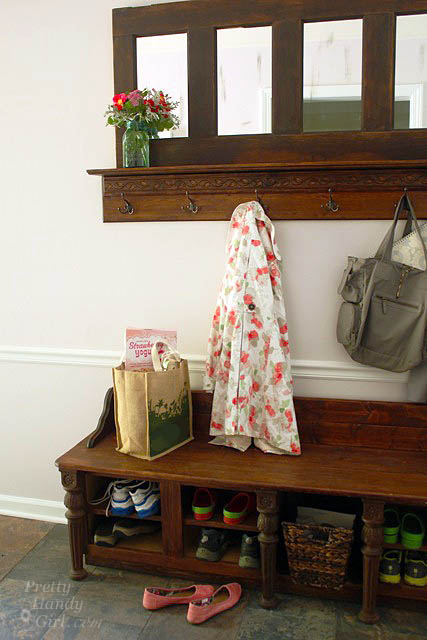
Make a Coat Rack from an Old Door
 and Make a Shoe Storage Bench with Kitchen Cabinets

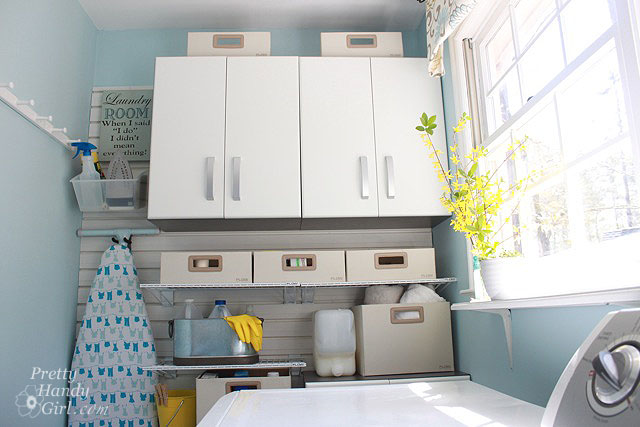
full_flow_wall_above_washerLaundry Room Storage using Flow Wall Read more

12 Ways to Burglar Proof Your Home

Thanksgiving is next week and it’s the biggest traveling holiday of the year. Taking steps to burglar proof your home can put your mind at ease as you travel and keep your home and valuables safe.

The experts at Allstate have offered 12 Ways to Burglar Proof Your Home for the holidays. Of course, these tips will keep your home safe 365 days of the year!

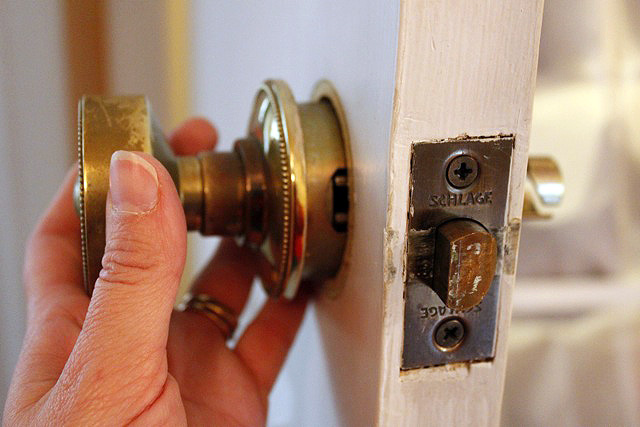
1. Change the locks  Remember to change all the locks when you move into a new house. You’ll never know who had access to the keys before you moved in. If you lose the keys to your house, you should also replace all the locks for the maximum home security.

Changing_out_brass_door_knob

2. Invest in an Alarm – There are many companies that will install and monitor a home alarm system for a very little monthly fee, however sometimes you do not need an additional monthly expense. If an alarm company is not an option for you, you can visit your local hardware store to invest in home alarms that take seconds to install. They will make very loud and obnoxious sounds if the doors or windows are open. This is a very inexpensive option but can be a large deterrent from theft. Read more

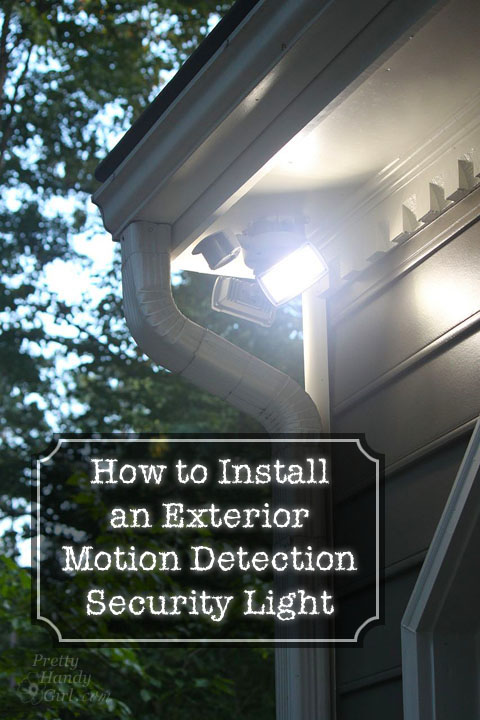
How to Install an Exterior Security Light | Pretty Handy Girl

How to Install an Exterior Security Light | Pretty Handy Girl

Nothing deters a thief like a well lit area. But truth be told, I needed this light to illuminate the path when taking out the trash. There is nothing like walking out the door with the trash in your hands after dark and realizing that you forgot to turn on the exterior light. I should mention that our neighborhood is popular with the copperheads. Need I say more?

Installing any light fixture is a relatively easy DIY project, and installing an exterior light is no exception if you have a junction box or light already installed.

Materials:

Optional: Drill

Required Safety Instruction: 
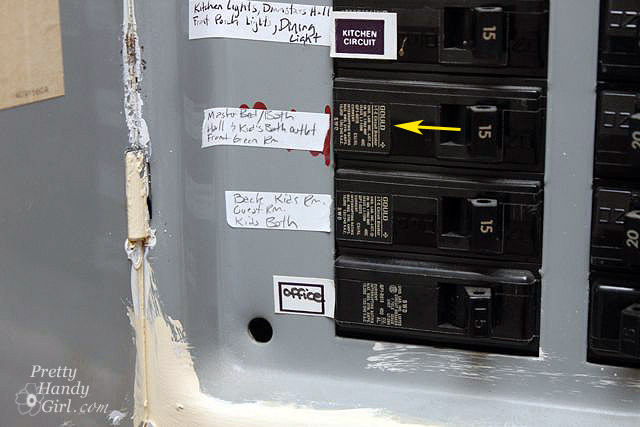
Turn off the power to the light fixture you are working on. I highly recommend turning on the light you will be working on, then shut off the circuit at your circuit breaker and check to see that the light has gone out. Also note that just because the light fixture power is turned off, it doesn’t necessarily mean that other outlets or lights in the same area are on the same circuit. Always check for the presence of power before you work on it.

flip_circuit_breaker

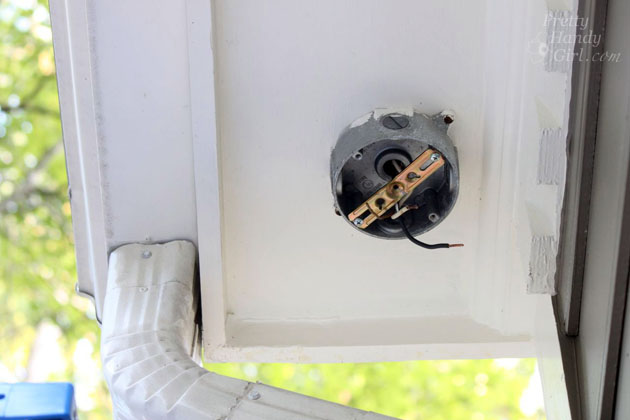
If you have an existing light fixture remove it before installing the new fixture.  For this tutorial, we’re starting with a bare junction box:

How to Install an Exterior Security Light | Pretty Handy Girl

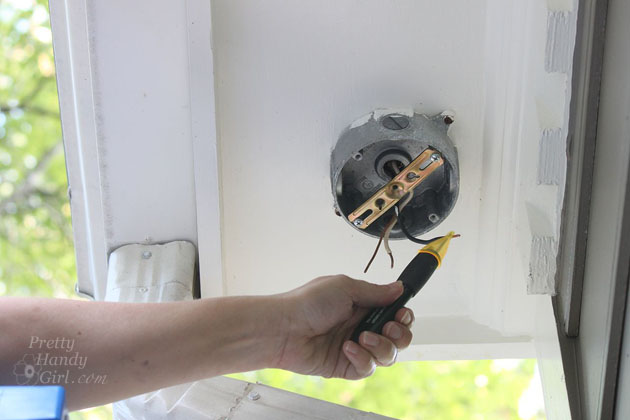
Test the black or hot wire with the voltage tester to be certain the power is turned off.

How to Install an Exterior Security Light | Pretty Handy Girl

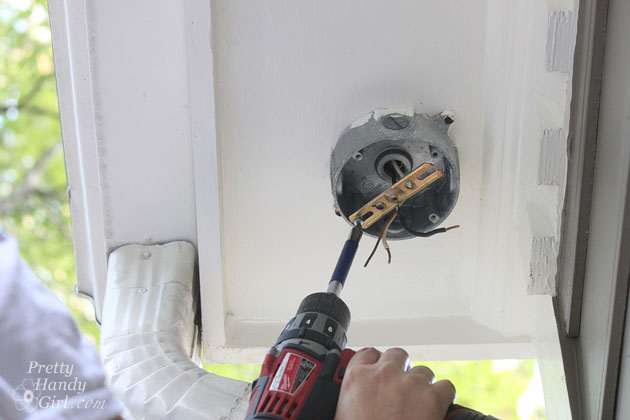
Remove the existing mounting bracket if there is one installed.

How to Install an Exterior Security Light | Pretty Handy Girl Read more

Smoke Detector Maintenance | Pretty Handy Girl

31 Days of Handy Home Fixes | Pretty Handy Girl

Happy Halloween! Trick or Treat, smell my feet! Now, give me something good to eat. Are you ready for the trickery tonight? Ahhh, good. What about the time change in the US? On Sunday, November 2nd be sure to turn your clocks back one hour. Are you ready for that? What’s to be ready for? Well, this is one of two times a year you need to maintain your smoke detectors.

I don’t have to tell you how tragic not having a working smoke detector can be. All you have to do is read the news to hear many stories about homes burning to the ground and many lives consumed by the fire because they slept through it. Let’s commit to each other that we will reduce the statistics of fire fatalities.  All you have to do is maintain your smoke detectors twice a year when you change your clocks.

Day 31 – Smoke Detector Maintenance Tips:
Smoke Detector Maintenance | Pretty Handy Girl

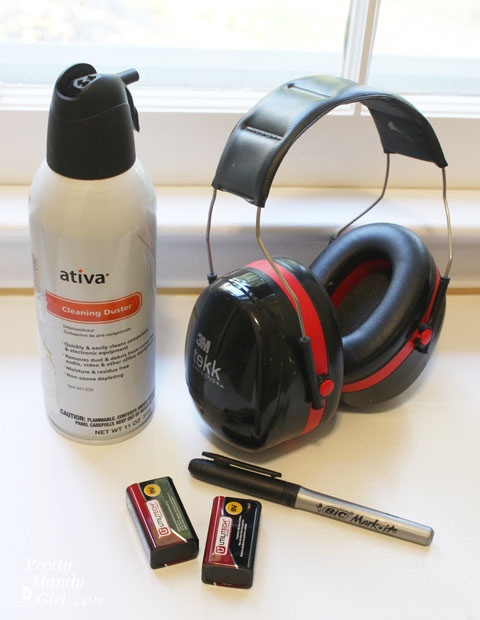
First, gather a few supplies and then we can whip through this maintenance task.

Materials:

  • Can of compressed air
  • NEW 9 volt batteries
  • Permanent marker
  • Hearing protection
  • Electrical tape (or other tape)

Instructions:

Put on your hearing protection. (I finally got smart this year and wore hearing protection while replacing the batteries and testing the smoke detector. No need to damage my hearing or get a headache from listening to the alarm one foot away from my head!)

Begin by removing your smoke detector. Don’t forget to check your hardwired smoke detector, it might also use a back up battery.

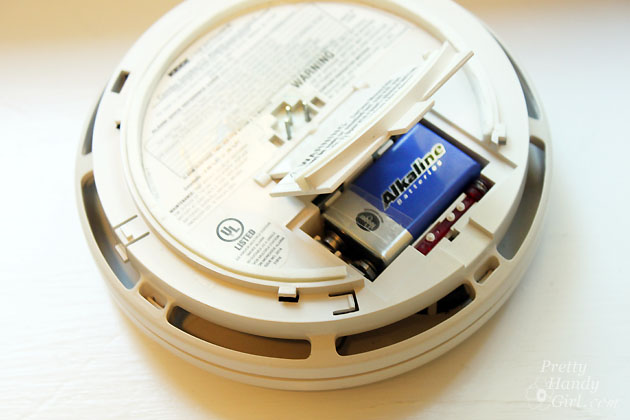
Open the battery compartment and remove the old battery.
Smoke Detector Maintenance | Pretty Handy Girl

If you want to reuse that 9 volt battery, mark the month and year on the battery. That way you know that this was removed from the smoke detector. Don’t EVER reuse the battery in your smoke detectors, but it’s fine to use for your toys and electronics.
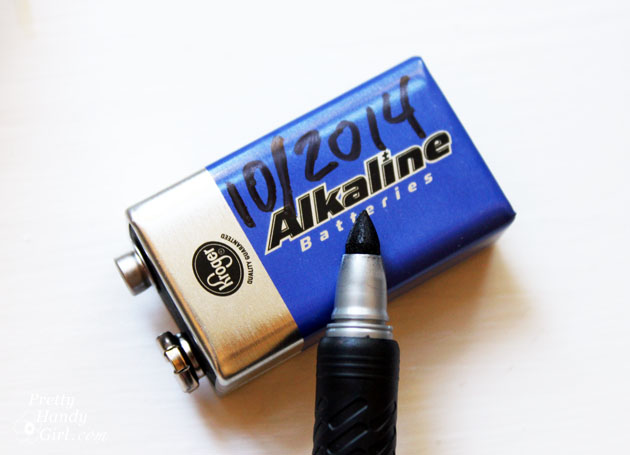
Smoke Detector Maintenance | Pretty Handy Girl

If you are going to throw away the battery, it’s important to cover the terminals with tape. If you don’t a fire could start if something metal touches both terminals at the same time.
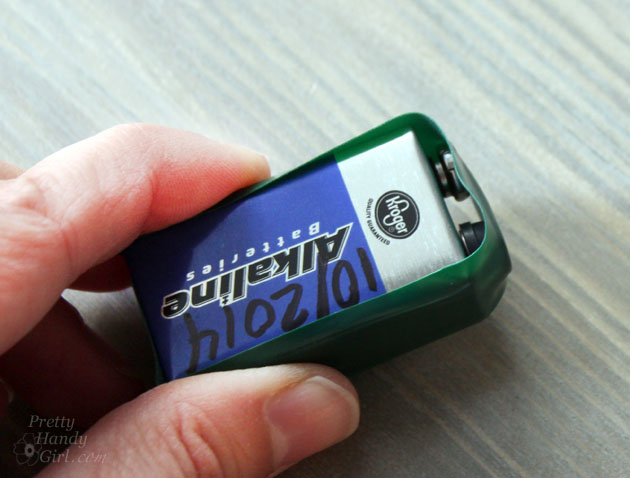
Smoke Detector Maintenance | Pretty Handy Girl

Put a new battery into the smoke detector (pay attention to where the + and – terminals go.)

Use the can of compressed air to blow out around the sensor and inside the smoke detector. Keeping a clean detector is important for it to function properly.
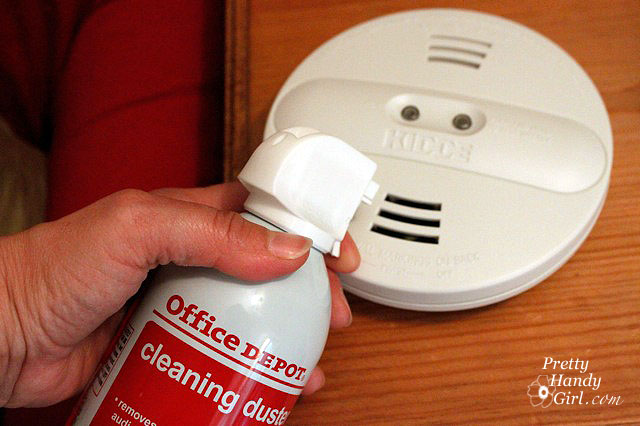
Smoke Detector Maintenance | Pretty Handy Girl

Replace the smoke detector and press the test button. After the alarm has stopped you can take off your hearing protection.
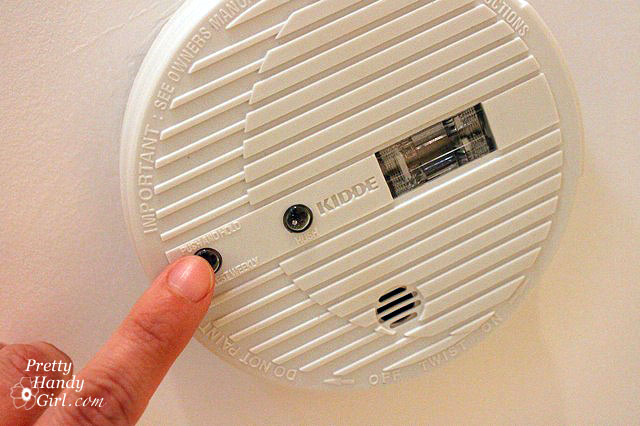
Smoke Detector Maintenance | Pretty Handy Girl

Move on to the next smoke detector.

Okay, tell me honestly, am I the last human being to figure out wearing hearing protection while maintaining your smoke detectors is a great idea?

That’s it! Day 31 of Nester’s 31 Days Challenge! I’m done and have to let out a big breath of air. Posting for 31 days straight was tough, but I’m glad I made it. Did you enjoy the series? How many other series did you follow?

I’m planning on taking it easier in November, so I hope you’ll excuse me if I miss a day or two out of my normal 3 day a week schedule.


PHGFancySign


Seal Gaps Around Pipes with GREAT STUFF | Pretty Handy Girl

Seal Gaps Around Pipes

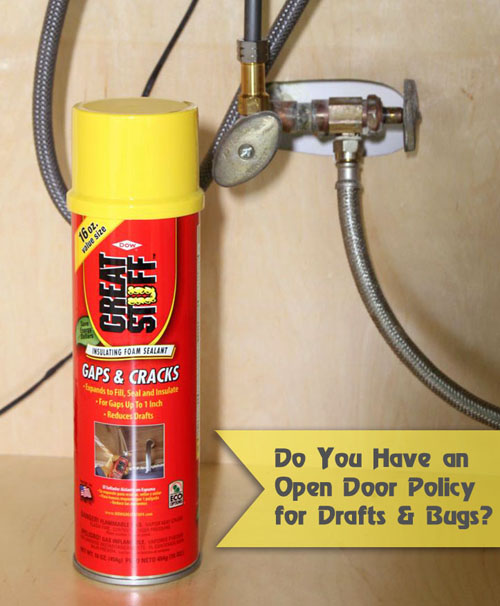
Do you have an open door policy for drafts and bugs?

Seal Gaps Around Pipes with GREAT STUFF | Pretty Handy Girl

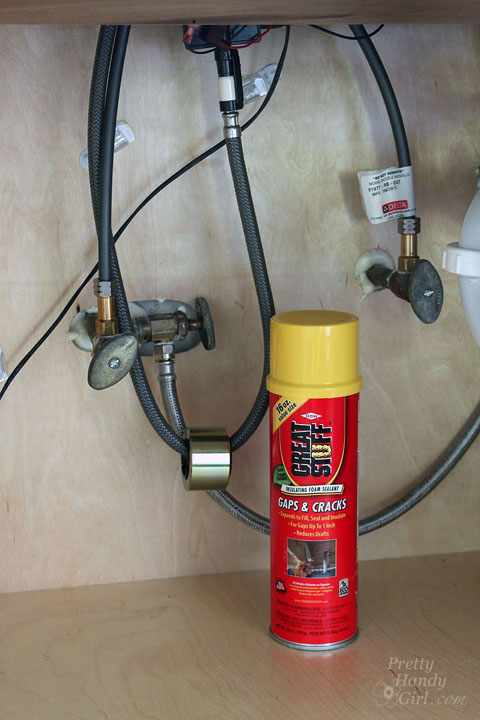
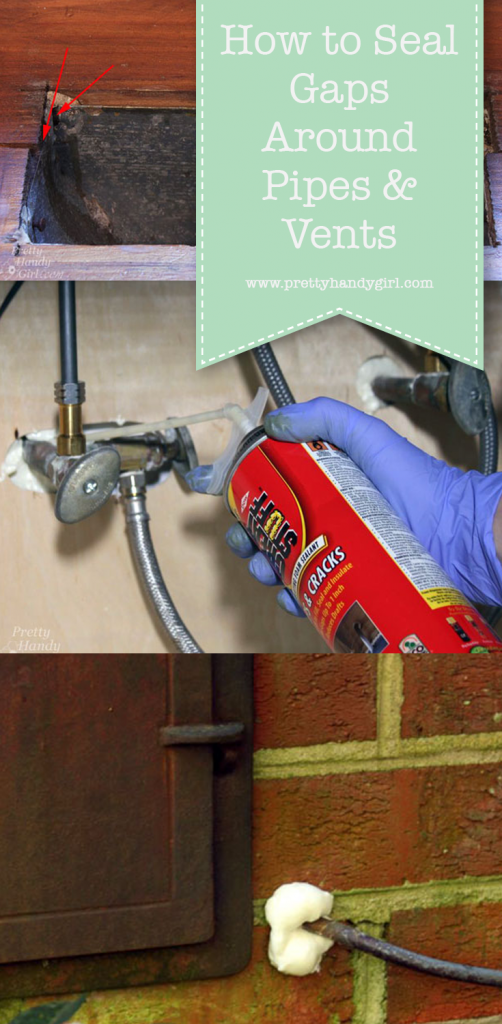
Of course not! Wait… you might and not know it. Have you looked under your sinks around the water pipes? If you have gaps around the pipes, you have the welcome sign up for cold air and bugs. Take a few minutes to seal around pipes with GREAT STUFF and you’ll stop them from entering your home.

Before GREAT STUFF approached me about writing a sponsored post for them, I was already a huge fan of their product. And between you and me, this post was already on the list of 31 Days of Handy Home Fixes! But, let’s keep that secret, because we don’t need GREAT STUFF to get an inflated ego. Ha, ha. Get it? Inflated. Oh yes, GREAT STUFF expands!

Two Headed Handy Girl

So much so, that I created a second head when I was working on my kitchen renovation. (I think my Halloween costume is complete, right?!)

But seriously, this is GREAT STUFF! It will fill in any gaps and holes in your home and foundation to prevent bugs and drafts from coming in. GREAT STUFF is easy to use, simply shake the can for 30 seconds. Add the spray nozzle. Don’t forget to put on gloves and eye protection. I created a super quick video to show you how to use GREAT STUFF.:

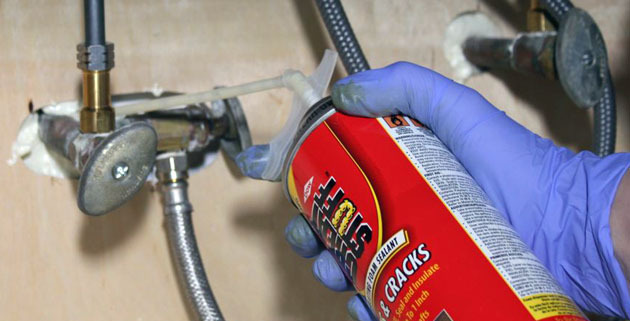
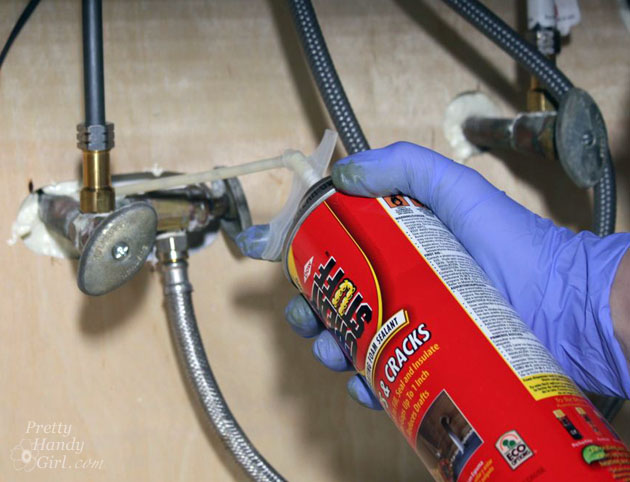
Spray GREAT STUFF into the gaps around your pipes. Do not overfill as GREAT STUFF expands as it cures.

Seal Gaps Around Pipes with GREAT STUFF | Pretty Handy Girl

Keep a wet wipe or paper towel nearby to wipe off the nozzle and wipe up any drips.

Once the GREAT STUFF has cured, trim off any excess with a serrated blade if necessary.

Seal Gaps Around Pipes with GREAT STUFF | Pretty Handy Girl

Here are just a few places you can use GREAT STUFF:

Around plumbing pipes under your sink:

Seal Gaps Around Pipes with GREAT STUFF | Pretty Handy Girl

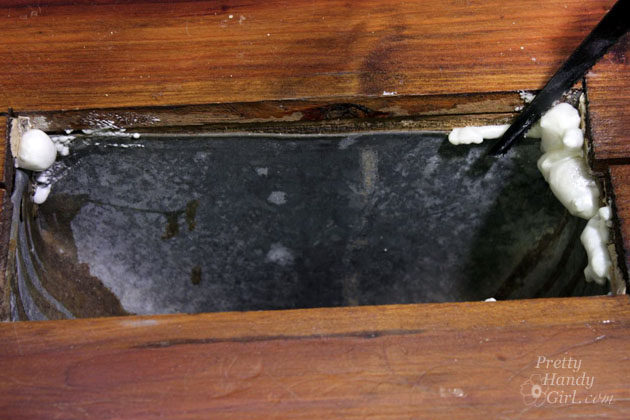
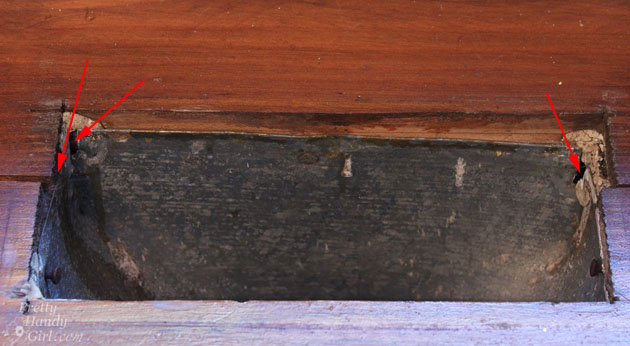
In the openings and gaps in your floor vents:

Seal Gaps Around Pipes with GREAT STUFF | Pretty Handy Girl

Around pipes and wires entering your home’s foundation:

Seal Gaps Around Pipes with GREAT STUFF | Pretty Handy Girl

Have you checked under your sinks or around your foundation lately? Buy a can of GREAT STUFF and seal all the gaps. Then enjoy your winter draft-free and your summers bug-free ;-).

Check out the Dow GREAT STUFF Pinterest board for more ways to use GREAT STUFF.

Seal Gaps Around Pipes

Pin for later!

sealing pipes with foam

Disclosure: This post was sponsored by GREAT STUFF. I was compensated for my time. As always, I’m extremely picky about the products I promote. If I don’t like a product, you won’t see it mentioned. All projects and opinions are my own. I was not told what to write or say about GREAT STUFF.

Other tips in the 31 Days of Handy Home Fixes series: