How to Fill Holes and Knots in Wood | Pretty Handy Girl

How to Fill Holes and Knots in Wood | Pretty Handy Girl

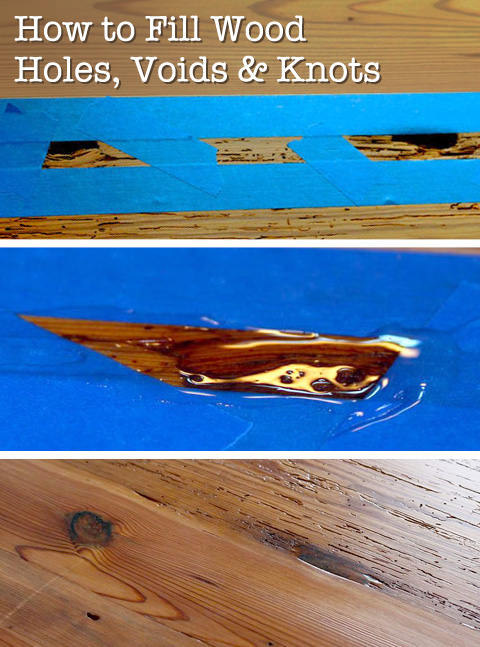
Occasionally, you will get a piece of gorgeous wood that has voids or knots in it. You wouldn’t want to add wood putty, because it wouldn’t retain the look of the knots. But, you want a smooth surface. The solution is to fill the wood knots and voids with epoxy. The results will be beautiful and you’ll be hard pressed to find the patch afterwards.

Materials:

(contains affiliate links)

How to Fill Holes and Knots in Wood | Pretty Handy Girl

Instructions:

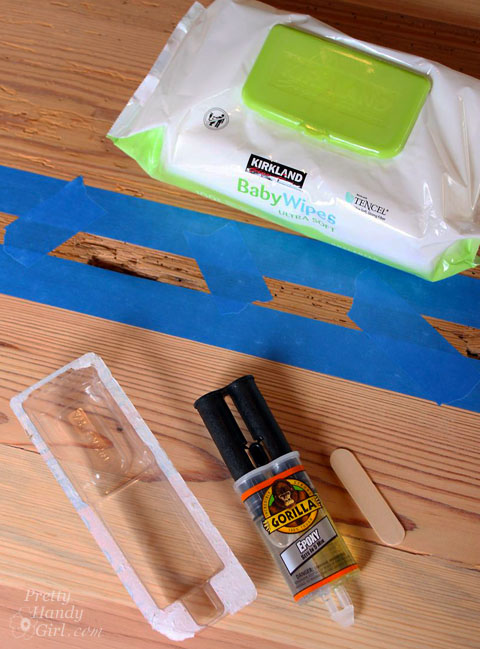
Begin by taping off the area around the holes, voids or knots. Press the edges of the painter’s tape down to seal it against the wood.

How to Fill Holes and Knots in Wood | Pretty Handy Girl

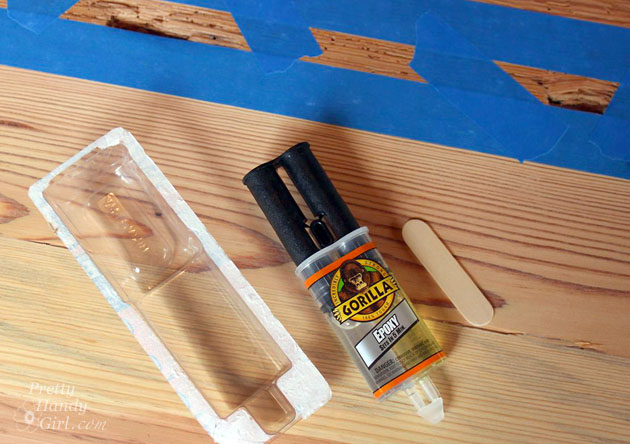
Remove the epoxy from the packaging. (I used Gorilla Glue Epoxy glue that sets up in 5 minutes.)

How to Fill Holes and Knots in Wood | Pretty Handy Girl

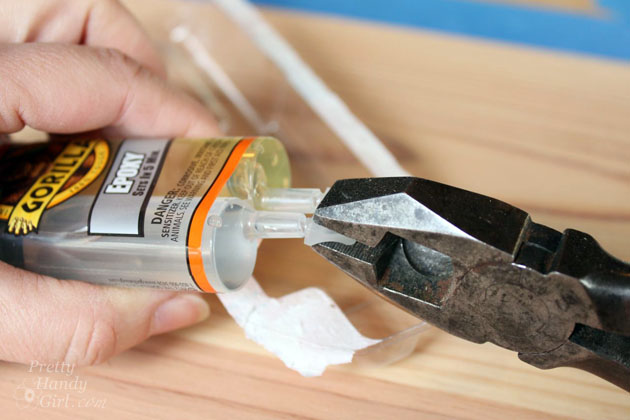
Snip or snap off the tip of the epoxy tubes.

How to Fill Holes and Knots in Wood | Pretty Handy Girl

Press the cap out of the plungers before trying to depress the plunger. Retain the cap to use if you have any leftover epoxy. Read more

2 Minute Wiper Blade Change | Pretty Handy Girl

2 Minute Wiper Blade Change | Pretty Handy Girl

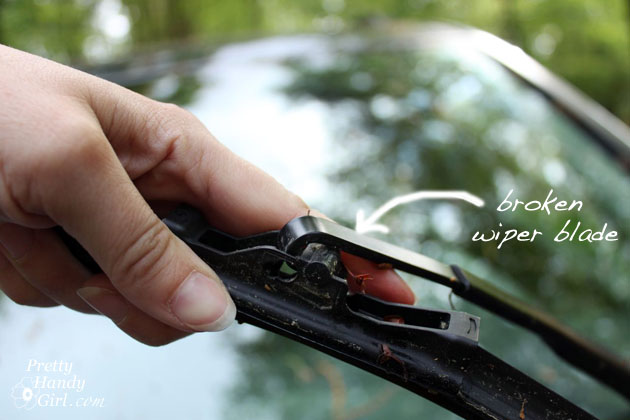
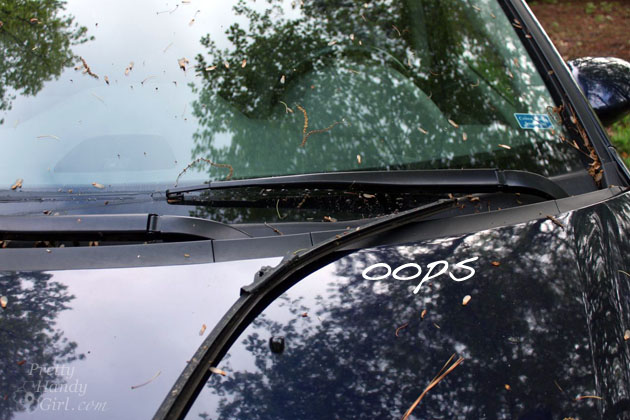
Have you ever had something get stuck in your wiper and you don’t realize it until it is pouring rain. Instead of pulling over to remove the object from the wiper, I tried the old “reach out the window and flick the wiper up.” Big mistake! I ended up breaking the wiper blade off the wiper arm. Ugh. Luckily we weren’t far from home, and I was able to drive home and swap cars before driving off the road.

2 Minute Wiper Blade Change | Pretty Handy Girl

Lesson learned, next time I won’t be so lazy.

New automobiles have improved the ease with which you can change the wiper blades. In fact, it will probably take you less time to change your automobile wipers than it takes to read this tutorial. Do you have 2 minutes? Great, let’s get to it.

2 Minute Wiper Blade Change | Pretty Handy Girl

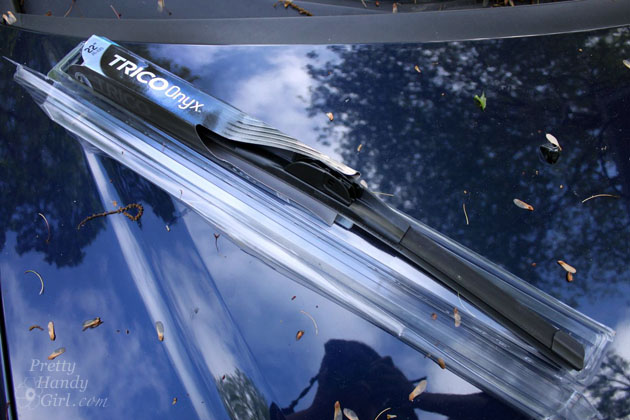
Buy a new set of wiper blades. Go ahead and splurge for good quality wipers so they won’t start squeaking in a few months. Grab a flathead screw driver.

2 Minute Wiper Blade Change | Pretty Handy Girl

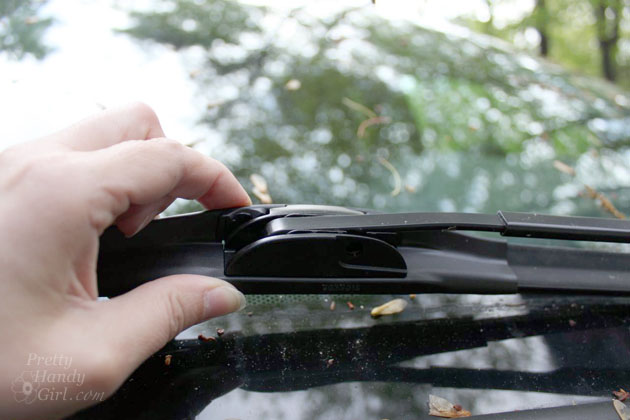
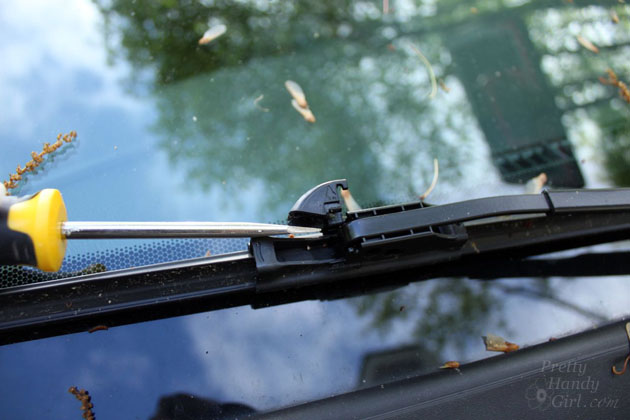
Insert a flathead screwdriver under the tab on the wiper.

2 Minute Wiper Blade Change | Pretty Handy Girl

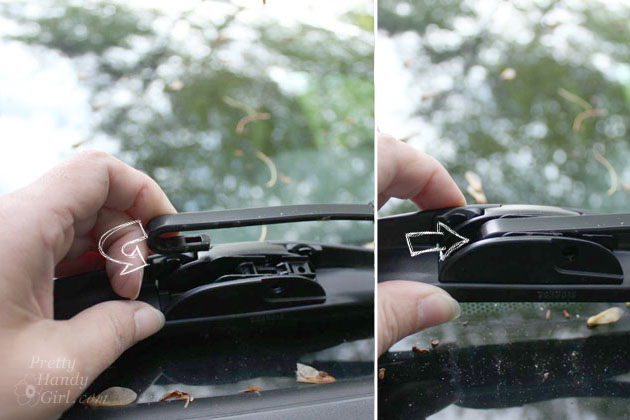
Lift up and expose the wiper arm hook.

2 Minute Wiper Blade Change | Pretty Handy Girl

Press the lever down and push the wiper in toward the arm to slip the blade off the hook.

2 Minute Wiper Blade Change | Pretty Handy Girl

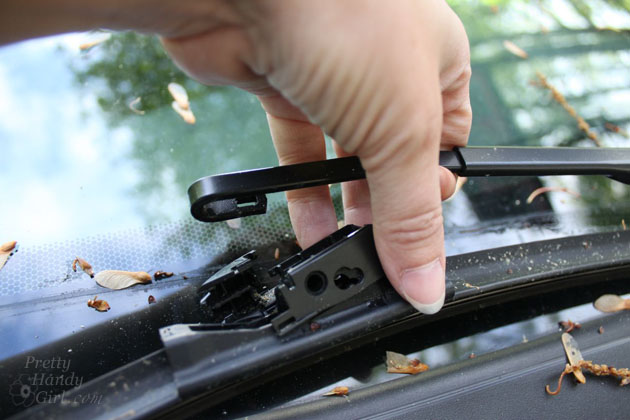
Remove the broken wiper.

2 Minute Wiper Blade Change | Pretty Handy Girl

All wipers aren’t the same, so take a look at your’s. Sometimes you need to squeeze the sides or remove a small clip. Here’s a video to help you remove two different types of wipers: Read more

Easy Clean Your Storm Windows with Steam | Pretty Handy Girl

Easy Clean Your Storm Windows with Steam | Pretty Handy Girl

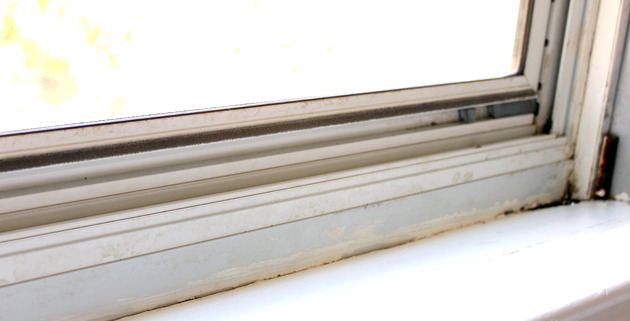
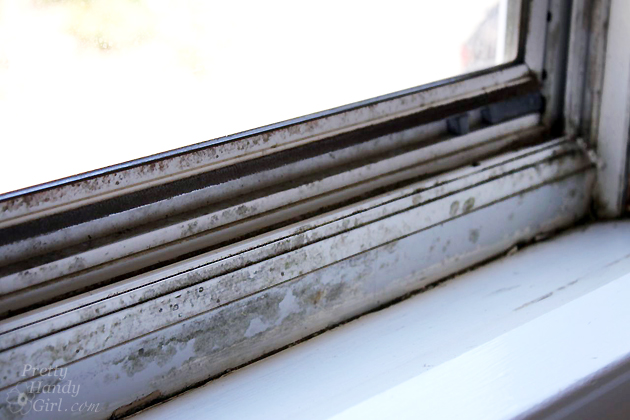
Winter is tough on everyone, but it’s especially tough on your home.  The temperature difference between the outside and inside your home can leave a thick layer of mildew on your windows. Aluminum storm windows are especially prone to this condition. Before you open the windows and let in the warm breeze of Spring, you’ll want to quickly and easily clean mildew off your windows.

Easy Clean Your Storm Windows with Steam | Pretty Handy Girl

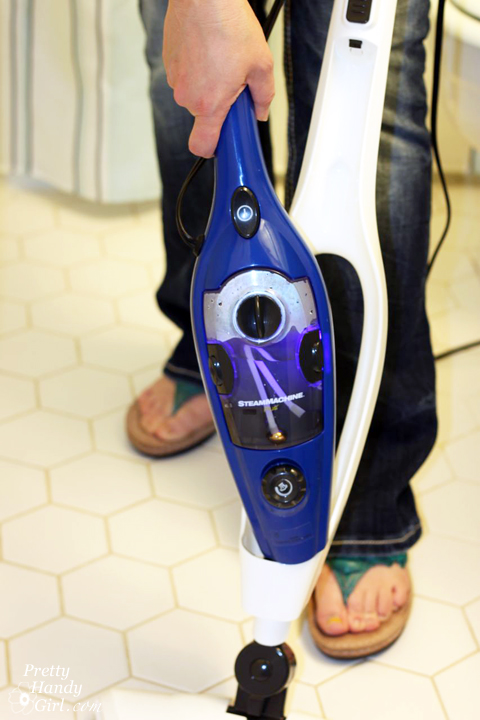
This is not one of my favorite cleaning tasks. In the past I used bleach and ended up smelling bleach all day long and probably doing damage to my nose (and brain.) This year I have a new cleaning BFF. The HomeRight Steam Machine Plus is my go to tool for cleaning almost anything! Just like when I cleaned the boys’ stinky bathroom, this little steam cleaner did not disappoint.

Easy Clean Your Storm Windows with Steam | Pretty Handy Girl

To clean the windows, release the hand held HomeRight Steam Machine Plus from the upright mop. Read more

How to Refinish Wood Floors without Sanding | Pretty Handy Girl

How to Refinish Wood Floors without Sanding | Pretty Handy Girl
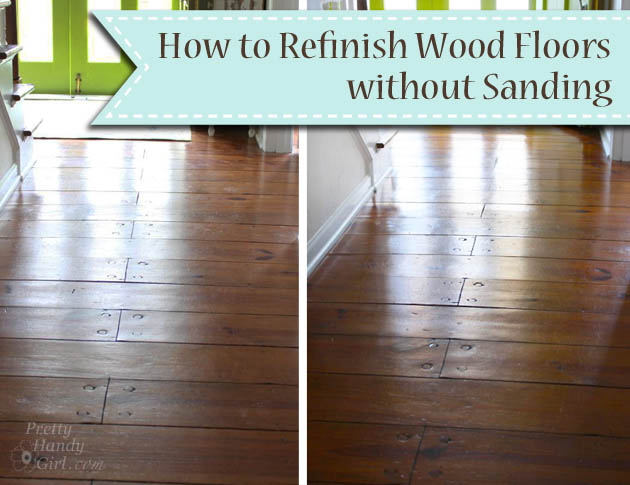
How to Refinish Wood Floors without Sanding

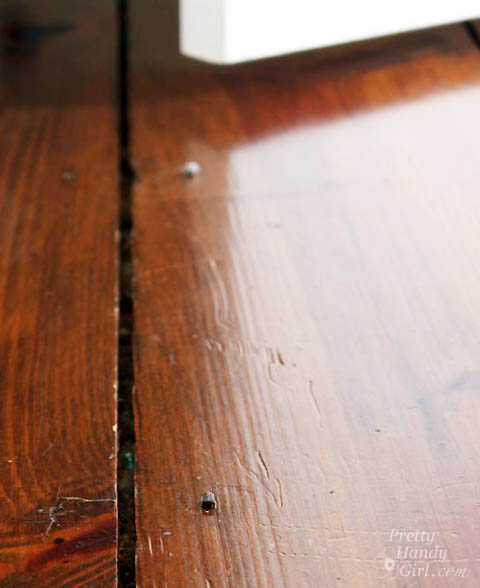
I love our antique heart pine floors! They are beautifully distressed. The round pegs and square nails securing them in place add loads of character. However, the square nails sit flush with the surface preventing us from ever being able to refinish them with a sander. The nails would tear up the sandpaper in no time. But, that’s no problem because I know a way to Refinish Wood Floors without Sanding!
 

How to Refinish Wood Floors without Sanding | Pretty Handy Girl

From time to time, our floors start to look dull…
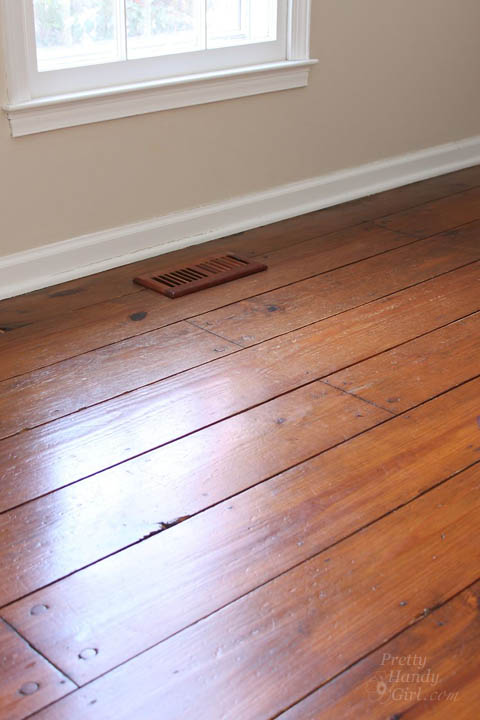
How to Refinish Wood Floors without Sanding | Pretty Handy Girl

…and the scratches are more noticeable. This is when I know it’s time to refinish them.
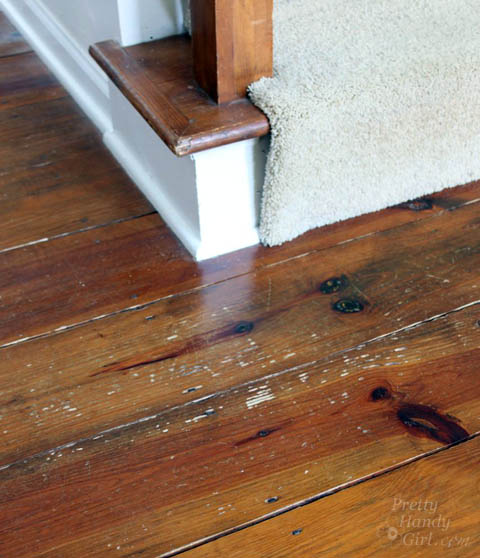
How to Refinish Wood Floors without Sanding | Pretty Handy Girl

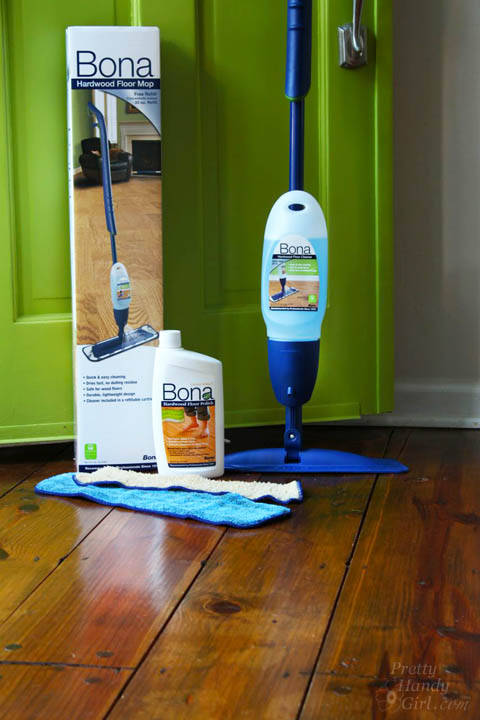
The first time I refinished our floors, it was several years ago when we were painting the office and dining room. I decided to try to refinish the floors because the rooms were already devoid of furniture. Several neighbors had recommended Bona® Hardwood Floor Cleaner and Bona® Hardwood Floor Polish. I was skeptical, but the results were beautiful floors that had luster, but still showed their beautiful age.
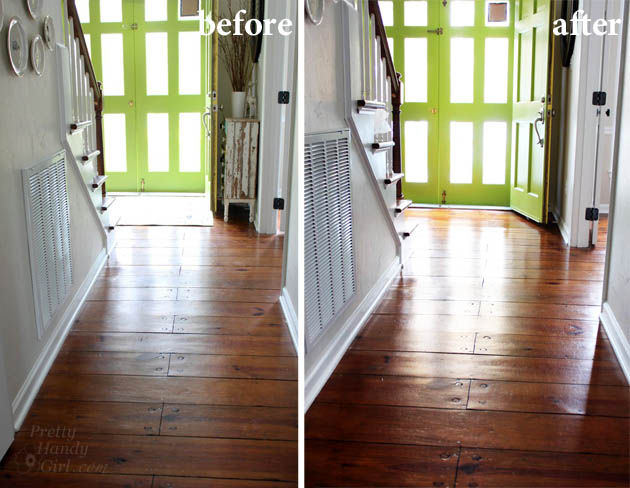
Before and After Finishing Wood Floors without Sanding | Pretty Handy Girl

The Bona® Hardwood Floor Cleaner did a fabulous job of cleaning the floor without damaging them. And, the Bona® Hardwood Floor Polish provided a strong finish without any waxy build up. The high gloss protective layer adds some shine, but isn’t overly shiny. The polish also fills micro-scratches, evening out the appearance of the floor.
How to Refinish Wood Floors without Sanding | Pretty Handy Girl

Fast forward to this past week when Bona asked me to write a sponsored post for them, I jumped for joy because I already use and love the Bona® Hardwood Floor Products! (Here’s my full disclosure: Yes, this is a sponsored post. No, I was not told what to write. And yes, I probably would have blogged about my experiences using Bona® Hardwood Floor Products at some point anyway. Win-win.)

I highly recommend trying the combo of the Bona® Hardwood Floor Cleaner and the Bona® Hardwood Floor Polish before spending huge amounts of money to have your floors refinished. (Bona® Hardwood Floor Cleaner & Polish will not work on floors that have an oil or wax coating. Test in an inconspicuous area to be sure it will work for your floors.)

Here’s how to Refinish Your Wood Floors without Sanding:

Materials:

(I’ve included affiliate links for your convenience. I earn a small percentage from a purchase using these links. There is no additional cost to you. You can read more about affiliate links here.)

Instructions for Cleaning the Wood Floors:

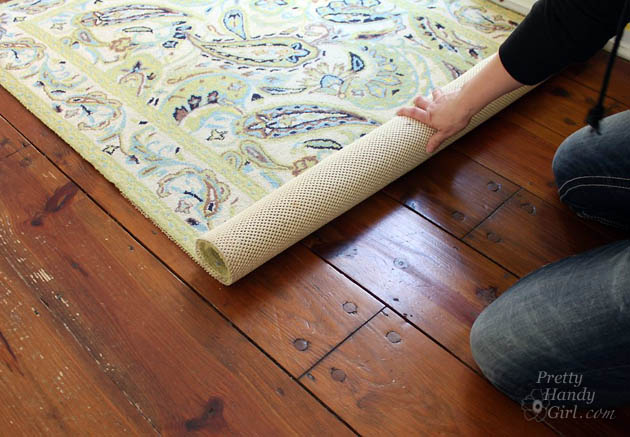
Remove all rugs and furniture from the room. If you have heavy furniture pieces that are never moved, you can leave them in place.
How to Refinish Wood Floors without Sanding | Pretty Handy Girl

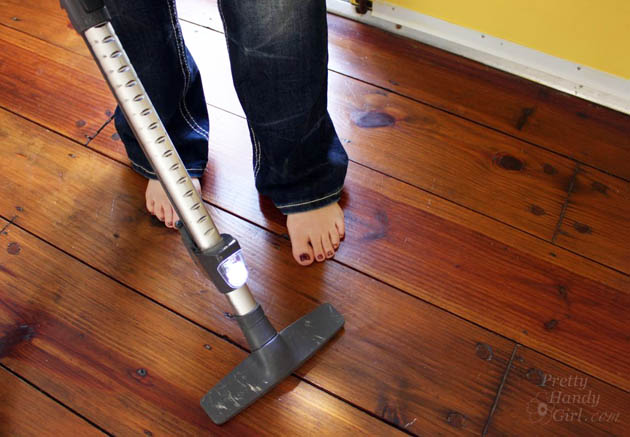
Vacuum or sweep the floors to remove all dirt and debris.
How to Refinish Wood Floors without Sanding | Pretty Handy Girl

Assemble your Bona® Hardwood Floor Spray Mop as shown here: Read more

How to Securely Install a Towel Bar | Pretty Handy Girl

How to Securely Install a Towel Bar | Pretty Handy Girl

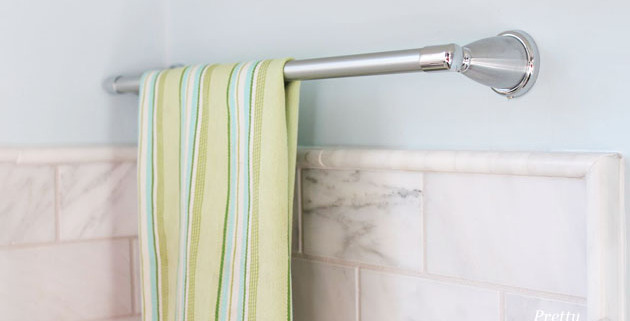
Have you ever reached for a towel and realized that the towel bar was barely secured to the wall? Installing a New Towel Bar Securely is a fairly simple DIY task if you know how to anchor the brackets.

As part of my little laundry room refresh, I decided to replace the dated brass towel bar that had started to come loose.

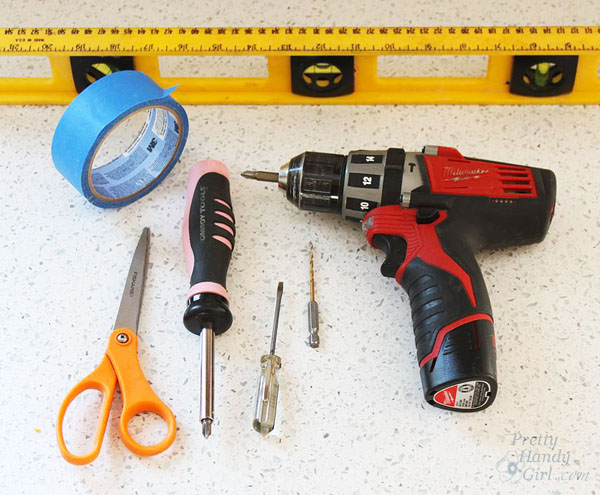
Install a Towel Bar Securely Materials:

(Contains some affiliate links)

How to Securely Install a Towel Bar | Pretty Handy Girl

Optional:

Install a Towel Bar Securely Preparation:

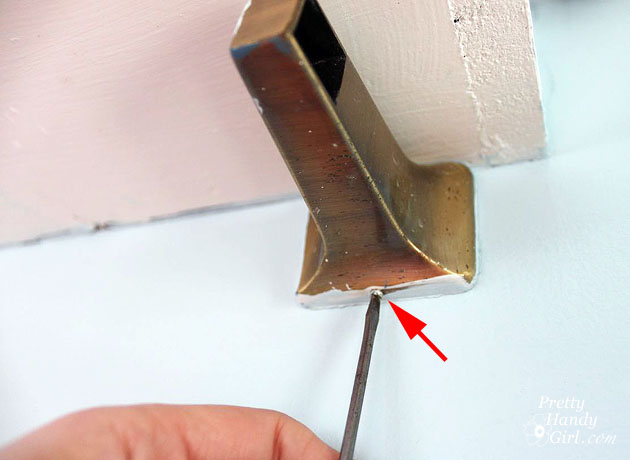
Begin by removing the old towel bar if you have one already installed. Look underneath for a tiny set screw. Usually you will need a small flat head screwdriver or allen wrench to remove it.

How to Securely Install a Towel Bar | Pretty Handy Girl

Once the mounting bracket is removed, you will see the mounting plate which can be removed by unscrewing the screws. Patch any holes in the wall and touch up the paint before installing the new towel bar.

Mounting Instructions:

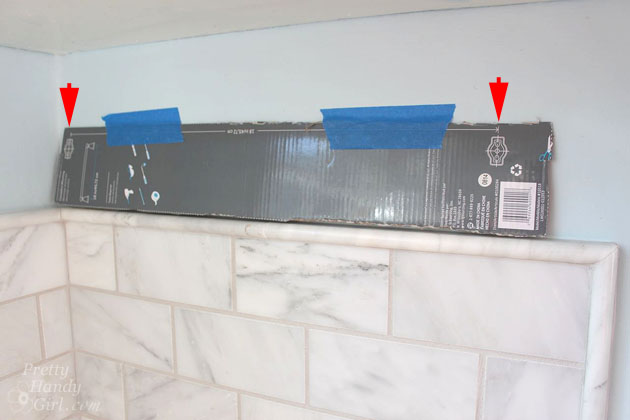
Find the template that came with your new towel bar. Sometimes it is on the instruction sheet, and sometimes you have to cut it off the product box.

Hold the template up and line up the bracket locations with studs. If  you can’t line it up with two studs, you can use a good wall anchor. Don’t use the anchors that came with the towel bar. (Here’s why you should never use those freebie wall anchors.)

How to Securely Install a Towel Bar | Pretty Handy Girl

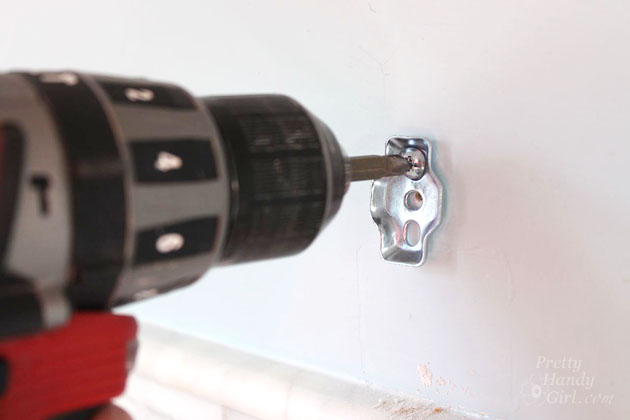
Tape the template in place and level it. Make any adjustments necessary to get the template perfectly level. Read more