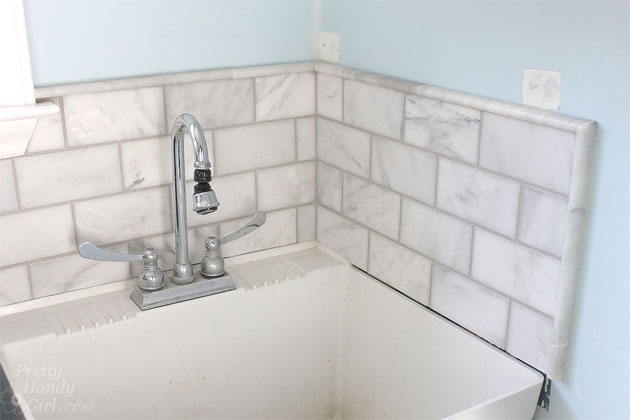
tiled and grouted marble subway tile backsplash around utility sink

Tile-setting-withouto-thinset-mortar

You may remember years ago when I installed Smart Tile adhesive tiles in our laundry room. Well, truth be told, they weren’t looking so smart after 3 years and a water leak. I had a few leftover marble subway tiles from our kitchen backsplash and decided to use them to freshen up the laundry room. While I was at Lowe’s I decided to try Mussel Bound tile adhesive used for tile setting without thinset mortar. I figured this would be a good place for a trial in case I didn’t like the product.
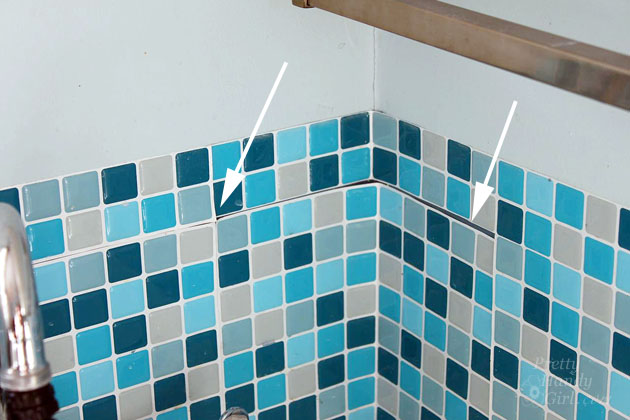
smart-tiles-peeling-off

To remove the Smart Tiles you are supposed to use a hair dryer or heat gun to soften the adhesive. The tiles on my wall were already peeling off and they came off very easily.
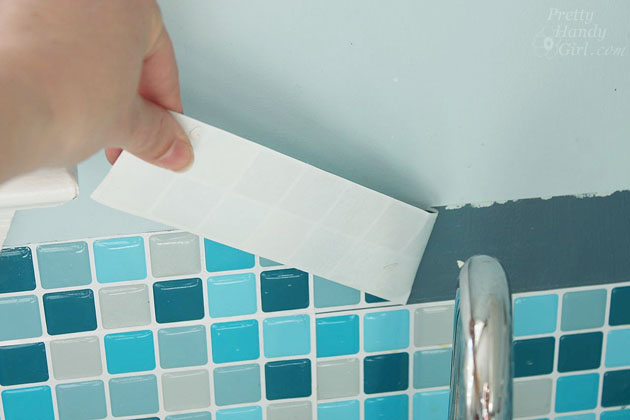
peeling-off-the-smart-tiles

There was some minimal damage to the drywall, but if I had used the hairdryer it probably would have come off cleaner. To minimize any issues, be sure to clean your wall with a mixture of TSP (Trisodium Phosphate) and water using the instructions on the package.

Wipe the walls clean with a damp sponge after cleaning.
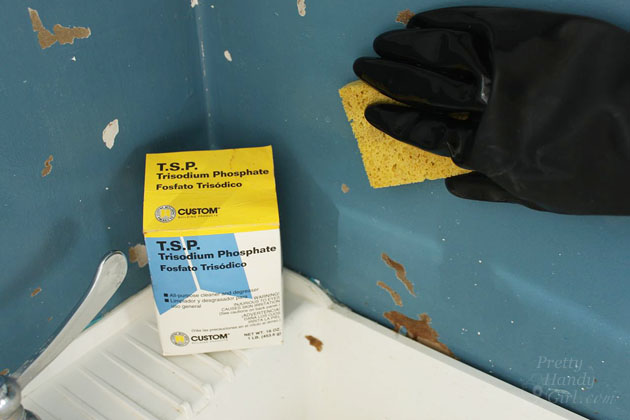
clean-wall-adhesive-with-TSP-trisodiuom-phosphate

Ready to start tiling with less mess?

Materials:
(Contains some affiliate links)
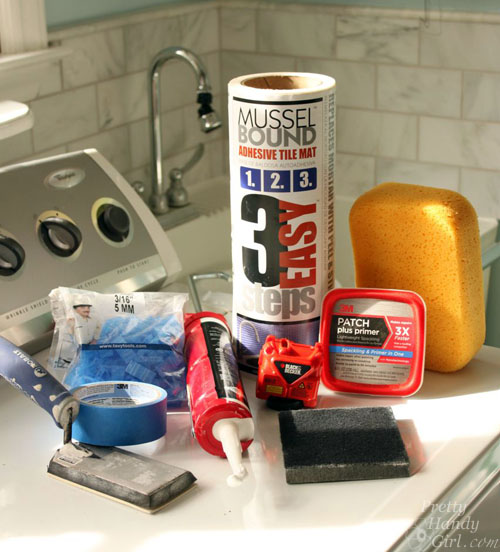
materials-mussel-bound-tiling

Optional: Grout Shield

Instructions:

Before you begin, layout your tiles and spacers to determine the height you desire for your backsplash. Transfer this height onto the wall around the sink. Read more
Auto Cup Holder Extender | Pretty Handy Girl

Auto Cup Holder Extender | Pretty Handy Girl

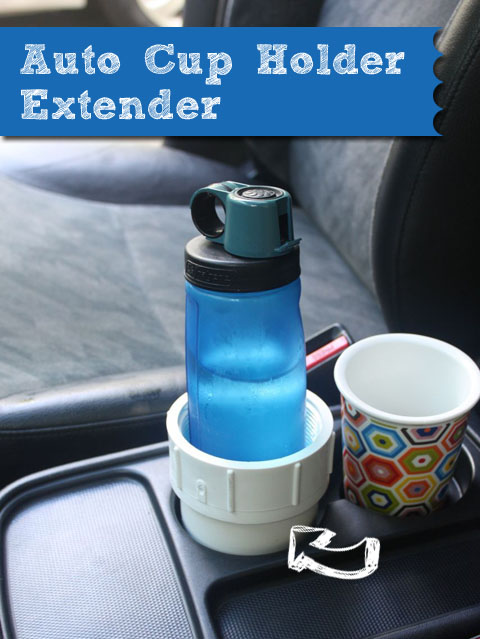
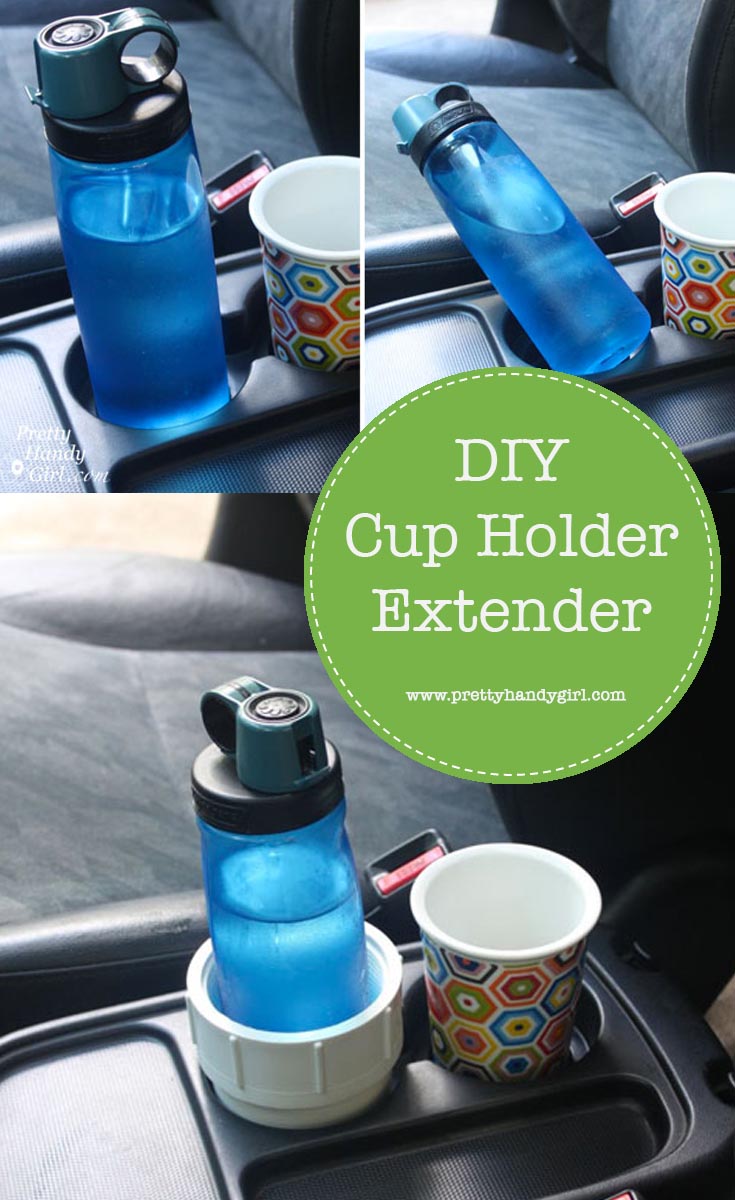
Do you have a solid cup holder in your car that doesn’t hold all size bottles and cups? The console cup holder in our older Honda CRV has been a constant source of frustration for myself and Pretty Handsome Guy. When we drive around a corner the larger water bottles will inevitably tumble. Finally, I got tired of our bottles tipping and spilling on turns.

Auto Cup Holder Extender | Pretty Handy Girl

Auto Cup Holder Extender

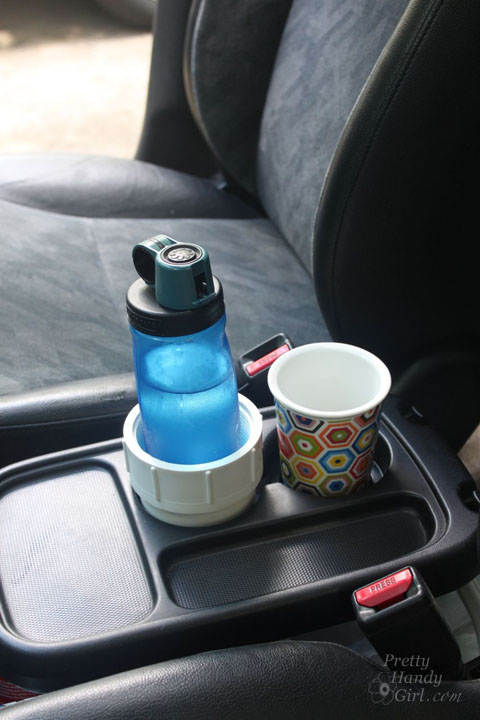
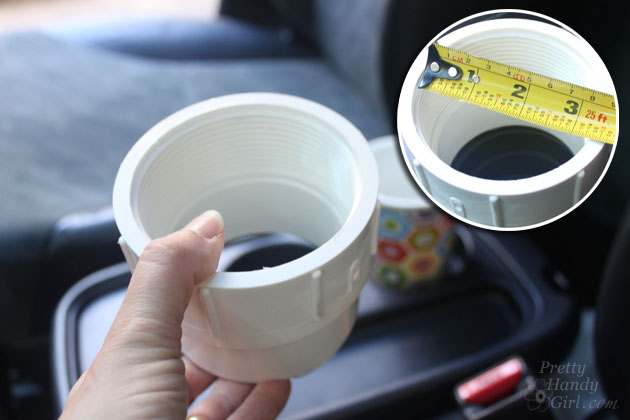
I found the solution in the plumbing aisle at Lowe’s! This plumbing part has solved our problem by becoming an auto cup holder extender.

Auto Cup Holder Extender | Pretty Handy Girl

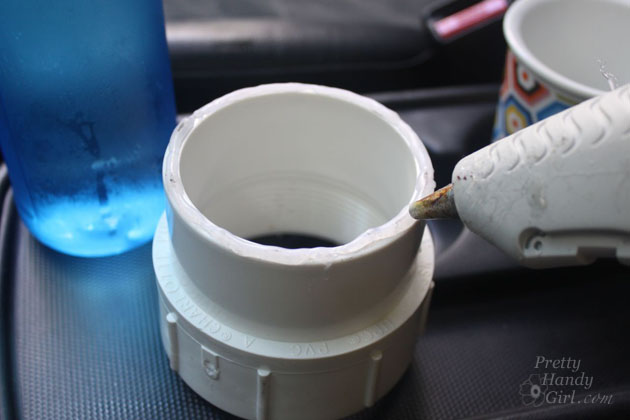
It’s called a 3″ PVC Cleanout Adapter Fitting and it costs less than $4. Simply run a line of hot glue onto the bottom of the fitting and set it onto the car cup holder.

Auto Cup Holder Extender | Pretty Handy Girl

Now we can take turns like a race car driver and not worry about those taller bottles and drinks spilling.

Auto Cup Holder Extender | Pretty Handy Girl

Do you have any other auto tips or tricks for keeping your auto clean? I could use a little more help in that department.

PHGFancySign


Pin for later!

End the bottles tipping and spilling on turns in your car with this DIY cup holder extender! | Pretty Handy Girl #prettyhandygirl #DIY

How to Clean a Stinky Bathroom as if a Magazine Photographer was coming | Pretty Handy Girl

Seaside Theme Bathroom Refresh #LowesCreator | Pretty Handy Girl

I AM SO EXCITED! Remember when I was slaving away on our kitchen on my hands and knees?

PHG_sanding_floors

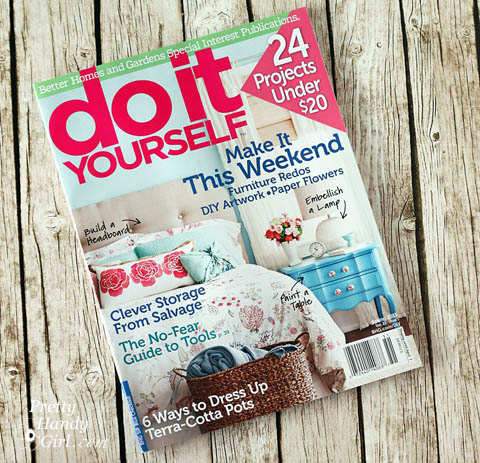
While I was in the trenches of DIY, one thing kept me going steady (besides the extra doses of Advil.) It was the dream of having our home featured in a magazine. Well, that dream became reality this week! If you happen to be in the magazine section of a store near you, you might see this:

Do It Yourself Magazine Spring 2015

Do It Yourself is one of my favorite publications because they feature beautiful homes and projects that were created by the homeowner. They Did It Themselves! Plus, the magazine shows you how to complete the same projects yourself! I am super honored that they wanted to photograph my home and some of my DIY projects for this issue.

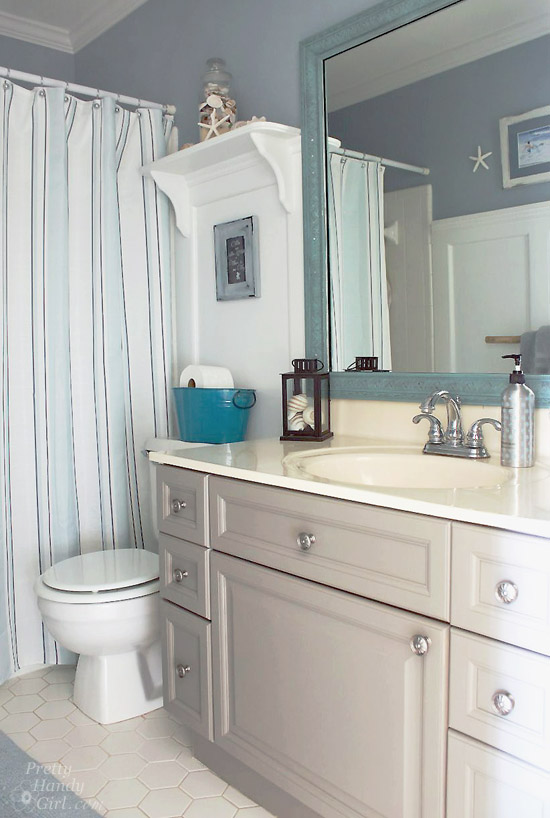
But, I have to tell you, I was very nervous before the photo shoot. I had visions of the editor and photographer walking in my home and walking back out in disgust. As the date drew closer, I was frantically checking last minute fixes and DIY projects off my list:

master bedroom:
build king sized bed
paint ombré effect on master bedroom walls
paint knotty pine dresser
paint vanity
create button pendant light
add legs to nightstand

foyer:
hack an ugly IKEA dresser
hang mirror

boys’ bathroom:
paint mirror frame
paint vanity
re-caulk board & batten
clean, clean, clean
figure out how to get rid of the urine smell! YIKES!!!

Any of you who have boys know that they have poor aim! No matter how clean I get their bathroom it still has a slight urine odor. Please, please tell me that I’m not the only one with this problem.

Do or Do Not...There is No Try - Yoda Quote

Funny story: I created this little piece of art that hangs on the wall over the toilet in the boys’ bathroom. I thought the kids would love it because they are big Star Wars fans. I also wanted them to think about this sage advice everyday when they wake up. Handsome Guy thought it was my attempt to get the kids to improve their aim. #Headsmack

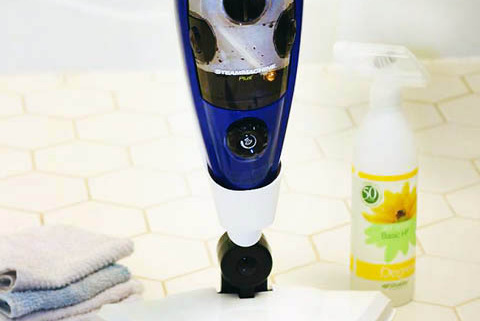
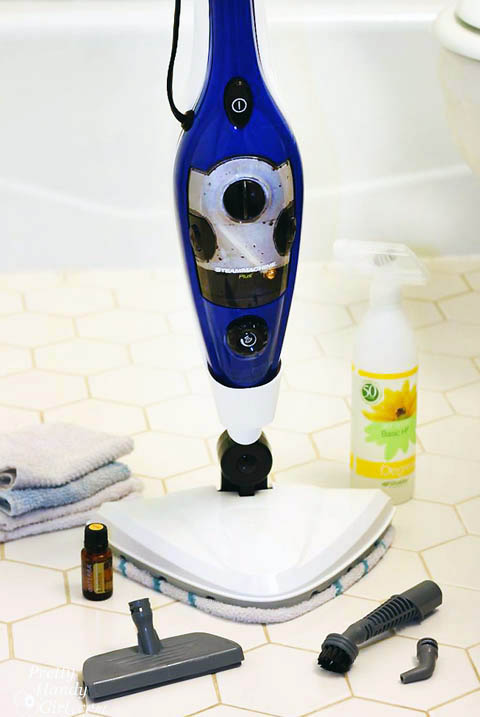
Anyway, back to the urine odor. I would be mortified if the photographer and editor walked into that bathroom and got a whiff of pee. I set forth with only a few cleaning supplies to try to eliminate the odor (because “Do or Do Not…There is No Try.)

How to Clean a Stinky Boys’ Bathroom (as if a Magazine Photographer was Coming!)

How to Clean a Stinky Bathroom as if a Magazine Photographer was coming | Pretty Handy Girl

Supplies:

(I’ve included affiliate links for your convenience. I earn a small percentage from a purchase using these links. There is no additional cost to you. You can read more about affiliate links here.)

Let’s get busy! Read more

Fix a Leaky Faucet - Take 2 | Pretty Handy Girl

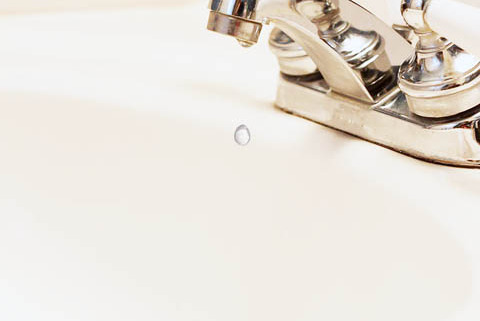
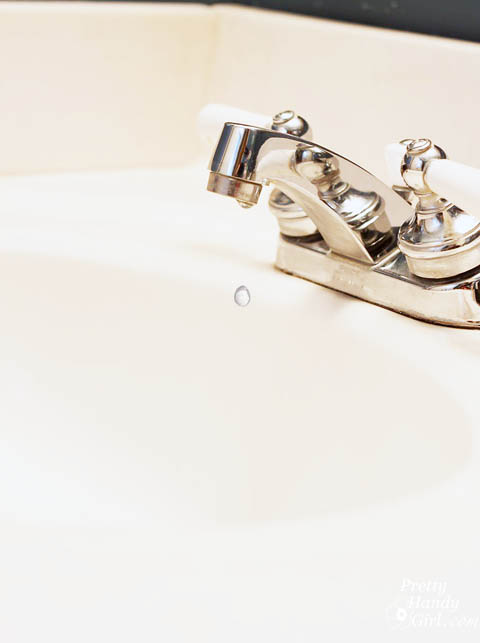
Remember last week when I was showing you how to fix a leaky faucet in 10 minutes? Well, sometimes a fix doesn’t always solve the problem. This is not unusual in home repairs. It doesn’t mean you did it wrong or it’s time to call a plumber. It just means you have to look further for the solution. Don’t give up! Today’s tutorial should also take 10 minutes or less (minus the trip to pick up the parts) and should definitely fix that leaky faucet.

In my tutorial last week I showed you how to replace the “O” ring and seat washer on the faucet. This worked for a few days, but then the faucet began leaking again. The cause was a worn valve. As promised, let’s get to this equally easy and quick fix for your leaky faucet.

dripping-faucet

(Side note: it will cost approximately $15-$20 for new valves vs. $5 for new seat washers and “O” rings. This is still cheaper than a plumber. But, one reason you might want to try changing just the washers is that they are easier to find at Lowe’s or other home improvement stores. Replacement valves may be a bit trickier to locate. Valves can usually be purchased at a plumbing supply store. If you have one nearby, I’d suggest replacing the whole valve stem that comes with a new seat washer and “O” ring.)

Materials:

Fix a Leaky Faucet - Take 2 | Pretty Handy Girl

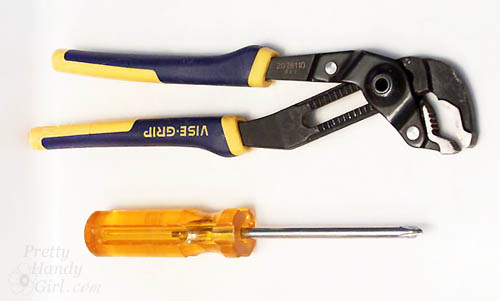
  • Screwdriver
  • Pliers
  • Faucet stems (cartridges) purchase after removing the old

Instructions:

(This may be déjavu from the other post, but at least you’ll be familiar with the steps by now.)

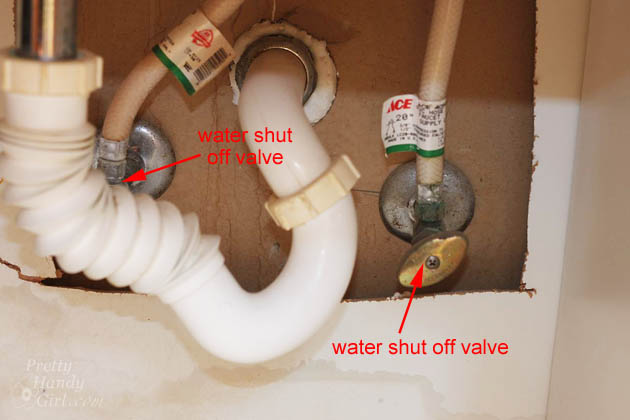
Begin by turning off your water. You can locate the water shut off valves under the sink.

10 Minute Fix for a Leaky Faucet | Pretty Handy Girl

Turn on the water until the faucet runs dry.

10 Minute Fix for a Leaky Faucet | Pretty Handy Girl

Use the philips screwdriver to loosen and remove the screw on top of the faucet handle. Read more

10 Minute Fix for a Leaky Faucet | Pretty Handy Girl

Leaky faucet? No problem! Check out this TEN MINUTE fix from Pretty Handy Girl to get that faucet working in no time! | how to fix a leaky faucet | #prettyhandygirl #tutorial #DIY

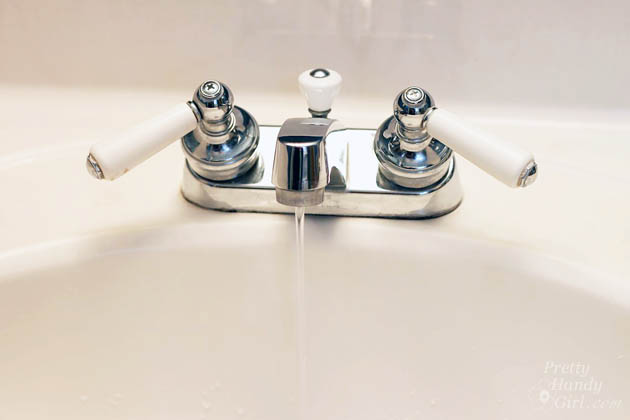
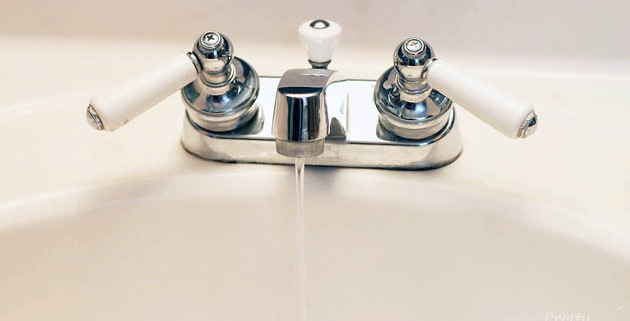
Drip, drip, drip! Is that leaky faucet keeping you up at night? I have a 10 minute fix that will bring you sweet dreams and a lower water bill.

Leaky faucet? No problem! Check out this TEN MINUTE fix from Pretty Handy Girl to get that faucet working in no time! | how to fix a leaky faucet | #prettyhandygirl #tutorial #DIY

Oftentimes the washers in faucets wear out after continuous use. Replacing them is actually easy and will only take about ten minutes (minus the time to run to Lowe’s to pick up the new ones.)

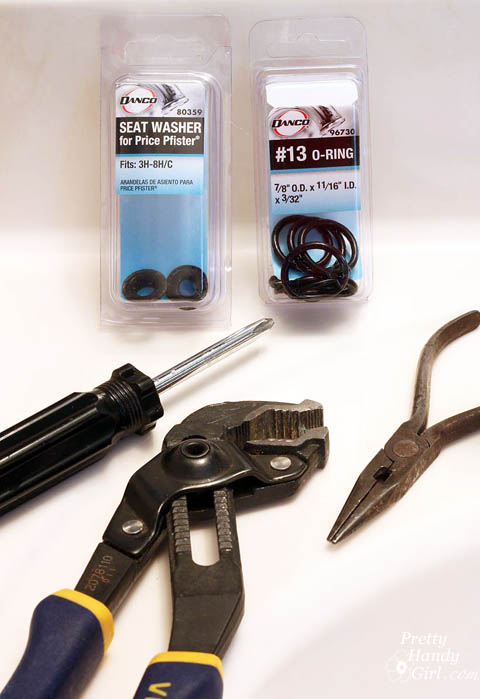
Materials:

10 Minute Fix for a Leaky Faucet | Pretty Handy Girl

  • Pliers
  • Needle-nosed pliers
  • Philips screwdriver
  • O-Ring (purchase after removing the old one)
  • Seat Washer (purchase after removing the old one)

Instructions:

Begin by turning off your water. You can locate the water shut off valves under the sink.

10 Minute Fix for a Leaky Faucet | Pretty Handy Girl

Turn on the water until the faucet runs dry.

10 Minute Fix for a Leaky Faucet | Pretty Handy Girl

Use the philips screwdriver to loosen and remove the screw on top of the faucet handle. Read more