30 Creative Craft Room Builds You Can DIY
Is your home office or craft room in desperate need of some storage? Don’t spend a ton of money on brand new furniture or custom closet organizers when you can build it yourself. Check out these creative craft room builds that you can replicate.
DIY Desks
Every craft room or office needs a workstation. These awesome DIY Desk ideas will help you build one to fit your space.
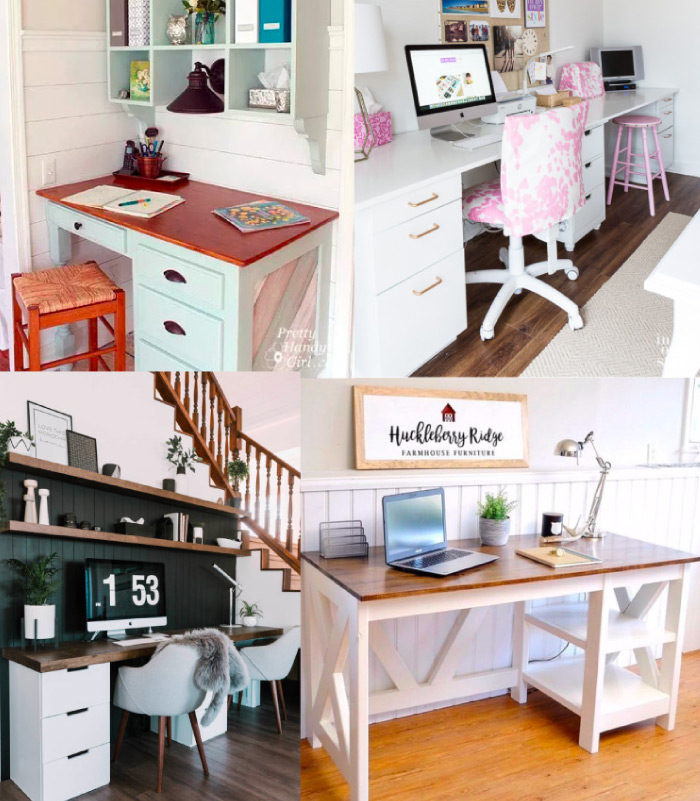
- Building a Kitchen Counter Height Desk
- Craft Room Work Table Using File Cabinets | In My Own Style
- DIY Computer Desk | Love Create Celebrate
- Farmhouse X Office Desk | Handmade Haven
Built-in Closet Organizers
If your craft room or office has a closet, you can build custom shelving and storage inside. The ideas below for some easy to replicate builds are awesome.

- DIY Craft Closet Organizer Plans | Anika’s DIY Life
- Space Saver Craft Closet Storage | Hymns and Verses
- DIY Closet Shelves | Amber Oliver
DIY Craft Room Storage
No one can ever have enough storage solutions when it comes to a craft room or home office, so these DIY storage builds are a must!
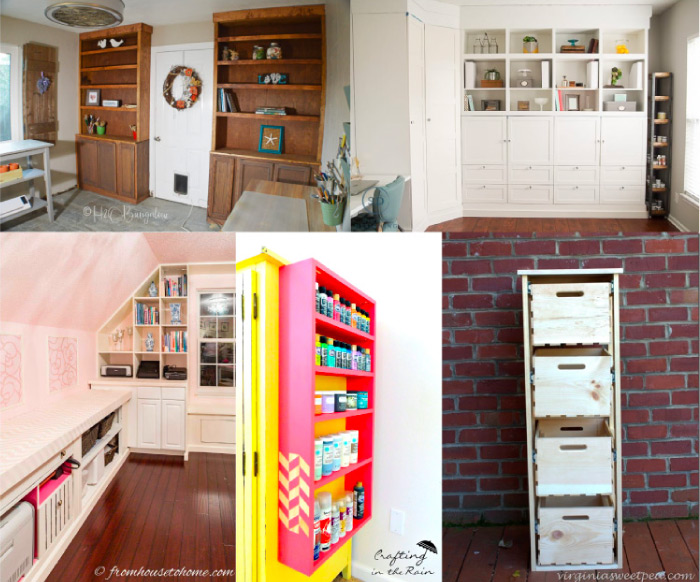
- How to Build Built in Bookcases with Cabinets | H2O Bungalow
- How to Create Built Ins from Mismatched Furniture | From House to Home
- Industrial Rolling Paint Storage Cart | Simply Designing
- How to Build Craft Room Shelves | Crafting in the Rain
- DIY Crate Cabinet with Sliding Drawers | Virginia Sweet Pea
Build your own Printer Carts
Currently, my printer lives on top of a dresser in our guest bedroom, but these DIY printer carts have me in the mood to build a new home for it. They all have easy to follow plans for you to build one for yourself!

- Industrial DIY Printer Table | Simply Designing
- Rolling Printer Cart with Build Plans | Girl, Just DIY
- Printer Stand with Paper Storage | Houseful of Handmade
Craft Room Pegboard Solutions
Pegboard is a great solution for using vertical space for extra storage!

- Feminine Home Office Pegboard | Domestically Creative
- DIY Framed Pegboard | Intelligent Domestications
- Framed Pegboard for Craft Room | Crafting in the Rain
Smaller DIY Craft Room Builds
Not in the mood to build something big for your craft space? These smaller craft room builds and organization ideas are definitely worth checking out. I need vinyl craft storage in my craft room!
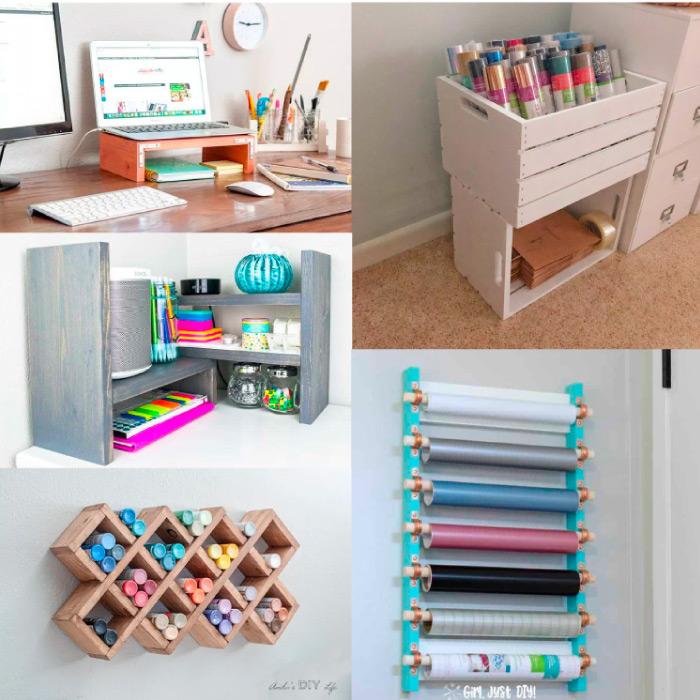
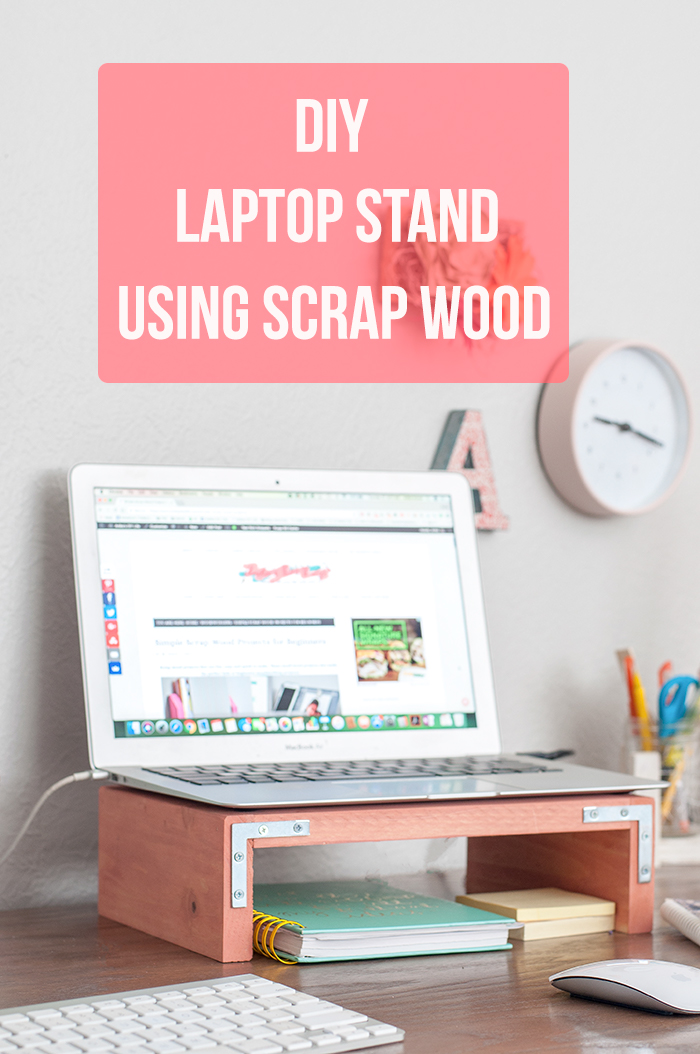
- DIY Scrap Wood Laptop Stand
- DIY Crate Shelf | Coastal Kelder
- DIY Adjustable Desktop Organizer | The Handyman’s Daughter
- DIY Craft Vinyl Storage | Girl, Just DIY
- DIY Spice Rack | Anika’s DIY Life
Craft Room Furniture Makeovers
You don’t have to spend a ton of money on new furniture for your craft room. Local thrift stores, flea markets and garage sales usually have great deals on something with good bones. Then, with a little bit of creativity and elbow grease, you can turn it into something beautifully functional, like these projects.

- Repurposed Dresser for Craft Room Storage | Domestically Creative
- Craft Organizer That Will Blow Your Mind | Michelle James Designs
- Ikea Billy Bookcase Hack with Shiplap | Angela Marie Made
- A Mauve-lous Office Cabinet Makeover | Love Create Celebrate
- Easy Filing Cabinet Makeover | Repurpose and Upcycle
- How to Make a Thread Storage Stool | Super Mom No Cape
- Upcycled Bookcase Rolling Work Table | Houseful of Handmade
Don’t forget to pin for later!
![]()
Meet Amanda

I’m Amanda, and I am the creator and voice behind the food and DIY blog, Domestically Creative. What started as a place to share updates with friends and family after we moved from Illinois to Tennessee and then to Texas, turned into a passion for finding creative and frugal ways to feed us and decorate our homes.
I have always had the “make it myself” attitude and I’m not afraid to bust out the power tools or get creative when it comes to decorating our home on a budget. You can usually find me scouring the local thrift stores, garage sales and estate sales looking for my next makeover (like this litter box cabinet), or dreaming up ways to make our new house feel more like home. My most recent project was giving my home office a much needed facelift. Some of the plans included creating a fun inspirational accent wall and adding pegboard to store my craft hoards.
I currently call Missouri home, where I live with my husband, dog, and 2 cats in a pretty dull, late 90’s split level. My husband and I both love to travel the U.S and recently purchased a small travel trailer to tag along in our journeys. In our free time together we can usually be found working together on a home project, exploring a new place, or just lounging with our pup, Delilah.
I’d love for you to connect with me on social media via Facebook, Instagram, Pinterest and Twitter!
See all of Amanda’s tutorials HERE.
If you liked this round up, you’ll love Brittany’s Art & Craft Room tour:


 Hi, I’m Sheri


 Hi! I’m Lara, the creator of