Saving Etta: Laundry Room Update and a No Hands Light Switch
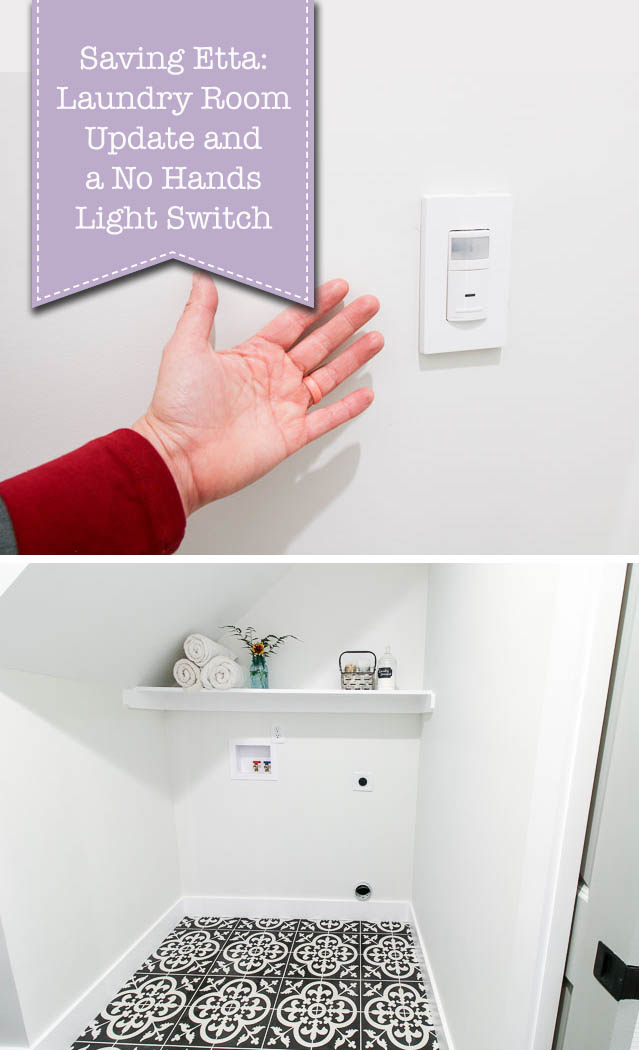
Saving Etta: Laundry Room Update and a No Hands Light Switch
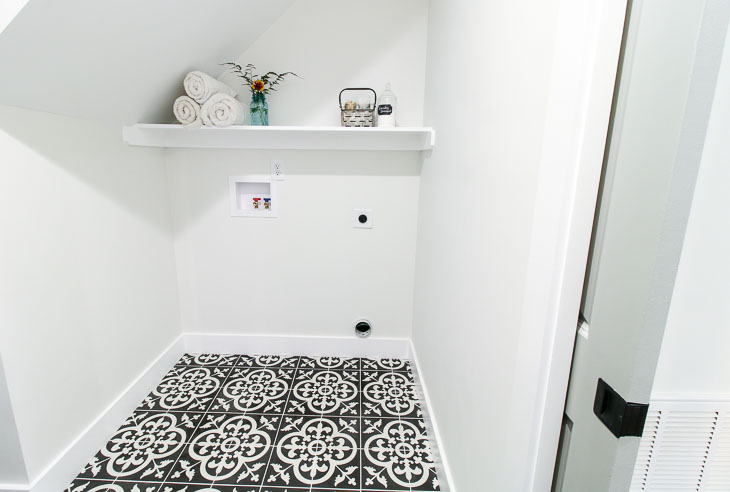
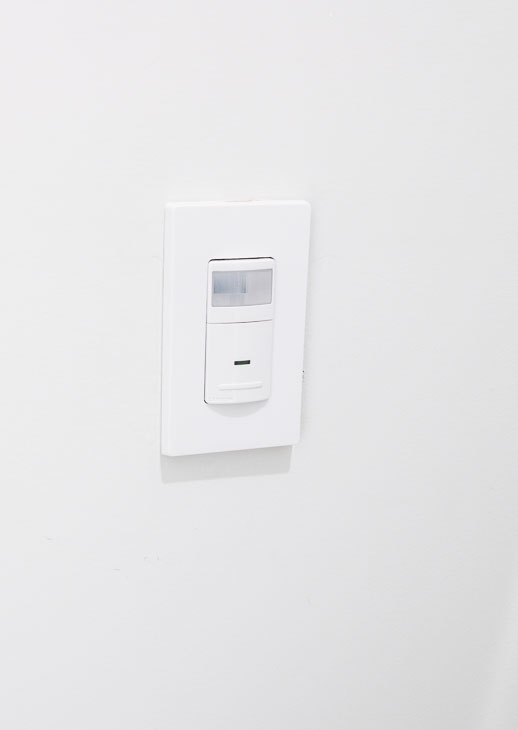
About that Saving Etta laundry room, did you get a peek last week? If you missed it, I showed you how I installed the cement tile floor. We can all agree, the star of the laundry room is the floor. But, there’s another star in this room that’s hard to show in pictures. It’s this little guy:
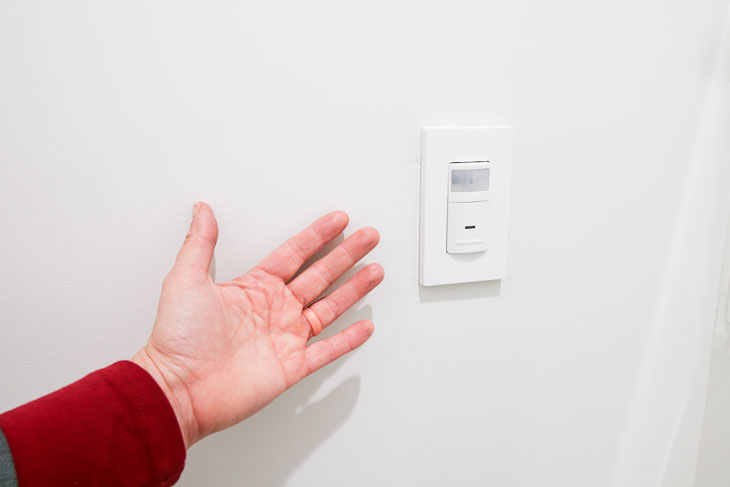
That, my friends, is a Decora motion sensor in-wall switch from Leviton (one of the proud Saving Etta sponsors.) And it works automagically! When you walk in the room, the light comes on. Then it shuts off after a predetermined amount of time (choose between 30 seconds, 5 minutes, 15 minute, or 30 minutes for the time-out period.)
Before I tell you more about this fabulous no hands light switch, I need to give you the full details about the laundry room and discuss something I would definitely do differently next time.
Saving Etta: Laundry Room Update
After the cement floor tiles were installed, I had to cover them up with Builder Board from Surface Shields to protect them. The small area covered was protected, but I should have covered the entire floor because my mechanical subcontractors were the messiest bunch of guys I’ve ever met. Every time they came into the house I had to follow them around cleaning up mud and dirt. Plus, I lost track of the number of fingerprints they left on the walls. Seriously, it was like following children who had just played all afternoon in the mud.
To make matters worse, they didn’t share my eye for aesthetically pleasing mechanics.
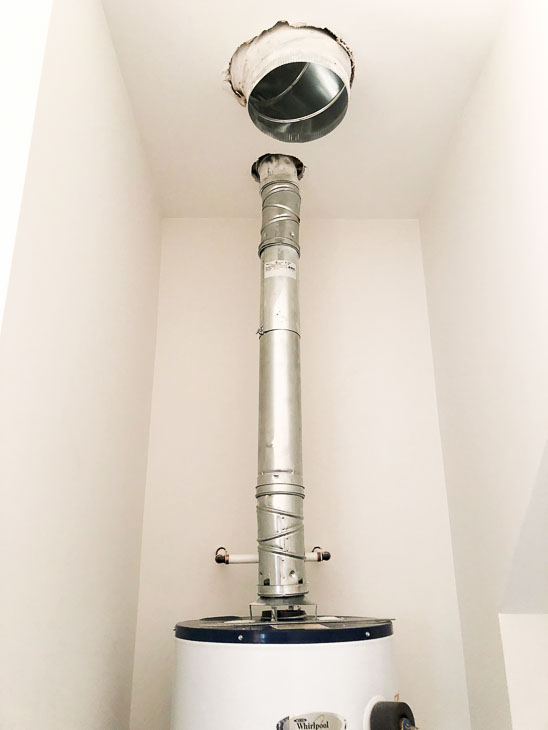
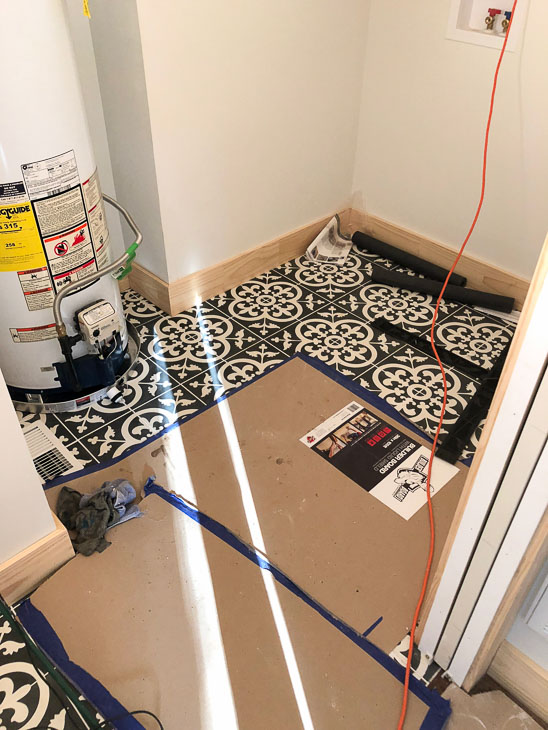
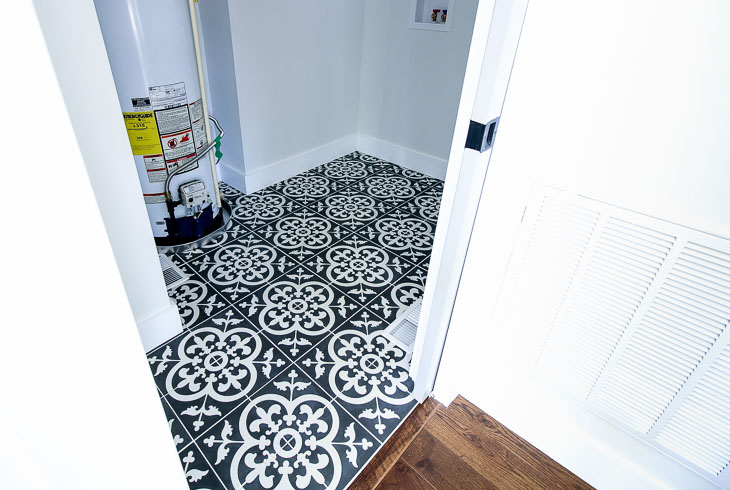
Avert your eyes from the giant hole in the ceiling and look at the water heater vent pipe. Did you count all the sections?
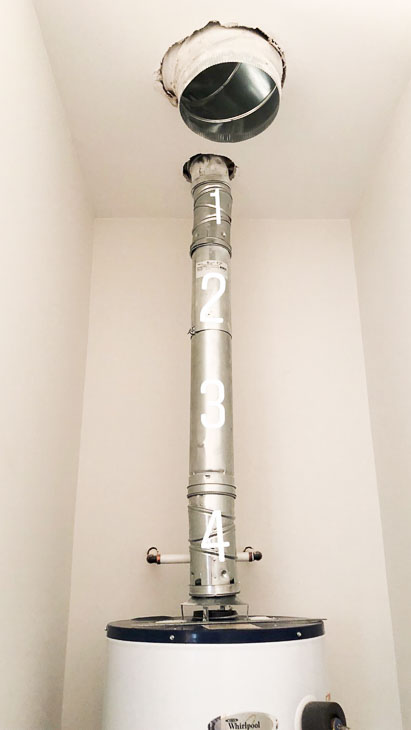
One, two, three, four sections. What the fizz?! When I called my mechanical contractor, I told him this looked like a preschooler installed it. In all fairness, it would have passed the inspections, but I hated how it looked. Instead of letting them monkey around more, I took matters into my own hands and ran to Ferguson to purchase one vent pipe. It looks much better, right?
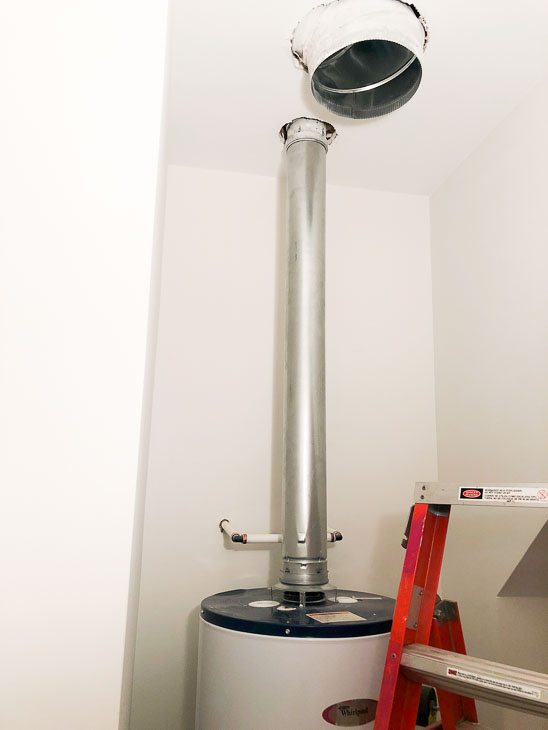
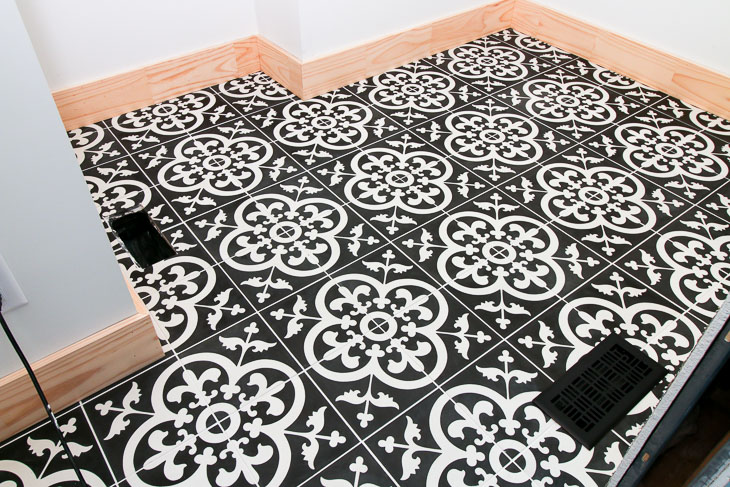
I’m sure you are wondering about the giant hole in the ceiling — it’s for make up air. This is required when you have a gas appliance in an enclosed room. The codes want to make sure that gas can’t build up in the room. I had already installed a built-in vent over the door, but the inspector wanted more. We added make up air in the floor. (You can see it in the picture below. It’s the hole in the floor on the left. And it eventually got a floor vent cover.)
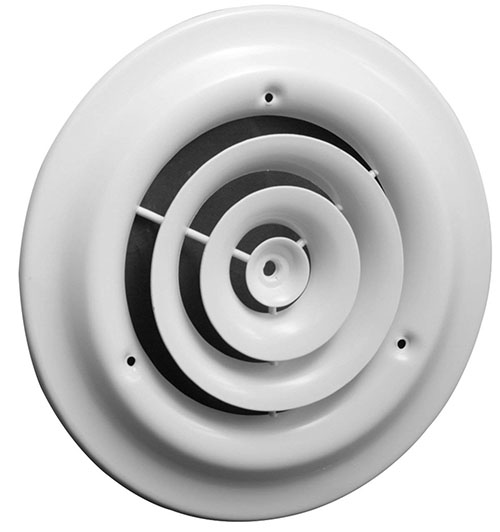
But, the inspector still wanted more make up air. My mechanical contractor suggested cutting holes in the wall into the kitchen, but I said “No way!” Ultimately, the best (and least unattractive) solution was a ceiling vent which eventually got a round diffuser placed over it.
It felt like the issues around the gas water heater were never ending. One of the inspections noted where there wasn’t enough clearance between the vent pipe and the framing. It was easily fixed, but between this and all the makeup air required for the gas water heater, I have vowed to go tankless next time. In the next flip, I’ll listen to my plumber’s suggestion to install a tankless water heater. It will cost more, but will look a lot better and not have as many issues during installation. A tankless water heater will still need to be vented, but it can be vented out the wall instead of the roof.
Live and learn, right? Regardless, the laundry room is still a show stopper with the cement tiles and room for a side-by-side washer and dryer. (Most of the houses in the downtown area only have room for a stackable washer and dryer.)
How to Install a Hands Free Light Switch
Now, onto the one affordable upgrade I will make again and again! The Leviton motion sensor switch is a wonderful addition to a laundry room or other areas in your home where you frequently have your hands full carrying things such as laundry or groceries. Or you might be carrying something so filthy you don’t want to touch the light switch. As soon as the door is opened (or someone walks into this room) the sensor detects your presence and turns the light on. It will also automatically turn the lights off, saving you frustration and money in rooms where lights are frequently left on.
The Leviton Decora Motion Sensor is set to turn off after 15 minutes when no motion is detected, but you can set the device to turn the lights off at 30 seconds, 5 minutes, 15 minutes, or 30 minutes. The motion sensor can also be tweaked to detect motion in a certain range from the sensor.
You’ll definitely want one in your house, so here’s the video tutorial to learn how to install a Leviton Decora Motion Sensor switch:
Materials:
(I’ve included affiliate links for your convenience. I earn a small percentage from a purchase using these links. There is no additional cost to you. You can read more about affiliate links here.)
Instructions:
Before installing the motion sensor, turn off the power at the circuit breaker to your switch. Using a voltage tester, make sure the power is off.
Disclaimer: Always use caution when working with electricity. Follow the instructions provided with your device. Do not attempt to make changes to your home’s electrical system without prior electrical experience and knowledge of your area’s electrical codes. Contact a licensed electrician if you have any questions. Pretty Handy Girl can not be held responsible for personal injury or harm.
- Remove the Leviton Decora Motion Sensor from the package and read the instructions.
- Look at your wiring, you should have a ground wire (bare or copper), a neutral wire (white), a line wire (this is the live wire that’s usually black), and a load wire (sometimes it’s also black and sometimes red.) The line wire is the wire that carries the electrical current from the circuit breaker to the switch. The load wire carries the power from the switch to the light fixture.
- Strip ⅝” of the insulation off the wires. You don’t need to bend your wires into shepherds hooks, the wires can be inserted straight under the screws on the Leviton Motion Sensor.
- Always connect the ground wire first.
- The neutral wires should be connected to each other not the sensor.
- Next connect the load wire to the black terminal.
- Finally connect the line wire to the red terminal.
- Gently fold and tuck the wires into the wall box. Make sure the word TOP is facing up on your sensor.
- Drive the screws into the top and bottom of the motion sensor.
- Turn the power back on and test your motion sensor. If it works, great!
- Follow the instructions to make any adjustments to the length of time the lights stay on and the motion sensing field.
- Attach the cover to the motion sensor.

Enjoy hands free control of your lights with the Leviton Decora Motion Sensor.
You can also install the motion sensor in a room where little kids like to play but aren’t good about turning out those lights. Or in that dark room where you always fumble for the light switch.
What about you, where would you install a motion sensor light switch?
![]()
Disclosure: This is a sponsored post for Leviton. I was compensated for my time and efforts to promote the Leviton Residential products. However, all ideas and opinions are my own. I will always let you know when you are reading a sponsored post. You should also note that I’m very particular about the brands I work with.
If you haven’t done so already, be sure to *subscribe to my YouTube channel!

*My followers on YouTube get sneak peeks of some of the projects I’m working on, so subscribe today!
Want more automation in your home? You’ll definitely want to check out these tutorials:
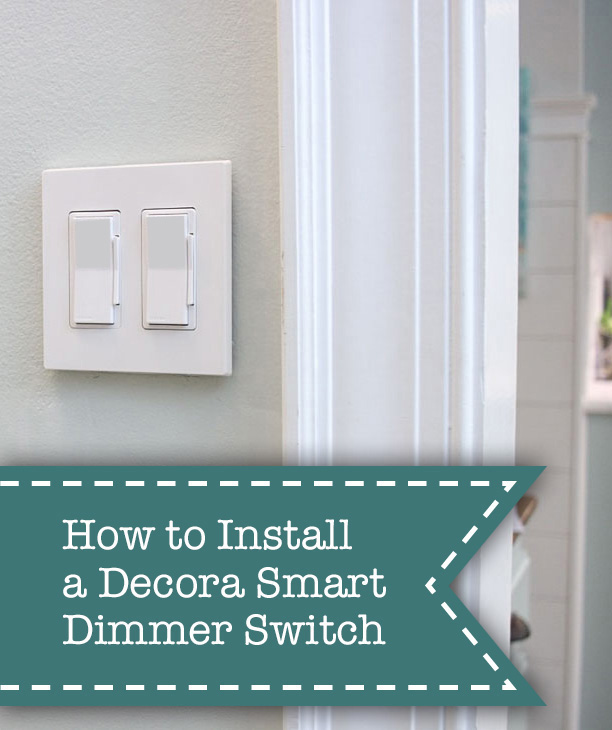
How to Install Smart Dimmer Switches


OMGosh, we had an electrician who did more damage than good recently. We are still redoing all the issues we run into. The guys were slobs, treated my house like a barn, and were lousy communicators. They stopped all progress due to charging over $8,000 for what they verbally said would be &1,500-2,000. From mow on we will YouTube everything.
Amazing dude! I like that Leviton motion sensor switch. Your floor is gorgeous and I also love to install hands free switches.
First, those contractors shouldn’t even be in business! No pride in their work, that’s obvious. The laundry room is gorgeous, though even with all the different vents. I would love to install hands free switches, but where I need them most we have triple switches! I can’t believe how beautiful Etta has turned out to be!
Beautiful floor. Ugly water heater. I would call that pipe a “Frankenfanny,” as it appears to be assembled from several bits of scrap piping and is butt-ugly. Your solution is much more elegant. Congrats.
Boy oh boy, that was a sloppy install of a vent, can’t believe the contractors thought it was acceptable work. I always wonder if contractors give women less than par work cause they think they won’t complain. Anyhow, glad you installed one pipe. Love the hands-free light in the laundry room, great idea. What an easy install, thanks for the video!