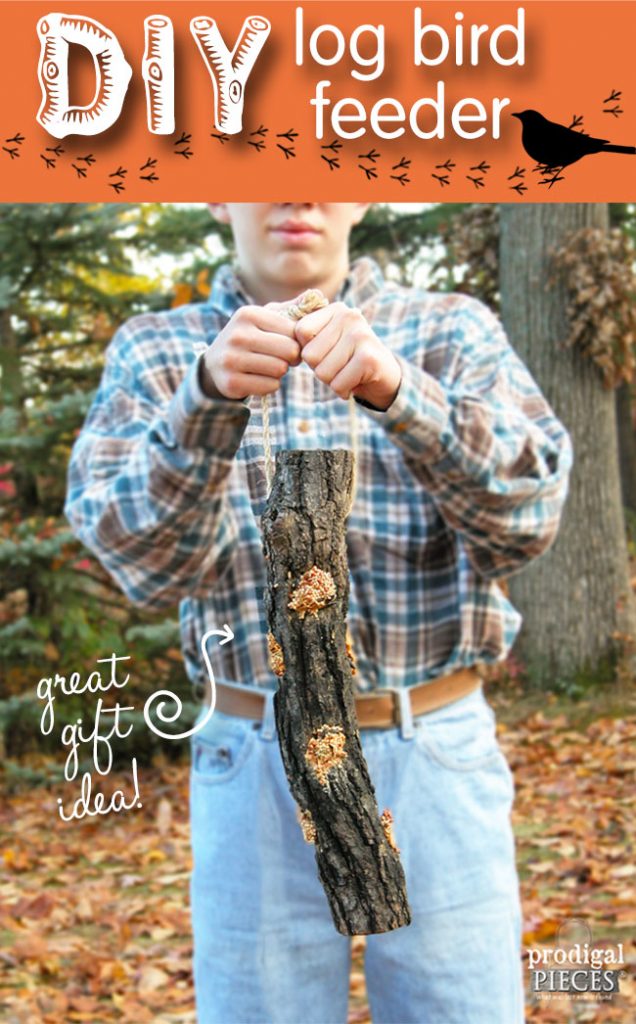
Give your feathered friends a treat from spingtime through winter. Make this easy-peasy DIY log bird feeder with one tool and a few basic materials by Prodigal Pieces for Pretty Handy Girl www.prodigalpieces.com #prodigalpieces

Hello readers, I’m Larissa coming to share with you a nature-inspired DIY project. Today, we’ll learn how to create a special DIY Log Bird Feeder treat for our feathered friends. The best part is that this can be a family fun activity to do AND to give as a gift for anyone who loves bird watching.
Give your feathered friends a treat from spingtime through winter. Make this easy-peasy DIY log bird feeder with one tool and a few basic materials by Prodigal Pieces for Pretty Handy Girl www.prodigalpieces.com #prodigalpieces

DIY Log Bird Feeder

We are avid bird lovers in our home and were delighted when a friend of mine gave us this bird feeder made from a piece of firewood and rope. How easy is that?

Give your feathered friends a treat from spingtime through winter. Make this easy-peasy DIY log bird feeder with one tool and a few basic materials by Prodigal Pieces for Pretty Handy Girl www.prodigalpieces.com #prodigalpieces

What a delight it is to see our tree clinging birds (nuthatches, tufted titmice, and woodpeckers) come for a visit and see their excitement at the treat they’ve found, especially the birds that overwinter. Did you know that migratory birds will remember your home the next time they’re passing through and will come back again year after year if you continue to provide nourishment for them? It’s like a reunion each spring and winter. Fun!

So, let’s grab some materials and get ready to create a DIY log bird feeder!
Give your feathered friends a treat from spingtime through winter. Make this easy-peasy DIY log bird feeder with one tool and a few basic materials by Prodigal Pieces for Pretty Handy Girl www.prodigalpieces.com #prodigalpieces

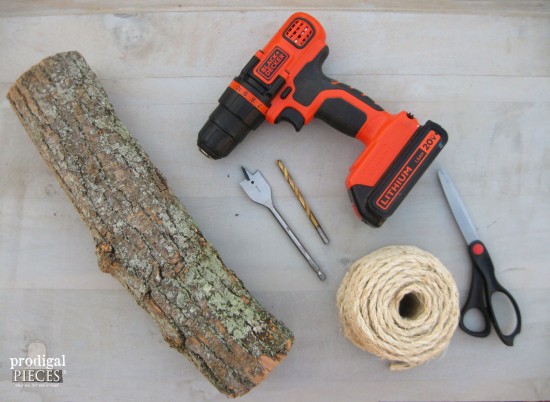
Materials:

(I’ve included affiliate links for your convenience. I earn a small percentage from a purchase using these links. There is no additional cost to you. You can read more about affiliate links here.)

Picking Your Log:

We are blessed to have a fireplace, so we always have a stash of firewood on hand. For your log, you can use a downed branch or head to your own stash to grab a piece of wood.
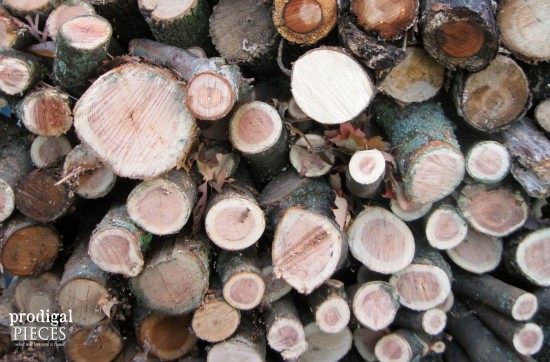
Give your feathered friends a treat from spingtime through winter. Make this easy-peasy DIY log bird feeder with one tool and a few basic materials by Prodigal Pieces for Pretty Handy Girl www.prodigalpieces.com #prodigalpieces

The tree-clingers prefer a chunky bark, but any tree variety will do.
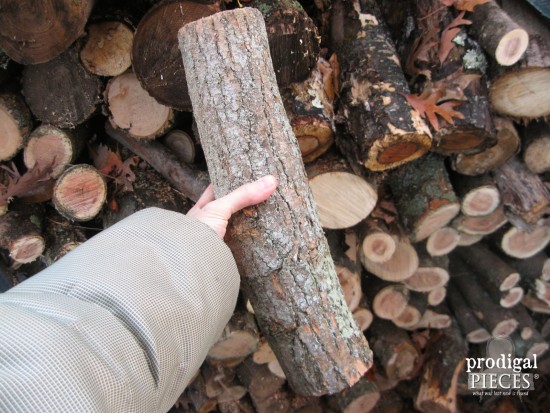
Give your feathered friends a treat from spingtime through winter. Make this easy-peasy DIY log bird feeder with one tool and a few basic materials by Prodigal Pieces for Pretty Handy Girl www.prodigalpieces.com #prodigalpieces

Instructions:

Clamp your log and keep your hand clear from the drill bit. Wear appropriate eye protection.
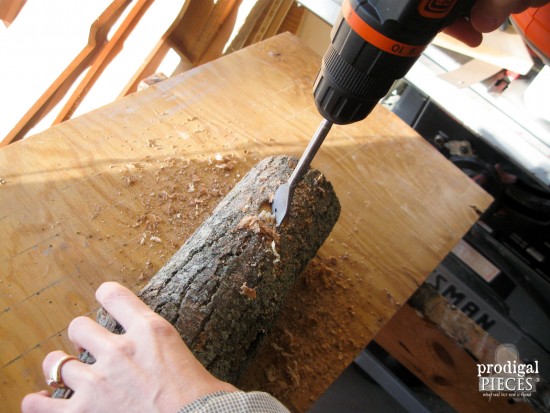
Give your feathered friends a treat from spingtime through winter. Make this easy-peasy DIY log bird feeder with one tool and a few basic materials by Prodigal Pieces for Pretty Handy Girl www.prodigalpieces.com #prodigalpieces

To start, use a 1″ spade bit to drill a hole approximately 1/2″ deep, 2 inches down from the top.
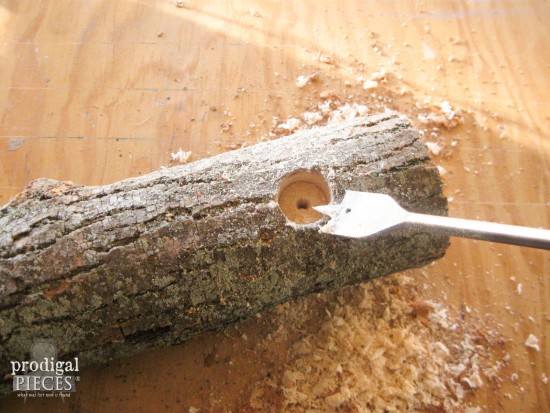
Give your feathered friends a treat from spingtime through winter. Make this easy-to-build DIY log bird feeder with one tool and a few basic materials.

Drill a second hole on the same face about 6″ below the first.

Roll the log a quarter turn and drill in the next face starting with the first hole about 5″ from the top and then a second hole 6″ below that one. (This does not have to be exact and gives a more rustic feel when randomly chosen.)
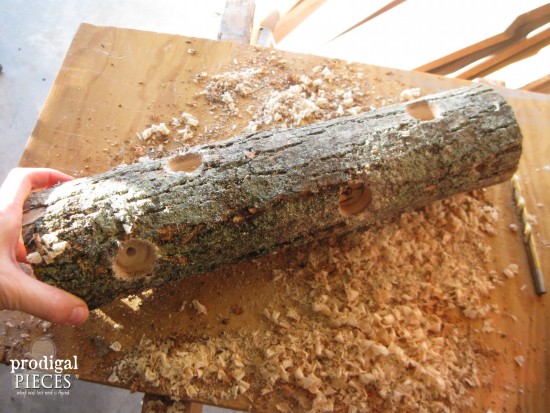
Give your feathered friends a treat from spingtime through winter. Make this easy-peasy DIY log bird feeder with one tool and a few basic materials by Prodigal Pieces for Pretty Handy Girl www.prodigalpieces.com #prodigalpieces

Repeat those steps until you have two sets of matching faces on opposing sides.

Drill your rope hole using a 5/16″ bit. Starting on the face that has the first hole 5″ down, drill your rope hole 2″ from the top, making sure to go completely through the log.
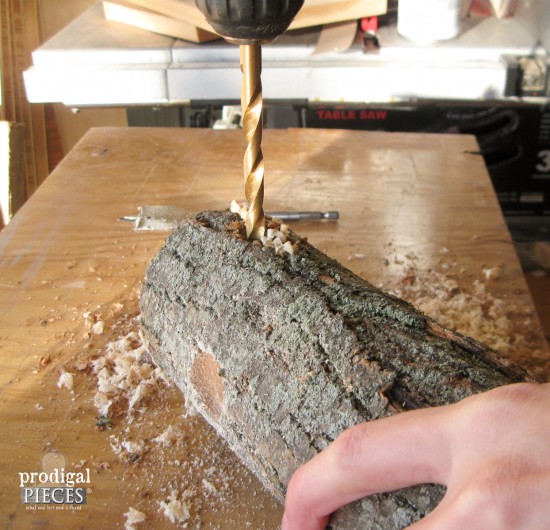
Give your feathered friends a treat from spingtime through winter. Make this easy-peasy DIY log bird feeder with one tool and a few basic materials by Prodigal Pieces for Pretty Handy Girl www.prodigalpieces.com #prodigalpieces

Cut a 2′ or longer piece of rope and thread it into the hole. If you turn the rope in the direction of the braid (counter-clockwise) while inserting it, that will help the rope go through smoothly.
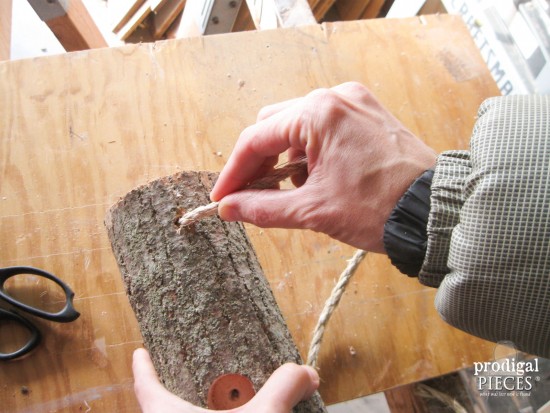
Give your feathered friends a treat from spingtime through winter. Make this easy-peasy DIY log bird feeder with one tool and a few basic materials by Prodigal Pieces for Pretty Handy Girl www.prodigalpieces.com #prodigalpieces

Once through, tie the rope ends together using a basic knot.
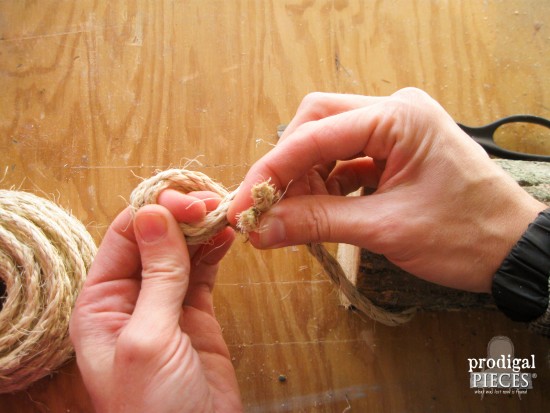
Give your feathered friends a treat from spingtime through winter. Make this easy-peasy DIY log bird feeder with one tool and a few basic materials by Prodigal Pieces for Pretty Handy Girl www.prodigalpieces.com #prodigalpieces

On to the fun part! Birds burn a ton of protein flitting about, so they need to store up as much as they can. We prefer to use chunky peanut butter and then roll it in seeds like this.
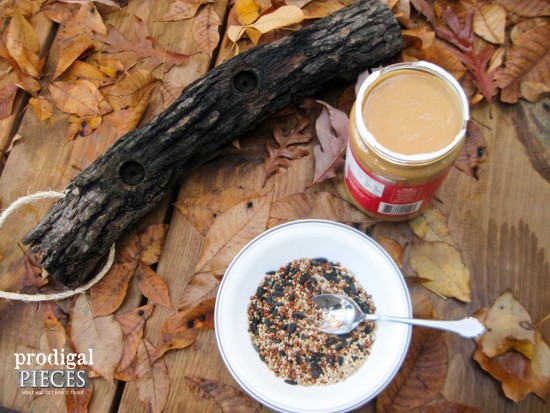
Give your feathered friends a treat from spingtime through winter. Make this easy-peasy DIY log bird feeder with one tool and a few basic materials by Prodigal Pieces for Pretty Handy Girl www.prodigalpieces.com #prodigalpieces

Grab a tablespoon of peanut butter and place it in a bowl of birdseed.
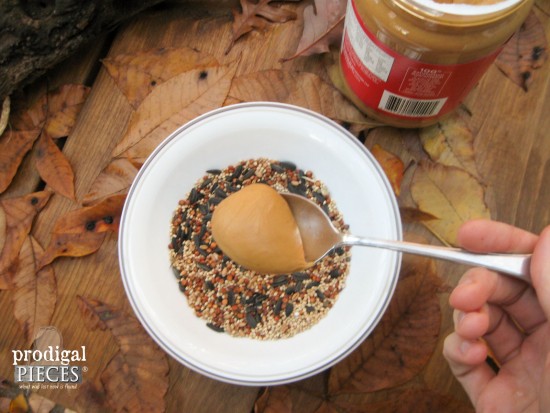
Give your feathered friends a treat from spingtime through winter. Make this easy-peasy DIY log bird feeder with one tool and a few basic materials by Prodigal Pieces for Pretty Handy Girl www.prodigalpieces.com #prodigalpieces

Then sprinkle the peanut butter with seed.
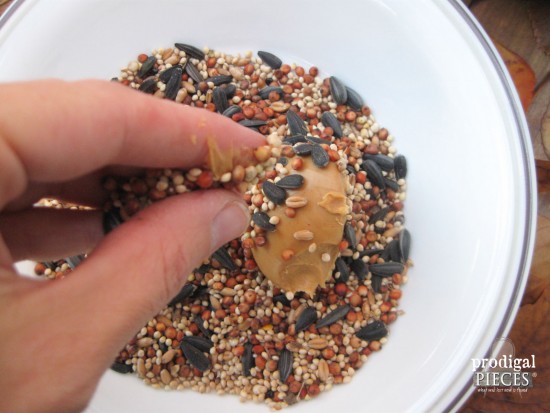
Give your feathered friends a treat from spingtime through winter. Make this easy-peasy DIY log bird feeder with one tool and a few basic materials by Prodigal Pieces for Pretty Handy Girl www.prodigalpieces.com #prodigalpieces

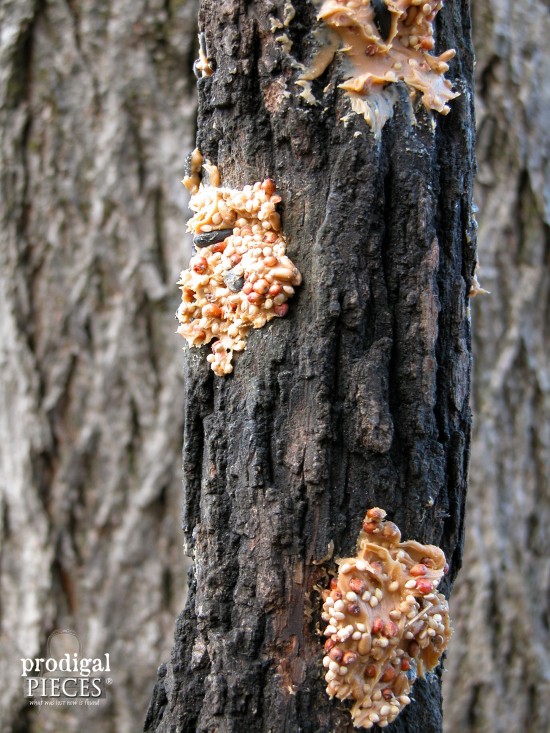
After coating with the seed, press the mixture into the holes using the back of a spoon, or if you’re nutty like me (catch the pun?) it’s more fun to use your fingers.
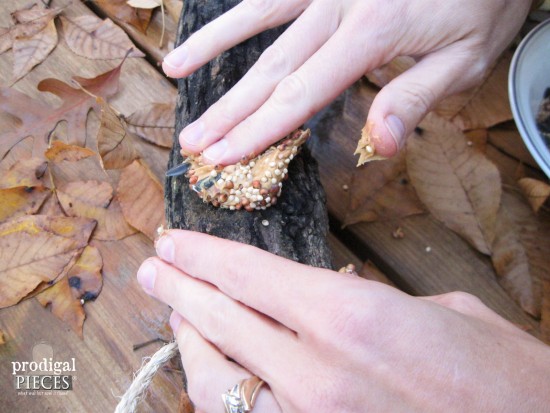
Give your feathered friends a treat from spingtime through winter. Make this easy-peasy DIY log bird feeder with one tool and a few basic materials by Prodigal Pieces for Pretty Handy Girl www.prodigalpieces.com #prodigalpieces

The kids love this part!

Give your feathered friends a treat from spingtime through winter. Make this easy-peasy DIY log bird feeder with one tool and a few basic materials by Prodigal Pieces for Pretty Handy Girl www.prodigalpieces.com #prodigalpieces

You’re done and it’s ready to hang. Yay!
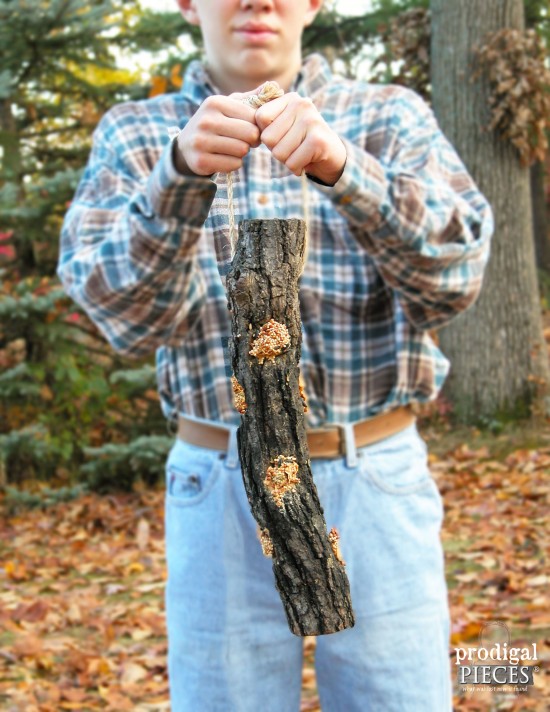
Give your feathered friends a treat from spingtime through winter. Make this easy-peasy DIY log bird feeder with one tool and a few basic materials by Prodigal Pieces for Pretty Handy Girl www.prodigalpieces.com #prodigalpieces

For a fun twist, and if you’re feeling handy, you could also add dowels for other species to be able to roost at each hole, but for this project I kept it simple.

Got questions? Please feel free to ask.

If you enjoyed this project, do pin and share!

blog signature copy

Pin this project for later!

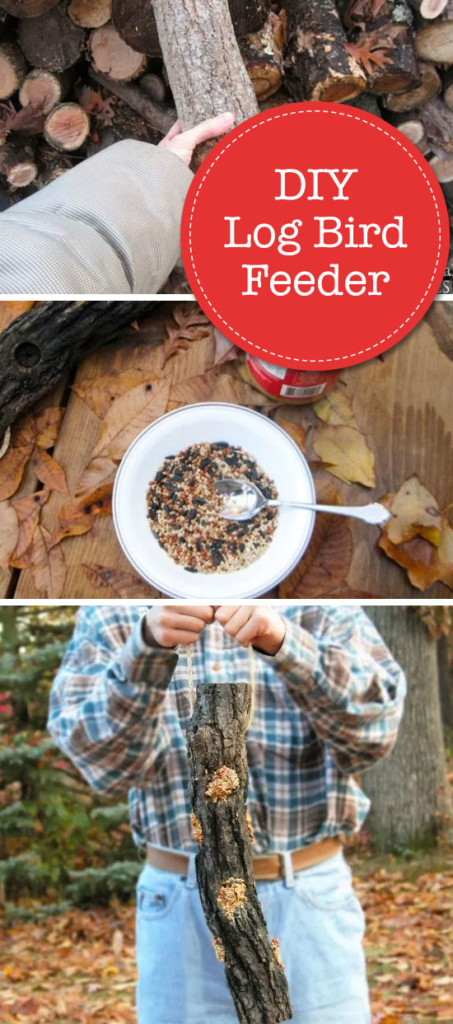
DIY Log Bird Feeder Pin Image


Liked this project? Then you’ll love these birdhouses:

Make it May a Stay at Home Series by Pretty Handy Girl

Make it May a Stay at Home Series by Pretty Handy Girl

Make It May! A Stay at Home Series

My friends, I know with confidence that COVID-19 has changed your life. I truly hope you and your loved ones are safe and healthy during this scary outbreak. While my entire family is home with me 24/7, I’ve been keeping busy with home and garden projects. All while also trying to keep up with cooking and caring for my family. But, I’m also trying to carve out time for myself to keep me sane. Personally, I know a little sunshine, sweat, and creativity will get me through this ordeal. Although I can get outside, I know many of you still have to work or don’t have the ability to get outside. Please share how you’re staying sane in this insane time! Specifically, what are you doing to “Make It” through?

With the goal of helping us all “Make It” through May, I’m going to be sharing some hand-picked tutorials with you that I know you can make while staying home and with limited supplies.

From Monday – Friday look for one “Make It May” project a day. If you haven’t already, you’ll want to subscribe to my email list to get each project delivered to your email. (Did you know if you subscribe to my email list you can simply reply to any email to chat with me? You can ask me questions, tell me how your project turned out, or just say Hi!)

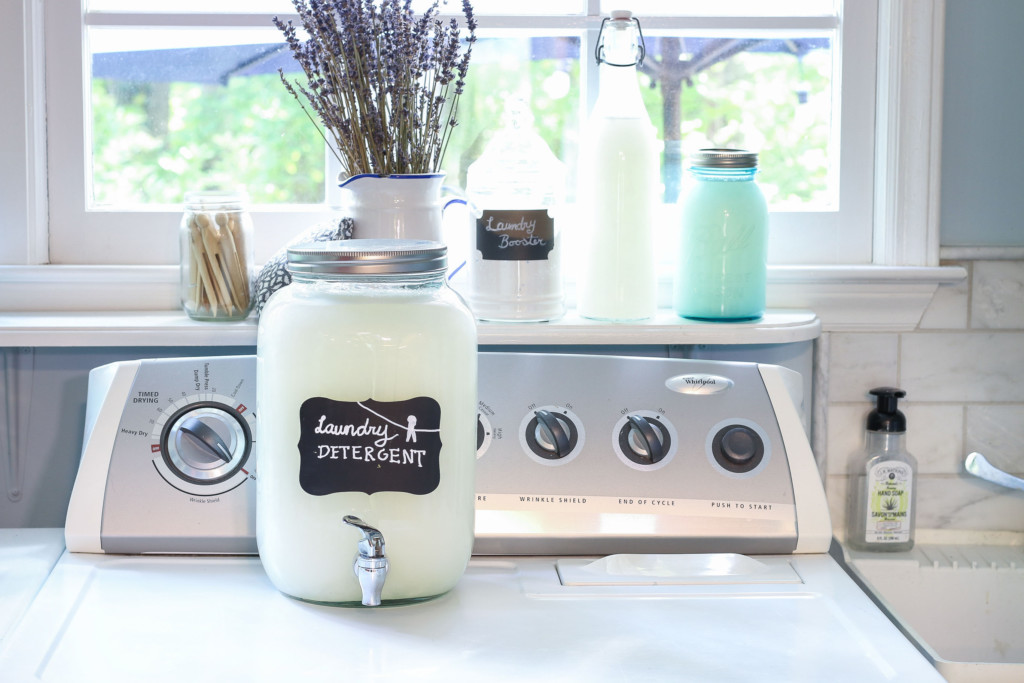
This morning’s Make It May project was the recipe for making your own laundry detergent. You may wonder why anyone would want to make detergent when you can buy it at the store? I’ve been making my own laundry detergent for nine years now and one batch lasts us 6-9 months.

Make Your Own Laundry Detergent for Only $1.25 per year

We just ran out last week and luckily I didn’t have to “run out” to the store to buy more. Plus, did I mention the detergent I make costs us $1.25 per year? It’s true! If you missed that tutorial this morning, here it is again.

Next week I’ll be bringing you five tutorials you can make for yourself, make with the kids, or make as a last-minute Mother’s Day gift! I can’t wait to share all 21 projects with you!

Once the projects publish you can see All the Make It May Projects Here!

Have a great weekend and don’t forget to subscribe below.


An idea for making your own hummingbird feeder! Great kids craft and perfect for Spring.

Happy Spring Everyone! What a difference a few weeks can make. Like many of you, I am grappling with the uncertainty of this challenging time. My children are now home with me every day, for the foreseeable future. In Seattle, life has completely changed. Almost everything is shut down, even playgrounds are closed at the moment. And so, I’ve been focused on creating little projects that my kids and I can do while stuck at home. Let’s talk about DIY Hummingbird Feeder.

I came across these DIY hummingbird feeders with jelly jars and was instantly inspired! I’ve had a hummingbird feeder on my Amazon wishlist for quite some time. I’m not sure why I never considered making my own instead. This turned out to be a very kid-friendly project and they even learned a little bit about hummingbirds.

Make your own hummingbird feeder out of spice jars

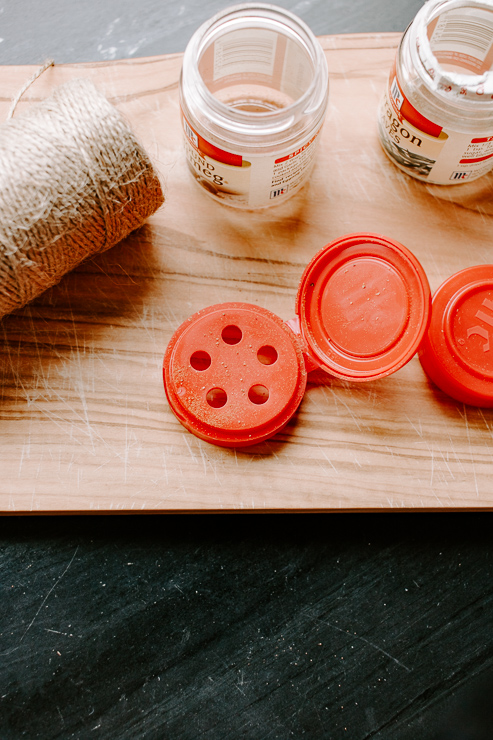
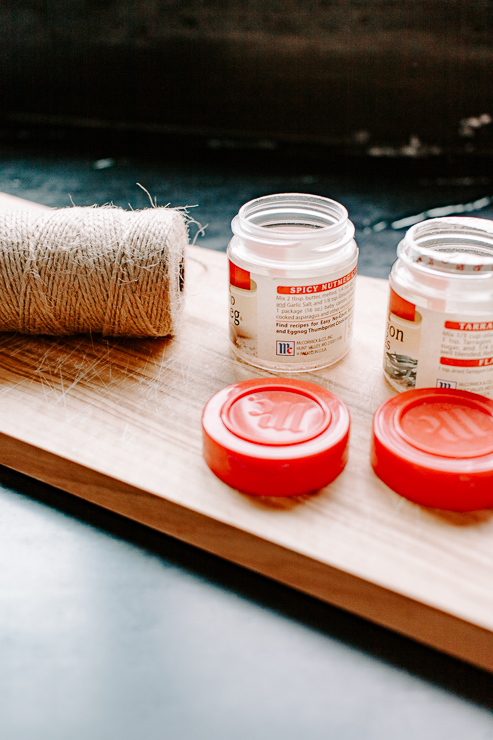
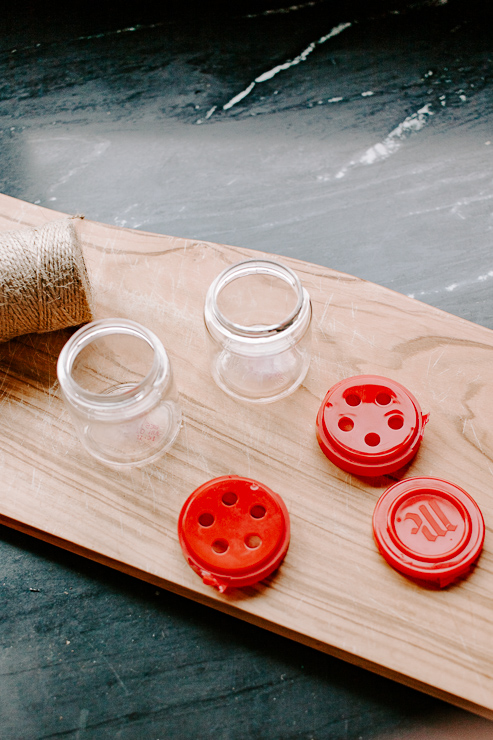
The only issue was, I didn’t have jelly jars. So I improvised a bit and used these 1oz McCormick spice jars. I emptied out the contents and washed them out thoroughly. These little spice jars are the perfect size for those dainty hummingbirds.

Materials:
(I’ve included affiliate links for your convenience. I earn a small percentage from a purchase using these links. There is no additional cost to you. You can read more about affiliate links here.)

DIY Hummingbird feeder from little spice jars

Instructions:
Follow these steps to make your own hummingbird feeder.

Step 1: Prepare your spice jars

Wash your spice jars with hot soapy water - they are the perfect size for little hummingbirds!

Thoroughly wash your spice jars and lids with hot, soapy water. You don’t want any lingering spice odors or tastes that will turn off potential hummingbirds. I also removed the stickers from the jars with a little goo gone.

McCormick spice jars have a lid with holes in it, covered by a snap-top. All you need to do is rip off the snap-top section, we don’t need it. Hummingbirds will use their long beaks to drink the nectar from each hole.

Step 2: Make Hummingbird Nectar

Make Hummingbird nectar - recipe in post - then pour into your jars!

The recipe for making Hummingbird nectar couldn’t be easier. It’s just sugar water – but you need to know the correct ratio. Too much sugar can be harmful to hummingbirds and too little sugar doesn’t provide enough calories for them.

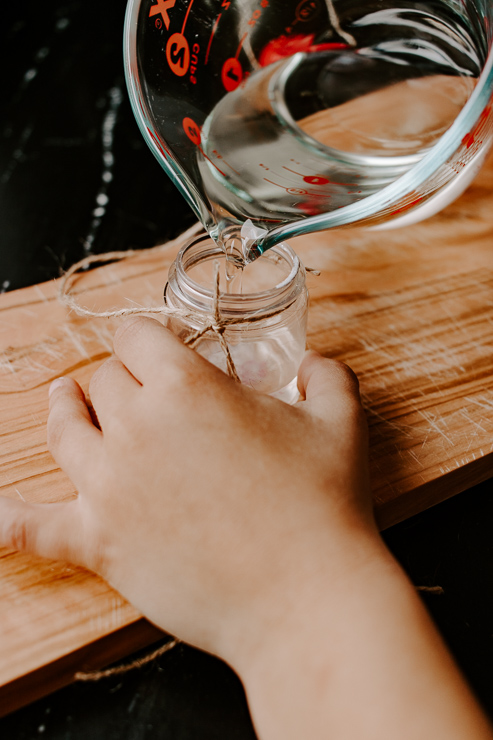
I followed the recipe from the Audubon website.  It’s ¼ cup of refined white sugar and 1 cup of boiling water. Mix until the sugar dissolves. Cool the mixture and then fill your spice jars to the top. Now, just replace the lid with holes in it.

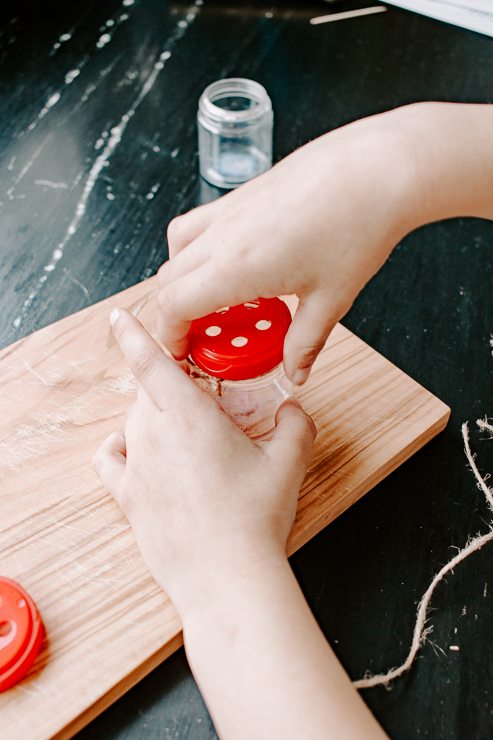
Replace the spice lid on your jar - hummingbirds feed on the nectar through the holes.

Step 3: Attach Jute Twine for Hanging

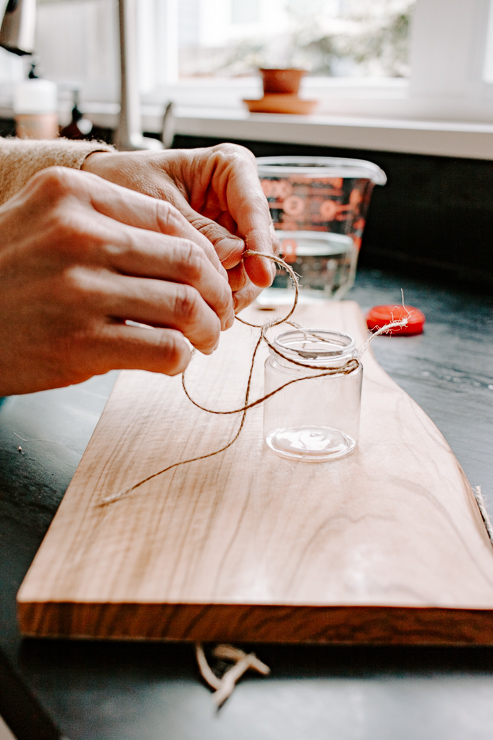
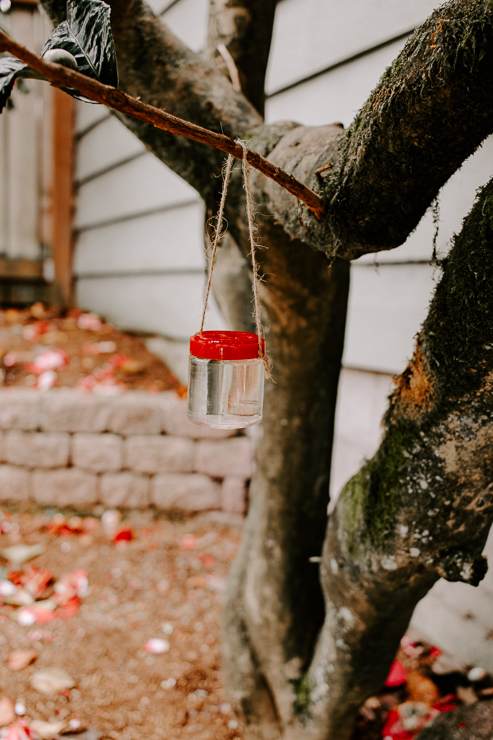
Tie some string or jute twine to your jars for hanging on a tree!

I used some jute twine to create a little loop for hanging. Tie your knots tight and make sure the lid is secure.

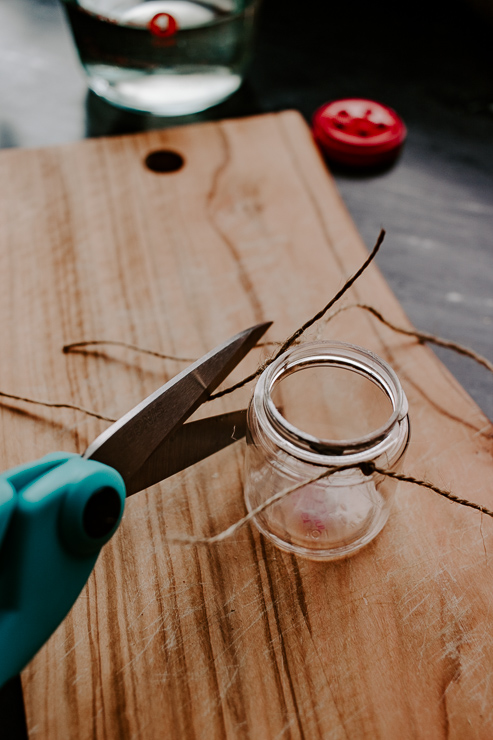
Cut excess string from hummingbird feeder jars before hanging.

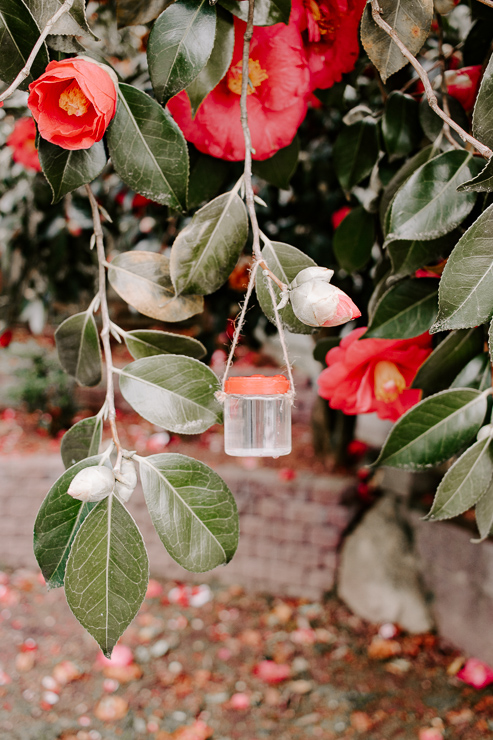
Now just hang it up somewhere outside and wait for those hummingbirds!

These spice jars make a great hummingbird feeder and it's the perfect activity for kids

Hang your feeder from a tree, where you see hummingbirds visit

We haven’t had a visitor yet that I could photograph, but I know those hummingbirds are on the way.

Hummingbirds love the nectar that you put in these jars

DIY Hummingbird Feeder from old spice jars!

Thanks so much for reading and being here today. karen signature

~ See More of Karen’s Tutorials ~


karen from decor hintHello!  I’m Karen, the creator of the Home Decor and DIY Blog: Decor Hint. I’m a Native of the East Coast, but I currently live in beautiful Seattle with my hubby, our two wonderful children, and our spunky wheaten terrier.

You can usually find me with some sort of craft in one hand and a coffee in the other. And I’m always rearranging furniture or moving lamps from room to room. I have a passion (read: obsession) for decorating, DIY, and gardening. In short, I love making my house into a home.

Like many, I’m inspired by what I see in home decor magazines, but I’m not so inspired by the price tags.  Consequently, I love finding and creating beautiful budget-friendly home decor items. In a head to head competition, I bet you’d never know the difference between the designer items and my DIY creations!  Many of my DIY projects focus on sewing, crafting, upcycling and organizing. Some of my favorite projects have been making pretty wreaths, sewing my own tassel hand towels, and crafting these trendy wood bead garlands. I can’t wait to inspire you and spark your creativity through my DIY projects.

Liked this project? You’ll love this beautiful glass bottle hummingbird feeder using a bottle from the recycling bin.

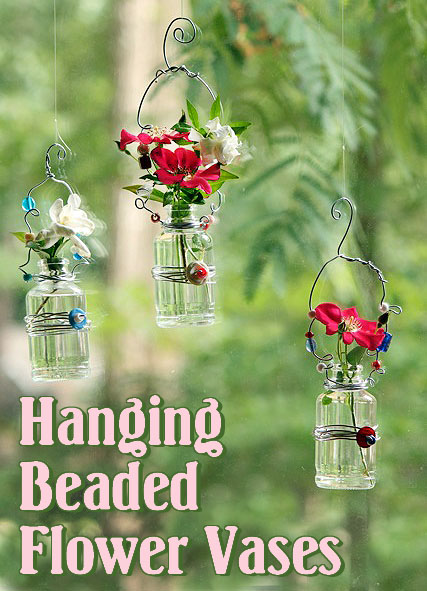
Check out these DIY Hanging Beaded Vases for another upcycled craft!

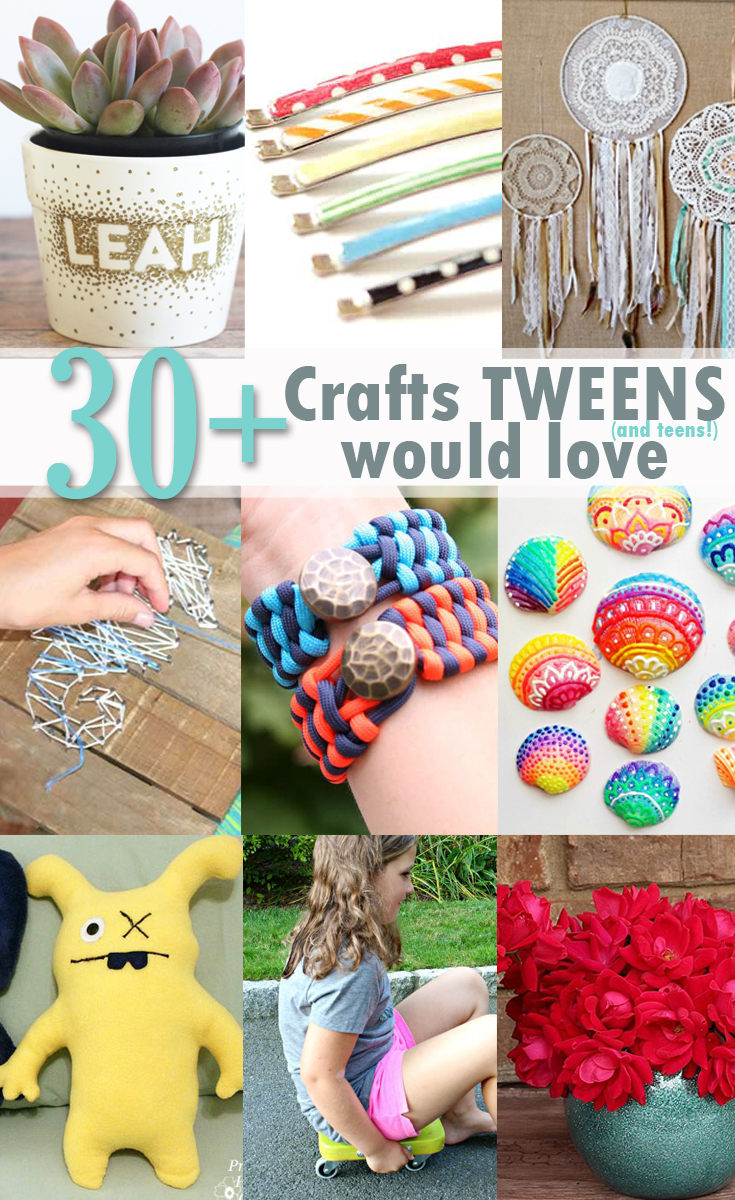
Does your tween or teen love to make things? Hands-on projects are a great way to help your kids stay creative, use problem-solving skills, and practice small motor skills. Read more to discover 30+ DIY Crafts Tweens Will Love!

30 crafts teens would love pinterest image

30+ DIY Crafts Tweens Will Love

DIY crafts for tweens are a great way to allow them to make something while keeping them away from those never-ending screens. Teens and tweens can make creative items as gifts for their family and friends or just a fun item to keep for themselves. These crafts will boost their self-esteem and sense of accomplishment as they create things that didn’t exist before. Check out these awesome ideas for more than 30 DIY Crafts Tweens Will Love.

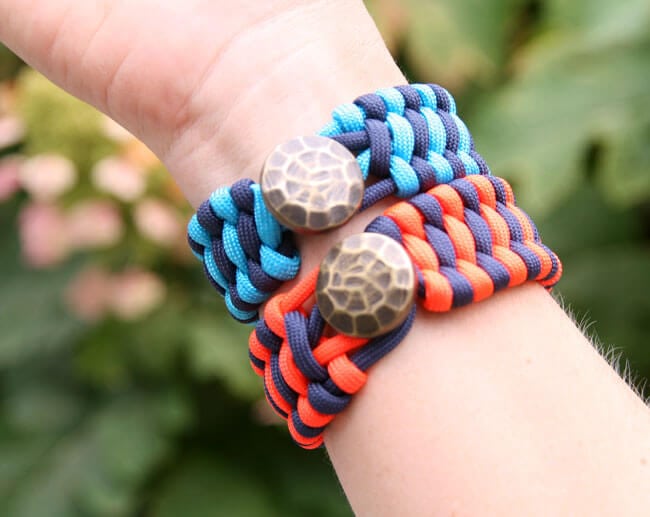
These colorful DIY paracord bracelets are a fun project for tweens of any gender to make.


Using a ceramic mug and simple colorful sharpies, they can create these fun personalized Monogram mugs.


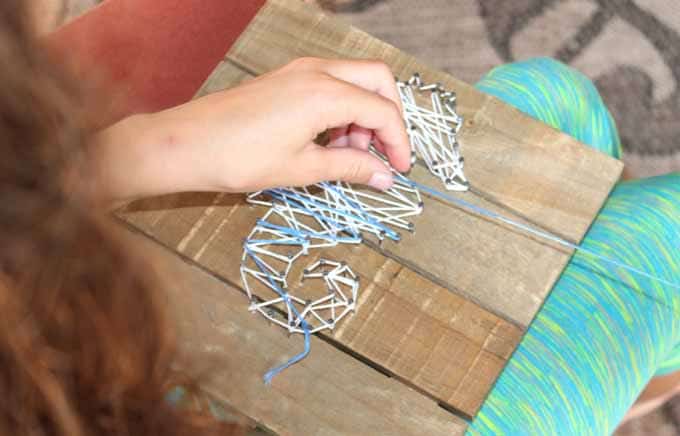
Use nails, thread, and a board to make this Custom String Artwork for their own bedroom decor or elsewhere.


Upgrade a pair of flip flops by using fabric to make these Scrappy Flip Flops in any color!


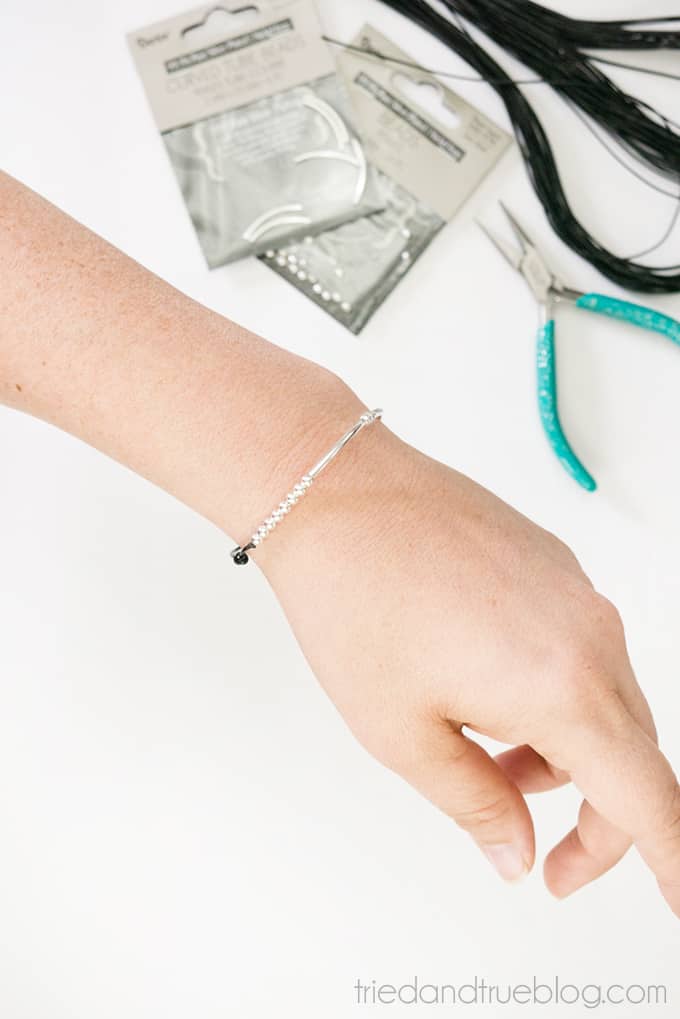
Do your kids like secret codes and messages? Have them make these Morse Code Bracelets for a friend.


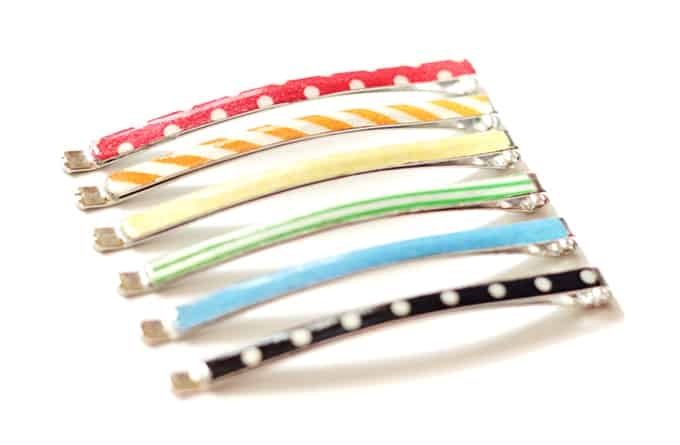
Quick and easy, these Washi Tape Hair Pins can be made to match any outfit for any occassion.


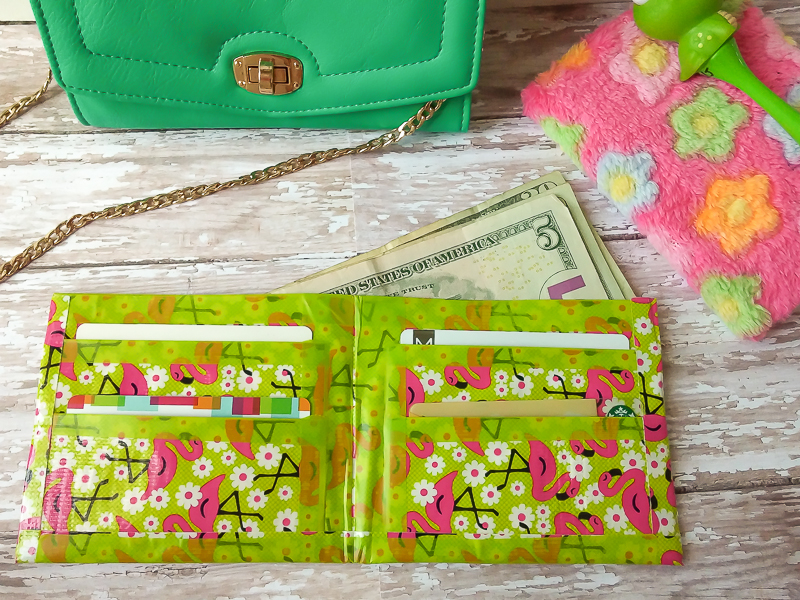
Your tween will love holding their money and library card in this colorful Patterned Duct Tape Wallet.


Your tween can take a boring old vase and turn it into a beautiful DIY Glittered Vase.


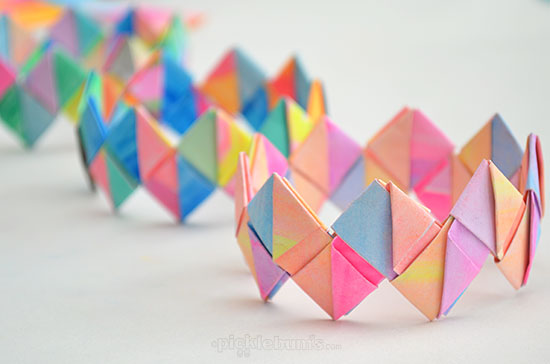
Have your tween or teen practice their origami skills with these Folded Paper Bracelets.


Get them hemp twine and beads and let them create Beaded Wish Bracelets in any color or for all their friends.


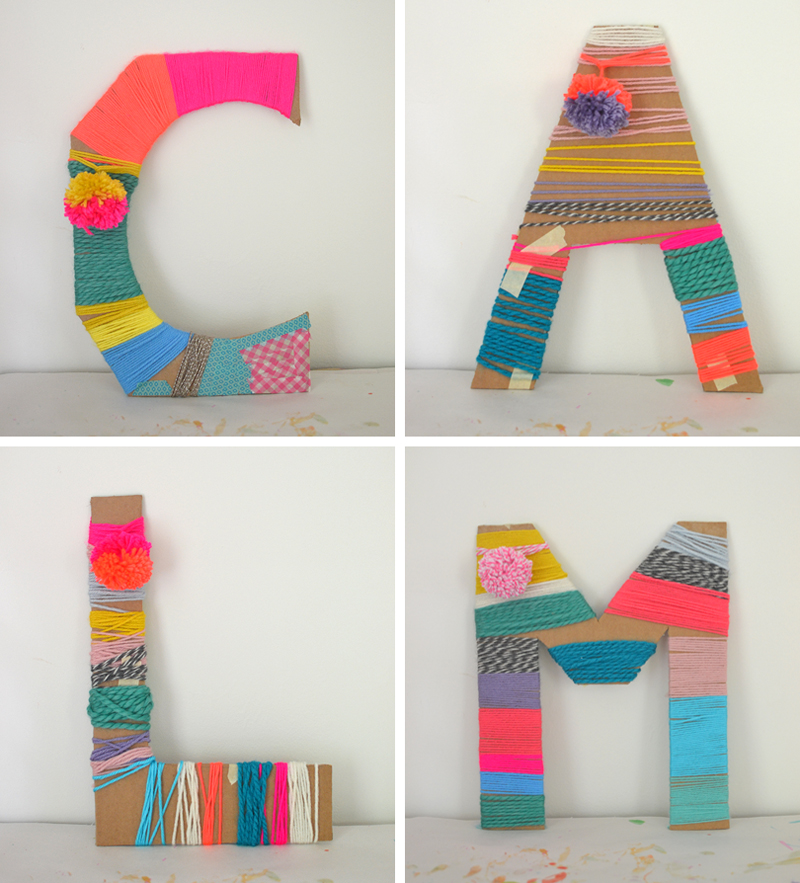
They can create these adorable personalized Yarn Wrapped Cardboard Letters for them to display in their bedroom.


Practice their art skills by making these Beautiful Floral Ceramic Mugs using permanent markers.


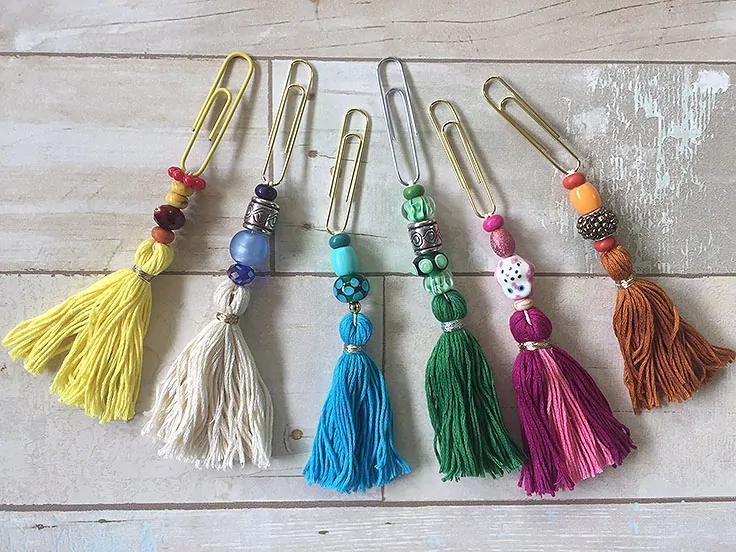
Does your tween love to read? Have him or her make these DIY Tassel Bookmarks for a fun way to mark their progress in the book.


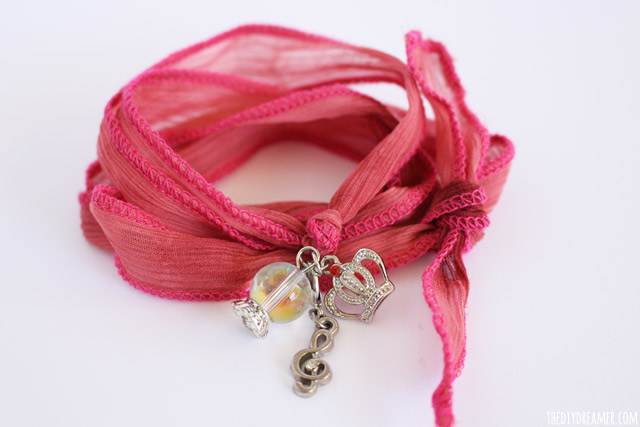
If your tween loves a boho style, show them how to create these easy-to-make Silk Wrap Bracelets.


They can keep track of all their fun summer outings by making this colorful DIY Summer Memory Journal.


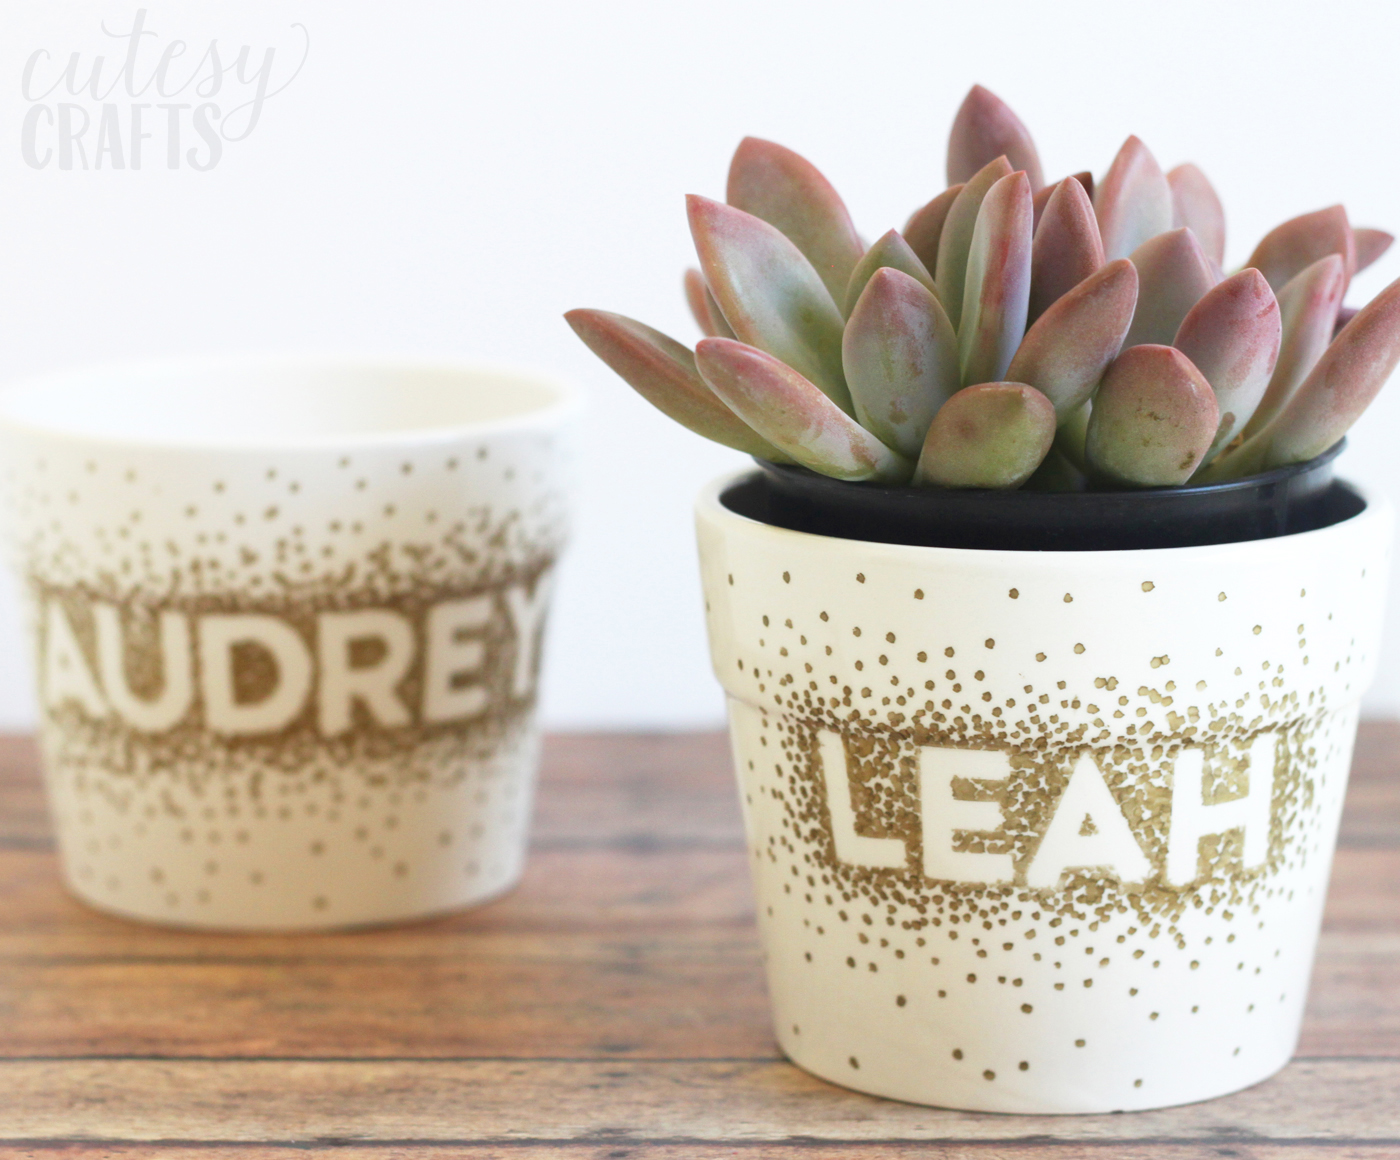
Have your tween make a Personalized Dot Flower Pot for their favorite plant.


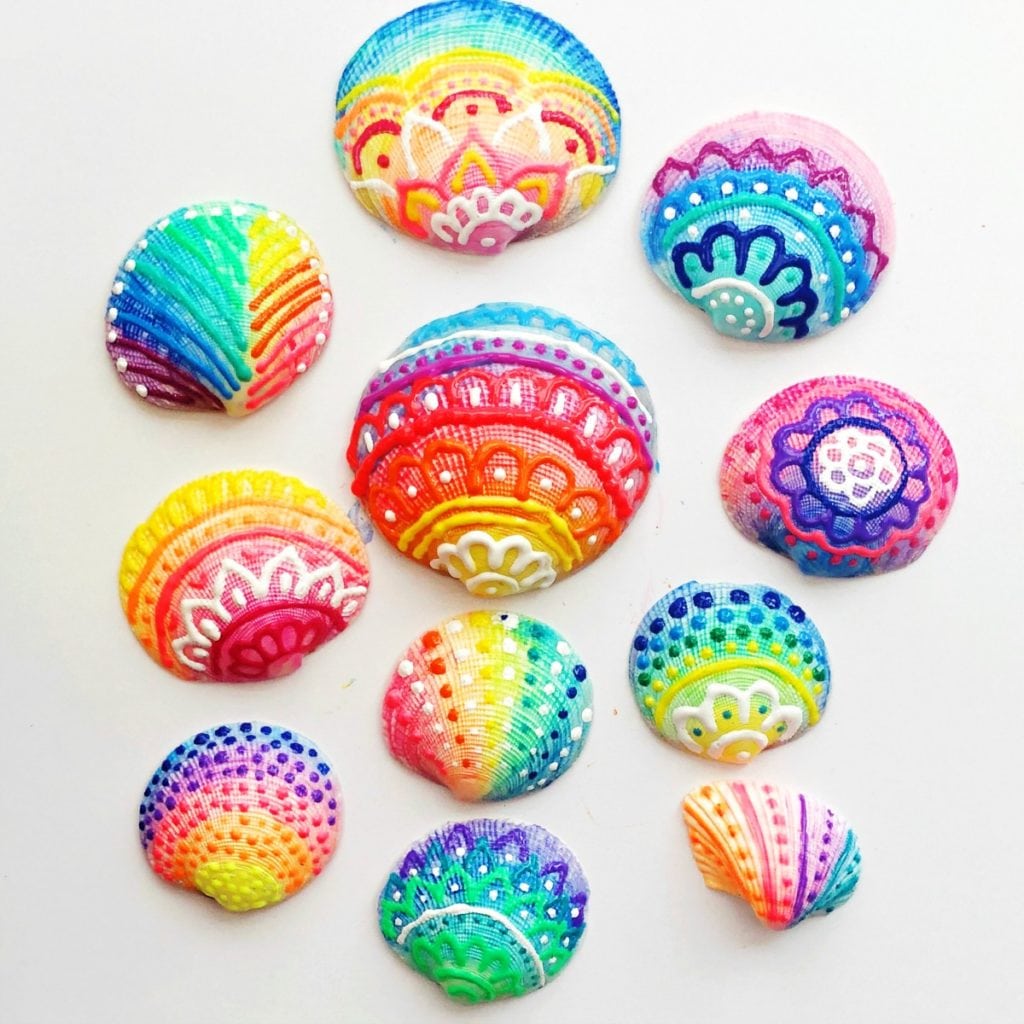
If you have seashells lying around, these colorful Puffy Paint Seashells would make great art for any tween or teen bedroom!


Find some vintage doilies and lace so they can create these Vintage Bohemian Doily Dreamcatchers.


A fun upgrade from elementary art, use multiple colors of paint and shading techniques to make some DIY Leaf Print Art. 


Have some white tennis shoes that just need a little color and sparkle? They can make these fun Decorated Tennis Shoes!


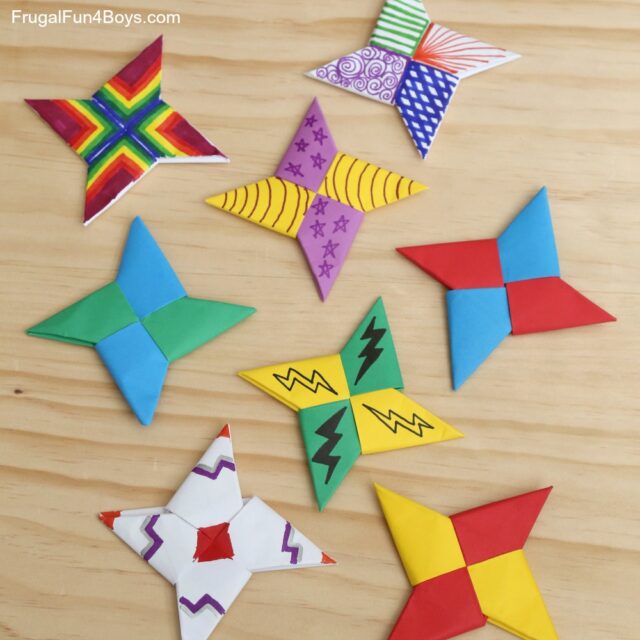
Fun to make AND throw, these Folded Paper Stars are a great project for a rainy day.


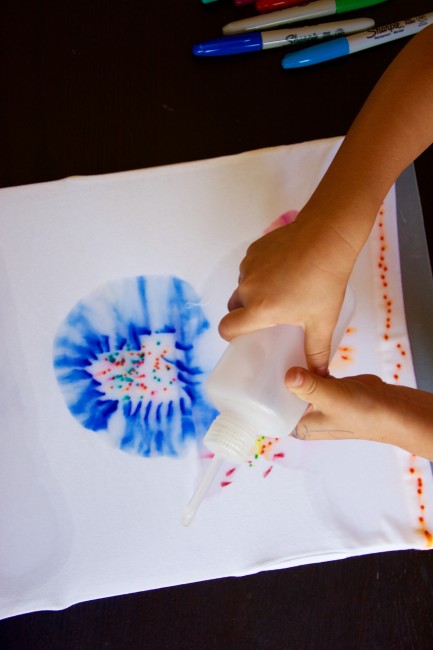
Use markers and an old t-shirt to create this fun DIY Science Tye Dye Shirt.


They may need a little assistance, but this DIY Kids Scooter would be something your tween would absolutely love!


Rock painting never gets old, especially when they can show their moods by creating fun Emoji Rock Paintings.


A little homemade room decor is always fun, have your tween create this DIY Yarn Pom Pom Garland.


If you have a bunch of crayon pieces laying around, have your tween make some Shaped Melted Crayons for a new fun coloring adventure.


Tweens may still like dolls, especially if they create a Make Your Own Monster Doll. 


Have your tween make these Glass Bead Magnets with their favorite characters or images to show off their personality.


If your tween is into animals, they might just love this DIY Log Bird Feeder and watching all the birds that will come to feast.


So many colors and options, have them customize their own DIY Tie Dye Shoes!


For back to school or just everyday fun, it’s easy for them to upgrade from boring pens and notebooks to Sparkly Office Supplies. 


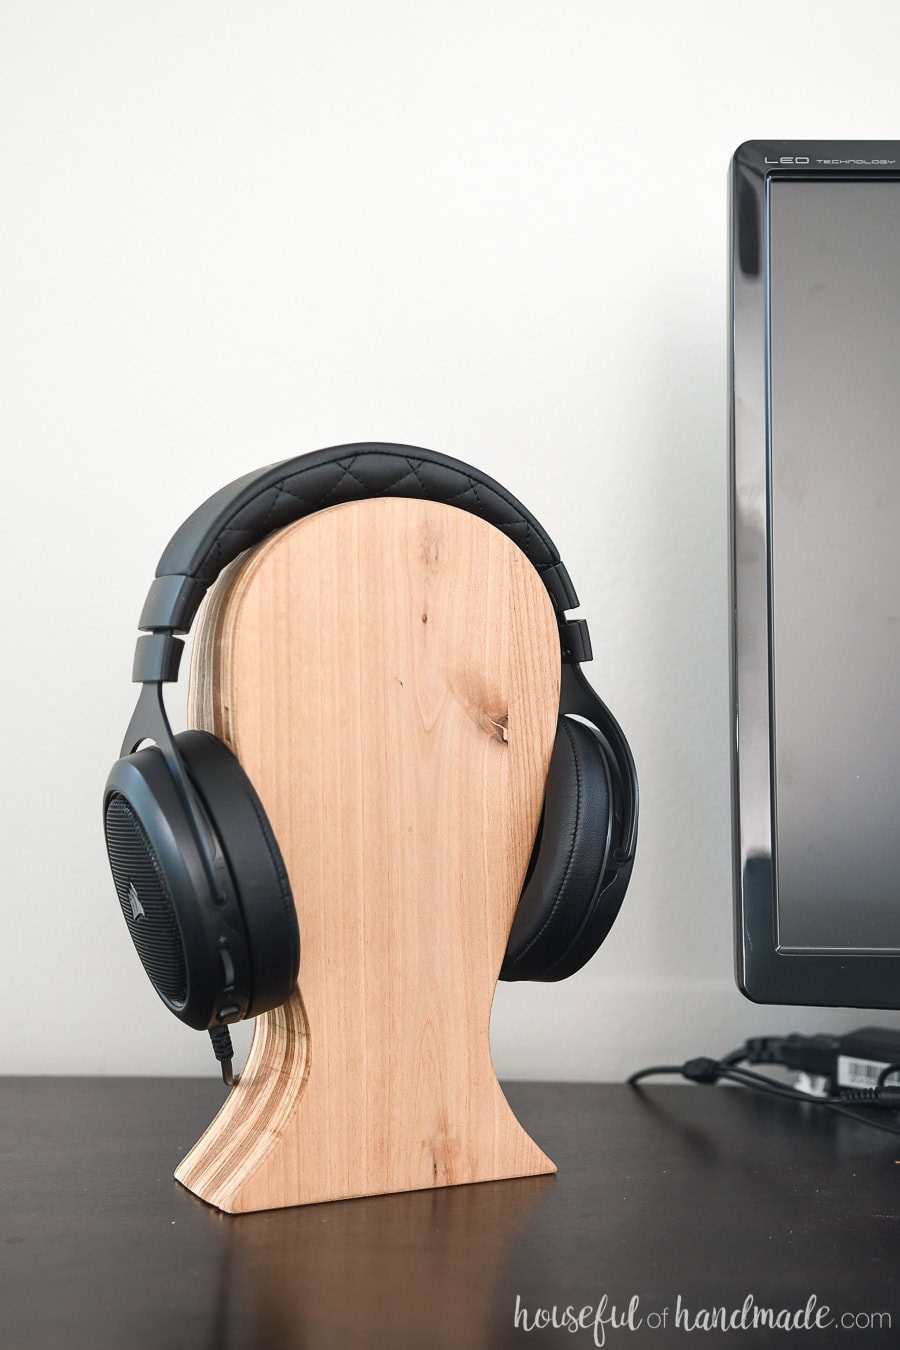
They may need some assistance to make this, but they will certainly love this DIY Headphone Stand. 


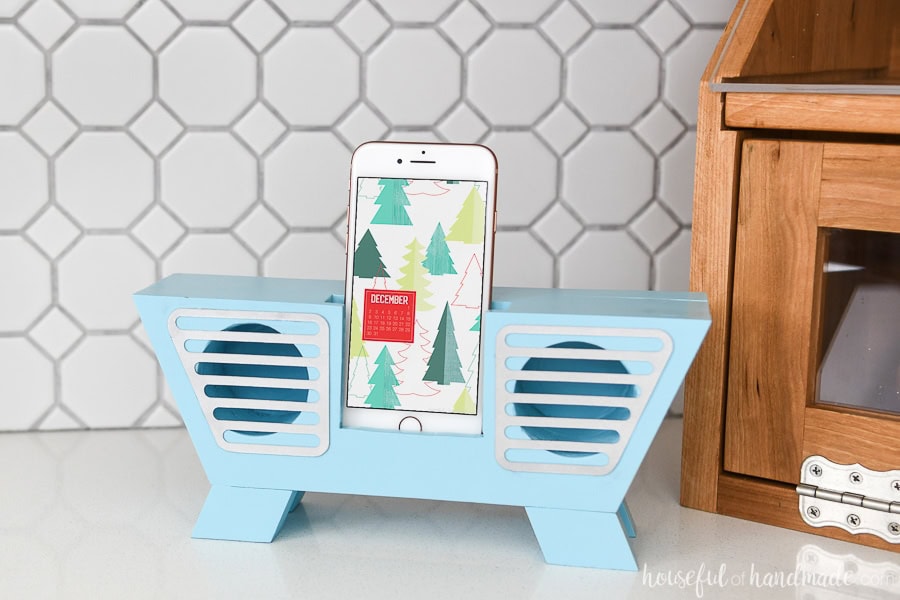
Teach them a few woodworking skills (assist please!) to make this unique Retro Phone Speaker for their room.


I hope your tween or teen really loved these ideas and found inspiration on how they can create something awesome! Comment and let me know what you (or they) think! Which is your favorite?

Hi, I’m Sheri from Hazel + Gold Designs. Here are a few fun stats about me: I like love chocolate and peanut butter (together of course.) If you like stats, I have been crocheting for about 16 years, crafting for 20, and woodworking for about 4 years. I found a passion in making and being creative and began documenting my projects online at Hazel + Gold Designs.

When not working on projects, I enjoy spending time with my husband, four children, perfect dog, and ornery cat. You can find me on Facebook, Pinterest, Instagram and Twitter.

Read all of Sheri’s tutorials.

~Find more of Sheri’s projects here ~

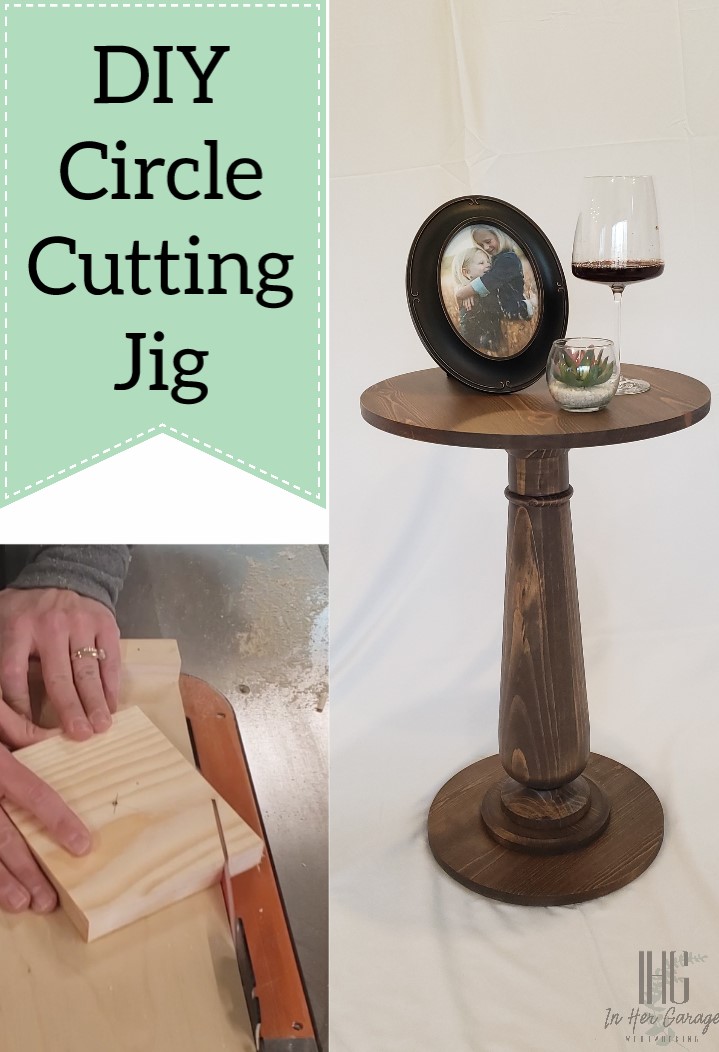
So, you love making DIY projects but want to expand your talents further than squares and rectangles. I’m going to show you how to make DIY Circle Cutting Jig for the Table Saw. Yes!! Your table saw.

DIY Circle Cutting Jig for the Table Saw

Hello!! It’s Kristen, from In Her Garage, back again to bring you a super exciting and simple tutorial!

Making circles with the table saw sounds counterintuitive, right? Table saws are supposed to just rip straight lines, but table saws are one of the most versatile tools in your shop and with just a few pieces of scrap wood, you’ll be cutting circles and making gorgeous side tables and decor pieces in no time at all!! Let’s get started making this DIY Circle Cutting Jig for the Table Saw!

Materials:

(I’ve included affiliate links for your convenience. I earn a small percentage from a purchase using these links. There is no additional cost to you. You can read more about affiliate links here.)

Tools:

Please read through the instructions in their entirety before making this project.

Safety! Before starting, UNPLUG your table saw and completely retract the blade below the level of the table.

Instructions:

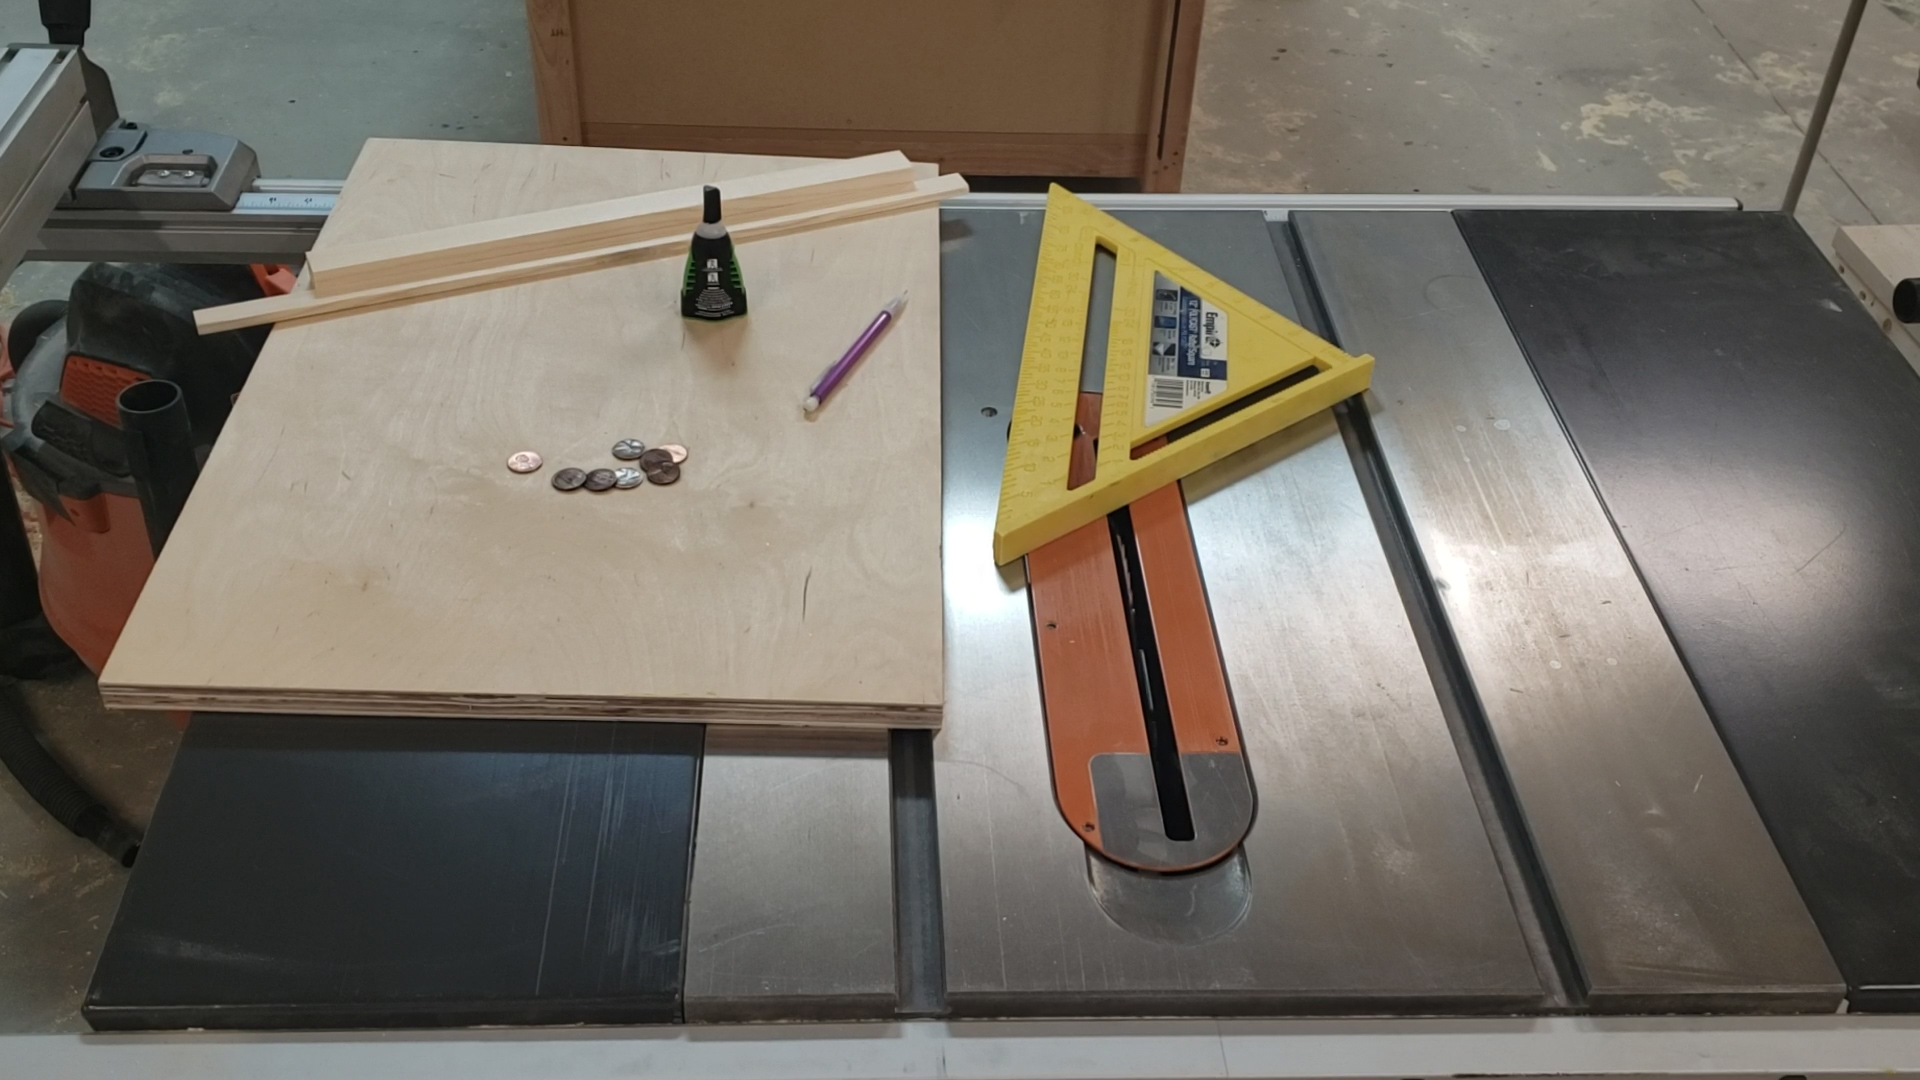
The 3/4”x 1/4” strip of wood will be used as a guide for the jig and will travel within the miter slot to the right of the table saw blade.

Standing at the table saw, place a few stacked pennies within the miter slot and lay the strip of wood over the pennies so it is just slightly above the level of the table.

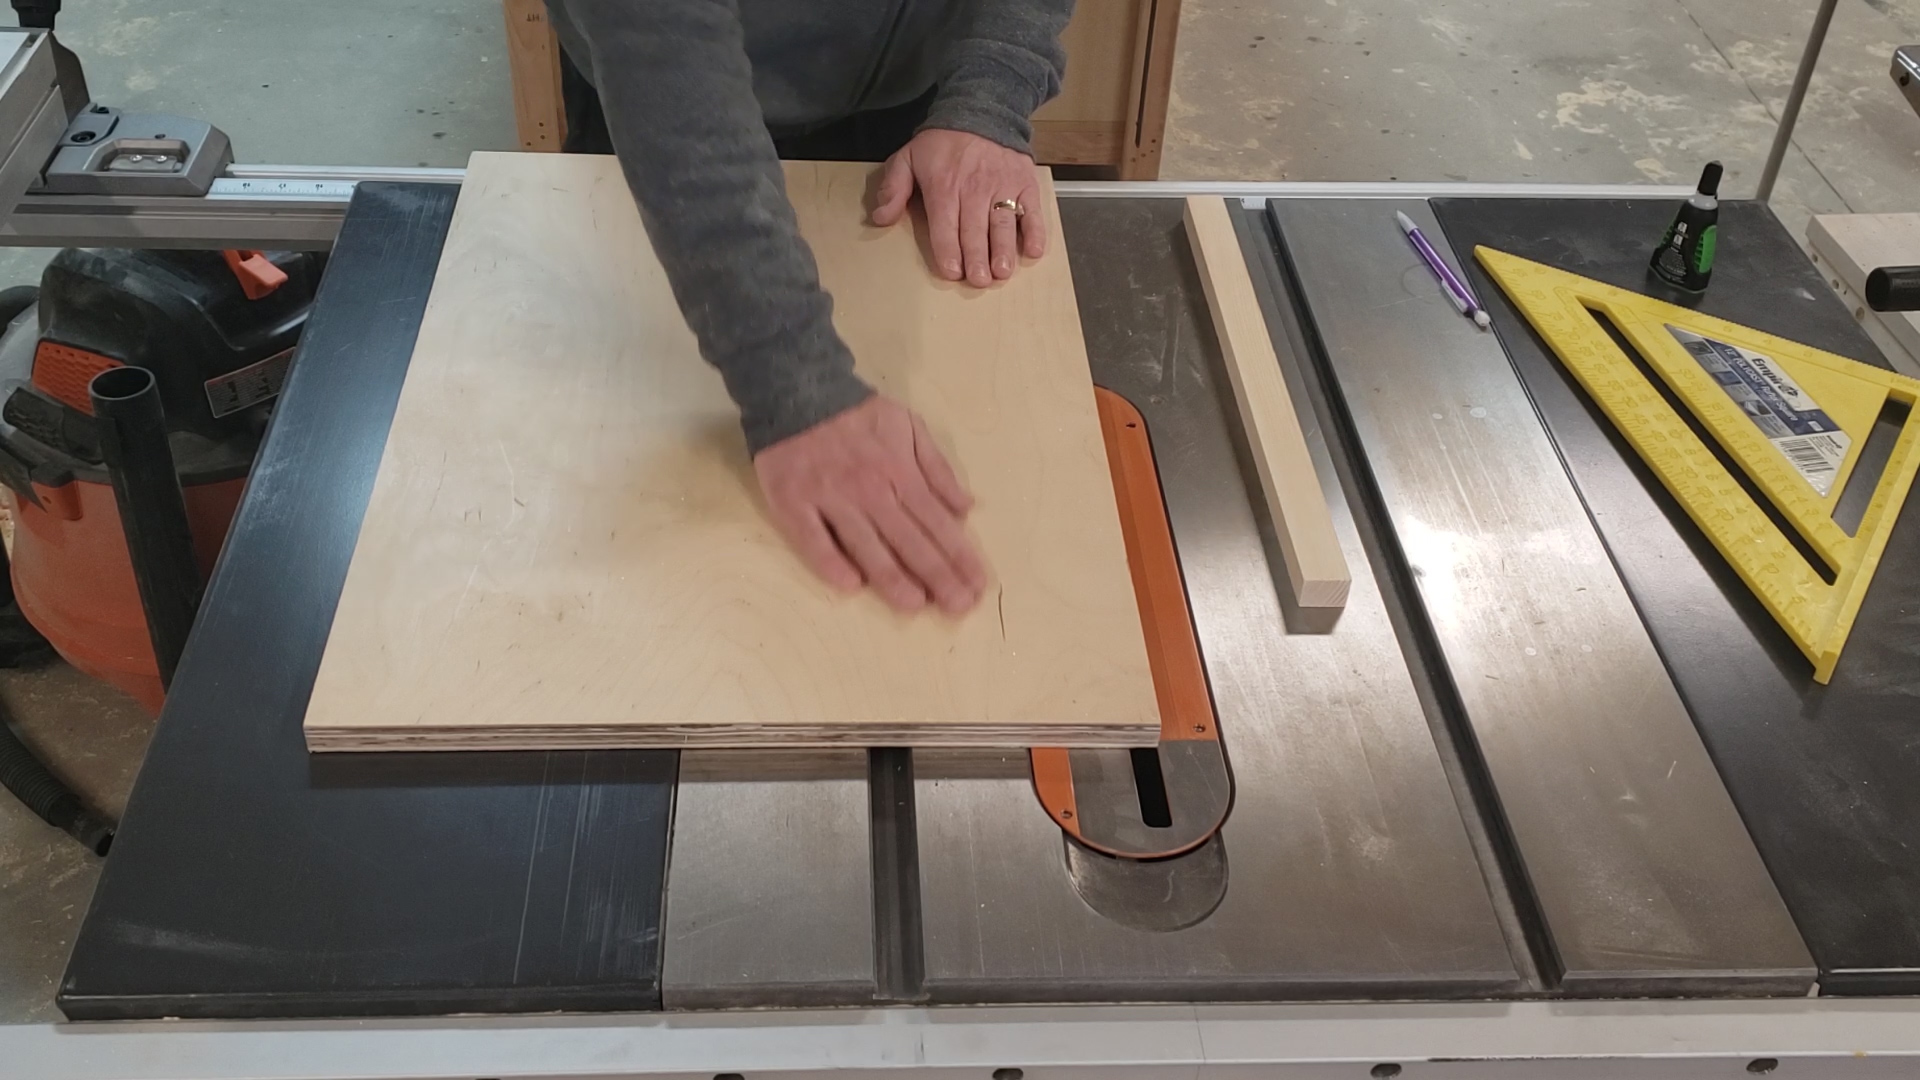
Place a line CA glue on top of the strip of wood and place the plywood on top of it so that the plywood piece is covering the saw blade about ¼”.

Apply weight on top of the plywood and wait for the glue to adhere to both the miter guide strip and the back of the plywood.

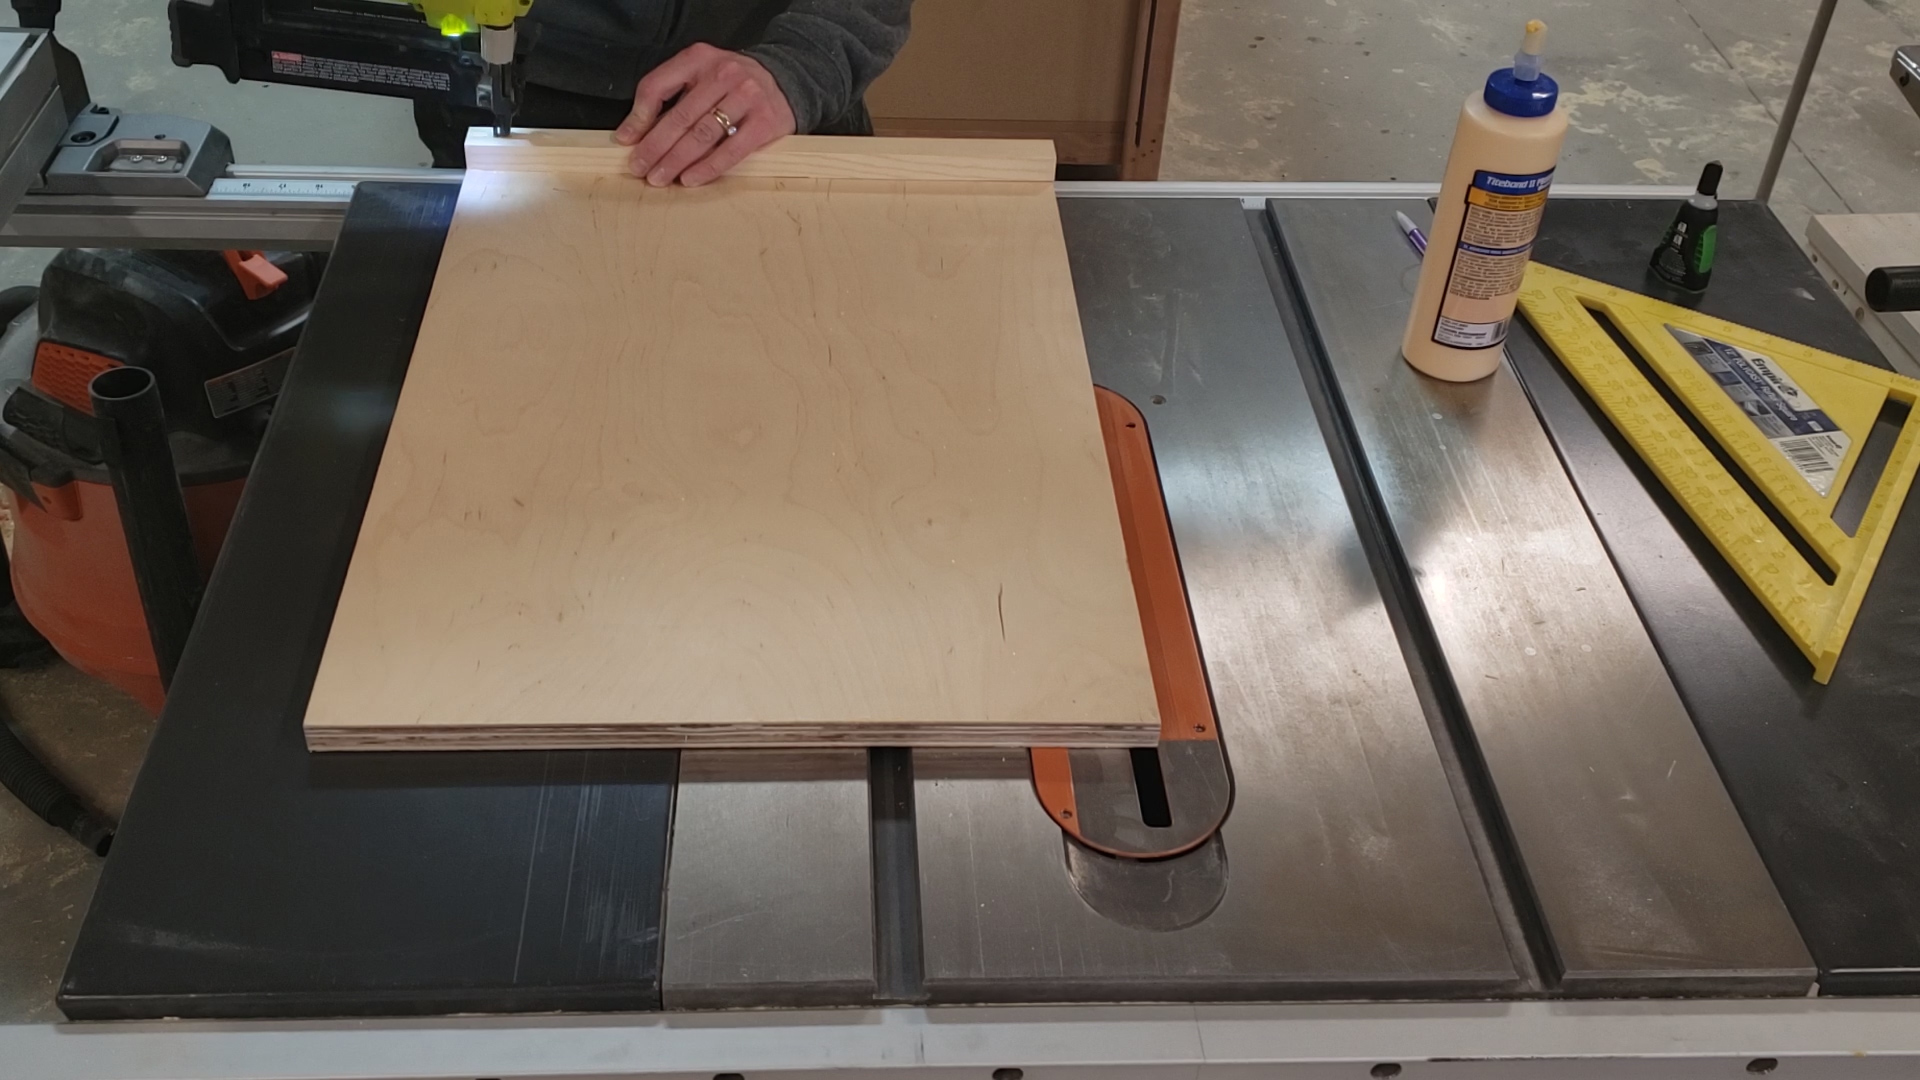
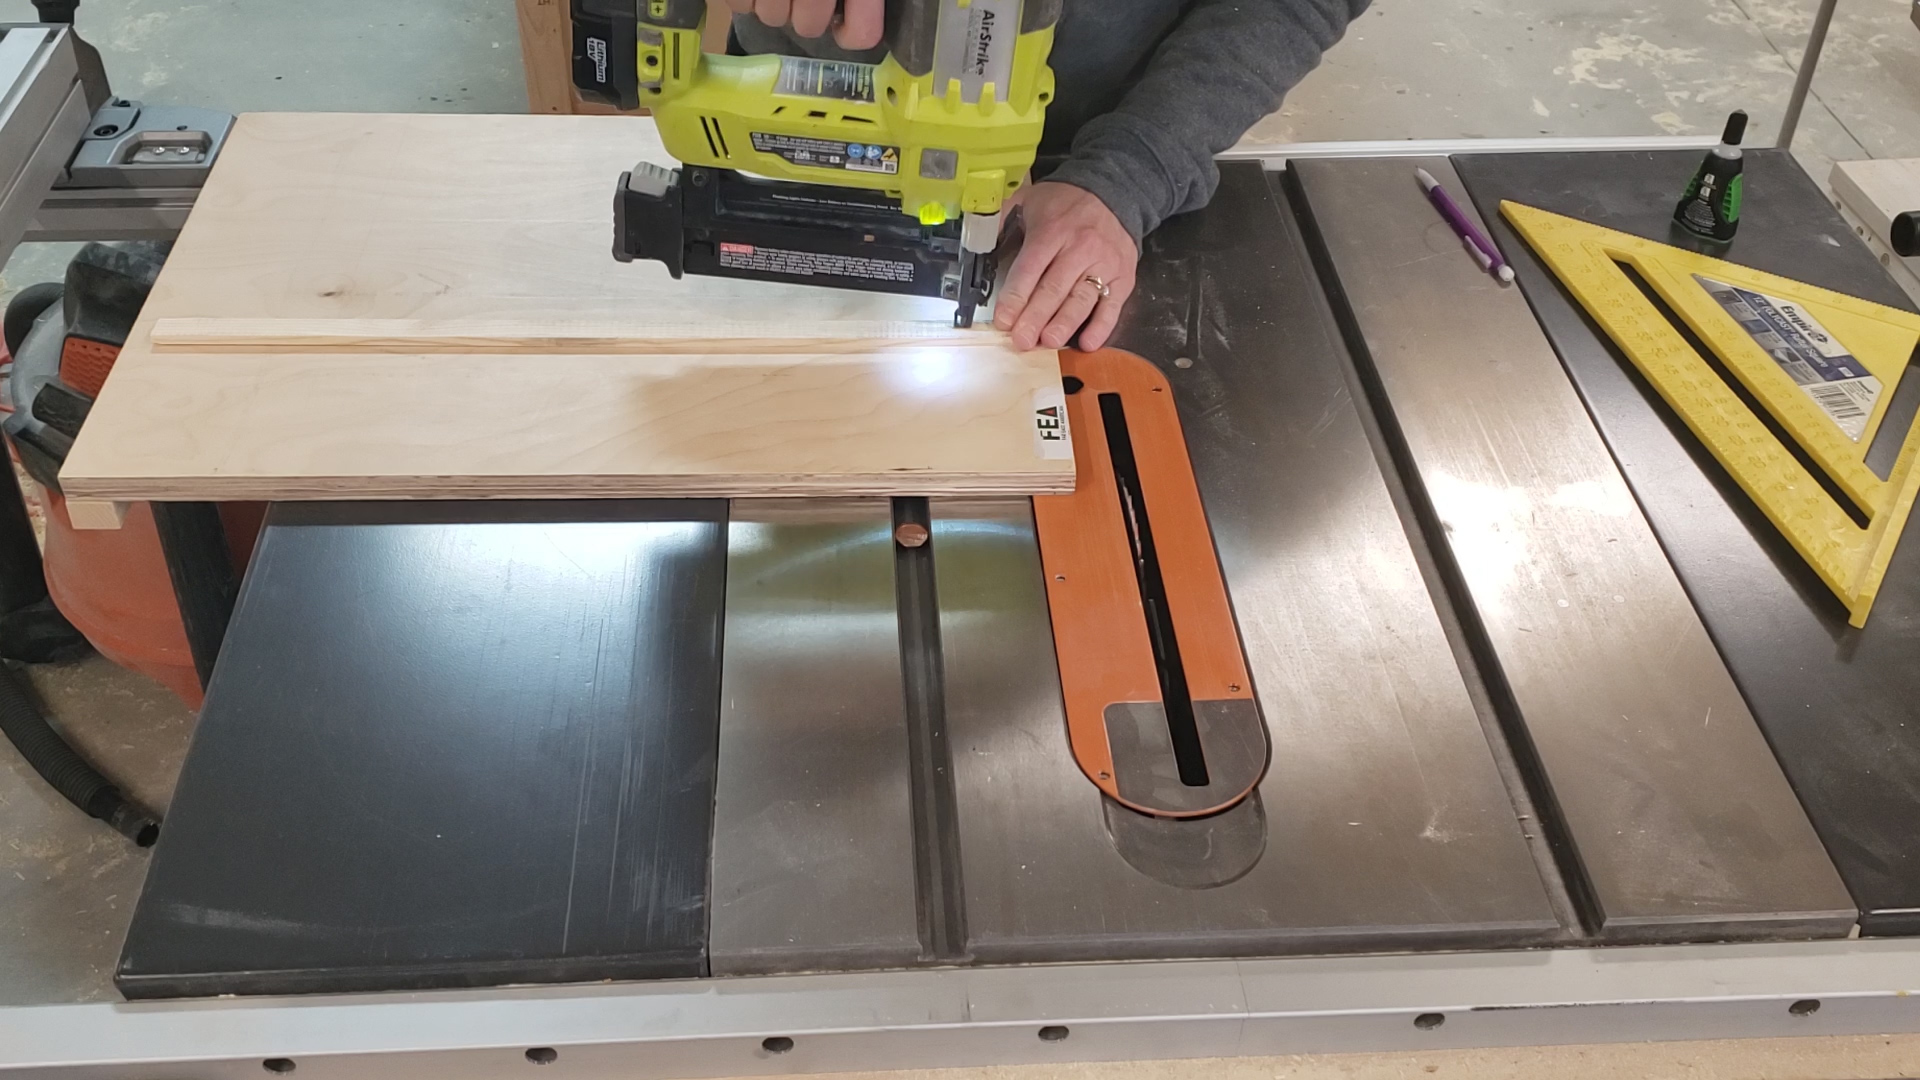
While you are waiting for the glue to dry apply the 12” piece of scrap wood to the front edge of the plywood. Simply apply some wood glue between the two pieces and nail it down with 1 ¼” brad nails or screws. This will act as the handgrip for the jig.

By now the plywood and the miter gauge strip of wood have adhered together. Gently lift the plywood and turn it over.

Using 5/8” inch brad nails or screws secure the strip in place being careful not to split it.

Remove the pennies from the miter slot.

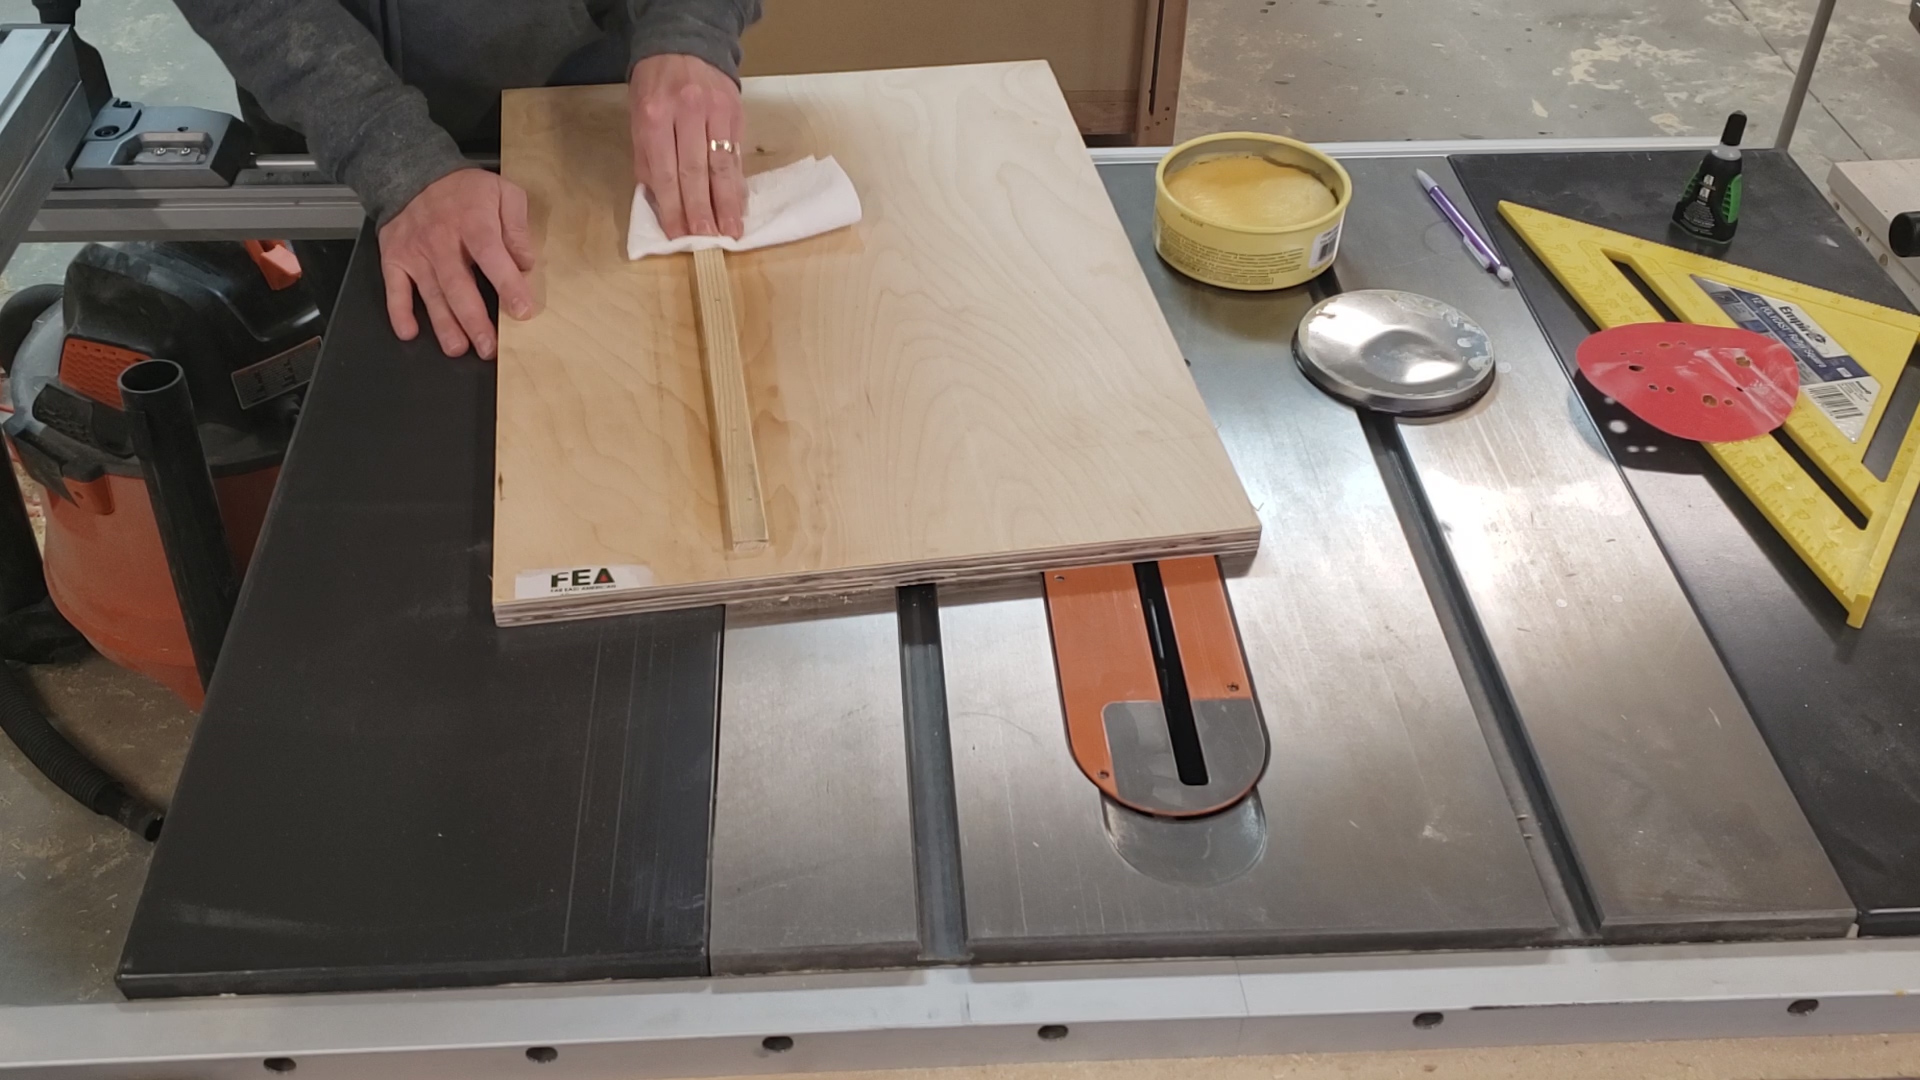
Use some fine-grit sandpaper to smooth out the edges of the miter guide strip to help the jig travel smoothly. Applying some paste wax to the bottom the plywood and miter guide strip will also help with smooth travel. (Not necessary, but will help with smooth movement.)

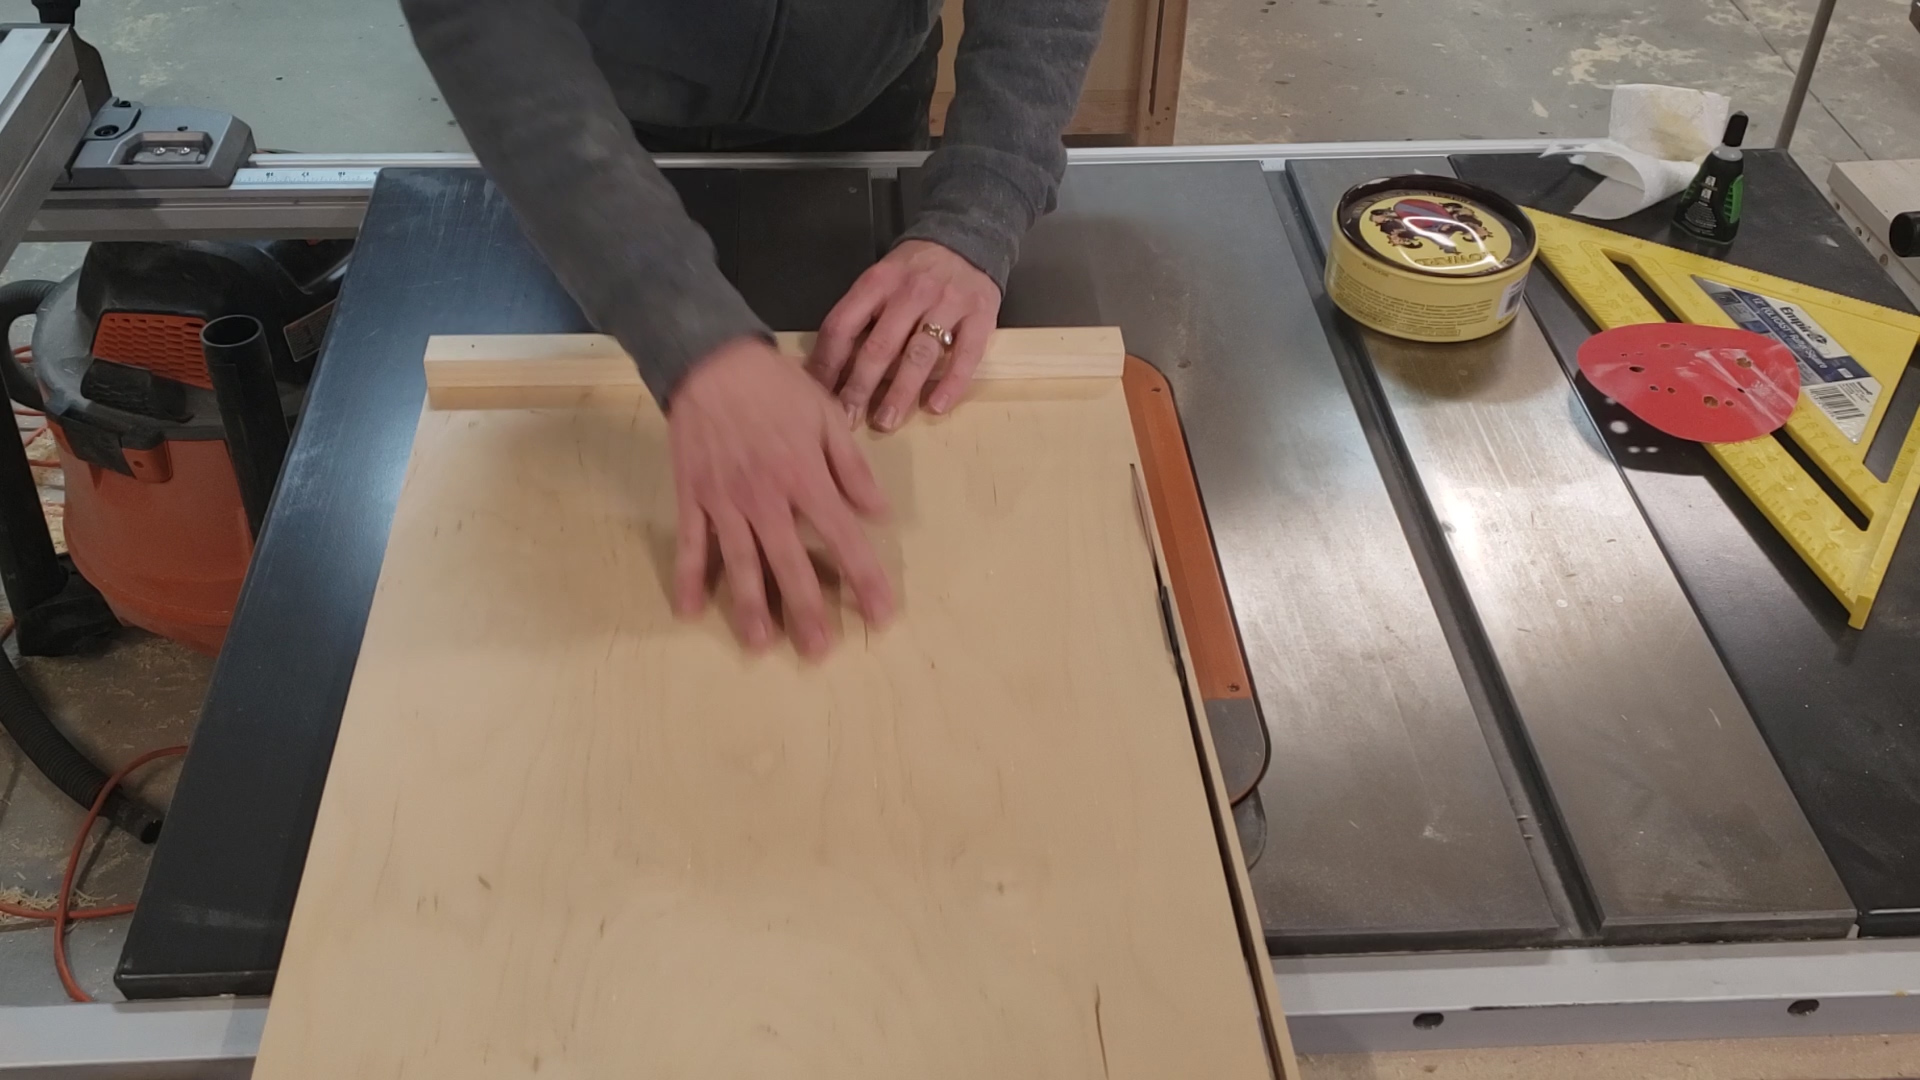
Flip the jig back over placing the guide strip in the miter slot.

Pull the jig back enough to raise the saw blade just above the level of the hand guide. Plug the saw in.

With the saw on push the jig forward to completely cut off the left side of the jig. This will make the jig perfectly in line with the blade and act as a zero-clearance for clean cuts.

Turn off the saw, lower the blade and unplug.

Circle Cutting Instructions:

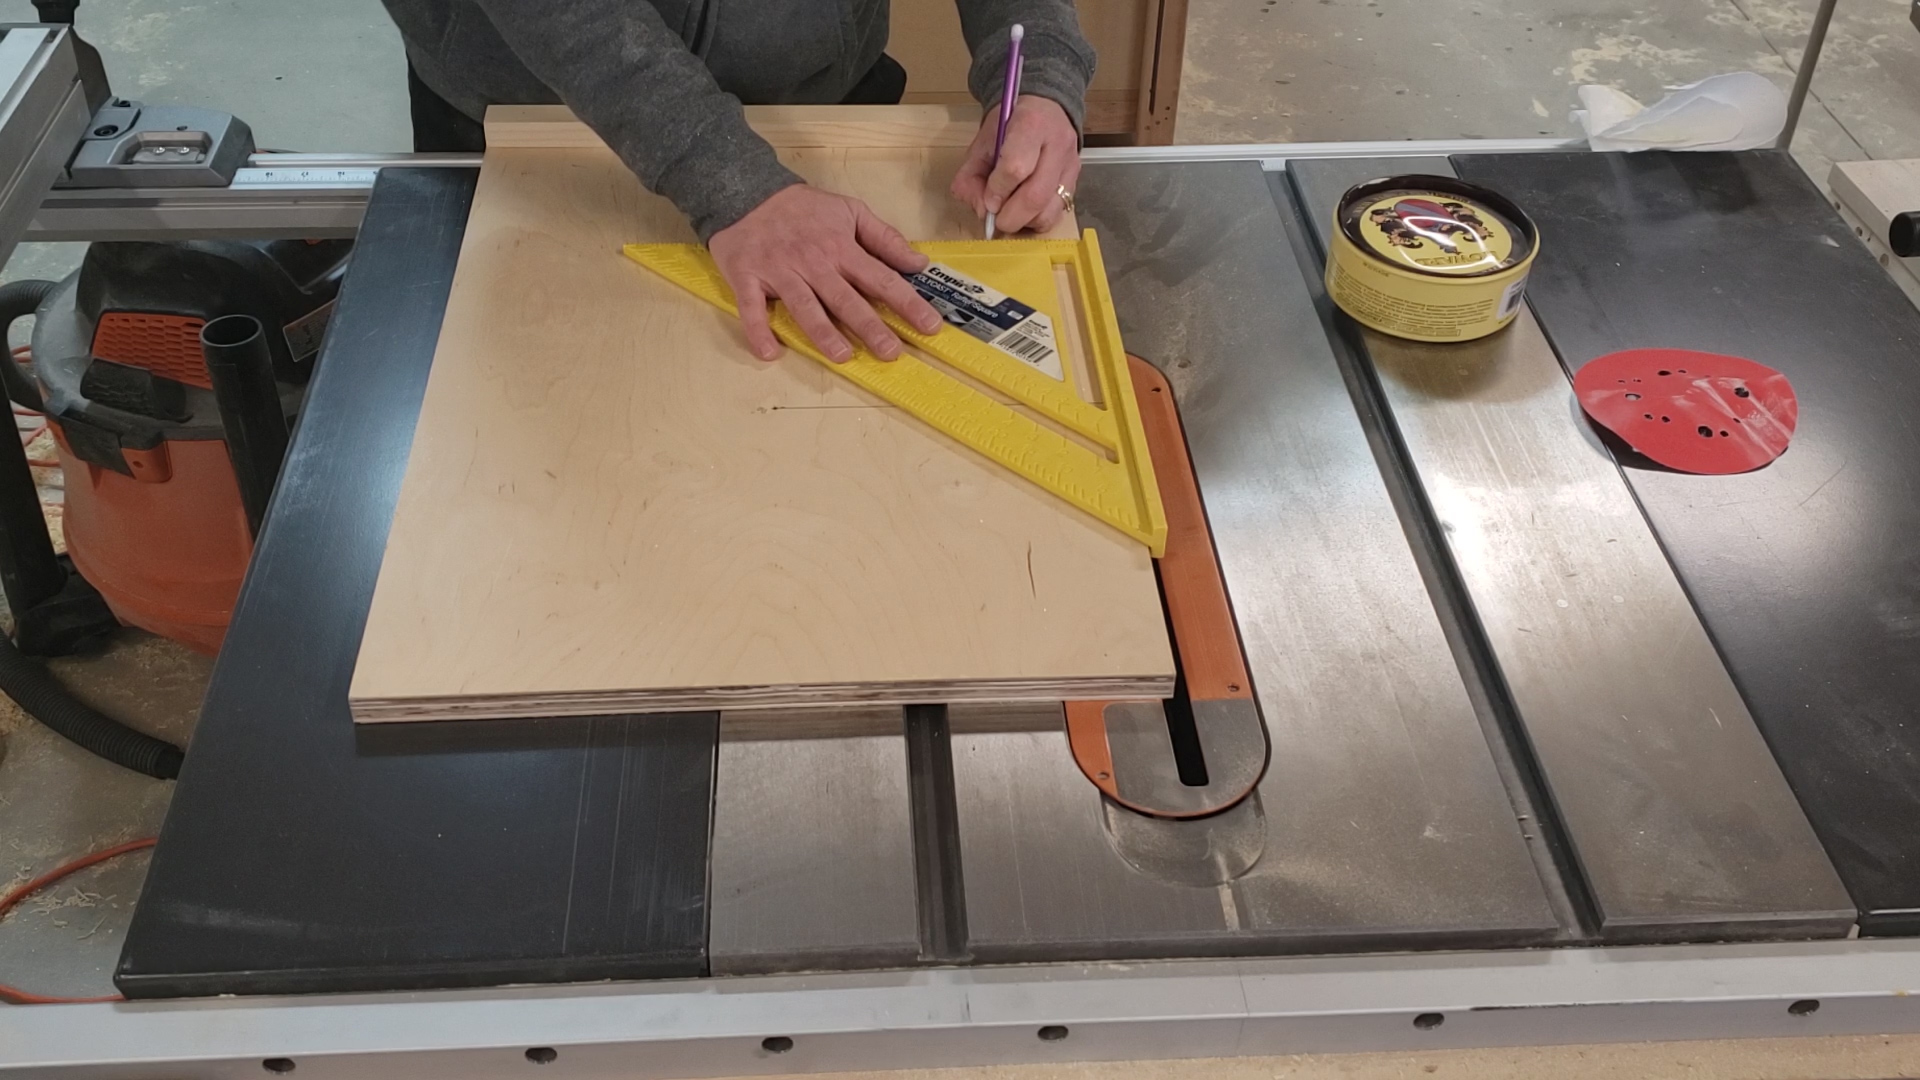
Using your speed square draw a line in the middle of the jig perpendicular to the saw blade.

Now mark the radius measurement for the circle that you want to make on this line. For example, if you want to make a circle that is 10” in diameter measure to 5” with your speed square.

Tap a 1 ¼” nail into the mark.

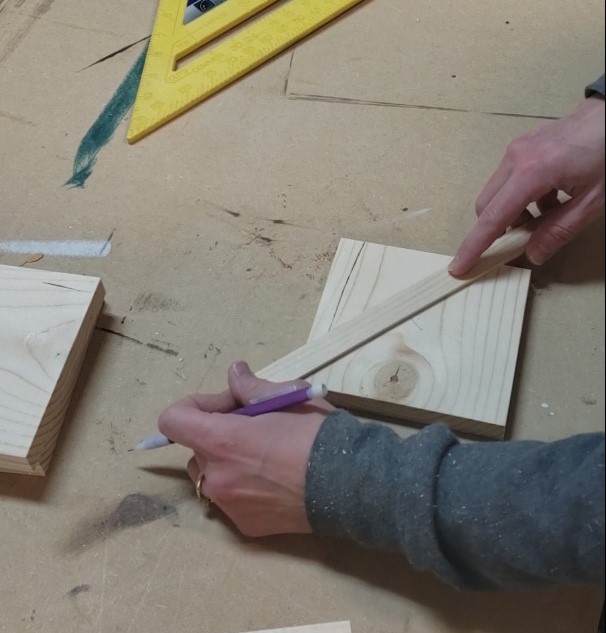
Make a mark in the center of the square piece of wood that you’re wanting to cut into a circle. This is easily done by drawing two lines from each opposite corner. The intersection of these two lines in the center of the square.

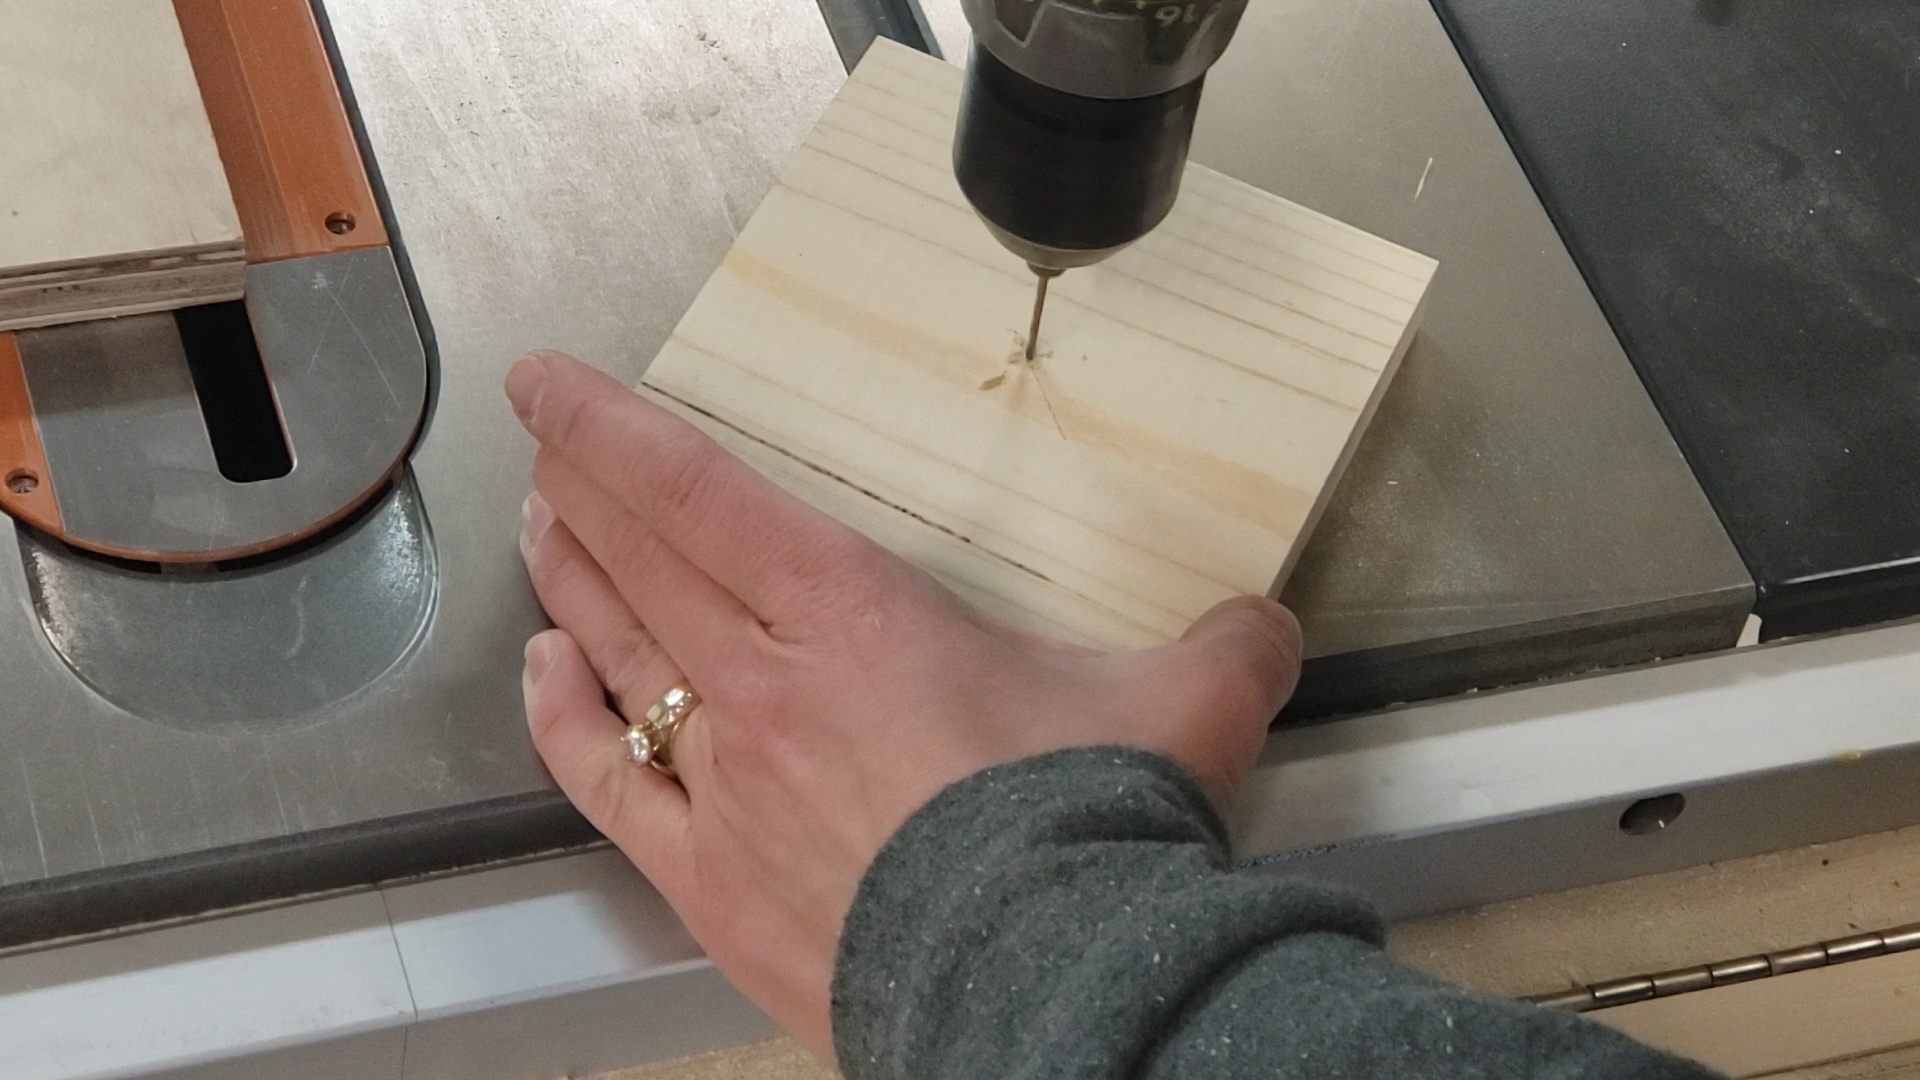
Drill a small hole through this center point.

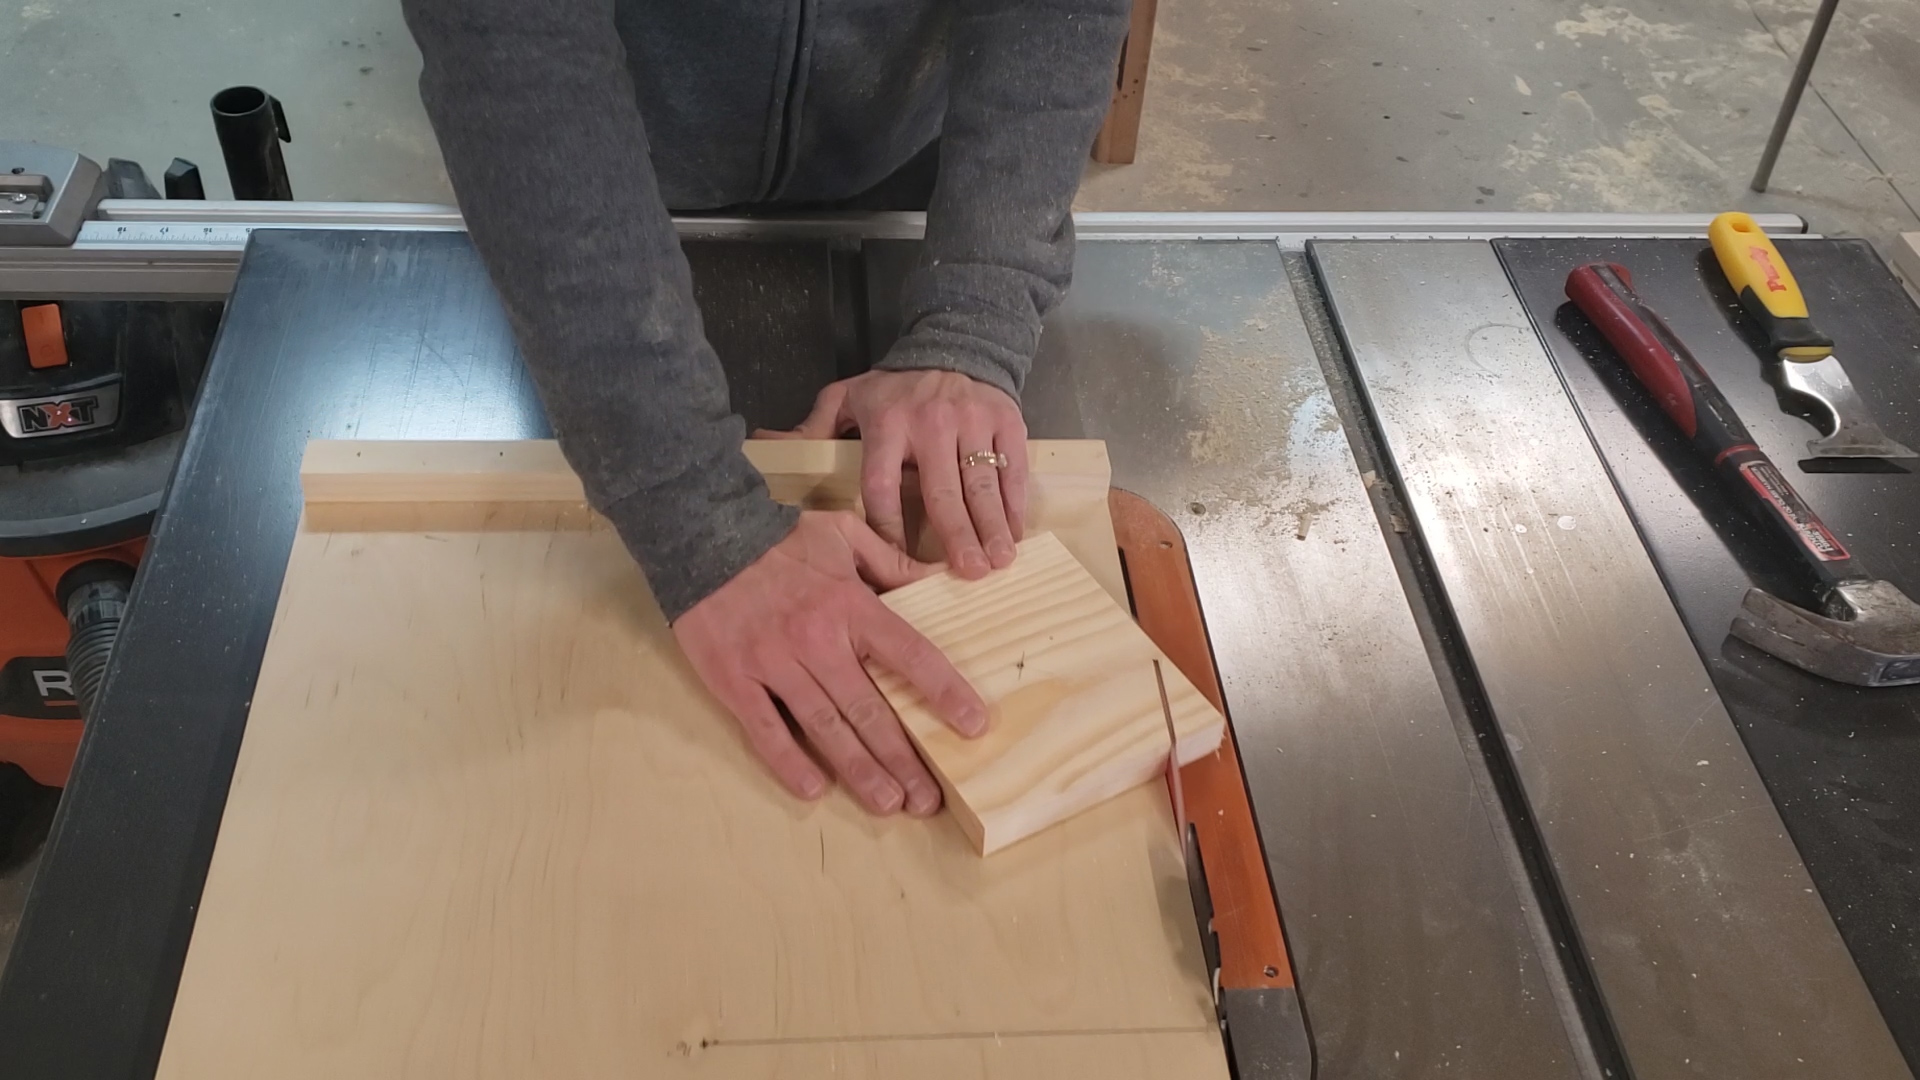
Place the 1 ¼” nail through the hole and into the hole on the jig and tap securely into place making sure that the square lies completely flat on the jig. Rotate the piece be sure it spins easily and securely.

Pull the jig back and raise the blade to just above the level of the square to be cut.

Plug the saw in. When operating a table saw always try to stand off to the right side and never directly in front of the blade.

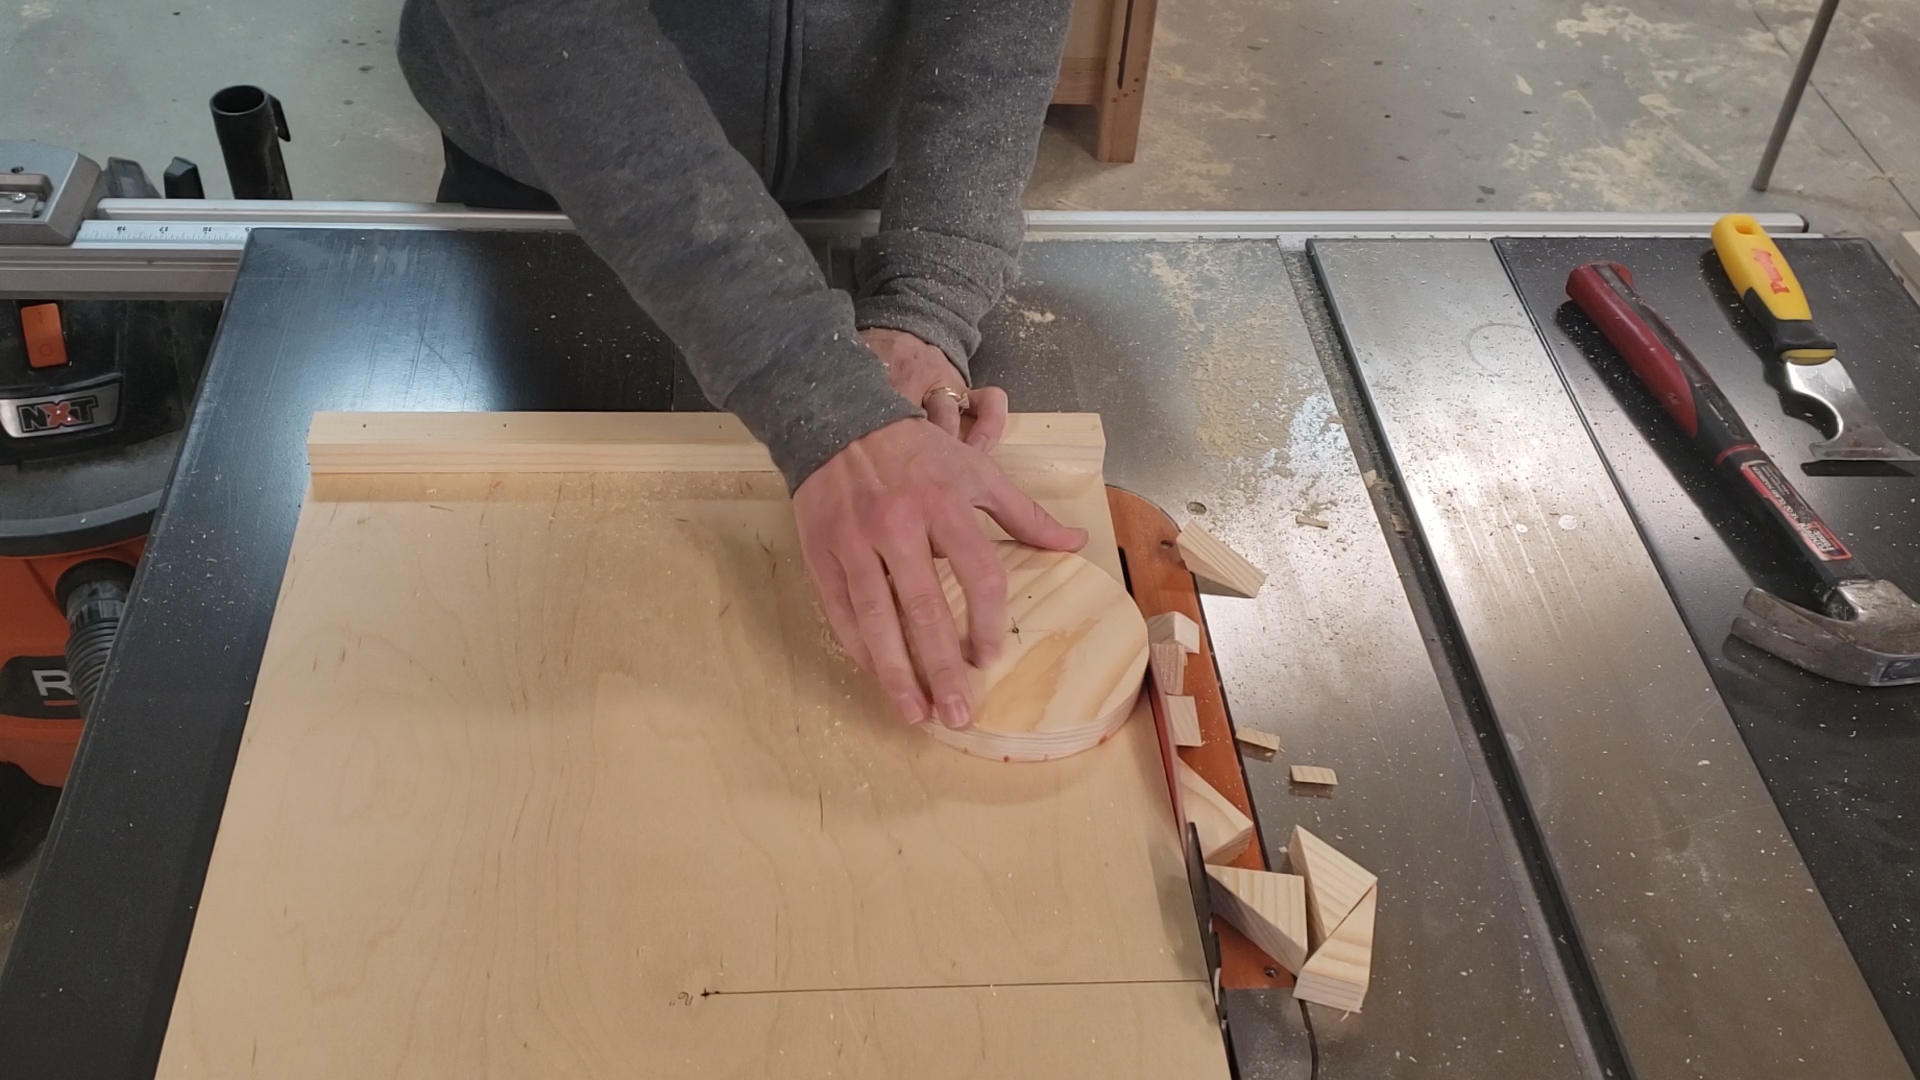
Rotate the piece 45 degrees so a corner of the square overhangs the jig. Turn the saw on and push the jig forward to cut off the overhanging corner. Pull the jig back.

Rotate the piece 90 degrees and repeat until all corners have been cut off.

At this point, you can turn the saw off and wait until the blade comes to a full stop so you can remove the scrap pieces from near the blade. I typically do this for larger circles.

Now continue to rotate the piece, pushing and pulling the jig back and forth until all overhanging corners have been cut off.

Once the piece of wood looks like a very rough circle push the jig forward until the bottom of the piece is in contact with the blade and rotate until the bottom has been cut into a circle.

Push the jig forward slightly and rotate the piece again making a full circle. Repeat until the top of the piece has been cut into a circle.

Pull the jig back and turn the saw off.

Wait until the saw blade has come to a full stop before removing the jig, the circle, or any scrap pieces.

Pretty simple right?! After I made this jig I went on to cut 14 circles for a few tables I was building!!! It was so easy.

Now that you have a perfectly cut circle and a jig that you can use over and over what are you going to make?

Hi! I’m Kristen, from In Her Garage, and I am a self-taught woodworker and DIY fanatic from Minnesota where I live with my husband and our two daughters. Between being a wife, mom and, registered nurse, I try to make as much time for DIY as possible. My love for building came after our family built our current home in 2015. After we moved in, we needed furniture and instead of spending massive amounts of money to order the pieces we wanted I decided that I would build them myself. I started with a buffet table plan from the fabulous Ana-white and quickly set out to remodel my entire home office.

Since then I have started a side business building furniture for the people in my community. I love hearing my clients talk about the pieces they wish they had whether it be a rustic buffet table, a one drawer side table, or a toy box and then making it a reality for them. While starting my small business it made perfect sense that I would document my building journey so I simultaneously launched the In Her Garage blog and I love sharing my plans, tips and tricks.

Making something beautiful with your own two hands through a little preparation and determination is an amazing feeling.  I hope to bring inspiration and know-how to those looking to tackle a big or small project.
I am so glad that you found me here and please feel free to connect with me on PinterestInstagram, and Facebook to see what I am working on right now.


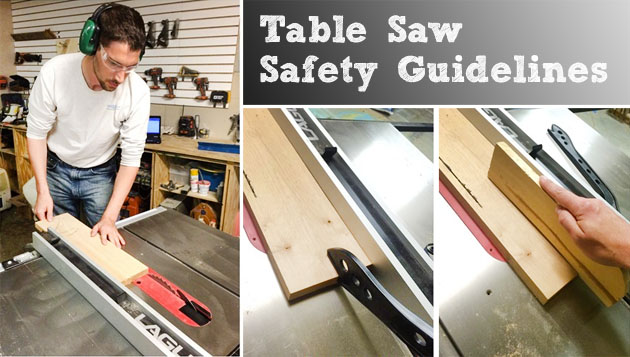
If you liked this post and want more tips about working with table saws then you’ll love this post on Table Saw Safety Guidelines.

Table Saw Safety Guidelines | Pretty Handy Girl