Are you a wine drinker? Nope? Well how about a beer drinker? Either way you can stop throwing away those pretty bottles and cut them to use as glasses, containers —or my favorite—flower vases!
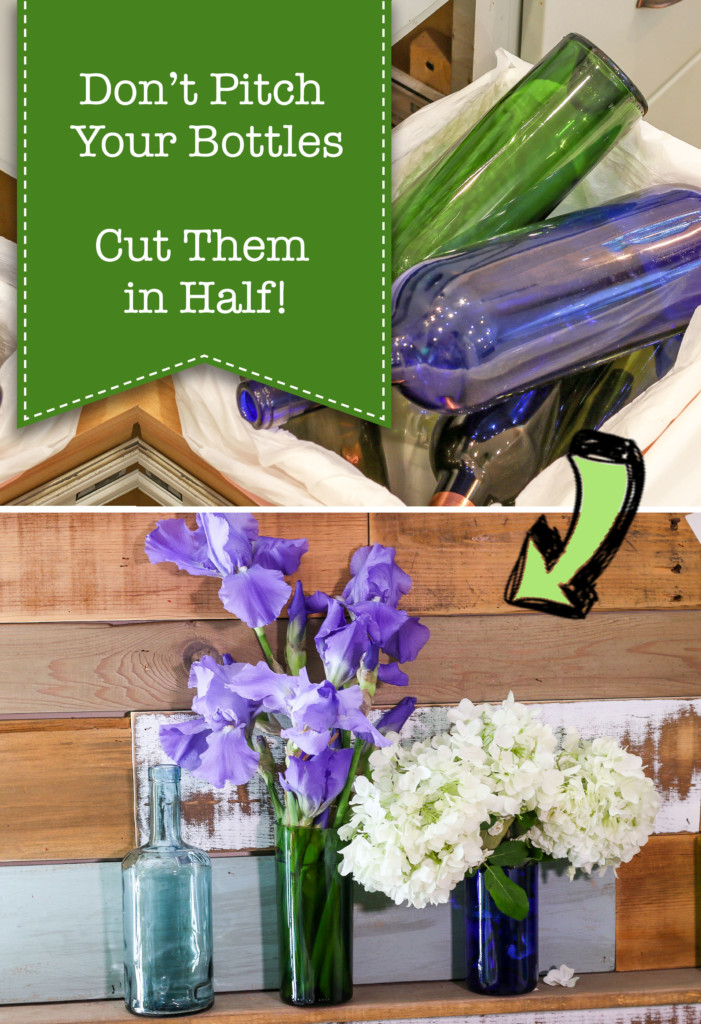
Don’t Pitch Bottles! Cut Them in Half!
About a year ago I bought a bottle cutter off Amazon. I had grandiose plans to make vases and drinking glasses galore. Instead the glass bottle cutter sat in the box. Recently I decided to take the leap and try it out. (Especially because my yard is overflowing with flowers to share.) I figured this was a great way to upcycle wine bottles and use them as free vases for friends and neighbors. Ready to learn how to make wine bottle vases, or drinking glasses, glass containers, or votive holders?
We’ll need a few tools to make this magic happen.
Materials:
(I’ve included affiliate links for your convenience. I earn a small percentage from a purchase using these links. There is no additional cost to you. You can read more about affiliate links here.)
- Bottle Cutter (this one comes with the file and plastic sleeve)
- Paint marker
- Metal file
- Sandpaper (150 grit, 320 grit, 600 grit)
- Safety glasses
Feel free to watch the video or keep reading to learn how to cut glass bottles easily and safely.
Instructions:
Before cutting your bottle, you’ll need to remove the label. Here’s another tutorial to easily remove labels from bottles.
Make a small mark at the bottom of your bottle. This is where you will start and stop your cut.
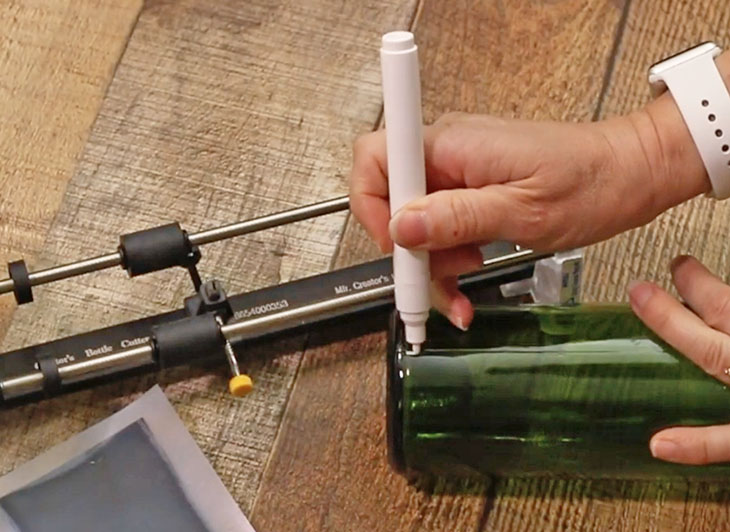
Adjust the glass cutting wheel to where you want to make your cut. Release the glass cutting wheel on the cutting jig. Slowly rotate the bottle until you have completed one full rotation.
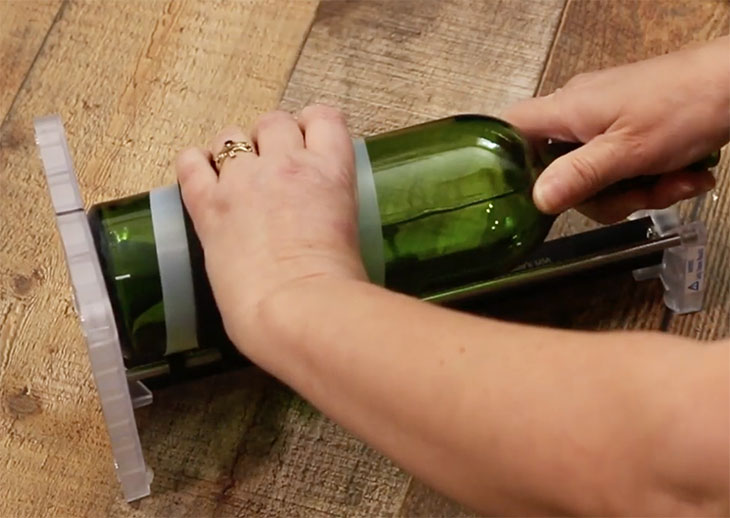
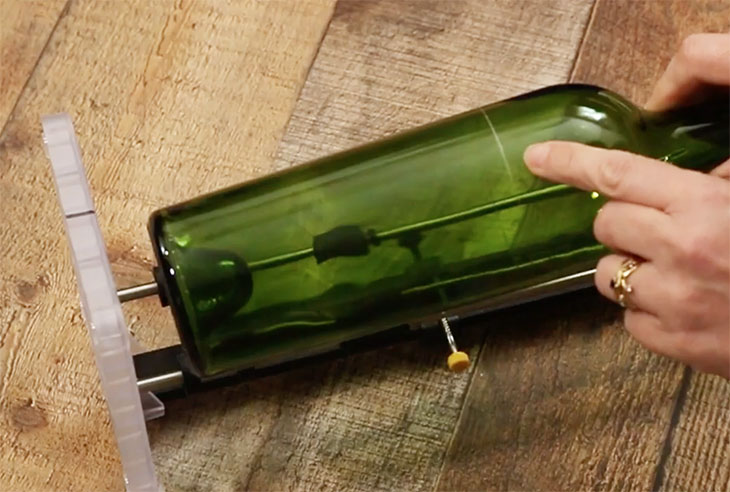
Remove the bottle and check that your bottle has been scored the full way around.
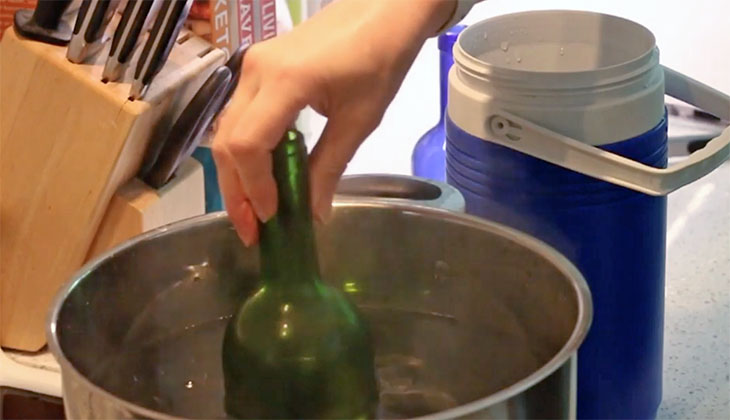
Time to move into the kitchen. Make sure you are wearing those safety glasses.
Have a pot of hot water on the stove almost to boiling. Next to this have a container with ice water ready.
Dip the wine bottle into the hot water, making sure to submerge the bottle to the cut line. Hold it there for 15-20 seconds.
Then immediately immerse the bottle into the ice water. Try to separate the bottle (if it doesn’t separate on its own.)
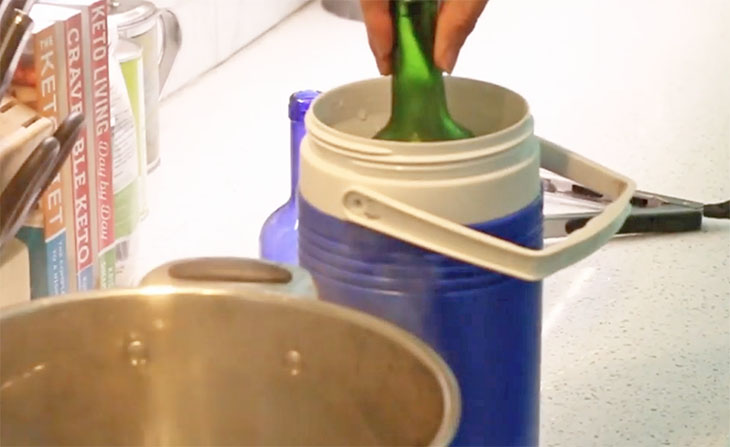
If it won’t break, resubmerge into the hot water and then the ice water again.
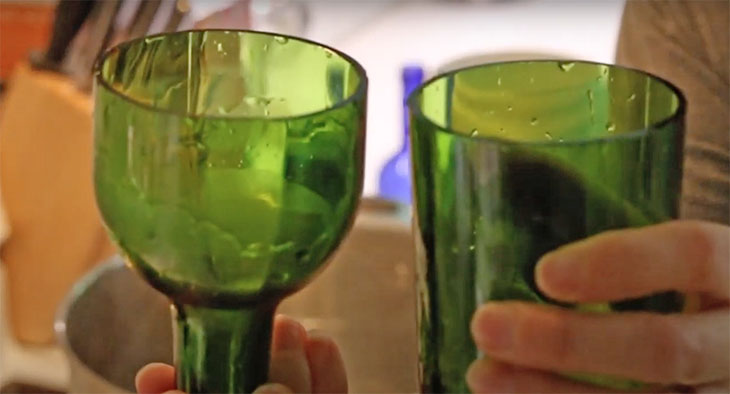
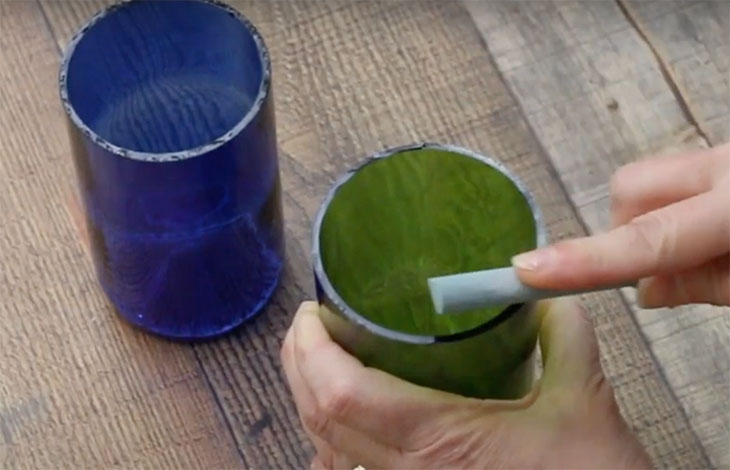
Once the bottle has separated, the edges need to be filed. For even smoother edges, sand the rim with progressively finer sandpaper. I started with 150 grit and worked up to 600 grit.
Be sure to clean up your glass shavings, take care because they can cut you.
Now you can use your newly cut bottles as containers, drinking glasses, or vases!
Fill them with water and flowers to give as a gift.
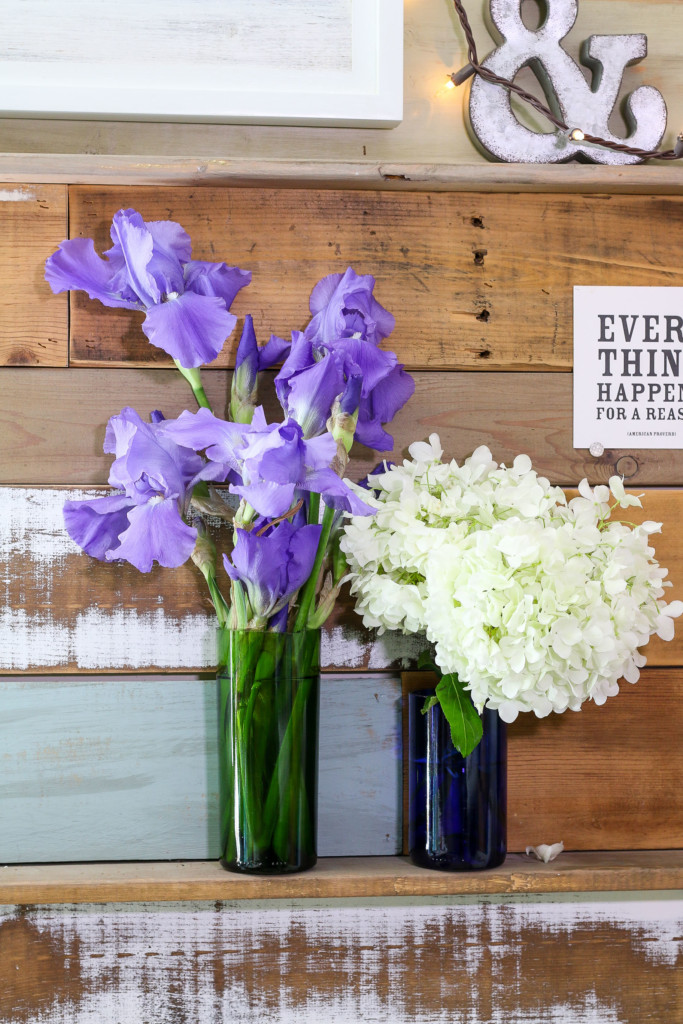
Now promise me you’ll never throw away glass bottles again. They are too pretty not to re-use. Especially once you have a bottle cutter.

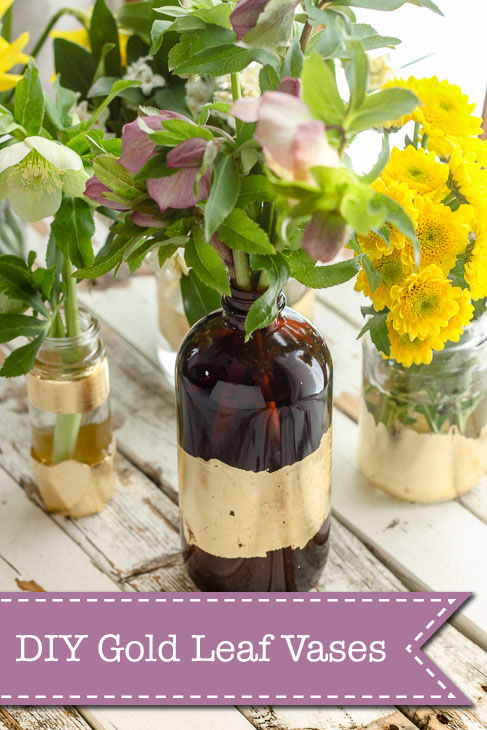
If you liked this tutorial, you’ll love learning how to make these gold leaf decorated vases: